How to Take Photos of Disasters

No one knows when disaster will strike. No one is prepared for it; not even photographers. So when you see photos of disasters – especially natural disasters like earthquakes and flooding – capturing just the right moment and emotion, you’ll wonder how they were done.
You’ll want to ask yourself if some photographers can do magic or if they posses some sort of sixth sense.
Taking photos of disasters may not sit well with everyone, but these photos serve a lot of purpose. For some, they are a reminder of an experience they do not want to go through again. For others, disaster photos can be used to get support and relief for the victims and survivors. Newspapers and other printed publications use disaster photos to show people about the depth of calamity and devastation.
While there is no course that will teach you how to prepare for disaster photography, there are tips that you can follow to help you stay prepared for any disaster.
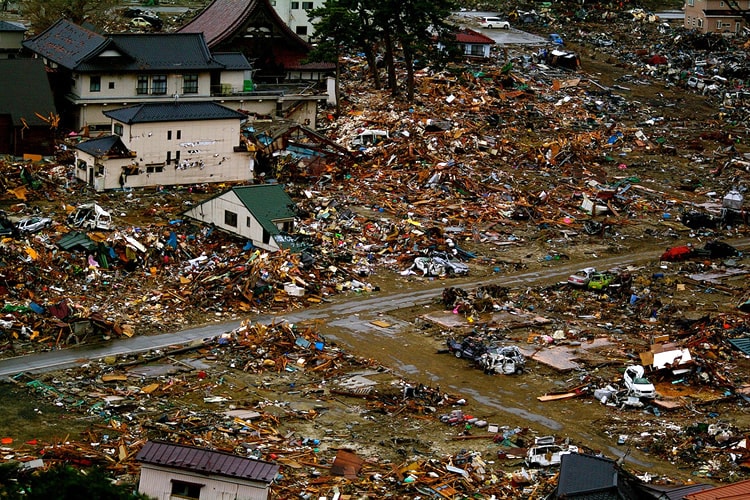
photo by CECAR
What Equipment You Will Need
Your camera, of course, is your primary equipment. But it is precisely for this reason that you will need to bring extra paraphernalia, specifically those that will keep your camera safe from water, dust, moisture or even fire.
You should have something like a waterproof and shockproof case for your camera. Or, if you can, find a water and shock proof camera so you won’t need to bring anything bulky like the equipment case. There are dSLRs that are dust and moisture resistant, so they’re safe even when you need to take photos in the middle of a mudslide or a volcanic eruption.
If you’re covering a forest fire, do not use anything plastic to protect your camera. The heat will evidently melt the plastic. The best way to protect your camera during fires is to wrap it with cloth that’s covered with aluminum foil.
Be prepared to bring your lenses, though. And be sure that your lenses can be set to different exposure levels; manually, if possible.
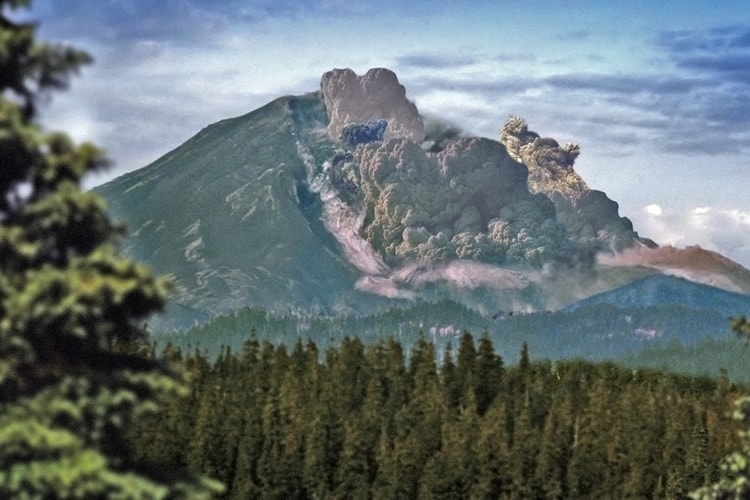
photo by USDAgov
Read and Be Informed
Read up everything that you can about different forms of disasters. What happens when a tsunami hits? What can a tornado do to people and places? How strong should an earthquake be for it to crack roads and break things? All this information will give you a picture of what to expect during disasters. Of course, you’ll never know exactly what will happen, but at least you have an idea of what to avoid and what to do.
You should also read several safety measures and disaster guidelines. How do you keep a home safe from tornadoes and earthquakes? How do you keep yourself safe when you have to go out while a flood is raging and the winds are unbelievably strong? What kind of clothing should you wear when you encounter a forest fire? The Red Cross has a standard disaster guideline.
If you do not know how to keep yourself safe in disaster situations, you better not even think of taking photos at all!
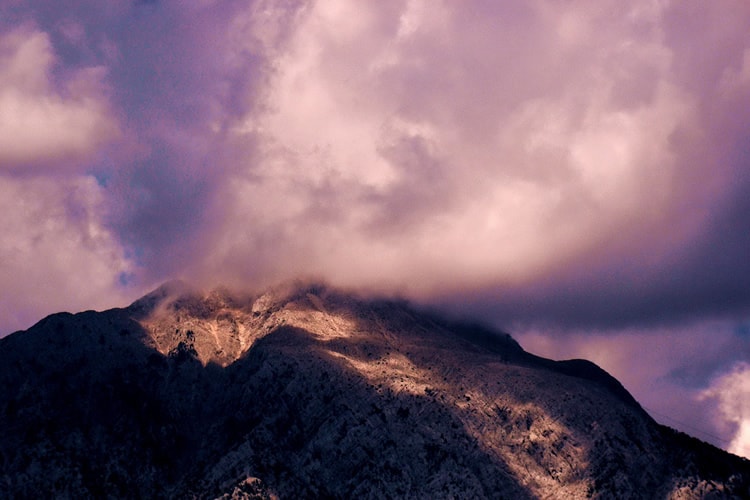
photo by Tanya.K.
Taking the Photos
The first thing you need to remember when taking photos of disasters is sensitivity. You have to be sensitive about how a photo can affect a person. So choose only scenes or images that are ethical. Avoid taking photos that are too graphically disturbing or demoralizing.
It is also important to take photos with honesty. Don’t manipulate, stage or choreograph a scene. Take the photo as is. This is the best way to convey the emotions and message that you want to send out to the people. Don’t think too much of the technical aspects of your photos. Just take pictures.
If you’re taking a photo of a property that’s been damaged by a typhoon or tornado – or any disaster for that matter – capture different scenes from various vantage points. Zoom in, take wide shots or go for a panoramic shot showing the entire damaged property. Take shots that focus on particular things, like a baby basket or a broken doll, for example. You should also include people in your shots. Take photos of the family picking up broken furniture pieces or a little boy crying beside his shattered favorite toy. These images paint human emotions, which is what you should convey to your viewers. Again, do not choreograph the scenes. And be sure that your subjects tell the story.
If you’re taking photos of a volcanic eruption, a mudslide, tornado or forest fire, exercise extra caution at all times. Do not, at any time, go where the action is. Take the photos from a safe distance, but make sure that your vantage point is good. Experiment with your shots first before deciding on which spot to stay on.
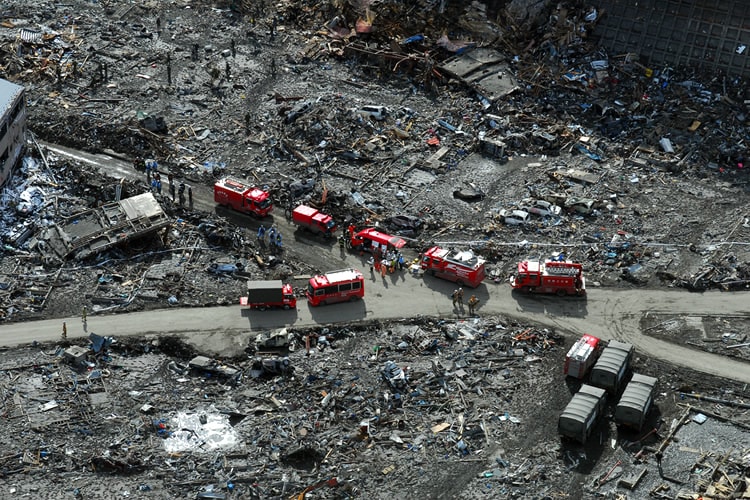
photo by Official U.S. Navy Page
Do the same thing when taking photos of landslides, flooding or avalanches. During earthquakes, it will be difficult for you to take photos as the disaster is happening, so your best option is to take after-disaster photos. The same thing applies when you’re taking photos of a tsunami.
If it is impossible to find a safe distance that gives you a good vantage point for your photos, your best choice is to take photos of the aftermath, including the effect of the disaster on people.
If you want to take photos of people, especially the victims and survivors, your shots should primarily be close-ups as they best capture emotions. Be sure, though, that your photo doesn’t get too dramatic because you’re supposed to capture reality; not something made up. Also (again!), it is important to be sensitive. Keep in mind that these people are dealing with loss, devastation and grief.
When photographing people, balance the equation by looking for images that depict hope and courage. Do not focus only on fear, confusion and other negative emotions.
The most important thing to remember when taking disaster photos is safety. Your pictures may come out excellent, but if it means risking your life, it won’t be worth anything.
About the Author: Michael Gabriel
 Michael Gabriel L. Sumastre is an experienced writer who loves to take pictures of the countryside as well as aerial photographs. He maintains his professional writing portfolio at TheFinestWriter, and you can visit his photography portfolio at Sumastre Photography. Michael was hired by Booking.com to photograph 10 of the most beautiful beaches in Palawan, Philippines.