How To Capture Striking Forest Photographs

Photographing the woods, or the forest, sounds a little intimidating; probably because the first thing that comes to your mind is the vastness of the location.
But, a lot of photographers will actually prefer big spaces over confined areas with limited views. The forest is a mysterious, majestic and versatile subject. There are a lot of stories you can create out of it, which is basically what real photography is all about.
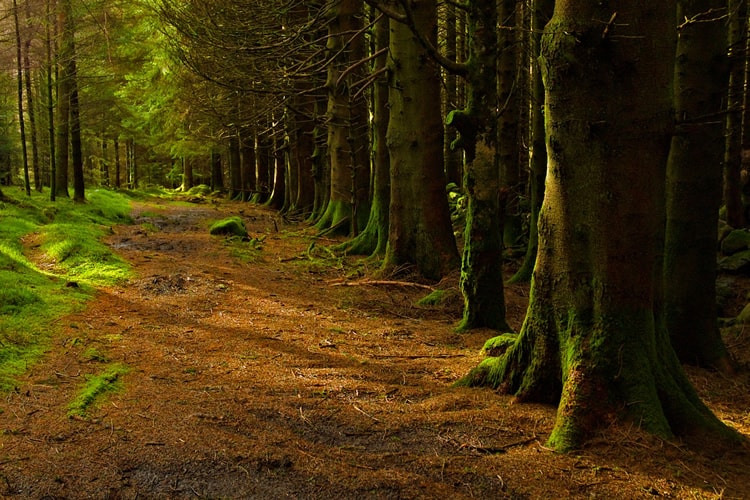
photo by Stuart Madden
The forest is home to varieties of trees, plants, flowers, animals, insects, and many other wonderful colorful objects – living or non-living. It’s the closest thing to pure, untouched nature. It is, therefore, important for you (or any other photographer), to be prepared when embarking on a forest photography project.
Things To Consider
There are a lot of things you need to keep in mind when photographing the forest. Here are the most important ones:
- Remember that not all forests are the same. There are many types of forests: rainforests, evergreens, and mangroves, among others. These forests are homes to different soil, terrain, and plant types. Some have tamed animals, others have wild, while others have no animals at all.
- The weather is dependent on the area or location of the forest. Because of this, it is important to ensure good light quality. There are trees all around the forest, so light is expected to peek through, but this won’t be enough, especially since the soil and grounds are almost always dark.
- Forest photography can be done anytime of the year, even during the winter months. But, the best times for taking forest photos are in the early morning or late in the afternoon. Misty weather will give your photos a dramatic effect.
- When choosing or deciding which forest to shoot, go for one that you are familiar with. Or, if possible, secure a map of the forest. This will help you plan ahead of time where to shoot and which part to capture. Find a good point of interest. Composing your shots will also be easier this way.
- Once you’re in the forest, take time to explore it, as this will help you get a real feel of the place. Looking at its map is way different than being there. Wander through the forest so you’ll find the best angles and create different effects. Don’t rush when taking your shots. Time is not after you.
- The forest is a natural resource. Therefore, there is no need to mask it with superficial effects. Let your images come out in their natural form. Keep your photographs simple and real. Simplify as best as you can. If a patch of line comes in between trees, let it be. Don’t edit it out. Light streaks are common in forest photography. It brings life and adds color to the scene, especially when the streaks come from early morning or early evening light. Just be sure that you hide the sun by using an object – like a tree – as the foreground.
Equipment Needed & Other Photo Tips
The basic photography equipment every photographer should bring include:
- Macro lens for capturing the finest of details.
- A telephoto zoom lens. You’ll find a lot of need for this, especially when you want to capture animals in action.
- Taking this kind of shot requires you to be far away from the subject – so you’ll not disturb the animal’s true behavior and for your own protection as well.
- Wide angle lens for scenes that include bodies of water, the forest floor, and for other wide shots.
- A tripod, especially if you want to make sure that your shots are steady. And because photographing the forest means adjusting to different lighting. The tripod will be useful if you need to use filters.
- An off-camera flash can also be useful, but be careful how (and when) you use it, especially if you want to make your photos look as natural as possible.
- Always carry an extra camera battery, along with extra lenses. You’ll never know how long you’re going to stay in the majestic arms of the forest!
- Protect your camera and all your other gear. Bring a reliable rain cover, a cleaning kit, and of course, put all your gear inside a strong rainproof camera bag or case.
- To help you go through the forest, be sure to use a headlamp (or a torch – but a headlamp will be more convenient). You can use it two ways: to light your way, and to add some light into the scenes (when needed).
With all this gear, you’ll be able to cover different areas of the forest. Don’t be afraid to take macro shots, especially of flowers, butterflies and bees. It’s going to be quite a challenge because of the lighting, but if you’ll bring a reflector or off-camera flash, it will be easy to make things work out accordingly.
If you want an easy way to create visually stunning forest photos, make use of your wide angle lens and position it in such a way that is points up. Your camera will capture the majestic appearance of the trees. The audience will feel engulfed or embraced by them. Add a little dramatic lighting, and you’re good to go!
Adding reflections to your photos is also an effective way of adding some flair and effect to your photo. Use reflections when taking shots of bodies of water, or even when photographing swaying trees and falling leaves. Don’t be afraid to zoom in. Be careful, though, when dealing with animals as many of them can be quite sensitive.
Finally, make good use of your shutter speed. Moving your camera up and down will give your photos a creative motion blur; but, be sure to do it as slowly as you can. If you do this properly, you’re going to mystify your audience, as your forest photo will come out like a painting.
Forest photography is a creative undertaking that requires a lot of preparation, curiosity and interest. If you want to go out and take photos of the forest just because, your images won’t come out the way you want them to, no matter how good you are. Take photos of the forest because you want to. Remember, what you feel will often show in your photographs!
About the Author: Michael Gabriel
 Michael Gabriel L. Sumastre is an experienced writer who loves to take pictures of the countryside as well as aerial photographs. He maintains his professional writing portfolio at TheFinestWriter, and you can visit his photography portfolio at Sumastre Photography. Michael was hired by Booking.com to photograph 10 of the most beautiful beaches in Palawan, Philippines.