How To Create A Vintage Photo Effect In Photoshop
 by
Marc Andre
by
Marc Andre

Vintage effects are commonly used to give photos a specific type of feel, and with the combination of the right photo and the right effect the results can be excellent.
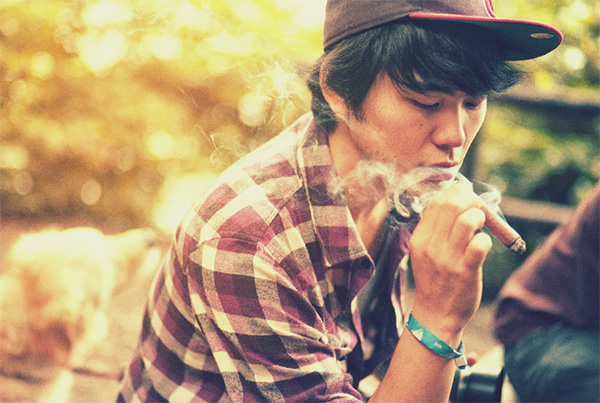
In this tutorial we’ll go through the process of applying a subtle vintage-style effect to a photo by adding just a few adjustment layers in Photoshop. For the tutorial we’ll be working with a photo by Daniele Zedda.
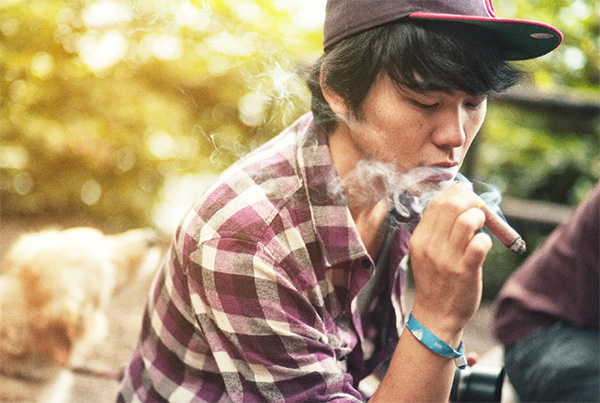
To create the vintage effect we’re going to use Photoshop’s adjustment layers. By doing it this way we will leave the original photo untouched. So to get started, open the photo in Photoshop and look to the layers palette.
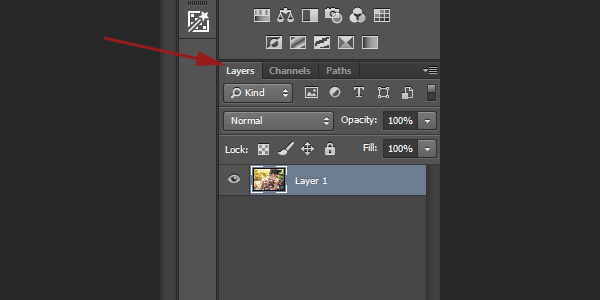
At the bottom of the layers palette you’ll see an icon for creating a new adjustment layer.
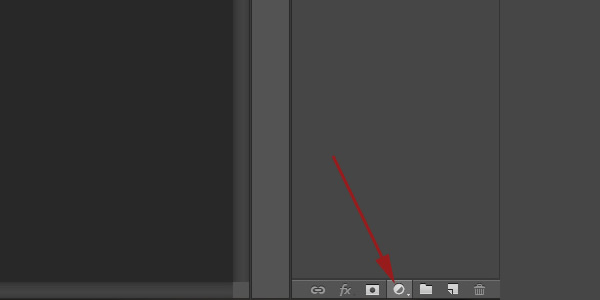
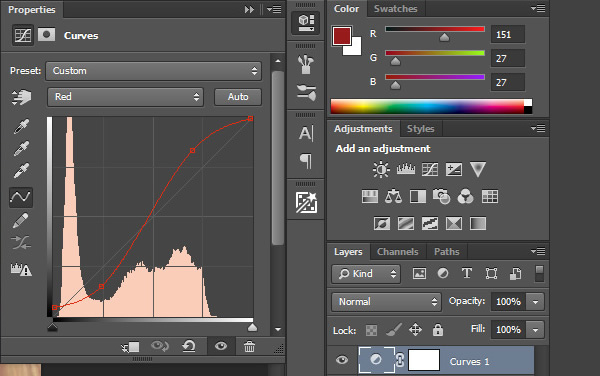
Click on that icon and select “curves” from the menu that pops up. Then select “red” from the dropdown for the curves properties.
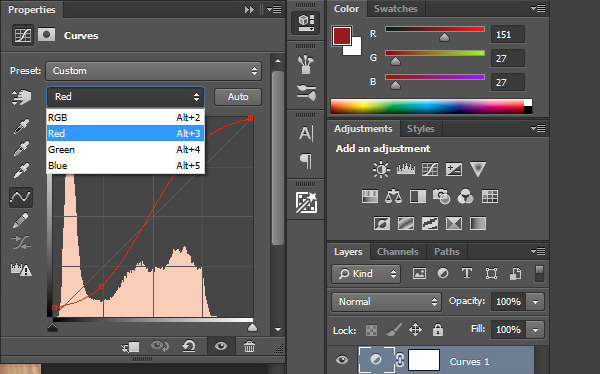
Apply an S curve that looks like the following image.
Next, select “green” from the dropdown and apply the following.
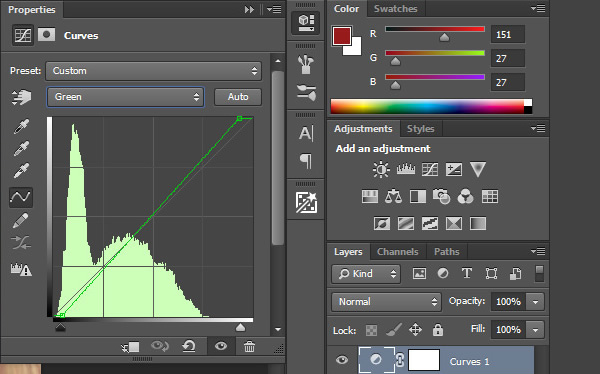
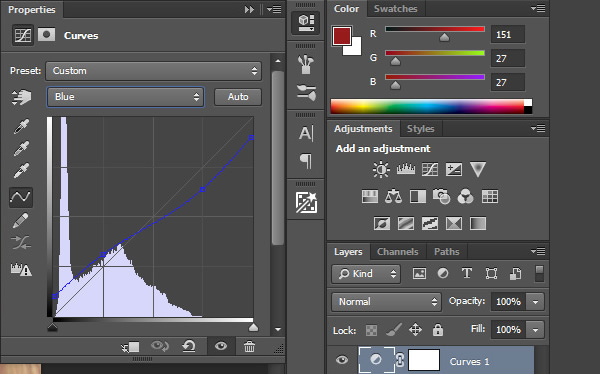
We’re leaving it as a straight line, just changing the end points a little. Next, select “blue” from the dropdown and apply a curve similar to the one shown below.
Next, select “RGB” from the dropdown. We’ll raise the shadows and lower the highlights be making these changes at the edge of the curve (the RGB curve is the one shown below in white).
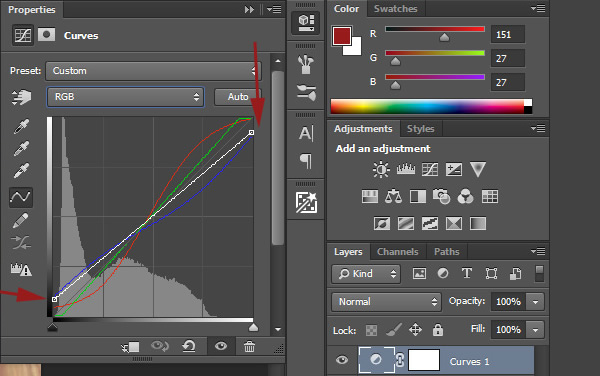
The RGB curve impacts all colors. At this point the photo now looks like this.
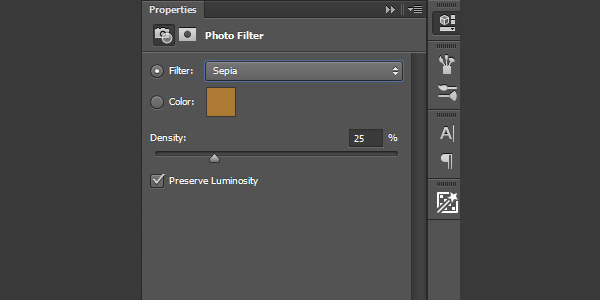
Now, click on the icon at the bottom of the layers palette to add a new adjustment layer, and this time select “Photo Filter”. From the dropdown, select Sepia. I’m going to leave the opacity at 25%, but if you’re working with a different photo you may want to play with this number.
Next, click the icon to add another adjustment layer, and this time select “curves” again. On this second curves adjustment layer we will only be working with the RGB curve, so you won’t be to select red, green, or blue from the dropdown. Apply an “S” curve to the RGB curve.
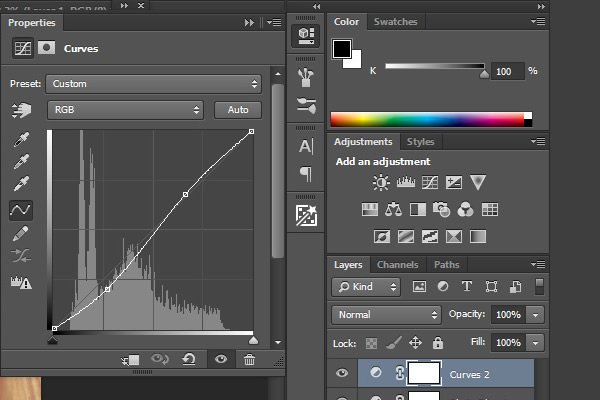
This curves adjustment layer will add some contrast darkening the shadows and slightly lightening the highlights. Our finished photo now looks like this.
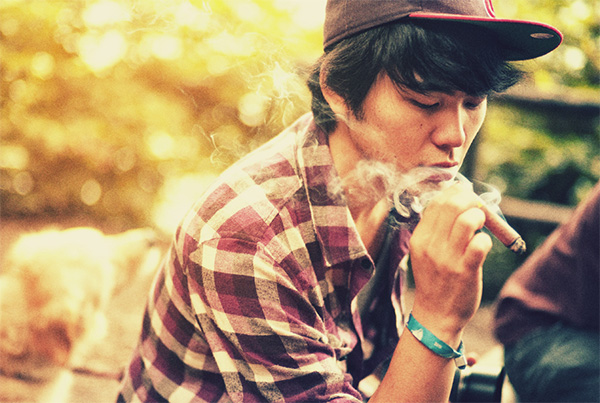
And here’s a before and after of our photo.
I hope you enjoyed this tutorial!
About the Author: Marc Andre
Marc is an avid photographer and the founder of Loaded Landscapes, a blog completely dedicated to landscape and nature photography.