Polarizing, ND, UV, IR, Skylight – An Overview Of Filters
 by
Mark Myerson
by
Mark Myerson

Photoshop has had a significant part to play in the shaping of modern photography. Sometimes, however, nothing can beat the results of getting it right in-camera, and if you’re thinking of shooting outdoors, one way of making it a little easier is to use filters.
No, not those gaudy things in Instagram; I’m talking about thin sheets of resin or glass, which photographers have relied on for decades.
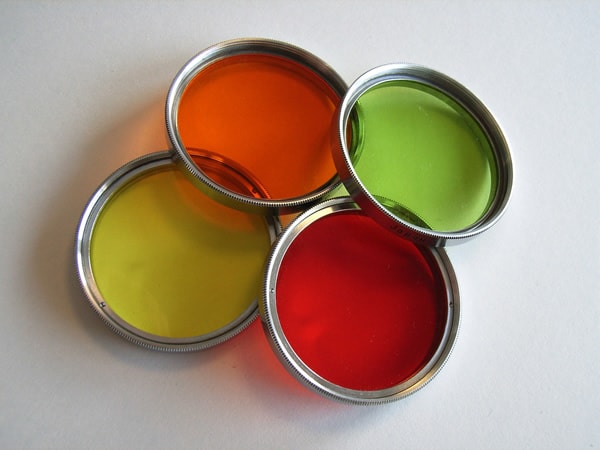
photo by Aslak Raanes
There are hundreds, maybe thousands of filter styles, although only half a dozen are commonly used, and each provides a different effect. For the filter newbie, this massive amount of choice is daunting enough, without even considering the various shapes, sizes and fittings in which each style of filter comes. Let me provide some clarity…
First, let’s look at fittings
There are two main methods of attaching filters to a lens:
- screw-in
- filter holder
As their name suggest, screw-in filters are circular, and they screw directly into the front rim of the lens. Not all lenses are the same size, though, so when buying screw-in filters, you need to check the size of filter you require. Every lens has its filter size printed on the front rim, and it’s usually between 52mm and 97mm, but make sure to check all of your lenses – if you want to use the same style of filter with all of them, you’ll need to buy filters to match the various sizes of lens you own.
On the other hand, filter holders are the other main option, and it is a more versatile option. Holders have the advantage of being able to take multiple filters simultaneously, and you only need to purchase the filters in one size.
To use a filter holder system, you’ll first need a conversion ring. This attaches to your lens like a screw-in filter, and it provides a mount for the filter holder to sit on. As with screw-in filters, you’ll need a different size conversion ring for every size of lens you want to use filters with. Once the conversion ring is in place, you can attach the filter holder. The two main manufacturers – Cokin and Lee – both have several models, each of which is designed for use with lenses of a certain focal length. For example, Cokin’s A series is designed to be used with lenses no wider than 35mm, whereas the Z-Pro series is designed for lenses as wide as 20mm.
With your filter holder in place, you simply slot the rectangular or square filters in. Some holders keep filters in place with finger-tightened screws.
Different Types Of Filters
Perhaps the most commonly used is the polarizing filter. Polarizers have several functions:
- they enhance saturation
- they can either enhance reflections or get rid of them completely
- they are also used as a way of reducing glare
With this versatility in mind, if you only purchase one filter, it should be a polarizer. Polarizers work by blocking reflected light entering the lens from specific angles, and most are circular (screw-in) and rotatable, allowing the photographer to select the direction of light to be filtered. If, for example, you rotate a polarizer to block light coming from above, a blue sky will become darker and more saturated.
Neutral density (ND) filters come in two main flavors – solid and graduated (grad). Both types of ND filter usually come in the square or rectangular form used with filter holders, and both simply reduce the amount of light entering the lens – but their uses differ significantly. Solid ND filters reduce the intensity of the light across the whole of your lens, and this allows you to select slower shutter speeds, opening up the possibility of silky waterfalls and misty sea. Graduated ND filters also reduce light intensity, but only the top half of these filters is darkened – the idea is to place the darkened half in front of a bright sky, balancing the contrast with the darker ground. Some photographers use HDR or exposure blending instead of grads, but it is a matter of personal preference.
ND and polarizing filters are the most commonly used for general outdoor photography, but there are a few other types of filter which have more specific uses.
Ultra-violet (UV) filters act like a sort of lens sunblock, cutting glare and haze, and they also act as physical protection in front of your lens – a smashed UV filter costs twenty or thirty times less to replace than a smashed lens. Whilst these filters do have a very slight detrimental effect on image quality, I would definitely recommend that you consider putting one on each of your lenses, purely for protection (and you can always take them off).
Skylight filters essentially do the same job as UV filters, but they warm your image slightly in order to remove the blue tint which is sometimes present when the sun is high in the sky. They do lack the UV-blocking ability, though.
Also available are infra-red (IR) filters, which are black to the naked eye, and are mostly used by landscape photographers. Normally speaking, DSLRs capture visible spectrum light. By adding an IR filter, visible light is blocked, leaving behind only IR light. The result is a niche, artistic effect, which turns foliage white, and skies black. It can look great if the scene is chosen carefully.
When choosing filters, there is also one other decision to make – glass or resin? Glass filters are more expensive, but do seem to provide better image quality. Just bear in mind, however, that glass filters are fragile – bending down with one in your pocket will hurt both your leg, and your wallet!
Despite the speed and ease of image editing, filters are still irreplaceable, and are relatively inexpensive. As with most equipment, you should always purchase the best you can afford, and Lee’s glass filters are some of the best. Whether you opt for glass or resin is up to you, but either way, I definitely recommend that you start your own filter collection – prepare to bask in the praise your newly filtered images will receive!
About the Author: Mark Myerson
I’m a landscape photographer, and the great outdoors is where I like to take my camera. I also love technology, whether photographic or otherwise, and I blog about the latest tech. I live in Devon, in the south-west of the UK. You can view my photography here or follow me on Google+.