How To Photograph Snow: Composition & Exposure

It may be an icy wonderland outside, but that shouldn’t stop you from venturing out with your camera to capture your very own wintertime masterpieces.
Snow photography can be beautiful – and there are plenty of examples to prove it! But for most of us, photographing snow can also be a challenge.
Overexposed images, blue tinted snow, and blown out highlights are all common mishaps that are involved with snow photography. Not to mention the fact that preparing to head out into the snowy weather with the camera requires a bit more planning.
Still, for those who are up for the challenge, wintertime photography can be tremendously rewarding.
If you’re thinking of heading out into the snow – here are a few tips on composition, and exposure, to help you create some spectacular winter and snow images.
Composition Tips
Composing snowy images presents its own set of challenges. That huge expanse of white stuff looks impressive in person, but translating some of that grandeur into a two-dimensional image can be difficult. Often snow pictures end up with too much blank space, or without a clearly defined focal point.
1. Look for Splashes of Color
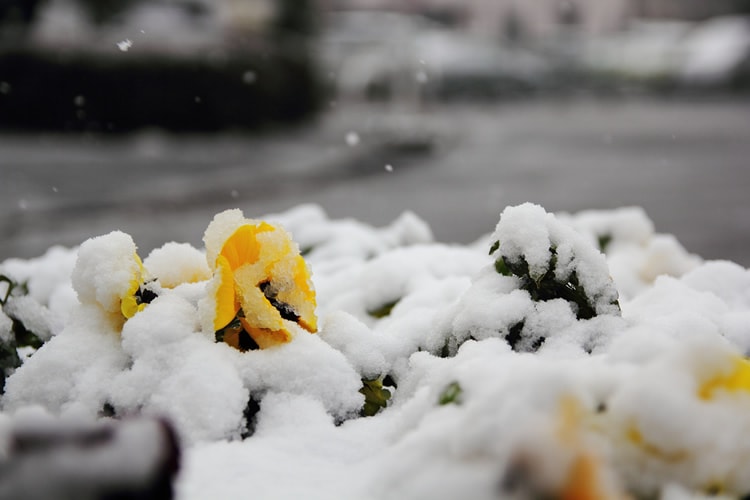
photo by t-mizo
Use the snowy white expanse to your advantage. The white backdrop can provide a nice, clean background for your shots. Try picking out splashes of color – a tree in the distance, some berries poking out through the snow and focusing in on them. This will help to break up the white expanse, and will add an all-important focal point and some much-needed contrast to your images.
2. Get Up Close
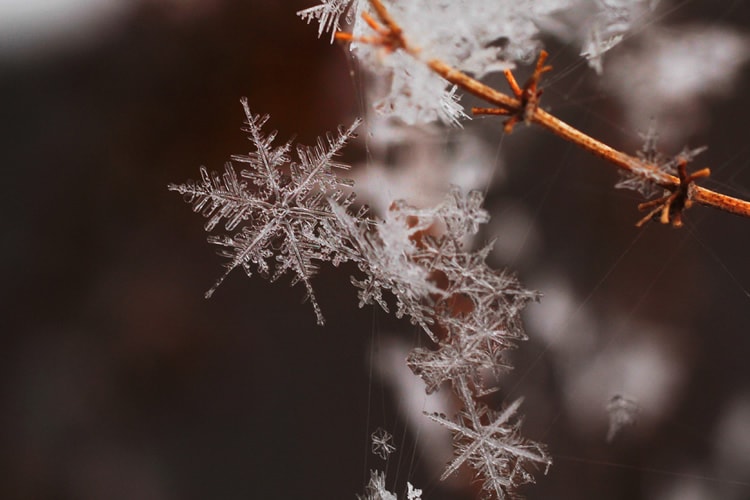
photo by LadyDragonflyCC – >;<
Or try getting closer. Snowy days provide the perfect opportunity for some stunning macro shots and close up images. The individual snowflakes on leaves, blades of grass coming up through the snow, or icicles lining a gutter all make great close up subjects.
3. Add Foreground Interest
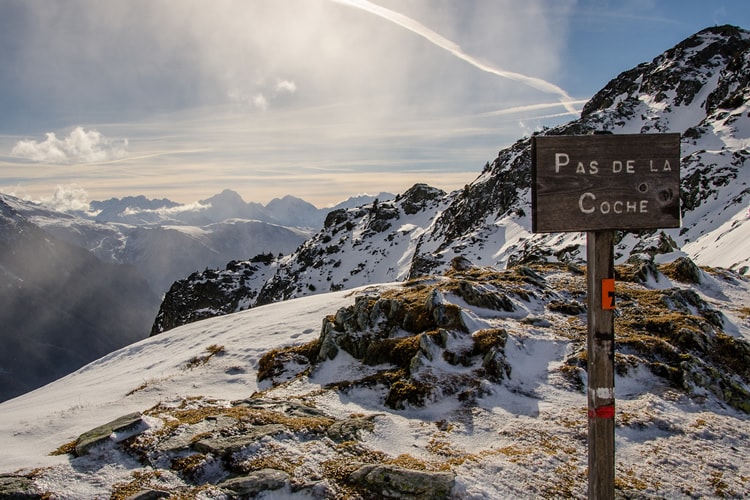
photo by Ghislain Mary
When composing scenic shots, avoid the temptation to fit everything into your viewfinder. Instead, focus on creating strong compositions. Look for ways to incorporate interesting foreground into your images. This will help to add a sense of depth and perspective to your photos.
4. Remember the Rule of Thirds
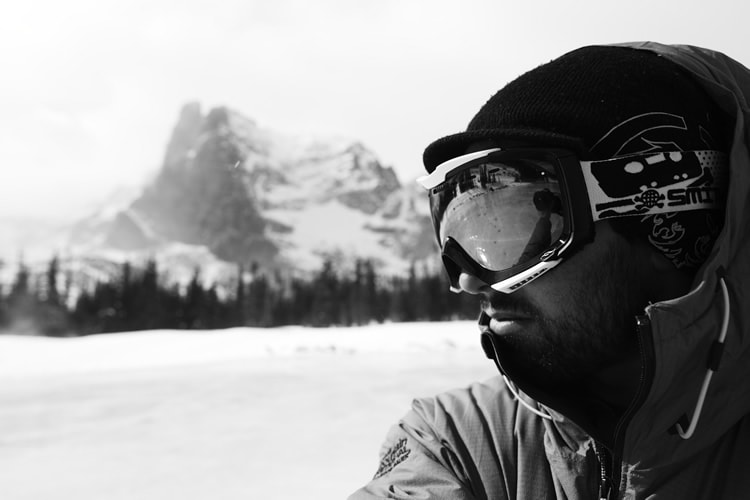
photo by Zach Dischner
While the rule of thirds is more of a suggestion than a rule, it’s a handy reference point if you’re stuck! It’s generally a good idea to avoid placing the horizon line or your focal points directly in the middle of your photos. Instead, try to position the main points of interest on the thirds sections of the image – unless, of course, the composition calls for a different placement!
5. Watch the Light

photo by Rachel Kramer
During the day, the bright snow reflects the sun – and acts like a second light source, resulting in harsh shadows and blown out highlights. If you’re out during midday when the sun’s at its brightest, be aware of the direction of the sun, and watch the histogram for blown highlights. To reduce shadows, it’s a good idea to shoot with the sun to your side during morning and evening and with your back to the sun during midday. The ‘golden hour’ is one of the best times for shooting snowy image. The golden light of morning or early evening adds a beautiful warm touch of light to wintertime compositions, and you won’t have to worry about harsh glare and unwanted shadows.
Camera Settings for Snow
One of the main frustrations with photographing snow is that often, what you see and what your camera sees, are two different things! When left to its own devices, the camera will try to meter everything as middle gray. This means that the snow in the resulting images won’t be pure white – it’ll be dark and dirty, and the images underexposed.
The right camera settings can make all the difference and are pivotal for creating the type of image that you’re going for. By brushing up on some of your camera’s basics, you’ll have the knowledge that you need to get out and capture those snowy images.
1. Adjust Your Shutter Speed
Your shutter speed plays a very important role in helping you get the images that you want.
- Freeze it. To freeze people in action like snowboarders, skiers, or other fast-paced adventurers, use a fast shutter speed of at least 1/1000 to avoid blurry images.
- Blur it. If it’s snowing, and you want to capture streaky snow, use a tripod and slow the shutter speed down to around 1/15. Keep in mind that if the wind is blowing, you’ll need a faster shutter speed. A slow shutter speed also helps to add a beautifully blurred, painting-like quality to sunsets, and can slow down rushing water, giving it a blurred effect.
2. Adjust the Exposure
Snow images often end up underexposed (because your camera is metering off of the bright white snow). If your snow photos are turning out dingy and dark, simply adjust the exposure dial up a stop or two, and then take a test shot to check the results.
3. Check the Histogram
Your camera’s histogram is another way to check your exposure. Take a test shot and check the histogram. If the graph climbs drastically on the right, you may want to adjust the exposure down to prevent blown highlights. It the graph is bunched up on the left, it could mean that your image is underexposed and needs to have the exposure dialed up.
4. Adjust the White Balance
Snow often appears blue in photos. Setting your camera’s white balance setting to “shade” can help to reduce this. Or change the white balance to “snow” which will set both the white balance and the exposure. Of course, you will want to consistently check the photos to make sure you’re pleased with the results.
5. Watch Your Flash
Take care when using the flash! When shooting snow, using the flash will often result in overexposure. If it’s snowing, the flash will render the snowflakes as overexposed flashes of light. Consider using a fast shutter speed, or an off-camera flash instead.
6. Shoot in RAW
If you’re able to, consider shooting in RAW. This will allow you to adjust the tonal range later, helping you to salvage photos that have slightly incorrect exposures.
Remember that batteries drain faster in low temperatures, so bring a spare and keep it close to your body to prevent the cold from zapping the power. It’s also important to give your camera a chance to adjust to the changing temperatures. Leave it in a colder room or the garage for 15 or 20 minutes before heading out and when coming back in to prevent the mirrors from fogging up due to the sudden change in temperatures.
While the frost and snow can make it hard to get up and go, the results of wintertime photos are worth the effort. With a little prep – and by mastering a few basic settings, you’ll soon be on your way to capturing some truly spectacular snow-filled images.
Have any snow photography tips? Share with us via Twitter or Facebook!
About the Author: Christina Harman
 Christina is a part time blogger and full time photography enthusiast living in Southeast Alaska. She enjoys travel photography and has taken pictures in countries such as Mexico, England, France, and China. She likes sunny days, new lenses and drinking good coffee. You can visit her at Tangled Thoughts.