Photography Project Idea: The Locked Room
 by
Ian Pullen
by
Ian Pullen

Here’s an idea for a photography project that is inspired by the classic concept of the Locked Room Mystery. For those who aren’t fans of detective fiction, I should perhaps offer some explanation.
Typically these murders revolve around an apparently impossible crime, most often a murder, that appears to have been carried out inside a locked room.
Now I should clarify that I’m not advocating criminal activity of any kind and particularly not murder. In this project, the idea is to shut yourself in a single room and see how many photo opportunities that you can find. In the process, you’ll be helping to train your eye to see the possibilities of innocuous items as interesting photographic subjects. You should find yourself considering how the same subject can be approached in different ways, both at the capturing stage and in post-production.
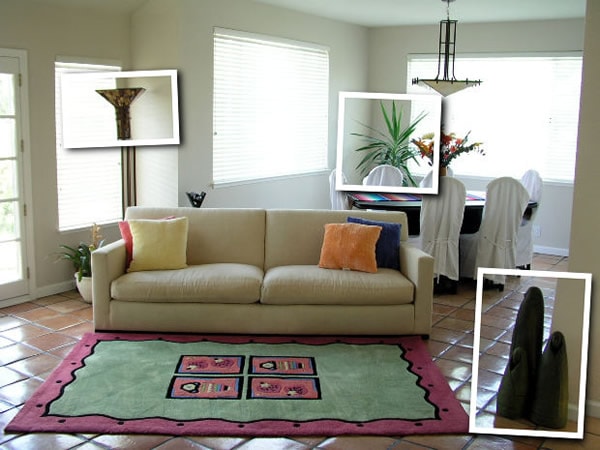
photo from morguefile
To bring some semblance of a plan to this project, I guess there should be some basic ground rules, but ultimately you decide exactly what rules you’re going to follow. These are what I suggest.
- Both you and the subject must be in the chosen room, so no shooting views out of the window.
- The room doesn’t really have to be locked, so feel free to open doors in order to manipulate light from other rooms.
- The subjects you shoot must normally be in the room – for example you can’t go photographing an elephant in the room, unless of course it is the elephant in the room.
- Subjects must be inanimate objects, so no pets or people, though you may choose to ignore this rule.
Machine Gun Approach or The Long Game
Next point for consideration is how to approach this project. I see two distinct possibilities and which you choose will be a matter of personal taste.
The machine gun approach is for those who want to make this a relatively quick project. For this, you’ll need to set aside a period time in which your going to complete the entire project, perhaps a Sunday morning for example. Remember you need time to process your shots as well as capturing them. This is probably the better approach for those with short attention spans who are likely to find themselves being distracted by shiny objects. The only downside I can see to this approach is that you may find yourself shooting first and asking questions later. Questions like, ‘why on earth did I shoot that‘.
The long game approach will be better suited to those who like to consider their photography a little more. In this case you could make the project completely open ended and just take photos when inspiration hits or perhaps plan to take a single shot each day for 30 days or so.
This approach may lead to more considered and better crafted photos, however it’s also more likely that you may never finish the project due to getting distracted by something else. Something shiny most likely.
Whichever approach you choose to pursue, I’ll share a few tips and pointers that will hopefully help you to get underway and start thinking about the different photo opportunities in your chosen room.
Play all the Angles
We’re all used to seeing the world in the same way, generally just seeing things from two angles, sat down and stood up. Try and break out of this and start to consider other ways to approach mundane subjects to make for more interesting images. Get down on the floor and start to see the room from the angle of small child or pet. Alternatively, climb on the furniture or hang from the light fittings, though don’t come crying to me if you have a fall. Consider the undersides of objects, views within the room that you may never have seen before. You may discover that interesting subjects jump out from surprising places, because of form, color or texture.
Little and Large
As well as thinking about angles, consider the use of size in how you frame subjects. You could photograph a familiar object from a familiar angle, but filling the frame with it could make it seem quite alien. Standing back and making it a small part of the scene will produce a drastically different effect from the same subject.
Vary the Lighting
You don’t need any specialist strobe equipment to make some dramatic changes to your lighting. You’ll most likely already have a number of different lighting sources available, including natural window light, the room’s main ceiling light and accent lights, such as wall lights and table lamps. Experiment with these and see how you can produce different effects.
A technique that I’ve found can produce interesting lighting is to turn off all the light in the room, close the curtains and then reflect light from an adjoining room onto the subject. If you’ve not got a reflector, aluminum foil or white paper will be a reasonable substitute.
Use Different Cameras
This whole project should be a process of discovery, so experiment with all of the different cameras that you have to hand. If you’ve not got a macro lens for your DSLR, use the macro mode of a compact camera to get really close to your subjects. Don’t stop there though, employ your phone and what ever other devices you own that include a camera.
Experiment with Processing Techniques
Finally, use this exercise as a way to get more creative with your processing. Try new approaches to see how they affect your images and whether you could continue to use such techniques with your photos in future. Try googling “creative photo processing tutorials” or similar search terms to find inspirational ideas that you can use to expand your post production repertoire. Creative processing has been an important part of photography since it was first invented, so be sure you don’t neglect this side of your craft.
If you give this idea a go, I’d love to hear about it and see the photos that resulted from it. This should be a fun way to experiment with many different aspects of photography. Most importantly, remember that everything that you learn in a locked room will be just as relevant in the world in in general and giving this a go may lead to you seeing all of your subjects with a new and fresh creative eye.
About the Author: Ian Pullen
I'm an enthusiast photographer and web developer by trade, based in rural Spain. I'm interested by all aspects of photography and am constantly trying to improve my technique and try out new ideas. Find Ian on Google+.