Up Close with Macro Photography

Macro photography is the art of learning to look closer – much closer. With a focus on color, details and patterns, macro photography can yield some amazing and rewarding results.
One of the great things about macro photography is the new perspective that it will give you. Shooting small insects, flowers, and plants opens up a new and intricately beautiful world that’s full of surprising patterns and symmetry.
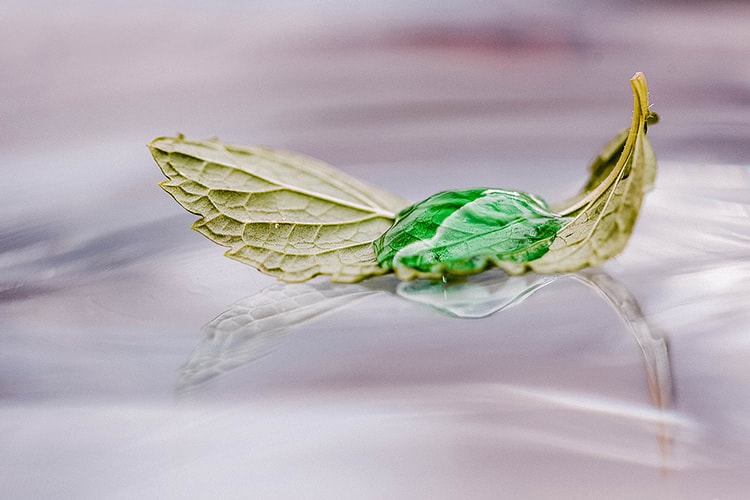
photo by Sonny Abesamis
Looking closely at things found in the natural world is something that never disappoints! Of course, macro isn’t just for nature photography – there are plenty of macro photo opportunities to be found in everyday objects as well.
Taking good photos of tiny things though, can be tricky. Since macro photography is naturally a very focused and hands-on type of photography, taking the time to understand the technical details can have a big impact on the results of your photos. In this article we’re going to take a (close!) look at the how-to’s behind macro photography. Read on to discover how you can get great close-ups of micro life and small objects.
Look Closely
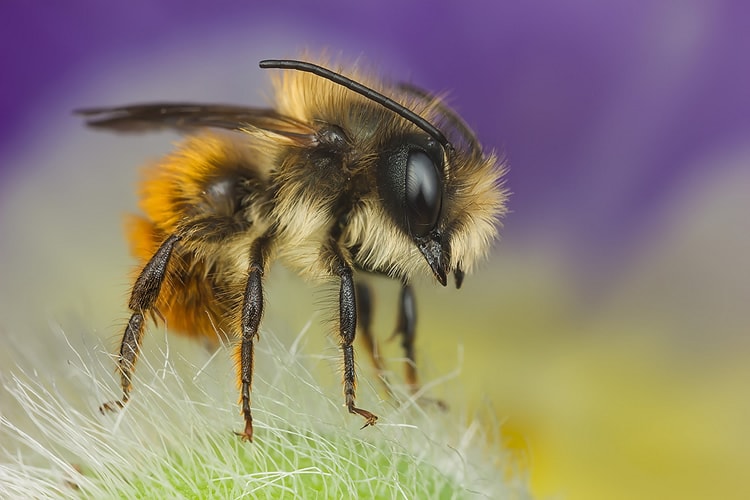
photo by Abovelifesize
Macro photography, essentially, is magnification. Photos are generally regarded as macro when the size of the object in the photograph is greater than life sized.
One of the great things about macro photography, is that it opens up a world of beautifully exquisite details that most of us would otherwise be oblivious to. Macro images are as fun to look at as they are to take, as viewing these super life-sized images transports us into a realm of vibrant colors, and extraordinary patterns that are truly breath-taking and unlike anything else we’ll ever see.
The challenge with macrophotography, is really getting into the photograph’s composition, and looking beyond what first meets the eye. It’s important to pay attention to every detail, because in macro, every detail counts!
Lighting
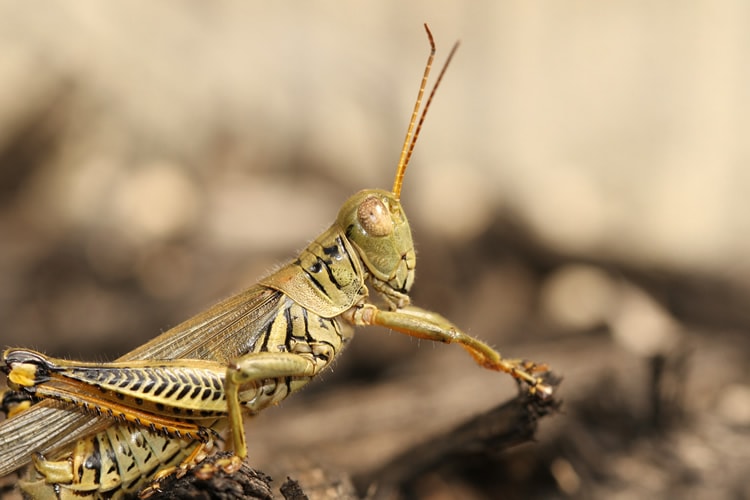
photo by photochem_PA
While some macros can be done indoors, most macro photography is shot outdoors, where plants and animals can be observed in their natural habitats.
Bright, overcast days are some of the best times for macro photography, as the clouds will act as a giant diffuser, and you won’t have any annoying shadows to deal with. Another great thing about bright days is that you won’t have to use a slow shutter speed. A slow shutter speed could prove difficult when capturing moving insects or flowers gently swaying in the breeze.
Composing Your Shots
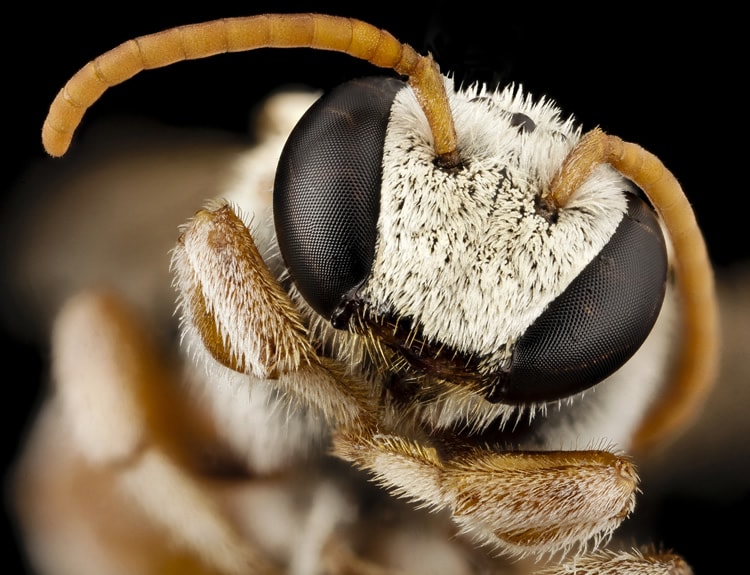
photo by USGS Bee Inventory and Monitoring Lab
Looking for new ways to showcase your images and compose your shots is all part of the fun with macro photography. Try new and unexpected angles. The slightest movement from left to right, or up and down can dramatically alter the feel of your composition – so don’t be afraid to experiment and try new angles.
Changing your position can also change the direction of lighting. Use front lighting for fewer shadows and deeper color saturation, and side lighting for more dramatic lighting, or to highlight details and textures.
Remember that macro photography, like most photography, is best when the image has a main focal point. Ensure that the focus is on the main point of interest, and try to keep the backgrounds clean and simple so it doesn’t compete with the main subject.
If you are shooting insects or small animals, take special care to ensure that the eye of your subject is in focus, your subjects’ eyes should always be clear and sharp.
Gear and Lenses
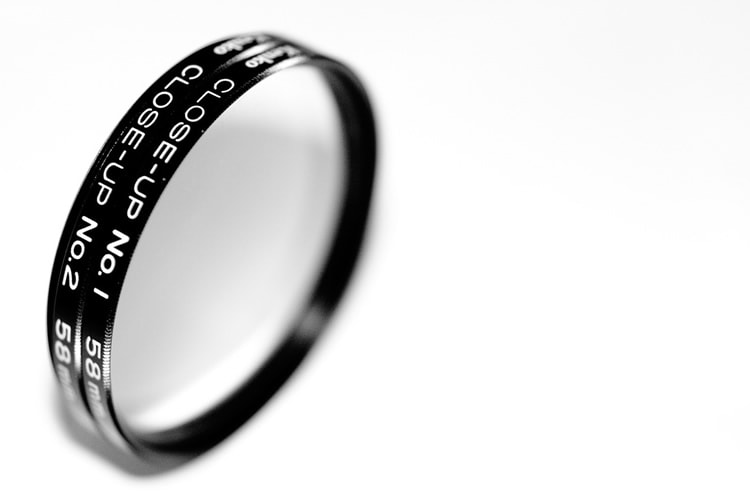
photo by Aidan
While you can take close-ups with anything – even a point and shoot – when it comes to high quality macros, there are a few essential pieces of kit that can make all the difference.
-
Macro Lens
A macro lens is the most obvious, and important piece of gear that you should consider if you are interested in macro photography. Most macro lenses are able to produce life-sized images on the sensor, the best macro lenses are able to offer magnification that gives images on the sensor that are up to five times life sized.
-
Close Up Lens
A close up lens is a flat lens that mounts to the front of your normal camera lens much like a lens filter, allowing you to focus at closer distances. These attachments mount to the front filter thread of your camera lens, and work in a similar way to reading glasses, providing magnification.
-
Extension Tubes
An extension tube is a hollow tube that that fits between your camera and the lens, allowing the lens to move further away from the sensor. This extra distance helps the lens to focus more closely, and provides greater magnification.
-
Flash
Your camera’s built-in flash isn’t normally suitable for macro photography. One solution is to use an external flash. Look for an external flash that has a head that rotates and elevates.
-
Tripod
A tripod is essential for macro photography. It’s important to look for a tripod with legs that are able to spread nearly horizontal to allow you to photograph very low to the ground. Alternatively, you could get a tripod with a reversible head stern that will allow you to position your camera facing down underneath the tripod.
Camera Settings
-
In Focus
For most macro shots, you will want to use a narrow aperture of f/11, or f/16 to ensure that most of your image is in focus. Adjust shutter speed according to the light: if it’s too dark, slow it down, if it’s too light, speed it up to let less light in. And, of course – don’t forget to use a tripod.
-
Shallow Depth of Field
For more artistic shots, a wider aperture may be preferable. This will throw the subject out of focus, and create blur, or other pleasing effects. Adjust your shutter speed according to the light. Keep in mind that the closer your camera is to the subject, the less depth of field there will be.
-
Autofocus Vs. Manual
It’s worth noting that autofocus doesn’t always work when composing extreme close-ups. When shooting static subjects, you may want to switch to manual focus for consistently sharp photos.
Don’t Be Afraid to ‘Cheat’
Finally, don’t hesitate to take unconventional shortcuts for the sake of your images. Shooting leaves, flowers, and plants can be a challenge due to the fact that even the slightest breeze can cause blurry images. To stop motion blur, try poking a stick in the ground and tethering the plant or stalk to the stick to hold it securely.
Remember to use a fast shutter speed, or even a flash, to stop unwanted motion blur.
And of course, don’t forget the value of shooting a number of shots in rapid succession. With macro photography, you never know what your tiny moving subject is going to do, and shooting early can help you to ensure that you get some shots in before it flies or hops away! Try to have your settings ready – you never know when you will just get one or two shots.
Finally, get out there and shoot! Have fun practicing in new things, and don’t be afraid to make mistakes. Macro isn’t more difficult than other genres of photography, but perfecting the art of close-up photography can take time, and practice.
In order to capture great photos, you’ll inevitably end up with some bad ones too; no one gets perfect results every time. So don’t get discouraged, and have fun – enjoy looking at the world in a new way!
About the Author: Christina Harman
 Christina is a part time blogger and full time photography enthusiast living in Southeast Alaska. She enjoys travel photography and has taken pictures in countries such as Mexico, England, France, and China. She likes sunny days, new lenses and drinking good coffee. You can visit her at Tangled Thoughts.