Using a Polarizing Filter to Capture Amazing Images

Chances are you’ve seen photos that were captured using polarizers before. You know, those beautiful, striking images… the landscapes that feature a deep blue sky and soft, puffy clouds that seem to stand out from the background. Or lush, colourful compositions that are alive with color.
The circular polarizing filter, or CPL, is a tremendously valuable tool that experienced photographers often rely on to create spectacular images. While it’s a relatively small piece of kit, it’s something that can make a tremendous impact on your landscapes.
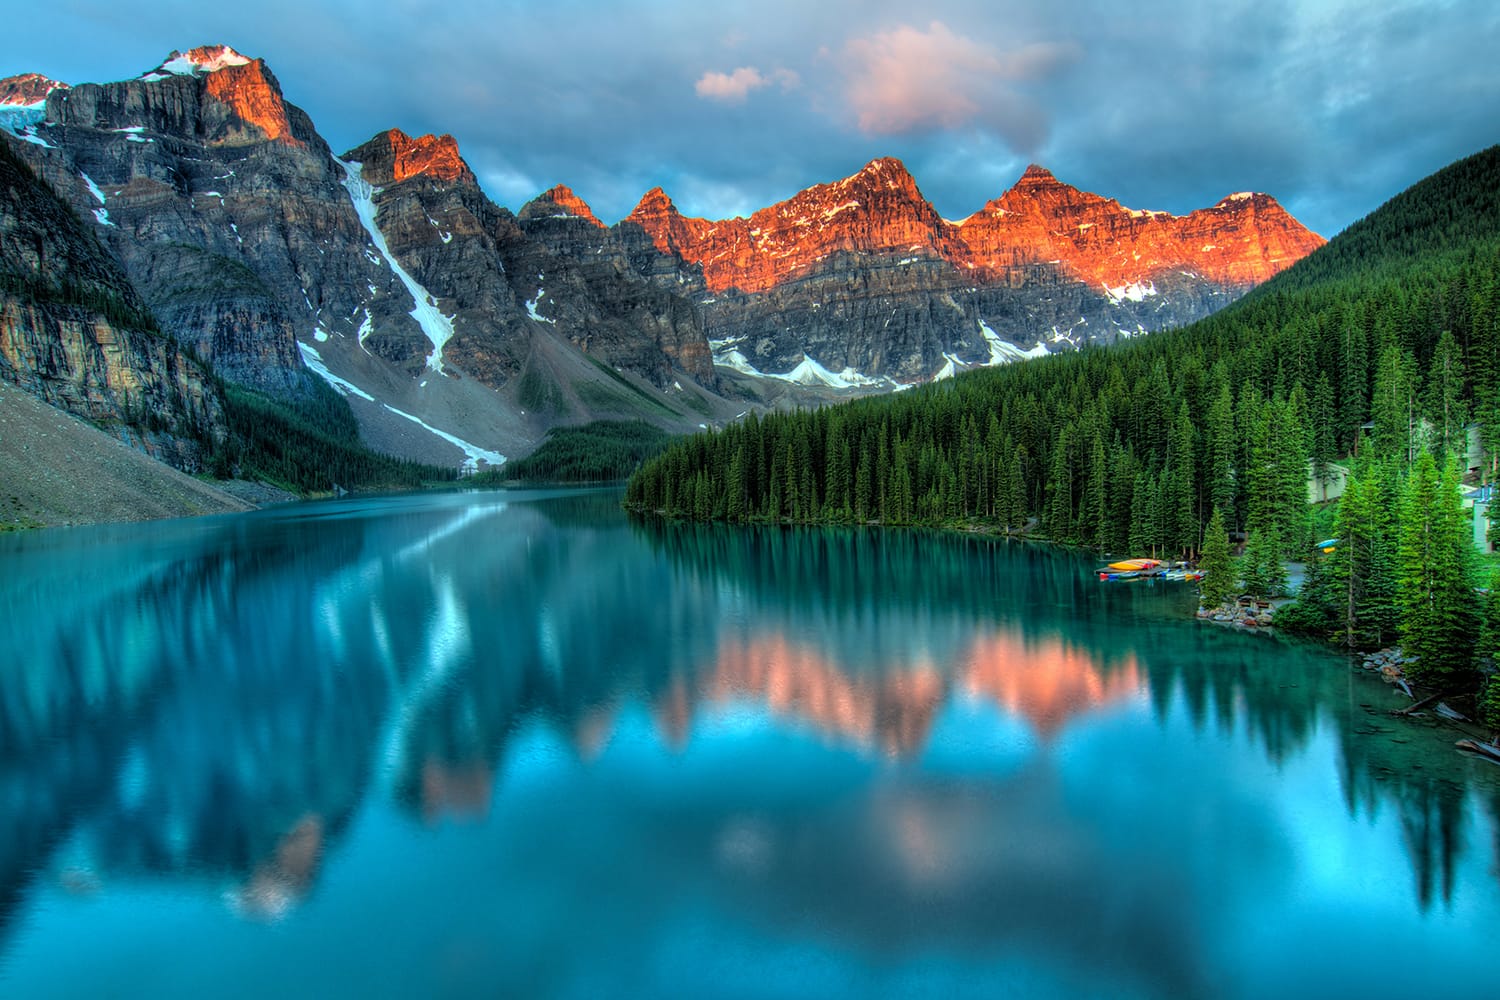
photo by James Wheeler
If you’re looking to take your landscape images up a notch, here’s a look at a few things that you can do with polarizers. See for yourself why it’s a must-have in any landscape photographer’s toolkit!
Polarizers: What Can You Do With Them?
Polarizers are one of the most popular types of lens filters – and for good reason! These filters ideal for eliminating reflections, haze, and surface glare; bumping up the saturation in images and resulting in bolder, clearer colors. Plus, unlike other filters, the effects of this filter are something that just can’t be replicated in post-processing.
Circular polarizers work by attaching to the front of your lens. They can then be rotated to adjust the level of saturation in an image. Because they can help to reduce glare and reflections from surfaces, the amount of saturation increases and colors appear deeper and truer. This causes the details that would otherwise be lost in a reflection to become visible as well.
Just keep in mind that polarizers are most effective when used at a 90-degree angle to the sun. You can find this position by making a gun shape with your hand, and pointing your finger at the sun. Then, rotate your hand. Anything along the axis that your hand rotates is the right place to point your camera.
Now, let’s look at a few different things that you can do with a polarizer.
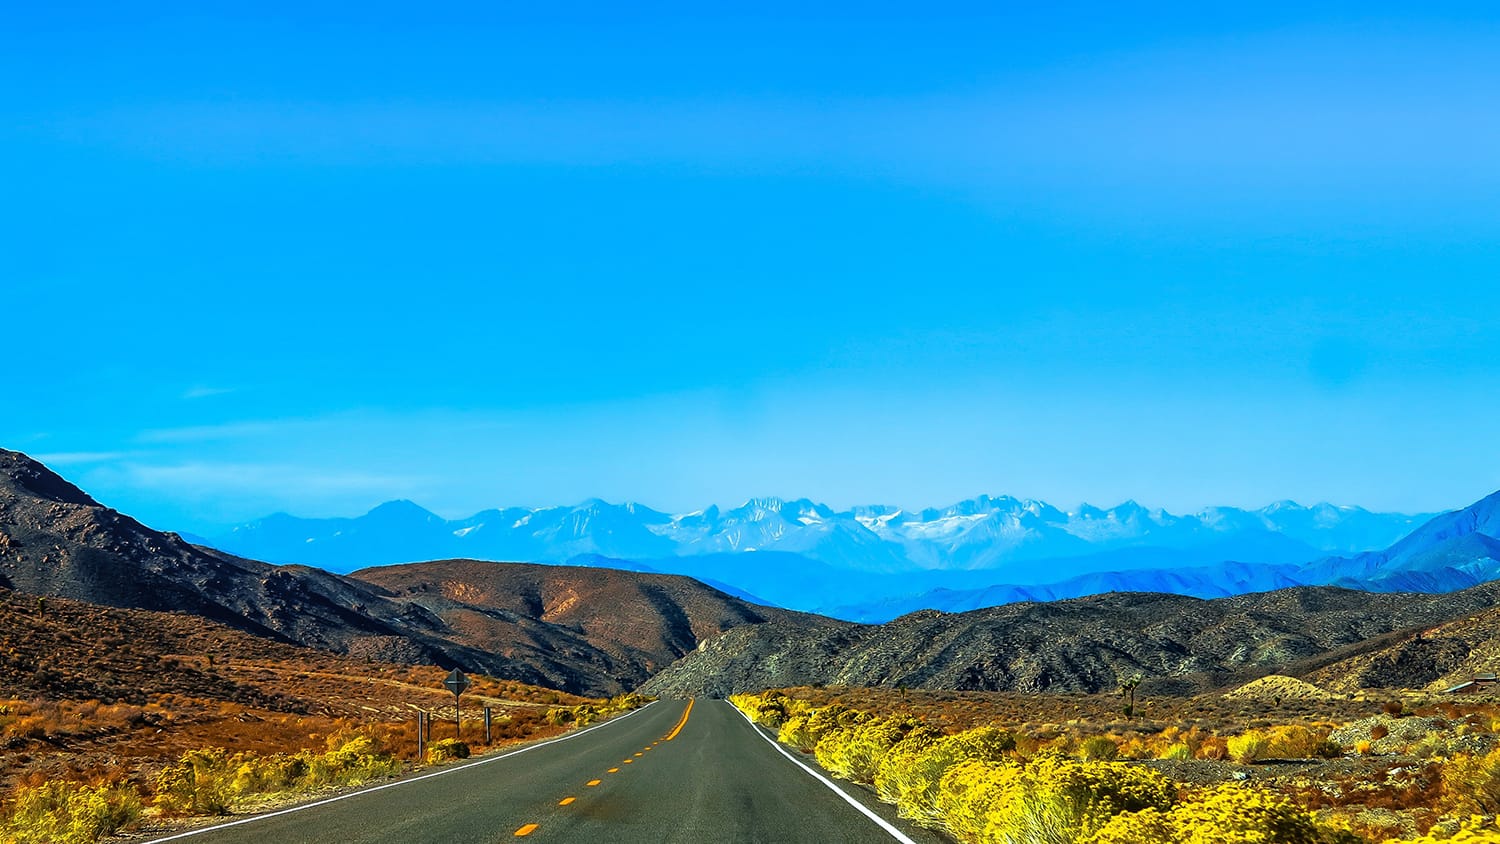
1. Capture Deep Blue Skies
The classic and perhaps best-known use of this filter; polarizers are often used for rendering blue skies a deeper, more vibrant shade of blue; increasing the contrast and saturation in compositions with blue skies and white clouds.
Just take care if you’re using a wide-angle lens. In some cases, using a wide-angle with a polarizer can cause a gradient effect to appear in the sky – although this is something that can easily be fixed in post-processing.
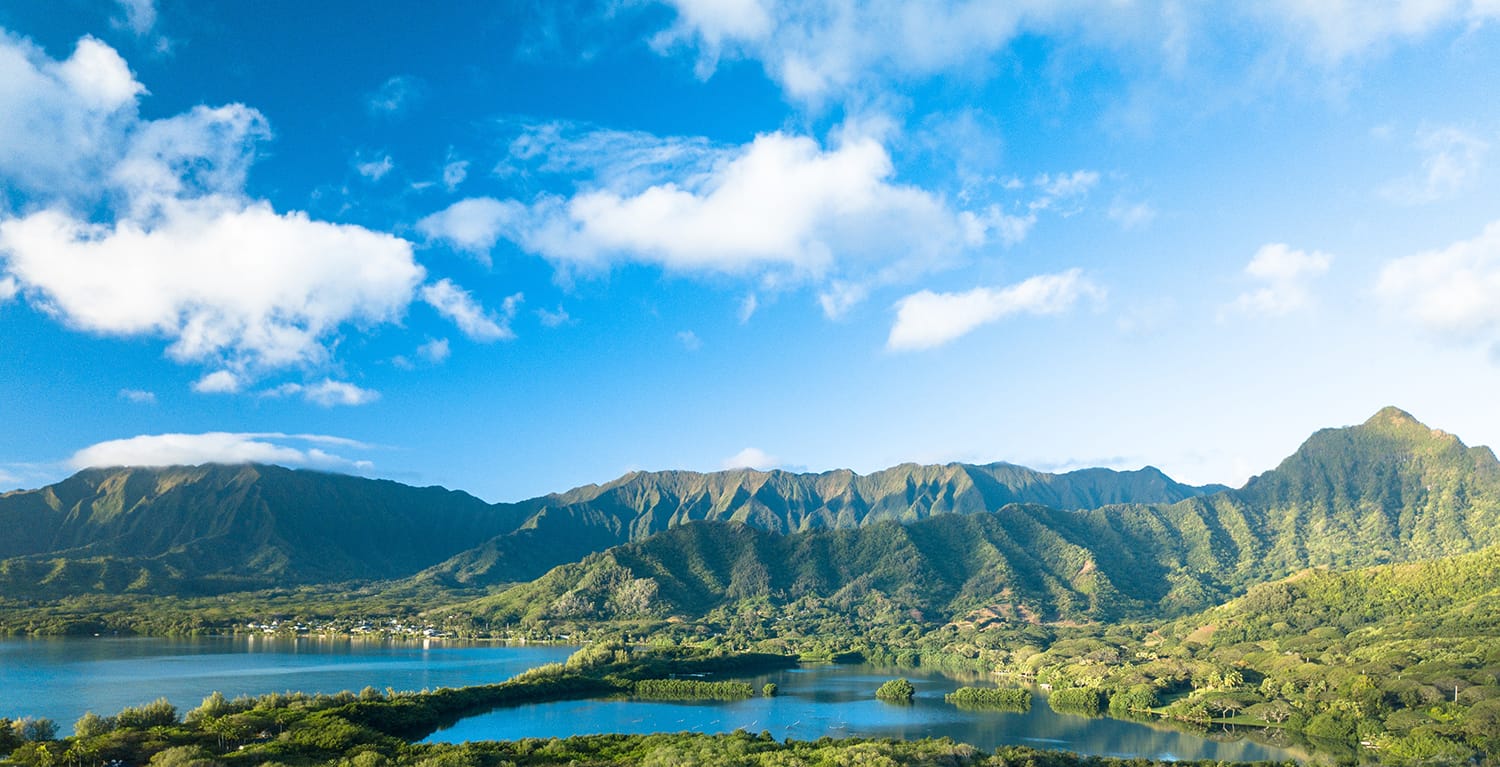
2. Improve Color Brightness and Saturation
Using a polarizer will reduce surface glare, allowing you to capture foliage as bright and saturated. This is particularly useful when the leaves and vegetation in your scene are wet, drawing out the brightness of the colors.
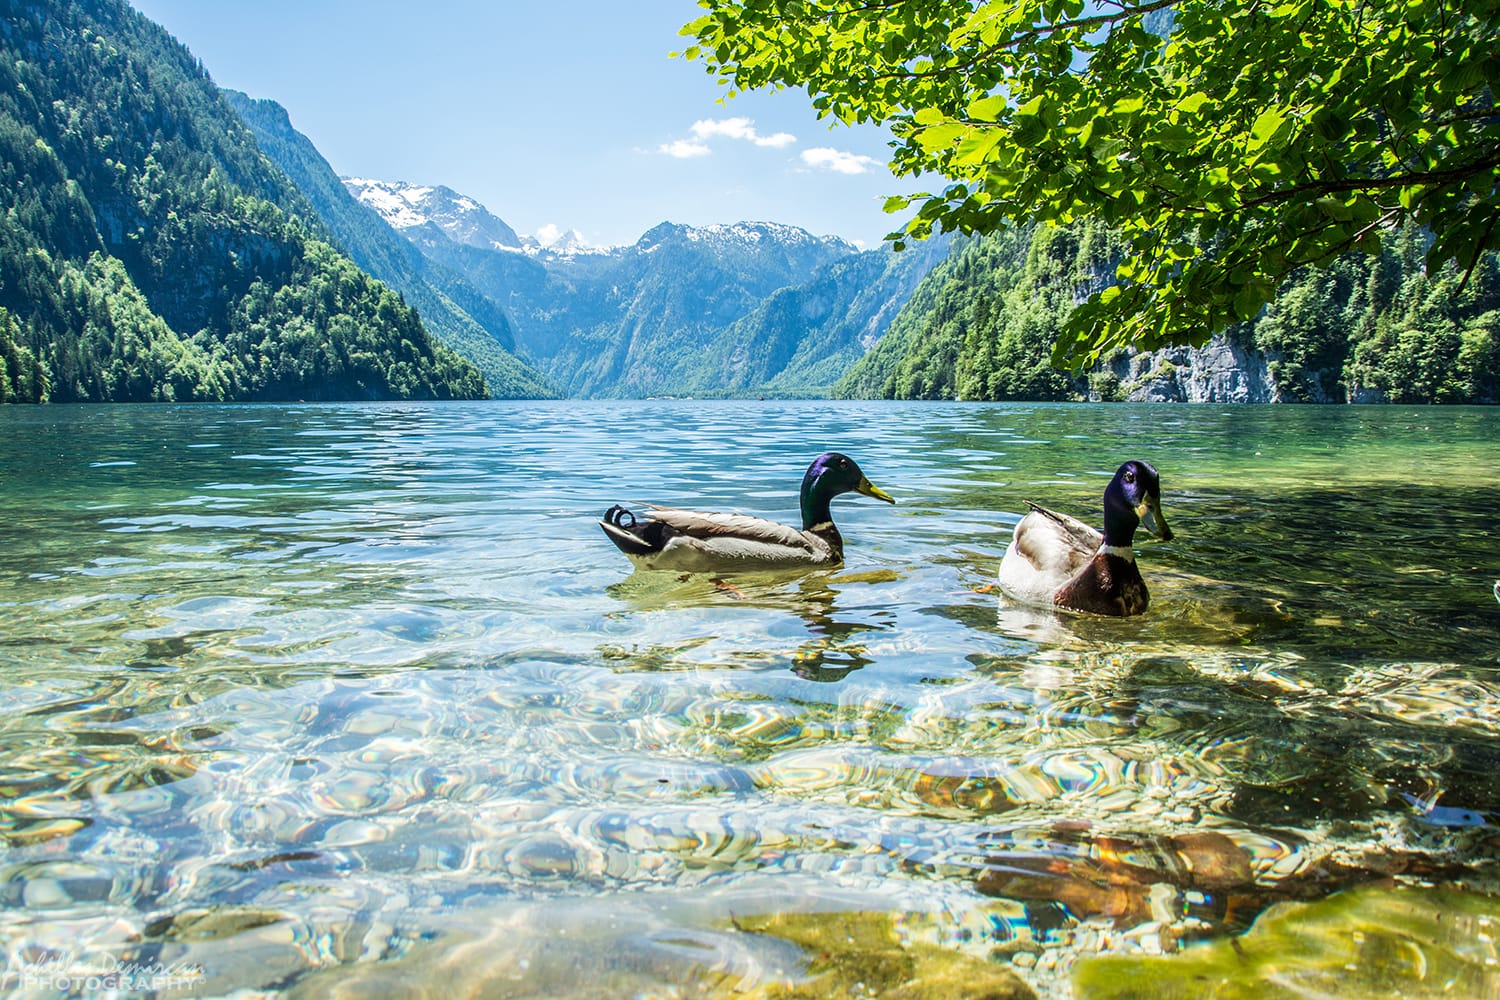
3. See Into the Shallows
Photographing a pond or river? You can use a polarizer to cut through any reflections, allowing you to include some of the shallows in your image.
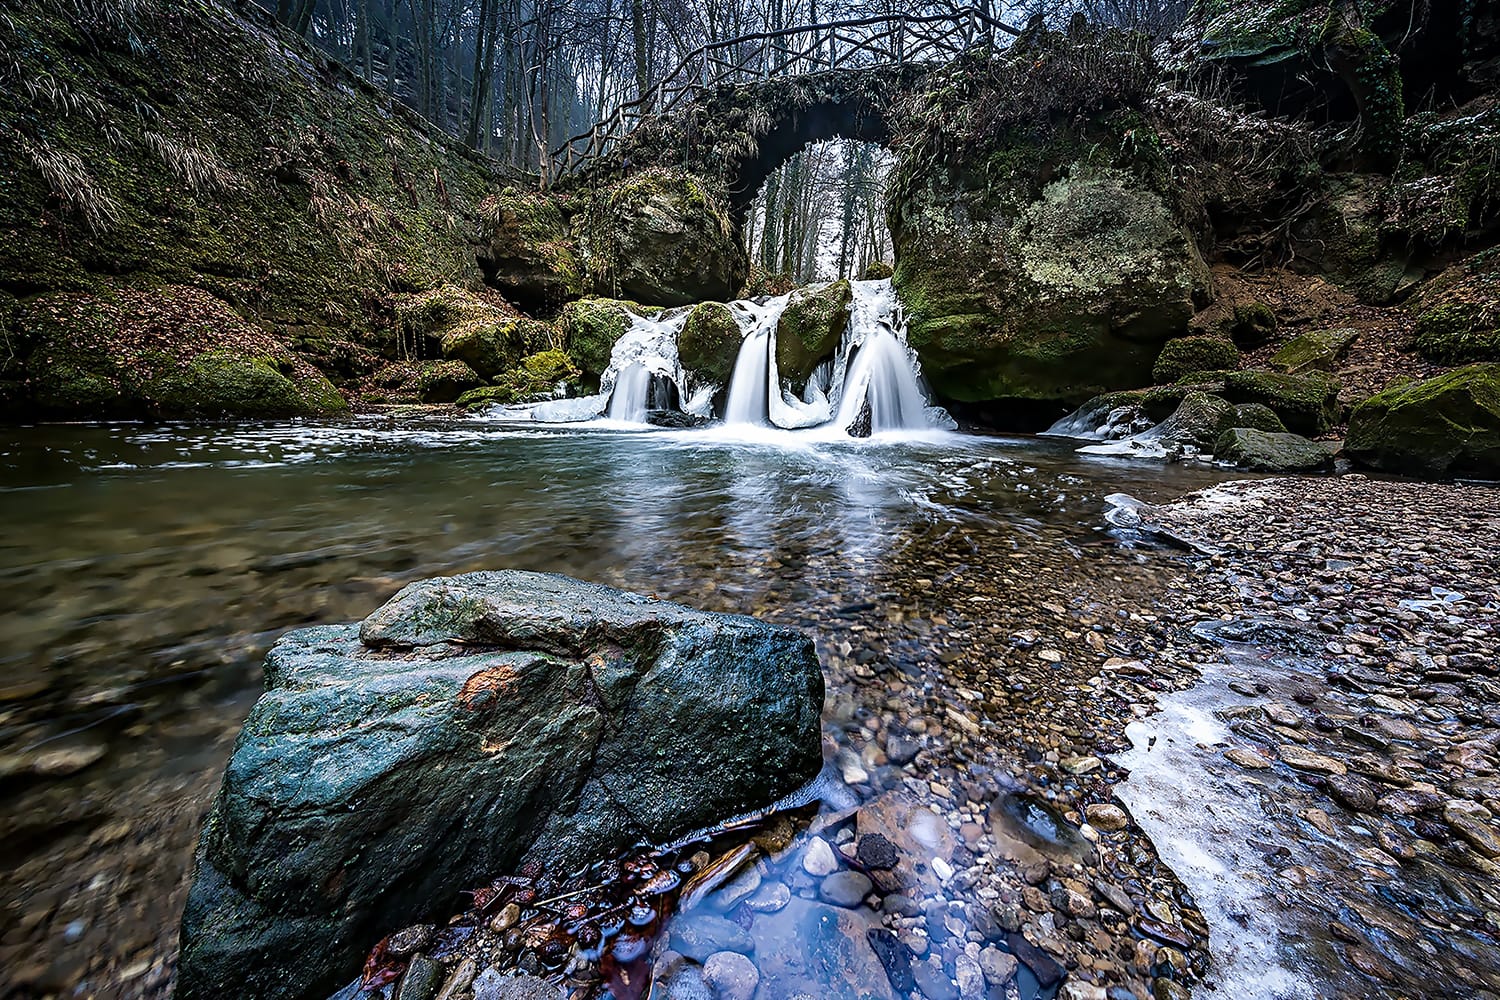
4. Photograph Waterfalls
Waterfalls often mean wet and highly reflective rocks and vegetation. With a polarizing filter, you can cut through surface reflections, meaning deeper, more saturated colors in your image.
Additionally, since polarizers can reduce available light by up to two stops. They’re an ideal tool for capturing long exposures, perfect for waterfalls where you may want to use a slow shutter speed to render the movement of the water as a soft, silky blur.
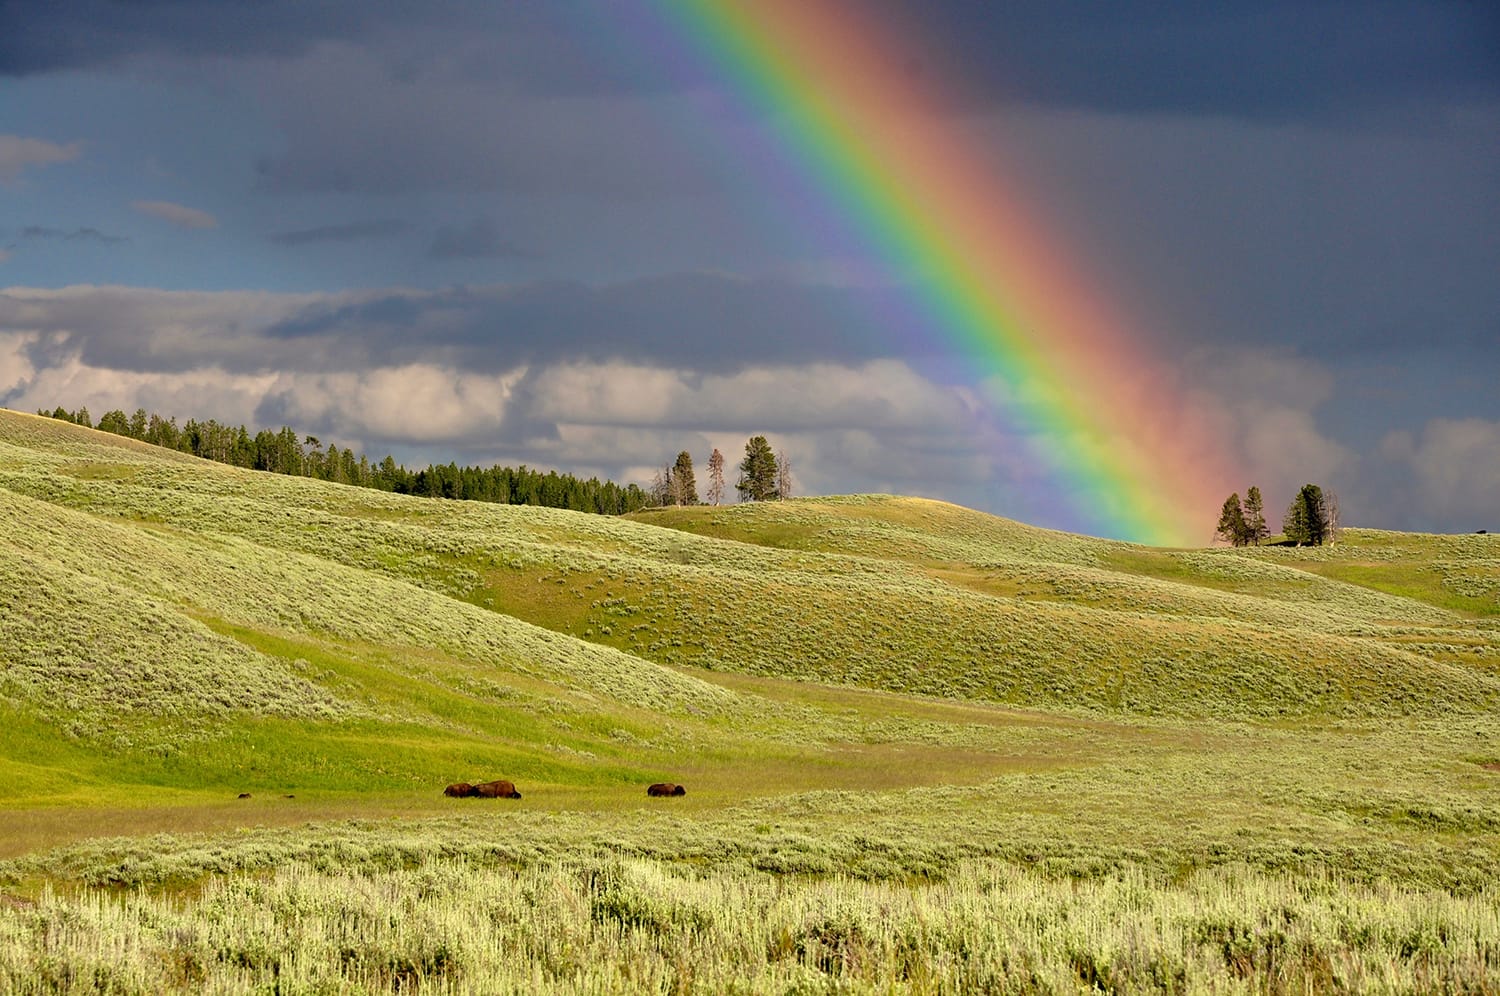
5. Capture Vibrant Rainbows
Believe it or not, polarizers can be useful for capturing rainbows as well. Rotating the polarizer helps to make the rainbow appear bright and bold. Just take care that you don’t rotate too far, though, or else it may disappear altogether.
When Not to Use Polarizers
As useful as they can be, there are some situations where it’s better to avoid the use of a polarizer. Here’s a look at a few times you may want to forgo this tool.
- With a wide-angle lens – Generally speaking, it’s not a good idea to use a polarizer for wide lenses that are 35mm or less. If it’s too wide, then it could produce a gradient effect across the sky, or cause the sky near the top of the photo to appear very dark.
- When it’s starting to get dark – Since polarizers reduce the amount of available light, there’s no point in using them once it’s dark.
- When you want reflections in the water – Since polarizers cut through reflections, if you’re hoping to capture some, be sure to take the polarizer off first.
- When shooting directly at the sun – Shooting directly at the sun with a polarizer, like during a sunset, could result in lens flare.
When it comes to choosing a polarizer, you’ll want to look for one that will fit your lens. Check your lens’ diameter; like 52mm or 58mm, and then look for a circular polarizer that will fit. Nikon makes good polarizers that consistently get good reviews. Hoya, Breakthrough Photography, Cokin, and B + W are other good choices for high-quality filters.
As you can see, for landscape photographers, having a polarizing filter can make a tremendous difference. And since it’s a small and handy addition to your photography kit, it’s also easy to throw it on and take with you when you go; allowing you to create images with deeper colors and less glare. You want to be caught without it!
Have you used polarizers for your landscape photography? Please let us know via Facebook or Twitter.
About the Author: Christina Harman
 Christina is a part time blogger and full time photography enthusiast living in Southeast Alaska. She enjoys travel photography and has taken pictures in countries such as Mexico, England, France, and China. She likes sunny days, new lenses and drinking good coffee. You can visit her at Tangled Thoughts.