5 Photography Post-Production Mistakes That Make You Look Amateur

As a photographer, you have a lot on your plate – organizing shoots and taking pictures is enough to focus on, but you also have to make sure that you know what you’re doing in post-production as well. If you don’t, you could end up wasting the rest of your hard work by putting out images that look amateurish and half-finished.
These mistakes are some of the key errors that a lot of novice or amateur photographers make. If you want to look like a professional, rule these out of your work, and make sure you always check for them before sharing images with the world.
1. Taking Too Long
We’ve previously touched on how to retouch images as quickly as possible, and this is a key sign of someone who knows what they’re doing. If you are spending hours editing every image – and not because you’re doing careful and complicated work for an ad campaign or a high-fashion magazine spread – then you are wasting your time.
Learn to cut down the hours you spend on each set of images and you will be able to deliver them to your clients much faster. This gives an impression of careful but controlled effort, a quick job done to a professional standard by someone who is used to working in the photographic industry.
2. Missing Basic Steps
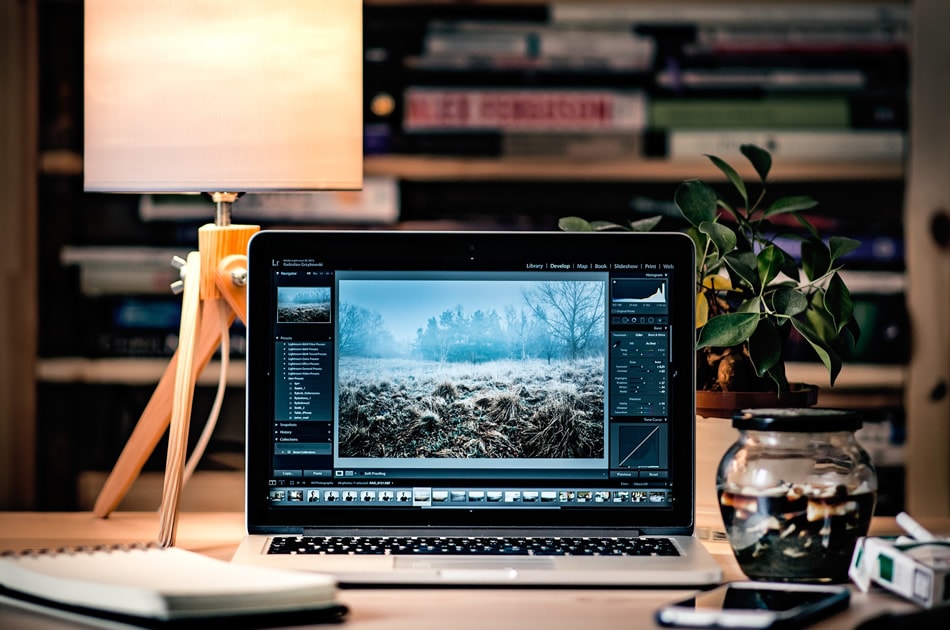
When you edit an image, it’s always important to check the colour balance and the contrast. Straight out of camera, RAW photographs rarely look good enough to be professional. If you are posting them without any editing at all, you are selling yourself short.
It only takes a few seconds to adjust these things using the contrast and levels or curves tools in Photoshop or Lightroom, and they even have automatic functions so that you can let the software do all of the hard work. Never, never release an image which is totally unedited. It just makes you look like an amateur who happened to get a good shot out of luck, but doesn’t know how to make it look better.
Also remember that most online photographs these days are going to be viewed through a smartphone. Brighter, higher contrast images will therefore look better on these screens. Especially if posting somewhere like Instagram, consider doing an extra step for brightness and contrast to ensure they look their best.
3. Using an Uncalibrated Monitor
Professional photographers will have a workspace with a calibrated monitor, set up and ready to use whenever they need it. If you are unfamiliar with the term, calibration means setting up your screen so that the colours you see are as accurate as possible. It should be set up so that when you look at the image on a calibrated monitor in one place and another calibrated monitor somewhere else, they look exactly the same.
Why is this important? A lot of monitors will have colour casts which make things appear different, and you may not even be aware of yours. Let’s say that yours has a purple cast, and you use this screen to edit an image with lilac tones. You get it looking beautifully soft and feminine with those purple colours flowing through the image. Now you print it off, or look at it on a different computer, and realise that actually the colours don’t look purple at all. This can cause huge mistakes in your editing process.
If you print images, such as for gallery purposes, make sure that your printer is also calibrated, not just to your screen but to the type of paper you are using. This will give you the best results, with no unpleasant surprises.
4. Erasing Originals
If you work on a file, spend hours doing complicated editing processes, what do you do next? The answer is of course to save it – but you should be doing a “save as” function: once to save the .PSD file with all of your edits intact, and once to create a second version of the original image.
Why? Because once you save over the original image, it is gone forever. Even in the .PSD file, you may not be able to backtrack enough to get to where you started. If the first change you made turns out to be a mistake, or something that doesn’t sit well with your client, you will be in serious trouble.
Always keep an original version safe. One method is to create copies of the files you want to edit and keep them in a separate folder, so that there is no possible way to make a mistake. When editing, make a duplicate layer of the background so that it is easier to get rid of mistakes by just deleting that part of the layer, revealing the original image underneath. This also helps you to make new edits years in the future, when you may have a much smoother and more professional editing technique to rejuvenate old shots.
5. Making it Obvious
When people look at your finished image, they shouldn’t be able to see any sign that you have retouched it. However, those who are just starting out with Photoshop can make a lot of mistakes that show up on the original image. These include:
- Over-sharpening to reveal blocky pixels
- Using the patch or heal tool and introducing artefacts that should not be present
- Duplicating something in the background or on the skin which creates a recognizable pattern
- Jagged or clear lines between effects or around edited areas
- Hard lines instead of soft lines created with a brush at 0% hardness
- Mismatched lighting in the background versus your subject
- Mismatched perspectives
- Unnatural colours or textures on skin
Give your image a visual check for these things, and ask a friend whether they can tell what edits you have made without seeing the original if you are not sure.
About the Author: Rhiannon D'Averc
 Rhiannon D'Averc is a freelance writer and photographer living in the UK. She specialises in portraiture and fashion photography, and also coaches aspiring young models. You can find her on Twitter at @rhiannondaverc, see her latest photographic work, or browse her online writing portfolio.