Colour gels have fallen somewhat out of fashion – probably because people associate them with the garish style they were used for in the 70s and 80s. But colour gels can produce a multitude of looks and can be a very useful tool in a photographer’s arsenal.
And in addition they’re one of the cheapest accessories you can buy! Used subtly, they can add a lot to your imagery, so read on to find out more about them.
What are colour gels?
Colour gels (sometimes known as lighting gels) are transparent sheets in a variety of different colours, which you place over a lighting source. Due to the extremely high temperatures of photographic lighting, they are made from special heat-resistant plastics.
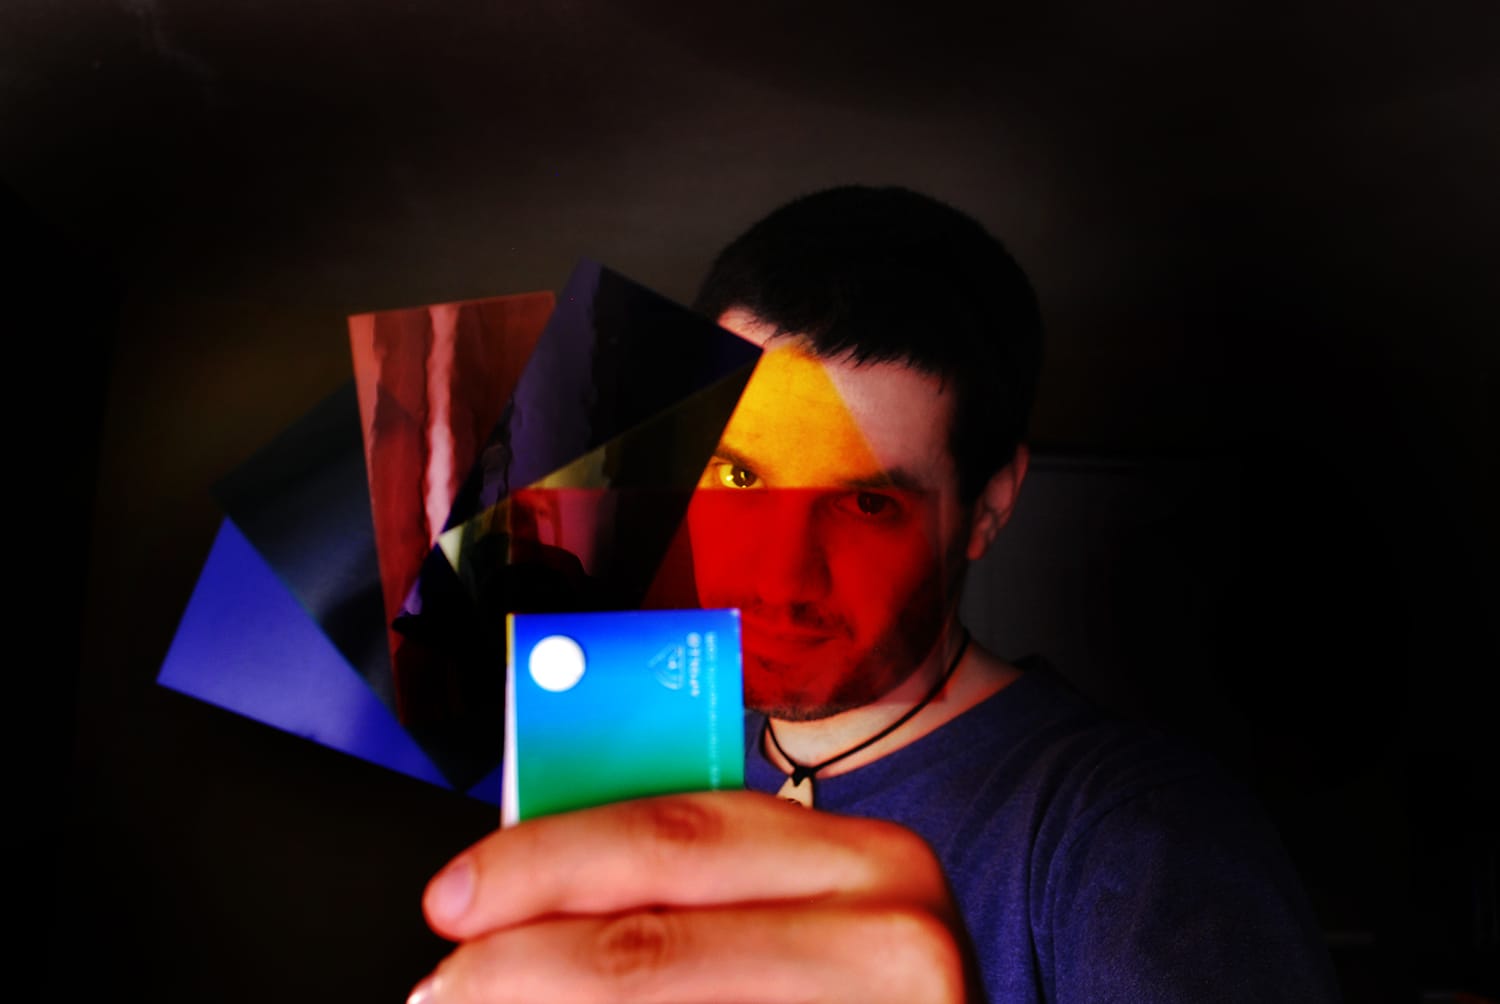
Image by B Rosen [1]
Often used in both television and theatre lighting, colour gels [2] tend to be sold in rolls or sheets which are then cut to the correct size. However, as photographic lighting is much smaller, some manufacturers sell small kits with a variety of coloured gel swatches [3]. There are many manufacturers who sell colour gels, but try these websites to start with:
- Flaghead Photographic [4]
- Lee Filters [5]
- Snapperstuff [6]
Using gels for colour correction
Modern DSLRs [7] have pretty accurate white balance settings, but sometimes you might need to help it out with your lighting choices. Problems often occur if you’re using multiple light sources, such as fill-in flash in a tungsten lit room, or using a mix of continuous tungsten lights and flashlights in the studio. Flash and tungsten lighting have very different colour temperatures, which give you different colour casts. Tungsten light produces a very orange colour, whilst flash has a blue cast.
Usually, the solution to using tungsten lighting is to set your camera’s white balance to its tungsten setting. This adds blue to the image to neutralise the orange of the tungstens. However, if you’re using fill-in flash or studio flash lights as well, the blue from these will also add into the equation, leaving you in danger of a cold and overly blue image.
This is where colour gels come into play. By using an orange colour correction gel over your flash, you’ll match the colour from the tungsten lighting. This means that now with the camera’s white balance set to tungsten, you’ll be able to neutralise the orange colour to produce a neutrally balanced image.
This works particularly well when you’re using a flashgun. If you’re in the studio using a mix of continuous tungsten lighting and flash strobe lighting, you’ll probably find you get better results using a blue gel over the tungsten lighting to match the flash and get the same neutral result – this time setting your white balance to flash or using a custom white balance with a grey card.
A note on measuring colour temperature
To get accurate results with colour gels, you really need to know the colour temperature of the lighting you’re using. Colour temperature is measured in Kelvins. Fortunately, most camera equipment manufacturers list the colour temperature of lighting equipment in the product’s specification.
Lee Filters also have a clever little calculator on their website [8], which allows you to work out the gels you’ll need for different lighting situations.
Using gels for effects
There’s really no limit to the way you can use colour gels – the key thing is experimentation! But obviously there are some tried and tested methods you can start out with.
Coloured gels don’t have to be used in an obvious way and can be really useful to recreate natural light at certain times of day. For instance, a Golden Amber gel replicates the light of a sunset, and a Sky Blue gel replicates moonlight. You can use gels like this simply and cheaply in a home setup, by placing a flashgun and gel outside a window or in a doorway on a stand and using this light to create different effects.
However, I think you can have the most fun with colour gels if you use them in a studio, or home studio style setup. You can really let your creativity run wild and get lots of different looks. One thing that is really useful for working with colour gels is a grey background as it provides a neutral colour for the gels to work on.
Also, if you’re working with studio lights, remember to turn your modelling light off once you’ve taken your initial readings. Otherwise you run the risk of your colour gels melting and creating a rather hideous mess.
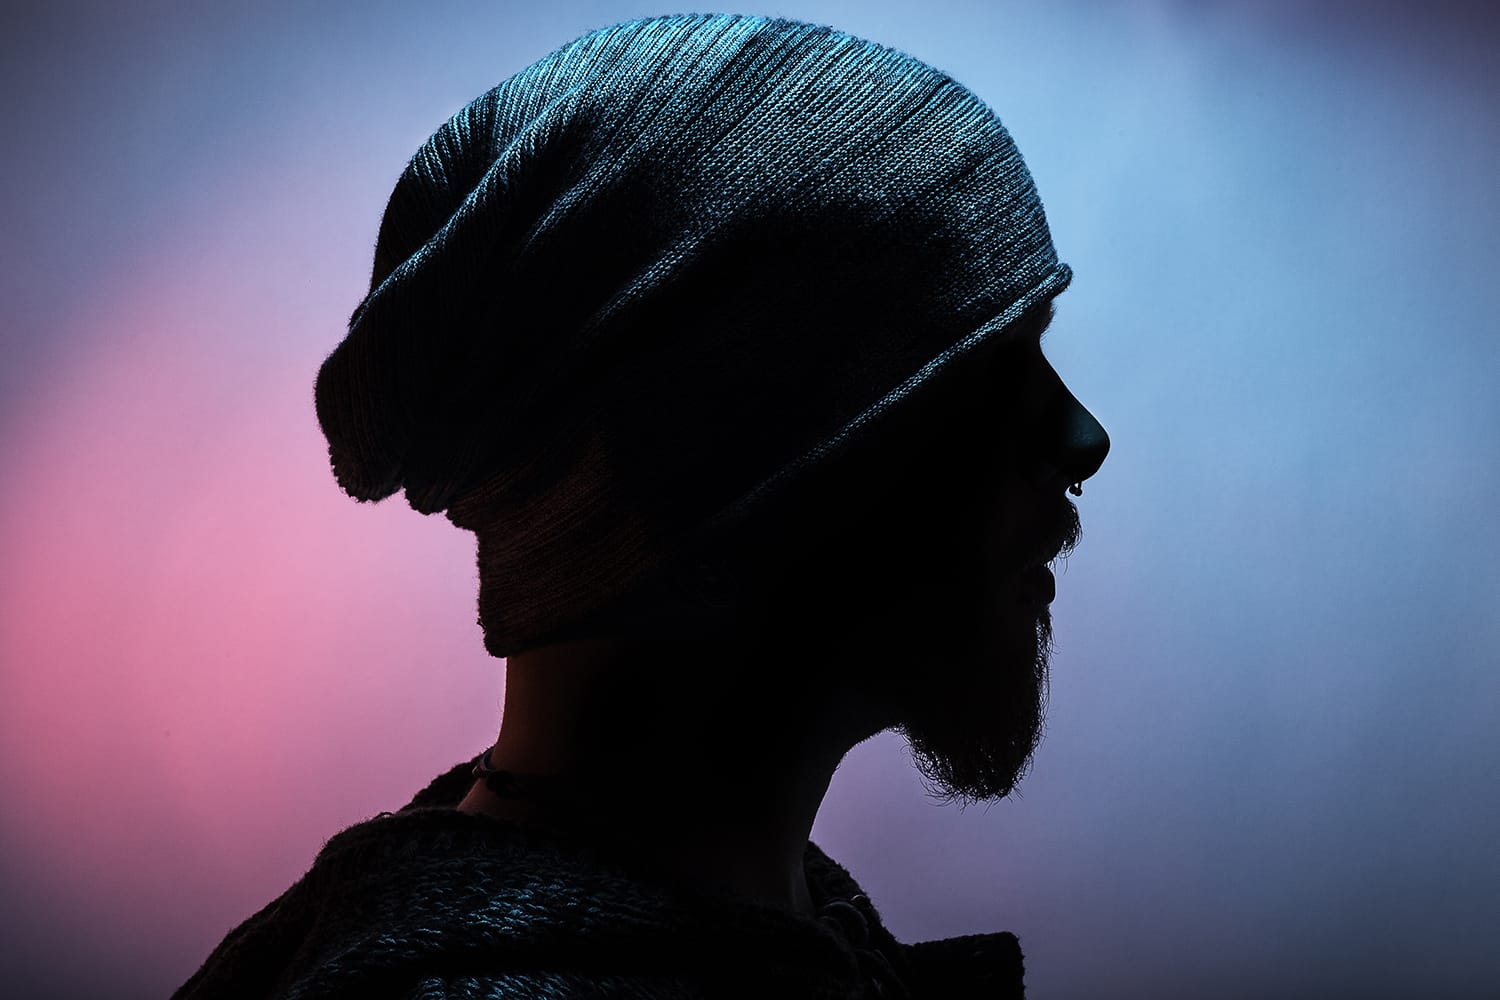
Photo by Chris [9]
For the best possible studio setup, you’ll want to be working with three studio lights. Stick to a classic lighting setup, whereby you’ll be using two lights to light the background and the third with a softbox [10] or beauty dish to light your subject. In addition, a silver reflector [11] will allow you to direct the light further. Working with one of the two background lights, you can add different colour gels and angle the light to create different looks.
For example, if you keep the light pointing towards the background, you’ll add colour to it without colouring your subject. Or you could angle the light with the colour gel onto your subject’s hair to create a coloured glow. Once you’ve experimented with one colour gel, you could add a second gel to the other background light and continue trying out different angles.
You can also recreate this look with equipment at home, although obviously your options may be more limited if you only have a flashgun. However, if you use your flash off camera, you will have a lot more options to move the gels about and create different looks.
Hopefully this article will encourage you to experiment with colour gels and discover a whole new range of styles to use in your photography!