Count dynamic range as one of those photography terms that you hear thrown around quite often, but you’ve probably never really understood what it meant. You can look at dynamic range in a couple of different ways.
First of all, in a strictly visual context, dynamic range is the ratio in between the least and the greatest levels of light that a specific sensor has the ability to measure. Second of all, your eyes have a dynamic range as well, but that range is pretty humongous, believe it or not. You’re able to sense a large range of tones, but not the entire range. Your camera has a dynamic range as well though less expansive than that of your eyes.
By now, you’ve probably clued in to the fact that all visual – and audio-sensing devices – both natural and manmade – have a dynamic range.
Now that that’s out of the way, here’s how you can capitalize on your newfound knowledge of dynamic range to make the most of it in your photos.
Take Pictures in HDR
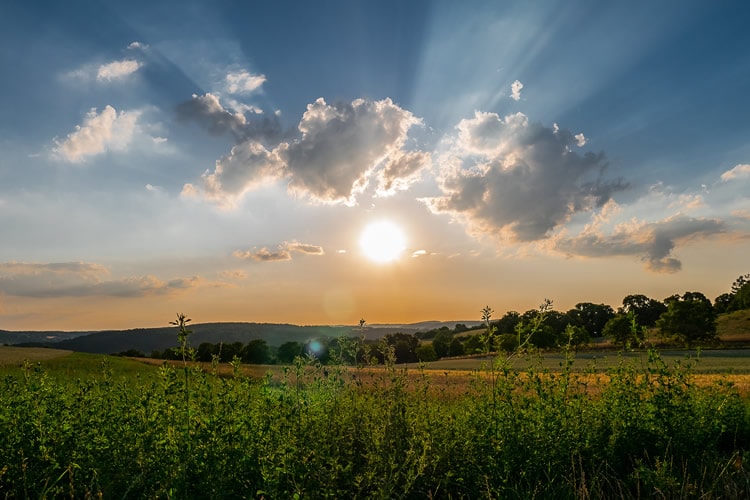
photo by R∂lf Κλενγελ [1]
By taking pictures in HDR [2], you get to extend the dynamic range of your photos; there’s a pretty simple way of achieving this. The HDR approach has its fans because it extends the dynamic range of your pictures while still keeping them natural-looking.
Sure, HDR has its critics, too, but that’s only because HDR pictures can sometimes come across as too loud and glaring – that’s not an issue when it comes to dynamic range.
You can shoot a range of exposures and then meticulously put them together in Photoshop or another HDR-editing program. What you’ll notice is that the dynamic range will noticeably and sometimes starkly increase, yet your pictures will look natural and not weird.
Shooting Pictures in RAW
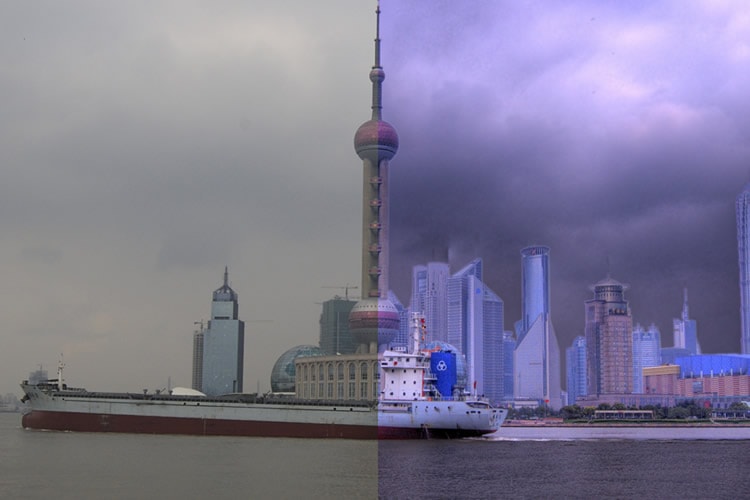
photo by Jakob Montrasio [3]
You know, RAW files [4] offer us just the pure data out of the sensor. As such, what we’re actually left with are the complete, dynamic-range capabilities from said sensor. For instance, JPG files have to go through some internal processing prior to getting saved. This then cuts off some of your dynamic range at one end or the other.
Relying on a RAW file changes all of that, though. RAW files allow us to manipulate them to our hearts’ content in the post-processing phase. This empowers us to get the maximum range that the shot has to offer us.
Shoot to Your Right

Shooting to your right can make quite the difference. This is based on the fact that your camera sensors are way more effective on the brighter end of a dynamic range. When you make the simple adjustment of shifting your histogram to the graph’s right end, you are making sure that you’re going to receive the very best dynamic range out of your camera sensor. You’re essentially increasing your exposure by doing so.
Still, it’s not that straightforward: You want to be careful when doing this. You don’t want the histogram to fall off the graph’s right side because that will result in highlights that are not recoverable.
Shoot With a Low ISO
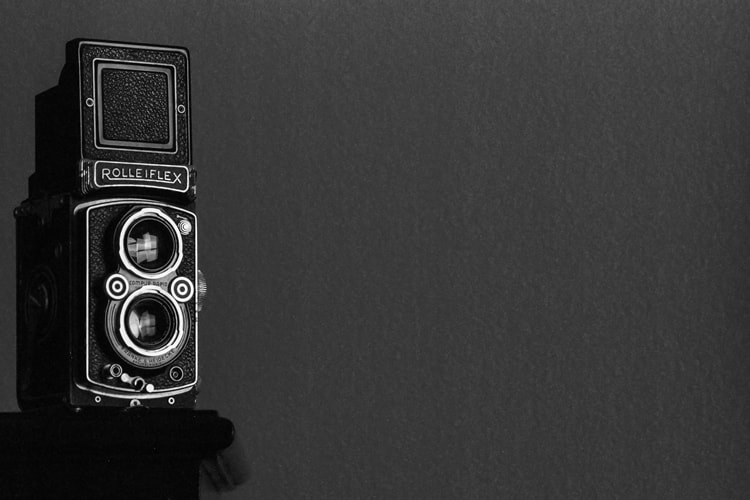
photo by r. nial bradshaw [5]
When you raise your camera’s ISO, you decrease the level of noise, but you also decrease the dynamic range! Note that, for every step up with your ISO, there’s going to be a tiny though remarkable drop in your photo’s dynamic range.
Let’s say that you’re facing a low-light situation when shooting. What you want to do is use a tripod along with a lower shutter speed (if your subject is relatively still). This is infinitely preferable to what some photographers are tempted to do, which is hand-holding at a higher ISO.
Study Your Histogram
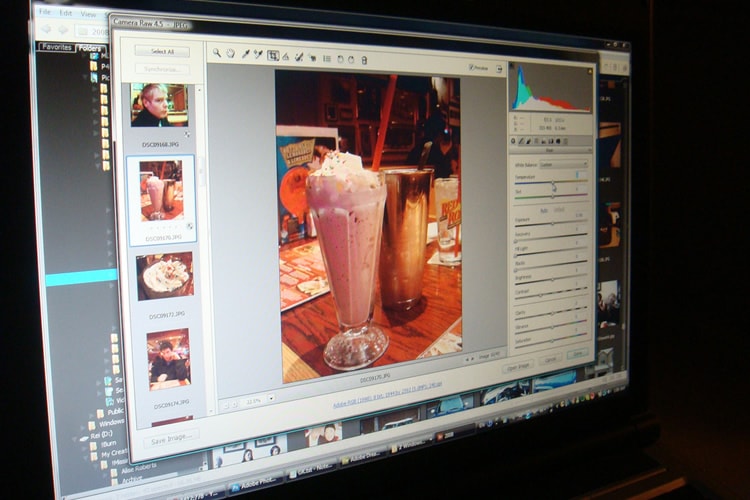
photo by Debs (ò‿ó)♪ [6]
To obtain the best exposure from your camera sensor, you have to become familiar with your histogram. Some photographers don’t know that the histogram can actually indicate if you are exceeding the dynamic range for a shot.
When the graph begins to fall off to the left, then you’re about to lose some of that dynamic range in the shadows. When the graph starts to fall off to the right, then the loss will be represented in the highlights.
Knowing this, keep in mind that many histograms base their data on a JPG version of your photo; if you use a RAW file, it may be possible to recover some of the picture detail at either end of the shot.
Utilize a Graduated Filter
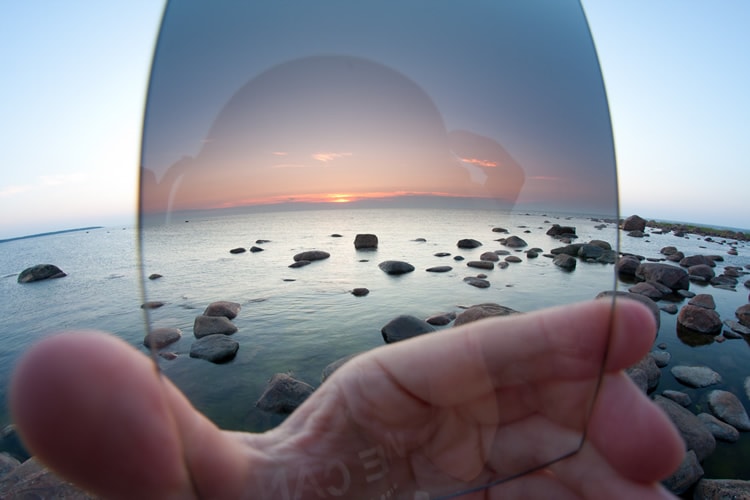
photo by Kain Kalju [7]
One of the most common issues relating to dynamic range can actually be found with landscape photography [8]. What happens in many cases is that the sky will be much too bright to still properly maintain detail, if your landscape is exposed appropriately.
That’s where our graduated filter comes into the picture to counter this undesirable effect. The filter will work to lessen the dynamic range until it is something that your sensor can deal with.
Extending Dynamic Range to Fix Problems
Photography’s filled with bad shots whose issues can be traced back to dynamic range problems. One of the most common ways of spotting dynamic range problems in pictures is when you see blown highlights. These are the places of brightness within a photo that were excessively bright, so your camera’s sensor wasn’t able to handle them properly.
When this aggravating issue pops up in your images, you’ll notice it as pure white. When you attempt to process the image to lessen the detail, nothing really works well. In the “best” case scenario, all that’s going to happen is that you make the pure white something like a gray. This unfortunate occurrence can best be explained by understanding the exposure meter of your camera. In all likelihood, the exposure meter was set to calculate an “average” for your scene, but excessive contrast prevents it from exposing the whole dynamic range.
Dynamic range is a really significant area to master in photography. So much of the final quality of your shots is influenced by it. The key to mastering it is to comprehend the limitations of your camera’s sensor and the way to counteract an extreme dynamic range. Doing so leads to great images with full tones and colors.