Some of the best and most memorable moments in life are in motion. Be it your daughter dancing, or your brother hanging ten on a surfboard or a friend hotdogging on a skateboard, you will want to learn how to capture your loved ones’ most defining moments in photos.
Unfortunately, digital cameras hate moving. Most of the time, moving subjects register as a blur on photographs. So how do you shoot moving objects? Here are some tips:
Shutter Speed
When the subject is moving and you want to take a shot of, say a basketball player getting the ball on a rebound, then you should opt for fast shutter speeds. You should use a shutter speed that is at least 1/500th of a second or higher.
However, remember that fast shutter speeds may result in underexposed photographs. Fast shutter speeds limit the amount of light that comes into your image sensors, so the higher your shutter speed is, the more likely that your pictures would be dark.
This would not be much of a problem outdoors, but if you are indoors, you might need to address this. You can counter underexposed photos by using a flash [1], increasing your ISO or changing the aperture.
Increasing The Aperture
The aperture is the hole where light comes into your camera into the image sensor. Choose a low f-stop to open up the aperture and allow more light in. This will help you counter the low light you get from the fast shutter speed.
However, increasing the aperture may lessen the depth of field of your photograph. What does this mean? It means that aside from your subject, a lot of the other elements in your photograph might look out of focus. A high f-stop can help you get the entire scene in focus, but a lower one such as f2.8 may make it appear like the whole background is out of focus.
Use A Flash
Using a flash with your motion shots is a good way to counter the low light conditions when using a faster shutter speed. It is extremely easy to correct dark photos by using your flash.
However, most cameras have flashes that have a very short range. This means that you must be no more than a few feet away from your subject to benefit from it. For sporting events, flashes might also be a no-no as they can be very distracting.
Use A High ISO
Using a high ISO can help you increase the shutter speed and aperture of your camera without increasing the likelihood of getting blurry or dark photographs. However, using high ISOs can usually result in a grainy picture with a lot of digital noise.
The secret to getting a sharp focus on a moving subject is to increase the shutter speed and correct the dark photos by using flash, increasing the aperture or using a high ISO speed. But for a more dramatic shot that captures motion, you could also try panning.
Panning
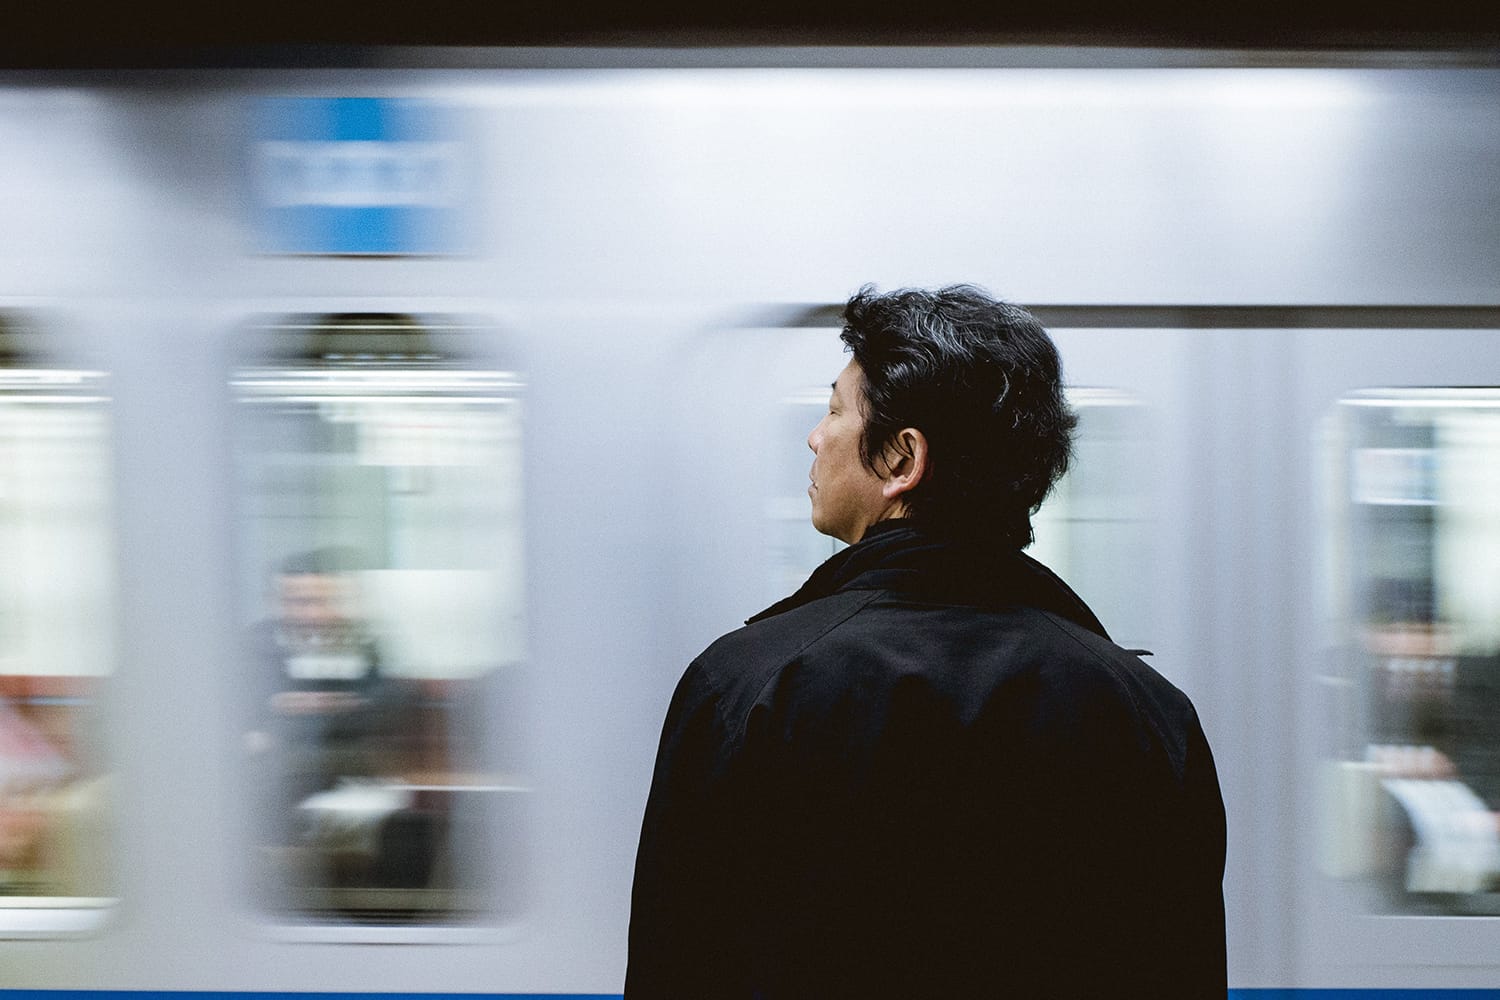
Imagine a photograph that shows the city lights with a trail of light from passing cars visible. To take this kind of shot, you hold your camera steady so that it could capture the lights from the city. As a car passes through, you camera will capture it as a trail of light.
Panning works in reverse. Instead of holding your camera, you move — pan — it to follow the moving car. As a result, the car is captured in focus while the rest of the city goes behind it in a blur.
Admittedly, this is easier said than done. You would probably have more success if you have a slow moving subject, such as a running dog or a walking baby.
In any case, you would need to practice panning your camera in order to get absolutely beautiful shots. But how do you do panning?
-
Go for a slow shutter speed
Your shutter speed should be slower than what you normally use to take “normal” photos. Remember that other factors such as light and your subject’s speed will help determine just how slow your shutter speed should be.
Because you are using a slow shutter speed, you should keep your hand very steady or else you will have a whole lot of camera shakes showing up on your shots. You can also use a tripod that has a swivelling head to help you keep your camera steady.
-
Choose a great background for your shot
When panning, the background will be blurred while your subject will be in focus. That does not, however, mean that your background would not be distracting. Choose a background with a single color or plain ones without distracting shapes.
-
Pre-focus your camera on the spot that you intend to take your shot
For example, you can start following the subject when he or she comes into view at the end of the block even if you want to capture the subject when he or she gets to the middle of the block. You should set your camera so that the focus is sharpest when the subject reaches the middle of the block.
-
Release the shutter as gently as possible to reduce camera shake
After you release the shutter, continue following your subject to ensure that the photograph looks smooth.
If after all these, you check and see that your photograph is disastrous, do not lose heart. Panning requires a lot of practice and a lot of patience too. In fact, if you want to master panning, it may be wise to do so while in a busy street where you can have a lot of cars or traffic to practice on.
Chrono Photography
Chrono photography allows you to capture movement by taking several frames of a moving subject and then displaying them alongside each other to suggest successive phases of motion. This would achieve a photo that looks like this:
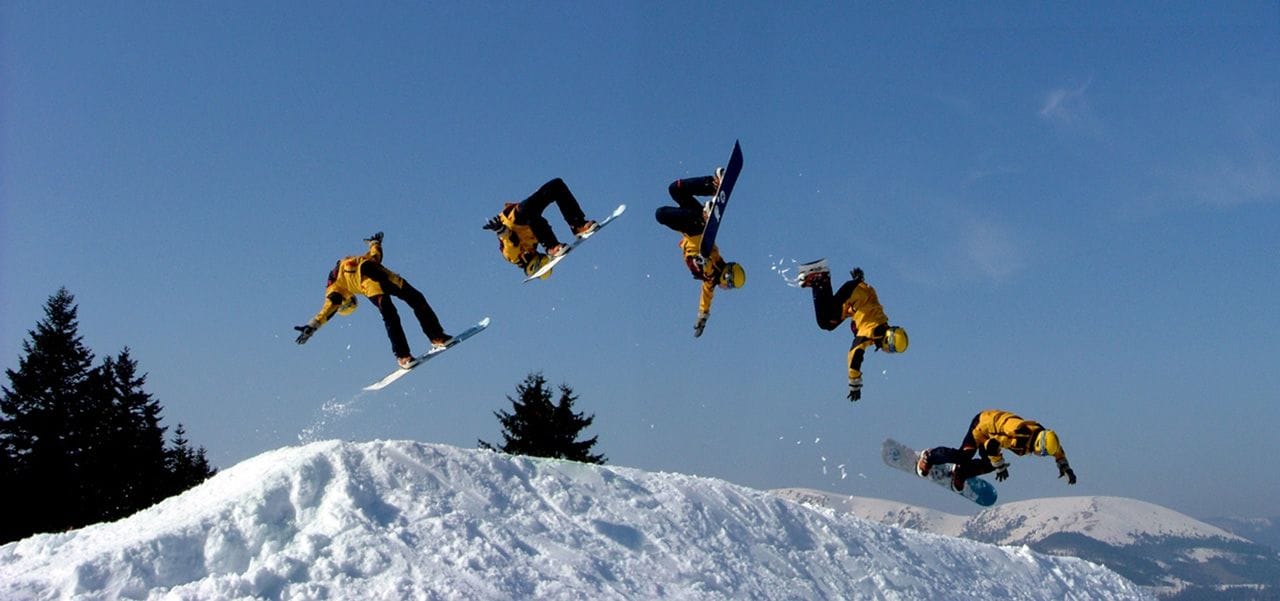
Image by MunsterNet [2]
To do chrono photography [3], you should use a tripod. Set your camera to shoot continuously then join these photographs in post-processing [4].
Remember, it takes some practice to master taking shots of moving objects. Aside from these tips, you will have to need lots of patience. So if you are expecting to get photos at a certain event, be sure to give these guidelines a try beforehand. With lots of practice, you will be able to easily capture defining moments.