After paying a pretty penny for your camera, you would think that the built-in flash that comes with it would be a sure-fire feature that’s easy to use; one that always produces great results.
But, as most people quickly learn, when the on-camera flash pops up and fires randomly in a dark room, the results aren’t always that great. The built-in flash is notorious for inflicting bright shining spots on your subjects, or leaving your images overexposed and washed out terribly.

photo by Alexandre Normand [1]
You may be surprised to learn then, that you can get some great images – particularly portraits – with your on-camera flash, without having to purchase expensive adapters or additional equipment. The secret to great on-camera flash photography, is learning how to work with the flash, and knowing how to use it for the best results possible. The great thing about your on-camera flash is that once you know how it works, you’ll be able to use it to enhance your images, no matter where you are, since you’ll always have it with you.
While there is much debate surrounding flash photography [2] versus natural lighting, sometimes, you’ll find yourself in a situation where you just need some extra light. Learning how to use your flash can save the day, and help you to get those shots, with some surprisingly great results. Here are some tips for using your flash for the best possible results.
Watch Where You Point It
While it may sound obvious, it’s worth mentioning anyway. Take care when pointing your on-camera flash directly at a person, especially when it’s on full power. Pointing the flash directly at a person will leave them seeing stars and looking washout or tinted blue – especially when it’s fired in the dark.
Use It in Daylight

photo by Anita Ritenour [3]
Using your camera’s flash in the daylight? Definitely! While the flash is usually ignored during bright lighting conditions, daylight is an ideal time to use it. Bright lighting situations, often involve harsh shadows. But popping up your camera’s flash can fill in those dark shadows, helping to surround your subject in light, and making for some great portraits.
Use (TTL) Through the Lens Mode

photo by Dustin Gaffke [4]
If you’re just starting out, consider using your camera’s built in TTL (Through The Lens) flash system. Using this system allows your camera to take control of the flash for you. With this mode, the camera will transmit a pre-flash, and then adjust the power of the flash for optimal results.
Use Flash Exposure Compensation
Despite the fact that Flash Exposure Compensation is an often-neglected way to control the power of your flash, and is a great option when shooting in auto. This feature is especially handy when you’re close to the subject, and looking to reduce the effect of the flash for seeking more subtle results. In these cases, you can start by using a flash exposure compensation, usually somewhere around -0.3 or -0.7 is usually ideal for close-ups. Or, use bracketing to take several exposures at the same time.
Use the Ambient Light
While the on-camera flash often comes out when it’s pitch dark, and you need some additional light, this often results in a dark tunnel effect, where the illuminated subject is exposed properly, but the rest of the image is dark. To help combat this, it’s important to try to use as much external, ambient lighting as possible. This means positioning your subject next to a streetlamp, or some other lighting source to help illuminate the surroundings, and add some context to your image. It’s usually a good idea to use manual mode when doing this, as it will allow you to choose the right slower shutter speed; that will allow the optimal amount of ambient light into the image.
Create a Flash Diffuser
A diffuser [5], as the name suggests, disperses the light more evenly so your subject is not met head on with a glaring light. It softens the blow and sends the light in different directions, creating a much more appealing, and natural-looking light. You can create your own diffusers by using objects such as a ping-pong ball that is cut in half and secured over your flash or even using tracing paper or a napkin in a pinch to diffuse the light and help eliminate shadows. Anything that covers the flash, yet still allows light to come through should do the trick. Just make sure you use white material, unless you are looking to add a color cast to your images.
Bounce It
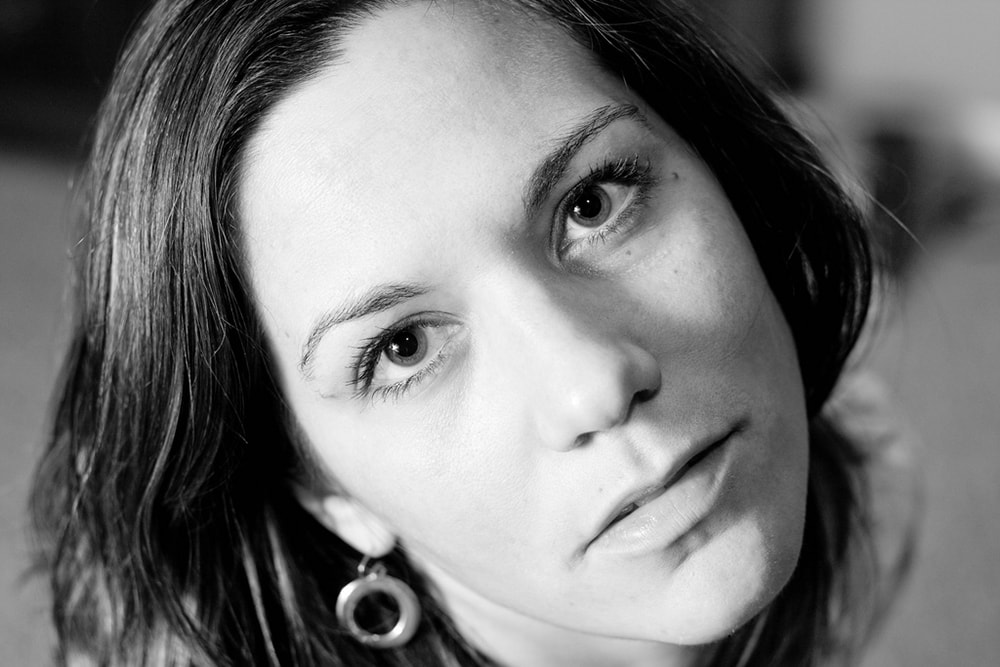
photo by thephotographymuse [6]
Bouncing the light is another great way to diffuse the light, and eliminate harsh shadows or glare. While you can direct your flash to bounce off of the ceiling, sometimes you won’t have a ceiling or other fixed surface to work with. In cases where a white surface isn’t readily available, just bring the white surface to your flash. Look for a piece of white paper or cardstock, attach it to your flash head, and bounce the flash [7] to create softer light, and more appealing results.
Create Catch Lights
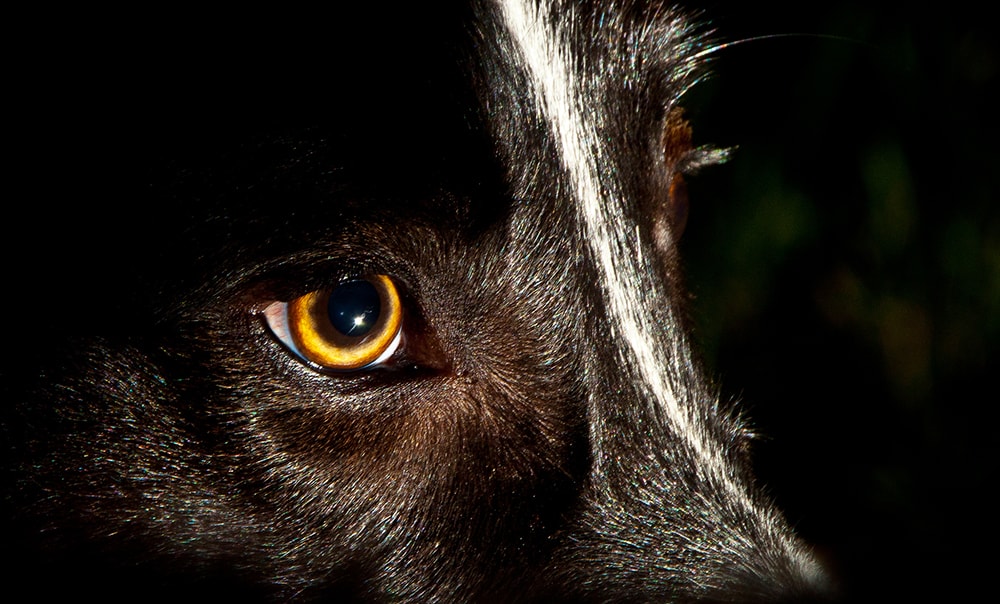
photo by GunnerVV [8]
While most times you won’t want your flash to be seen in the images, sometimes, it can also be used to create interesting features in your photos, such as catch lights, those little sparkles that can sometimes be seen in your subject’s eyes. It isn’t just human subjects that can benefit from these little catch lights. Wildlife and birds can also be captured with a sparkle in their eyes – if you can get close enough, that is. Just remember to dial down the flash, you don’t want to have it high powered flash anywhere near your subject’s eyes.
Capture Macros

photo by Ed Sweeney [9]
You can capture some great macros [10] with your flash. The best approach is to find a balance between using the flash to provide the main exposure of your subject, while at the same time looking to avoid having it look too much like a spotlight. For best results, keep the flash duration short, this will allow you to get sharp shots while holding your gear.
Turn It Off
Finally, sometimes it is best to turn the flash off and instead adjust your camera settings to get the results that you’re after. While your flash can add a lot to your images, keep in mind that some situations call for slower shutter speeds, instead of the on-camera flash.
As you can see, there are plenty of situations where your on-camera flash can come in handy. So don’t rule it out just because it may have produced some less than ideal results in the past. Instead, look for situations that call for some additional lighting, and try to diffuse it softly or bounce it for a more natural look – have fun seeing your flash in a whole new light.
Do you use your on-camera flash? Please share your all-time best tips with us on Twitter [11] or Facebook [12]