We know you’re always looking for ways to make your photography and photo editing workflow more convenient, streamlined, and effective.
Let’s talk about how you can set up tethering to Lightroom Classic during a photoshoot and how it can help improve your workflow.
Tethering? What’s That?
When you shoot normally, photographs are saved within the camera and then transferred from the camera’s memory card to a computer for editing, exporting, posting, and anything else we like to do with our images.
Tethering allows us to effectively skip the middle step so we can take a photo with our camera that instantly transfers to a computer.
More specifically, these photos will land themselves directly into a chosen Catalog in Lightroom Classic.
How (and When) to Use Tethering
Now that you know what tethering is, when are the best times to use it? And how do you use it? Let’s walk through the most opportune moments for tethering and, even more importantly, how to set it up.
1. Use tethering for your client and your benefit
Tethering is an excellent solution if you’re working on a portrait shoot for a client or a beginning photographer hoping to pay more careful attention to your shots. It can help you improve your techniques like manual focus, where you will want to carefully judge the sharpness of your photos to make sure you’ve got your settings just right – it’s much easier to do that on a computer screen than on a camera’s LCD.
You can use tethering to make editing changes on the fly, to show clients the photos you’re taking in real-time, or to double-check things like sharpness on a larger screen.
2. Get the right USB cable
First things first – you’ll need a USB cable [1] to connect your camera and the computer that’s running Lightroom Classic. Be sure to use a cable that’s long enough to allow you flexibility as you shoot.
The last thing you want is to accidentally yank a cable that’s too short, causing your computer or your camera to topple and sustain damage!
Plus, check both ends of the cable before purchasing to ensure it’s the one you need.
3. Understand the settings
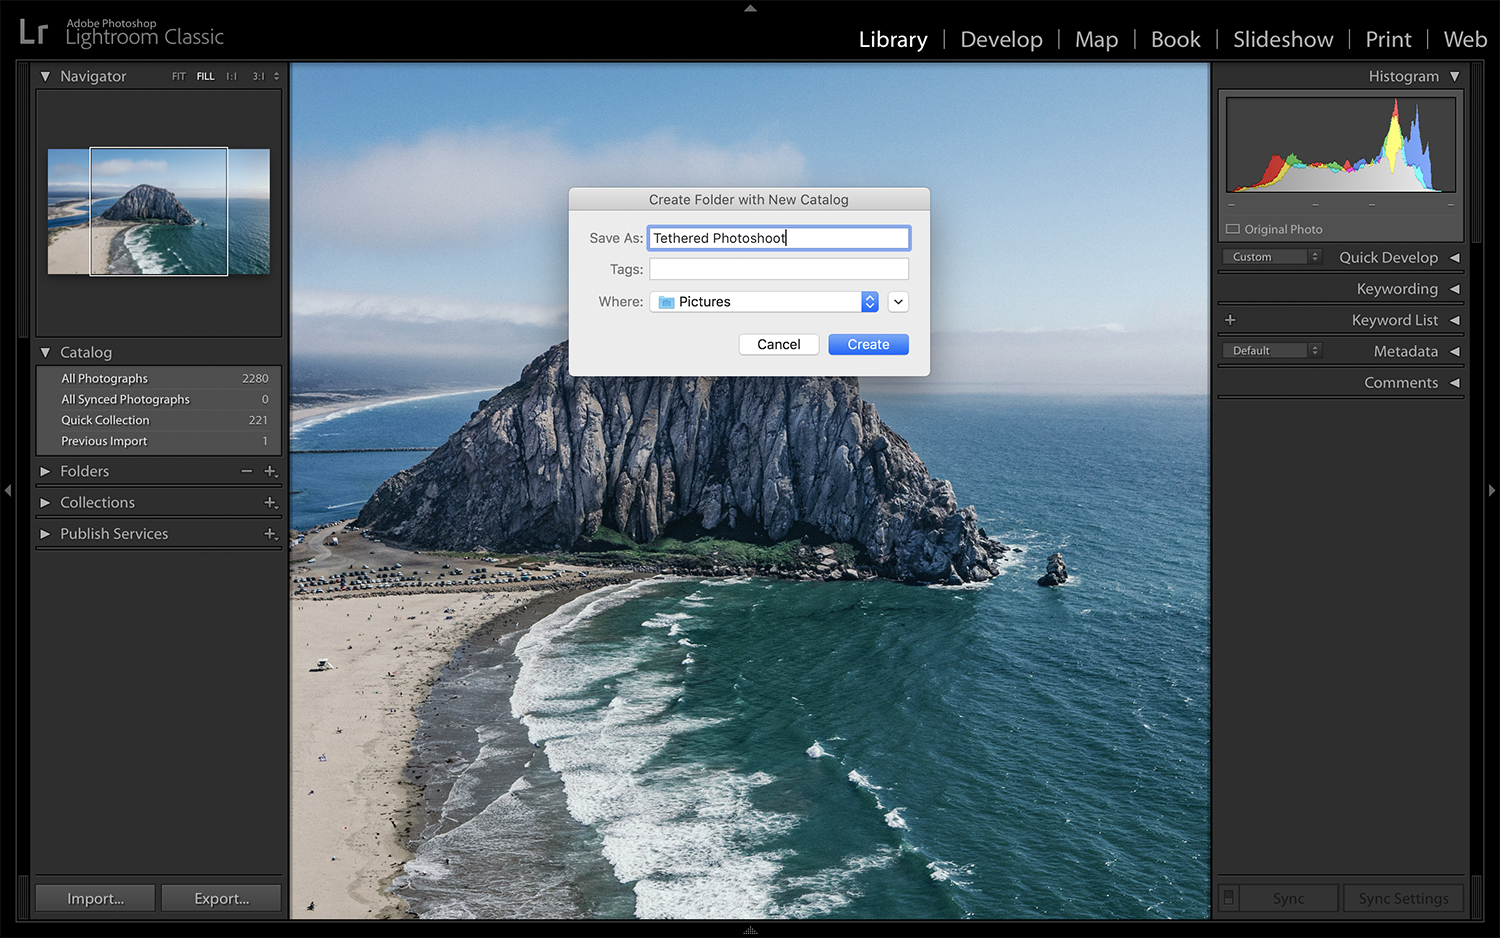
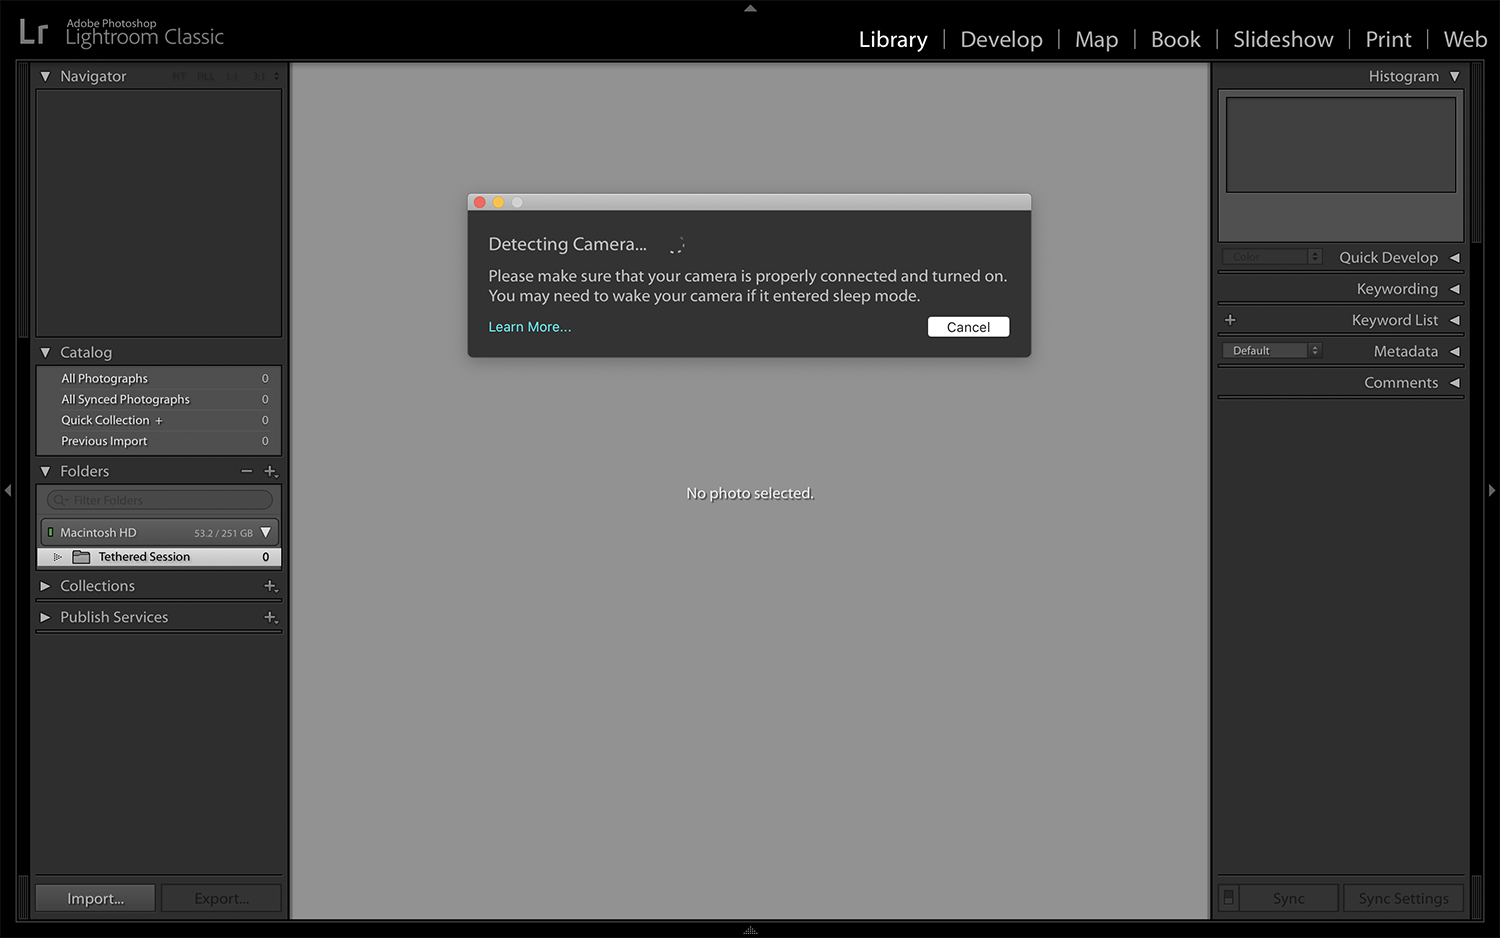
Next, turn on your camera. Then, open Lightroom Classic [2] and open up the Catalog where you want to save the images you’re about to take. This can be an existing Catalog, or you can create a new one. Once your chosen Catalog is open, navigate to File > Tethered Capture > Start Tethered Capture.
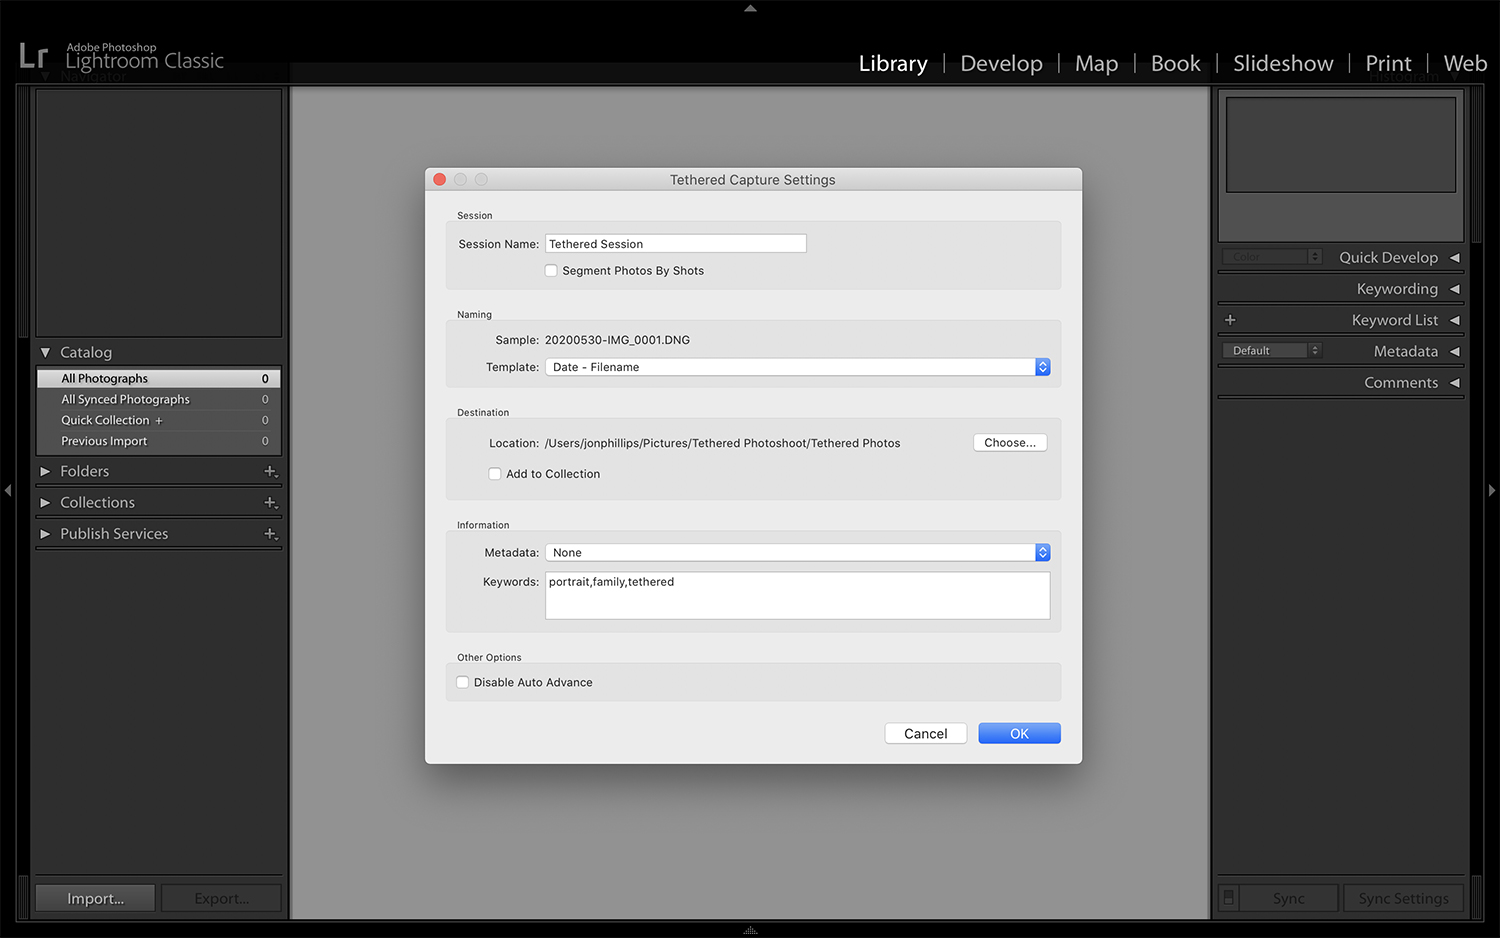
You’ll see a pop-up with some settings for you to choose from, which we’ll explain here.
- Session: Name your session and choose whether you’d like to separate similar images into groups. Then, during the photoshoot, you can create a new sub-folder for these groups by pressing Ctrl+Shift+T on a PC or Command+Shift+T on a Mac.
- Naming: Select how you would like the imported RAW files to be named as they are saved to your computer.
- Destination: Choose where you want the photographs to be saved and stored on your computer.
- Information: Here, you have the flexibility to include metadata about the shots you’re taking. You can include specific keywords or specify the gear and setup you used for that particular photoshoot (great for future reference).
Making careful and organized choices in this settings menu can mean that you’re creating an instant backup of your shots as you’re shooting them. How’s that for efficiency?
4. Speed demons, beware
When you’re shooting tethered, it’s essential to understand that your process may run more slowly than if you were shooting untethered. Therefore, if you’re the kind of person who likes to take rapid-fire shots, you may have to take some breaks to allow the setup to buffer and catch up with the photographs being imported.
Some photographers who prefer taking a lot of quick shots at once will temporarily remove the USB cable from their camera so that they don’t have to slow their process or interrupt their rhythm. Worst-case scenario? You’ll have to import that series of photos later.
5. Know how to reset your setup
There are always going to be some glitches – this is technology, after all.
Whenever you come across a tethering error, when a cable becomes dislodged, or when your tethering process stops for any other reason (like if you don’t want to slow down when you’re really in the thick of it, and you choose to disconnect your USB cable), it’s important to understand the proper way to get everything tethered again.
Unfortunately, it’s a little more complicated than just plugging the cable back in and continuing. Once you reconnect the USB cable, you’ll need to enter your Lightroom settings again to restart the process. Just use the steps we discussed above.
Once you’ve shot tethered, you’ll understand the hype! It’s a great technique to have at your disposal when you’re shooting in-studio or out in the field, so give it a try and see if it works for you and helps improve your workflow.