How To Shoot Captivating Levitation Photographs

Levitation photography, or gravity-defying photography, is interesting and exciting. It’s intriguing because they present something that’s impossible by normal standards: levitating subjects. And this is the reason why it’s also quite difficult to do.
Imagine this scene: a red balloon and a little girl with ribbons floating in the air. The scene is easy to imagine but difficult to carry out if you are a photographer. First off, how do you make the little girl fly? And how will you make the red balloon fly without hovering all the way up to the sky? Sounds really challenging, right?
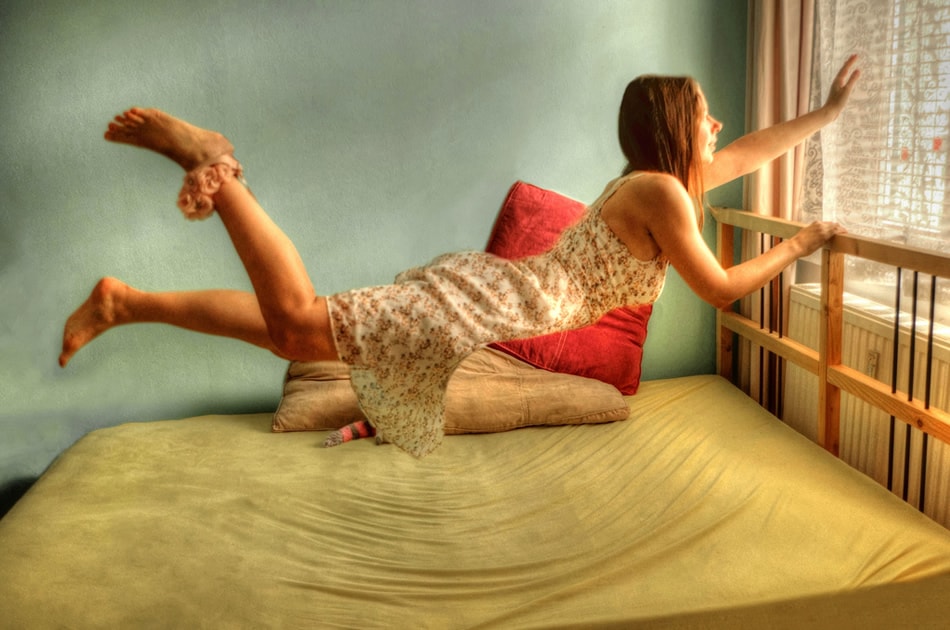
Photo by lightinacube
Then again, levitation photography can actually be quite simple if you know the tips and tricks for doing it properly. The most basic requirement for producing gravity-defying photos is knowledge in how to combine two visual elements from different sources to create one final image.
You’ll also need to use good editing software for this. Of course, there are other factors that you need to consider if you want to successfully create a gravity-defying photograph. Here are some tips, tricks and suggestions that can help you out, especially if you’re just starting.
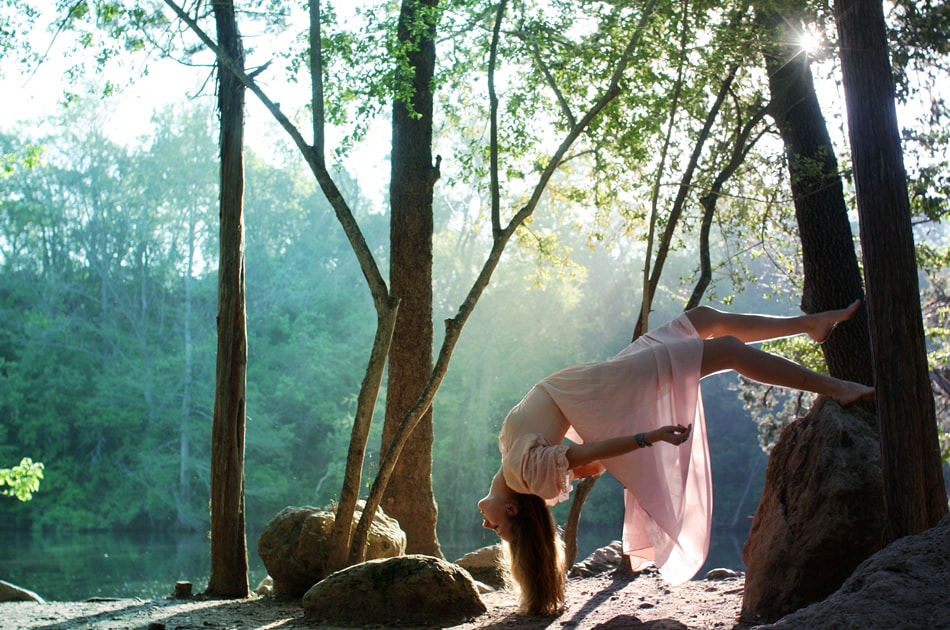
Photo by Lucy Maude Ellis
- The first thing you need to work on is your equipment. Gather all the equipment you have. You’ll need a good camera with options for manual focus, a sturdy tripod, something that can support your model (a ladder, chair, or step stool), and an electric fan (especially if your model has long hair). You may also need to bring your camera’s remote trigger, if it has one. Part of the requirement is Photoshop or Lightroom, or any other editing software. Of course, you also need a model who is willing to do whatever pose you want to create. Don’t forget to tell your model what to wear (including the color, print and fabric type). Additionally, the model should also be informed that wearing of jackets or sweaters is a big no-no, especially if your intention is to shoot the model on a stool.
- Choose the right time of day to shoot. For levitation photography, the most ideal shoot is on cloudy days. It will help make your editing tasks easier compared to when shooting under the sun and with a lot of shadows. Remember, you’re going to do a lot of editing to combine two different images.
- To create the illusion that your subject is up in the air or floating, shoot your scene from a low perspective. Be sure, however, that you are not lower than the stool or ladder you are using. If you position yourself this way, the prop will block your model. Additionally, make sure that your model is not too close to your prop as this will be very hard to edit. For example, if you position the little girl holding the red balloon standing up straight on the stool, the tendency when you edit out the stool is that part of the girl’s feet might be erased. Try to get your model to tiptoe on one foot instead. Or, position the little girl towards the front of the stool.
- Remember that you are to shoot two scenes: your model and the background. Here’s how it should be done: a) Position your model in the scene, b) Consider the angles you will be shooting from and position your camera and tripod accordingly, c) Decide the focus point of your subject once your model is in position, d) Prepare your camera by putting it on manual focus, e) Start taking different shots of the scene: take one of the (empty) background first, then take two to three (or more) shots of the scene with your model and the prop in the frame. Aside from the general shot of the model, you should also consider taking photos of the model’s facial expression (including the hair) and clothing.
- Your next task is to combine the images you took by using an editing software. Photoshop and Lightroom are the most popular software used for levitation photography.
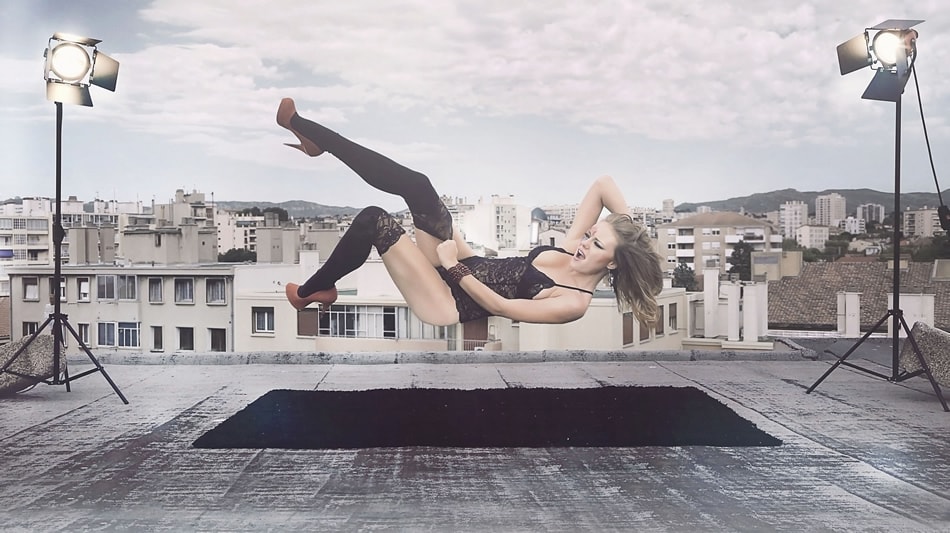
Photo by tsik roa
Techniques
There are three techniques that you can use for levitation photography:
- Shooting Two Photos
- Using Support
- The Jump Technique
Shooting Two Photos is similar to what was mentioned earlier: taking a photo of the model in the scene and then taking a second photo, this one showing only the empty background.
Using Support means using props to carry out the levitation effect you desire. In the case of the little girl with the red balloon, a sturdy stool serves as the support.
The Jump Technique involves, of course, a lot of jumping. This can be quite difficult, though, because you never know how a jump would come out. Imagine asking the little girl with the red balloon to jump so high that she’d look like floating. This will take several tries before you are able to get the effect you want.
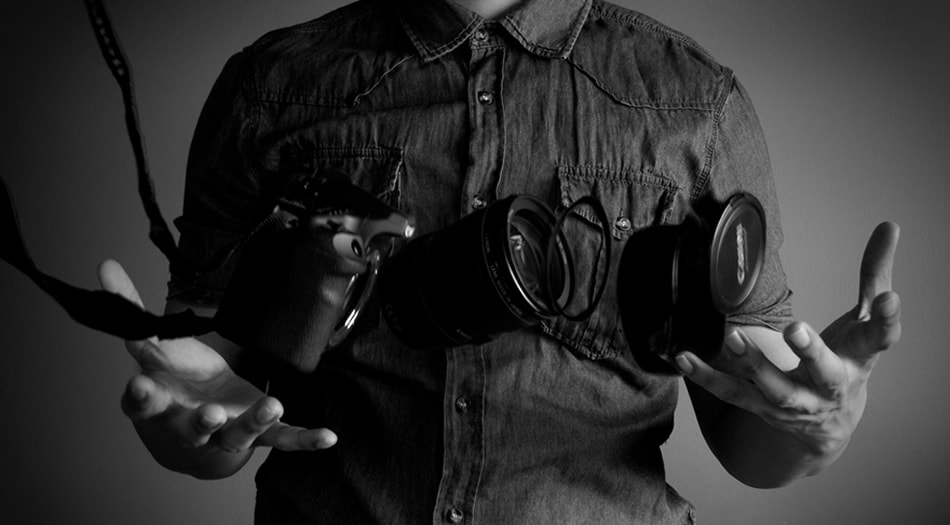
Photo by d_pham
The Pose
One of the most important things to consider in levitation photography is the model’s pose. The pose should be as realistic and normal as possible – so that the final image will not give an obvious indication that a prop was used.
Famous Levitation Photographers
There are several famous photographers who have been doing gravity-defying photography for years. And they’re admired for their creativity and skills in producing magical images. Here are some of them:
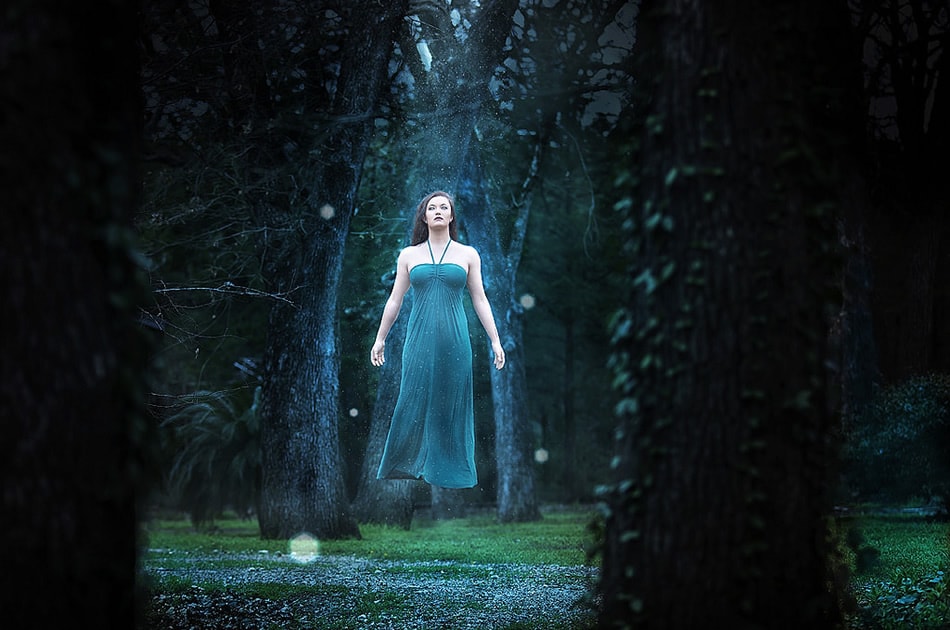
Photo by mckinney75402
- Natsumi Hayashi – a Japanese levitation photographer who takes self-portraits showing herself floating. She uses a tripod and takes advantage of a self-timer.
- Marina Gondra – Shoots two scenes: the background and the character. She uses the Brenizer method for combining the images and creating very shallow DOF or depth of field.
- Rey Vo Lution – He focuses on composition. This seasoned levitation photographer says that “composition can be simplistic, but of utmost importance”. He also gives significance to the post-processing stage.
- Li Wei – He uses a lot of props, like scaffoldings, mirrors and metal wires. He also applies acrobatics in creating his levitation photos. Li Wei does a lot of post-production work, too.
- Franck Bohbot – This French levitation photographer uses black and white photos to deliver his messages. He combines street and levitation photography to create images of people floating in the air while doing regular activities like talking on mobile phone or crossing the street.
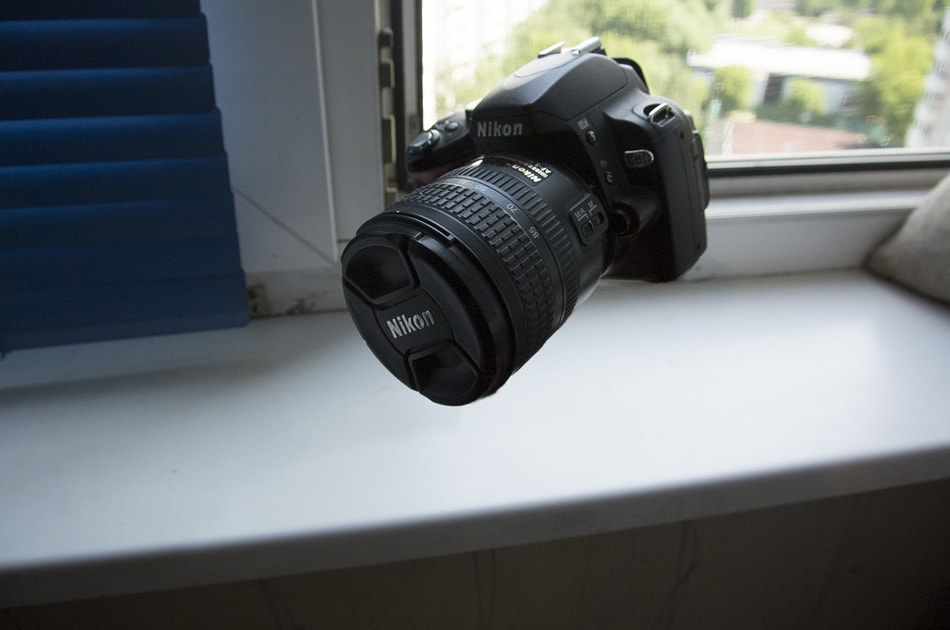
Photo by Vitaly Vlasov
You, too, can create beautiful, magical and amazing levitation photographs. All that you need to do is practice, practice and practice. And to master the tips, tricks and techniques. Of course, it will also help if you love what you do.
Levitation photography may not be as popular as model or street photography; but it is catching fire. And it is becoming more and more in demand. For who would not want to see magical and exhilarating photos of people doing ordinary things?
About the Author: Michael Gabriel
 Michael Gabriel L. Sumastre is an experienced writer who loves to take pictures of the countryside as well as aerial photographs. He maintains his professional writing portfolio at TheFinestWriter, and you can visit his photography portfolio at Sumastre Photography. Michael was hired by Booking.com to photograph 10 of the most beautiful beaches in Palawan, Philippines.