How to Successfully Reduce Glare in Your Photos

When it comes to photography, one of the most annoying issues is unsightly glare that pops up at the most inopportune moments.
Glare, essentially, is caused when a source of light hits a reflective surface. This can be seen on anything from glare on a pair of glasses when you’re capturing portraits, to reflections on the surface of a body of water. Glare also commonly appears on windows, something that you’ve undoubtedly discovered if you’ve even tried taking an image through a car window!
Regardless of why it appears though, unintentional glare can ruin even the best photographs. Fortunately though, there are a number of different ways to work around, reduce, and even eliminate glare to make your images a little less, well, glaring!
With this in mind, here’s a look at some tips for reducing glare in your images.

Filter the Light
If harsh sunlight is causing glare in your portraits or close-up images, consider diffusing the light. Bringing along a diffuser or even a large white sheet can help you to softly filter some of that harsh sunlight out. You may also want to use a reflector or even a fill flash, to bounce some light back onto your subjects, helping to fill in any dark shadows.
Bounce the Light
If you’re shooting with a flash or external light source, bouncing the light off of another surface, instead of your subject itself, can help to reduce glare. If you’re using your on-camera flash, and can’t angle it in another direction, you’ll want to bring along a piece of white paper or cardstock to use to bounce the light; making it softer and more appealing.
Change Positions
If you’re photographing a specific subject, consider adjusting your position to see if that helps. Sometimes moving slightly so that the sun’s behind your shoulder, instead of shooting directly into it, can help to reduce unwanted glare. You may also try moving your subject, so that they’re more shaded from the sun or light source. Or, position them with the sun behind them for beautiful backlighting, or to their side, for more interesting lighting with fewer harsh shadows. In the case of glasses, consider having your subject angle their head slightly away from the light source, to reduce the chance of reflections on their lenses.
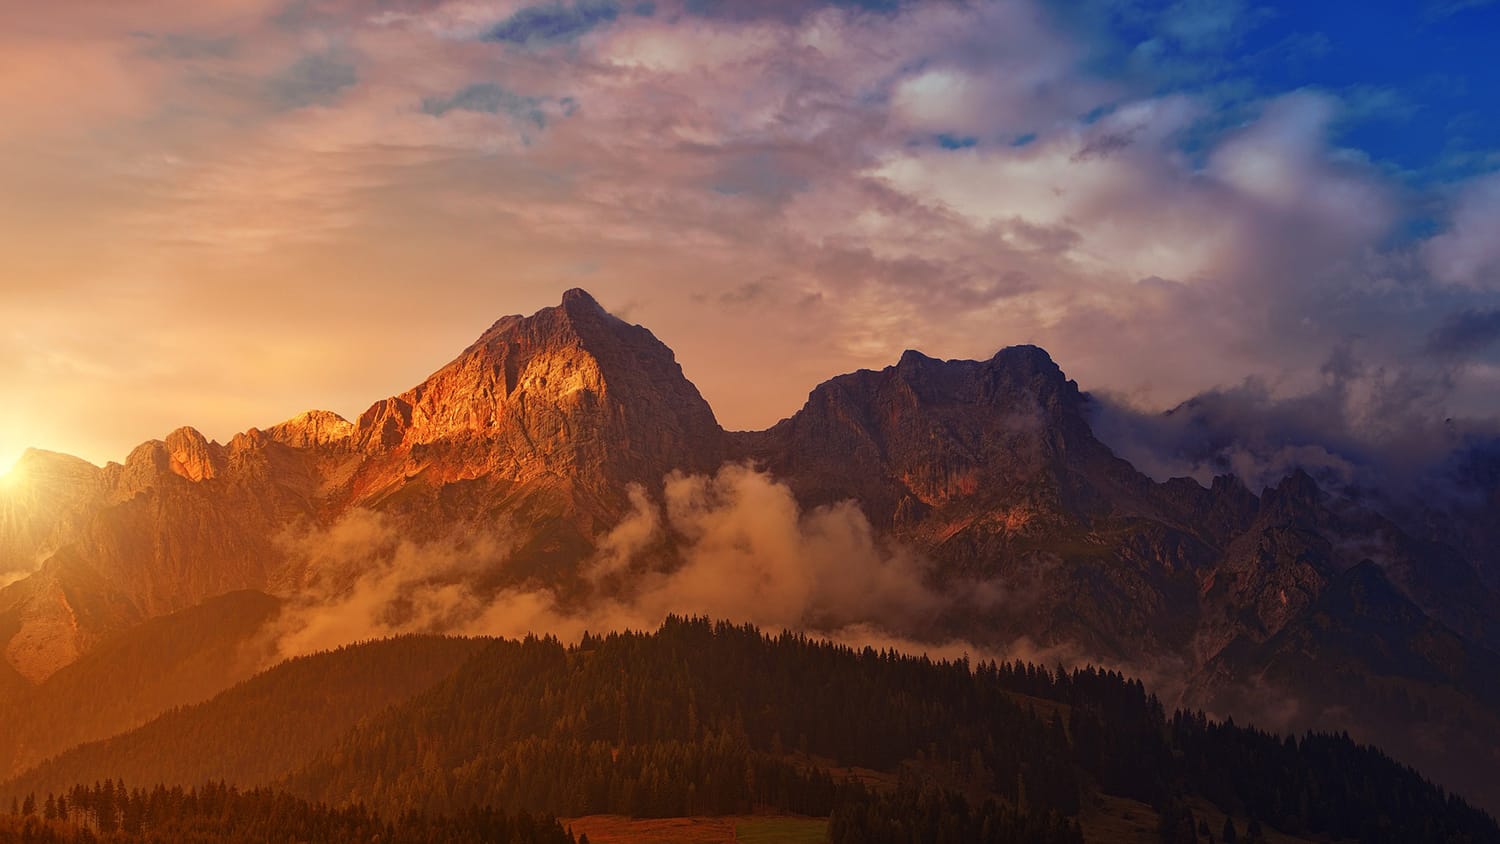
Consider a Different Time of Day
If the lighting in question is natural lighting, and adjusting your position isn’t working, you might consider coming back when the lighting’s improved. Taking photos in the middle of a bright, sunny day for example, is a time that will be rife with glare and reflections. Instead, wait until the sun’s gone down a bit in the sky for optimal lighting that’s a lot easier to work with. Or, watch the skies. Clouds are your best friend when it comes to lighting, and can help to diffuse the light so there’s less chance of glare.
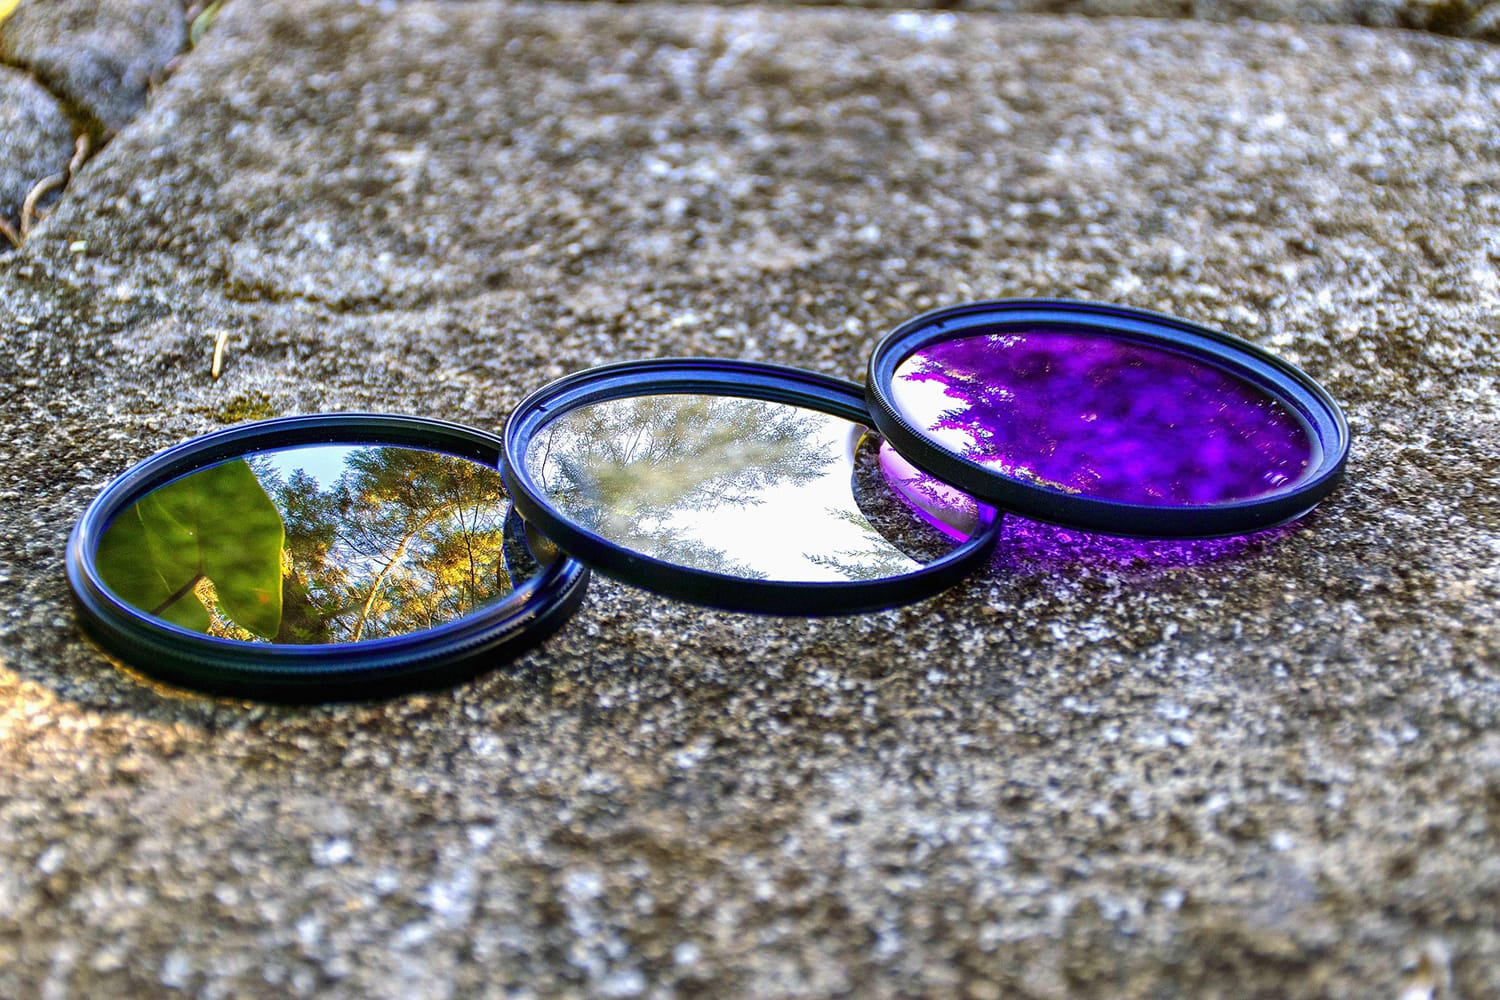
Use a Polarizer
A polarizer can help to reduce reflections and glare, and can result in brighter, more saturated colors as well. If you have glare on the surface of the water, some foliage, rocks, or even a storefront window, try popping a circular polarizer on and rotating it until the glare disappears. If you’re taking pictures of a sunset, you might consider a half-polarized filter. With this filter, you can position the polarized section over the area with glare and the non-polarized section over the sky, allowing you to preserve the vibrant colors.

Use a Lens Hood
A lens hood can be a good way to reduce one type of glare; lens flare. These hoods are designed to eliminate sunspots while still allowing in as much light in as possible. If you’ve got a zoom lens, using a different focal length is another simple way to decrease the impact of sunspots in your photo.
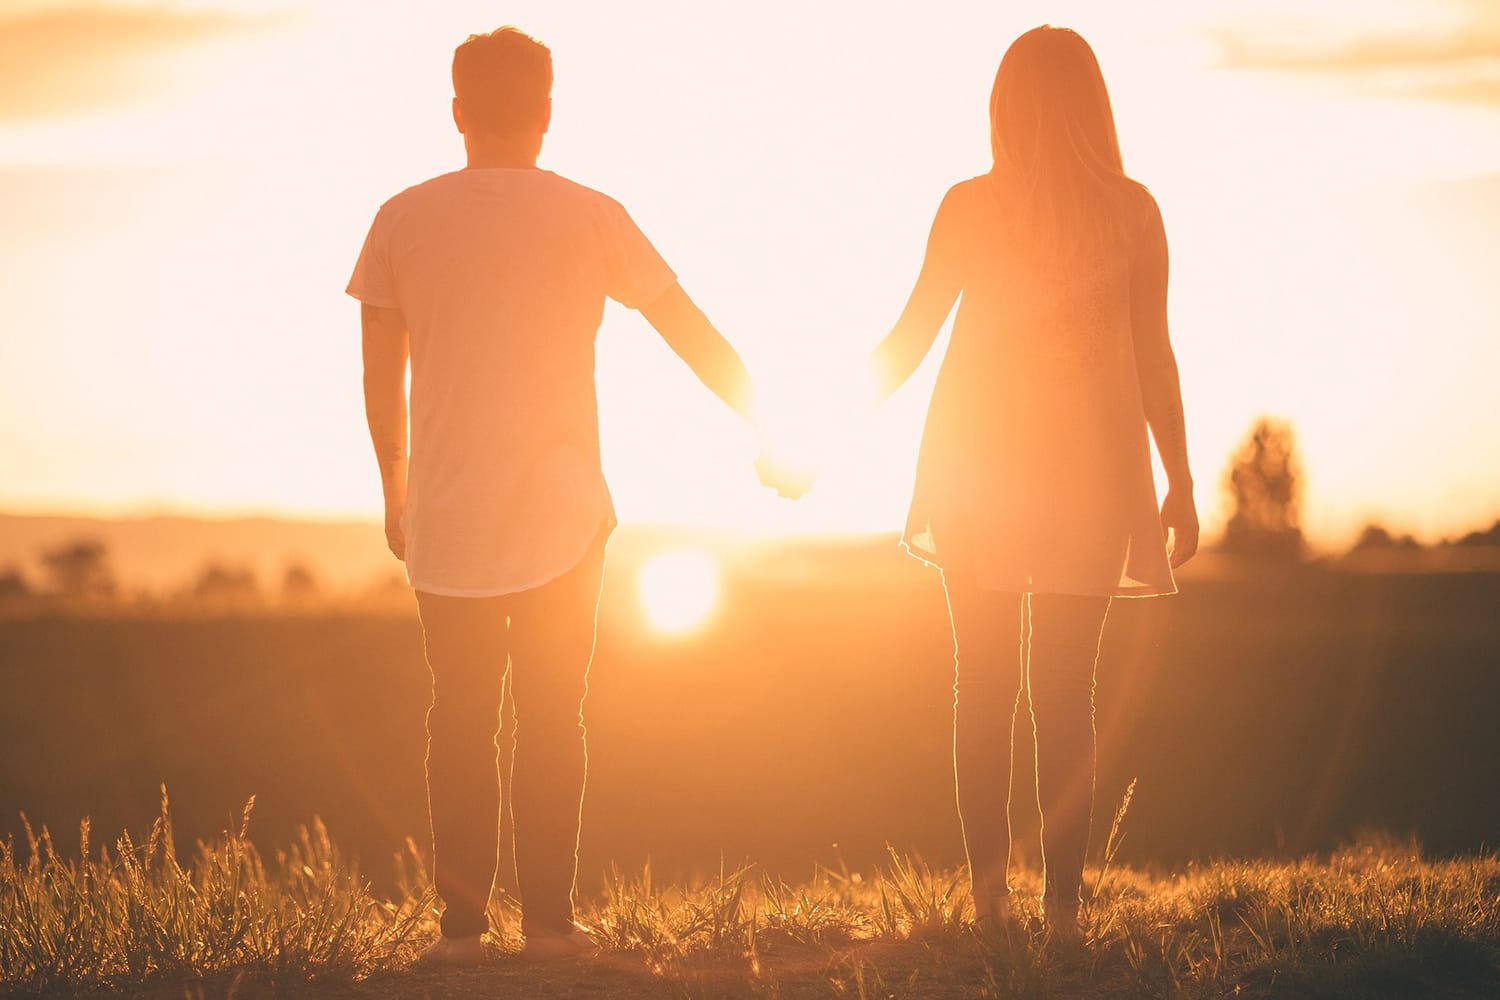
Embrace It
If you can’t eliminate it, you might be able to work it into your image. Sometimes a little extra light can help to add a sense of drama and intrigue to your shots and in some cases, can add an unexpected and artistic twist as well. Just make sure the glare that you incorporate is intentional, and used to enhance the overall composition.
Create a Composite Image
If you’re struggling with glare, consider taking two images with different exposures, and blending them together to create a composite image. Expose one image for the highlights, and the other for the rest of the scene. Just make sure you use a tripod and take the images in the exact same place. Then combine the two in post-processing using layers.
Remove It in Post-Processing
Finally, as a last resort you may be able to eliminate the glare in post-processing. While you can’t do this if the glare is covering the subject’s face or a key section of the image, if it’s off to the side then you should be able to remove it fairly easily using the healing and cloning tools.
While glare can be a challenge, being able to work with and eliminate glare can help you to ensure that you don’t miss out on exciting photo opportunities, just because the lighting’s difficult. Take these tips into consideration, then saddle up with some extra patience and get out there. You’ll be glad you did!
How do you remove unwanted glare and reflections in your compositions? Share your tips with us via Facebook or Twitter
About the Author: Christina Harman
 Christina is a part time blogger and full time photography enthusiast living in Southeast Alaska. She enjoys travel photography and has taken pictures in countries such as Mexico, England, France, and China. She likes sunny days, new lenses and drinking good coffee. You can visit her at Tangled Thoughts.