Smartphone Photography 101: An Intro Guide

Smartphone photography isn’t what it used to be only a few, short years ago. That’s because smartphone cameras have gotten incredibly more powerful with each brand’s new models. With the iPhone X’s camera in particular being called almost as good as a DSLR, it’s clear that smartphone photography has also taken a huge leap forward.
If you have a new smartphone, or just want to perfect your smartphone-camera shooting skills, now’s the perfect time to really understand how to use your phone’s camera to compose some truly amazing shots.
Get Rid of the Defaults
You want as much control as possible in your phone photography, so override those defaults in the camera settings. While smartphones have definitely gotten better with automatic settings, why leave anything to chance anymore, especially with such powerful cameras that you can adjust to your every desire?
You can typically change your exposure at a whim, simply by toggling the slider in auto mode. Now, you won’t have excessively bright or dark pictures ever again.
You can also usually mess around with both your shutter speed and ISO in manual mode; this is going to let you determine exactly how much motion blur and grain your pictures will display. You’re going to have to practice having really steady hands if you’re using longer shutter speeds (usually less than 1/30th of a second). The rule of thumb on smartphones is that any ISO over 800 will commonly show obvious grain, so experiment with that setting to see what works for you.
Posture Matters
Remember when you were a kid growing up, and your parents always lectured you about maintaining good posture? Don’t slouch!
If you yielded their advice, chances are that you’re going to be an excellent smartphone photograph in adulthood, just because shooting with the right posture can greatly impact the quality of your shots.
It all comes down to holding your smartphone in a stable way to lessen blur as much as you can. That’s why you shouldn’t hold your arms too far out from your body when shooting, yet you should keep your elbows closer to your trunk when snapping away, as this promotes extra stability. Of course, if you want a really stable shot, feel free to rest your smartphone on a stable object (as you would rest your camera on a tripod, for instance).
To that end, if you seek the most stable and blur-free shot ever with your smartphone, you can always purchase a smartphone tripod (yes, there are such things).
Fall Back on the Fundamentals of Composition
Okay, you have a stellar smartphone-that’s only going to get you so far. Even with all the best features and quality, you can still sabotage your own pictures if you don’t understand the basics of great composition when you shoot images.
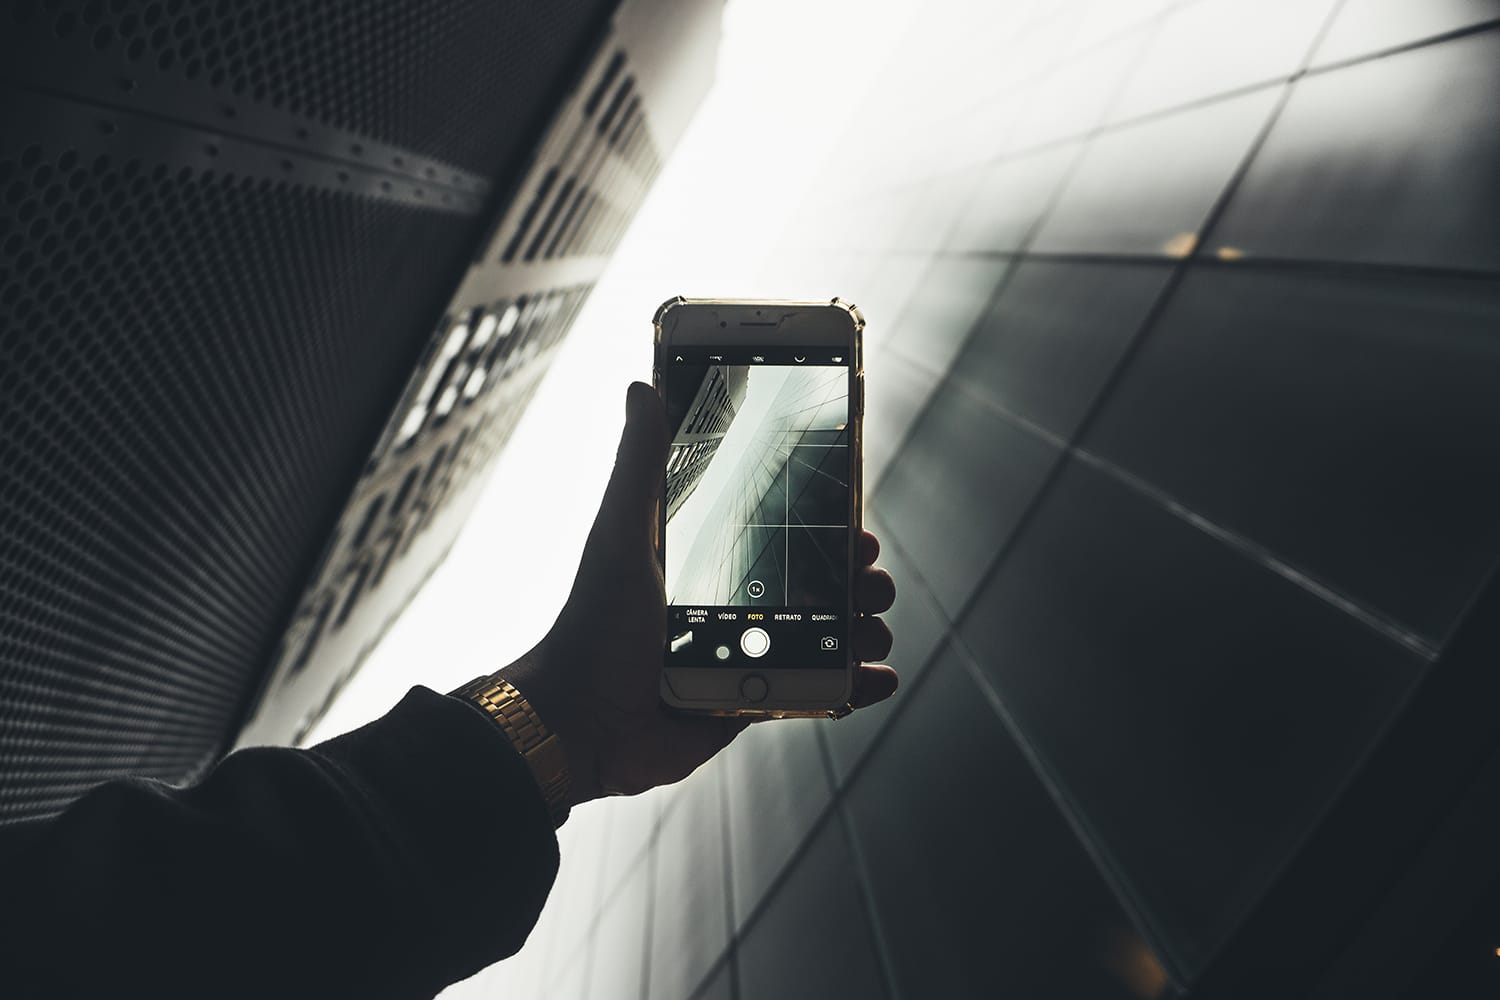
Want to set up your shot in such a way to have the most pleasing look to the eye of the audience? Then use the rule of thirds when composing your shot. On your smartphone screen, visually imagine it being divided into nine, equal parts, with two lines running horizontally and vertically. Now, position the most interesting elements in the shot-the subject, focal points, etc.-either right on the lines or at their intersections. This’ll get you memorable results.
If you’re lucky, your phone will even have an automatic way of displaying the frame in such a way without you having to rely on your imagination.
Learn to Analyze the Light
Here’s another tip that will help you greatly because, even if your smartphone is the best on the market, nothing can fix things if you don’t understand the basics of good photography. Learning how to look at light in your frame is another essential part of this.
Avoid flat light, which happens when you’re shooting inside with artificial light or outdoors during midday, when skies are cloudy. Flat light is characterized by the boredom of relatively few shadows and, therefore, even lighting on every object.
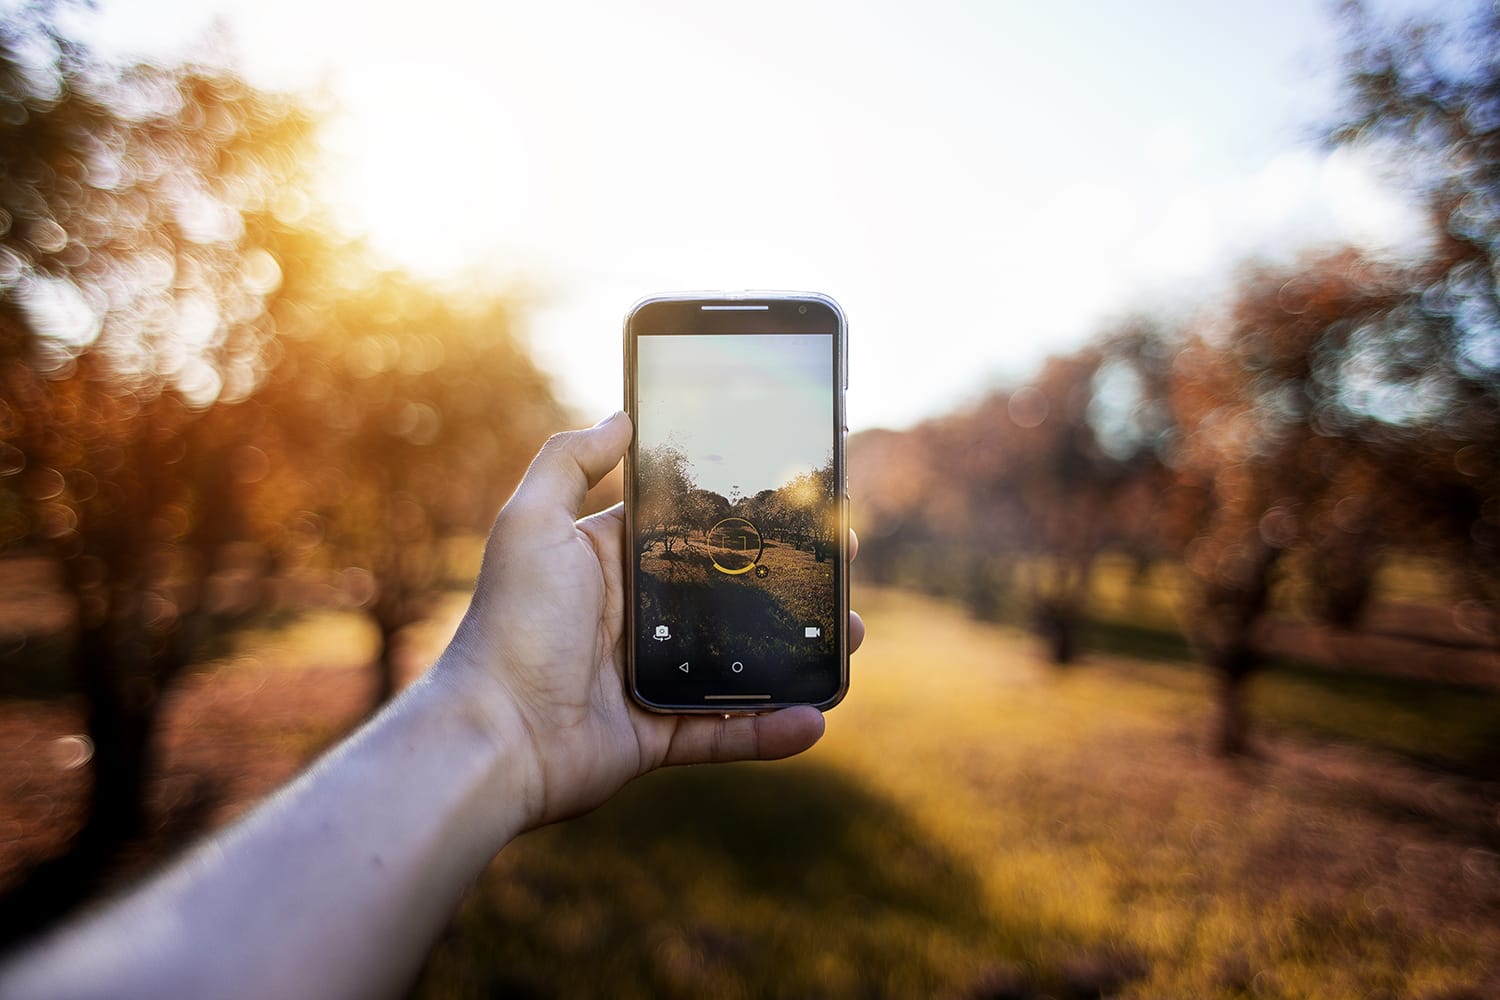
To make things more interesting, seek out light that has both some color and direction. You’ll find this light right before the sunrise and during sunset; window light is ideal as well because it’s soft, diffuse and has a lot of direction.
Search for this good light for smartphone photography because you’re already limited with what techniques you can use to make your images look very interesting on mobile. Really, you only have depth of field and focal-length experimentation to play with, as your other big options.
Yes to Optical Zooming; No to Digital Zooming
This isn’t just a distinction without a difference. There’s a big difference between optical and digital zooming. First, let’s define each term as it relates to smartphone cameras.
Optical zooming is when you get in closer on your subject by utilizing a real lens adjustment of your camera. Optical zooming ensures that your images stay sharper and high-quality, even with the zoom.
In the other corner, we have the dreaded digital zoom, which I don’t refer to lightly. Digital zooming is essentially when you take your index finger and thumb to simply enlarge the frame. This leads to horrible loss of quality and images that are not sharp.
The problem with digital zooming is that you won’t be permitted to reframe the image after you’ve zoomed. In exchange for the apparently closer image, you’ll lose a lot of picture quality.
If your smartphone isn’t one that allows you to optically zoom, like the iPhone X or the Samsung Galaxy Note 8, just snap the picture without the digital zoom. Then after, crop it the way you want it. If your smartphone comes with the optical-zoom feature, use either the 1X or 2X zoom since these options provide you with the entire quality of the zoom and wide-angle cameras.
Smartphone Cameras: They’re Getting Serious
Just a few years ago, smartphone cameras were little more than a novelty…a feature regarded as a neat extra for many people. With today’s heavy-duty phones like the iPhone X and its camera, though, the camera becomes a true, standalone piece of technology instead of an afterthought or a nice gadget to have as part of your phone.
So play around with your camera if you have a newer phone. You’ll be pleasantly surprised at the impressive photo quality of your shots, as long as you keep the above-mentioned tips in mind.
About the Author: Marc Schenker
 Marc is a copywriter and content marketer who covered photography. These days, he runs The Glorious Company, a content marketing agency.