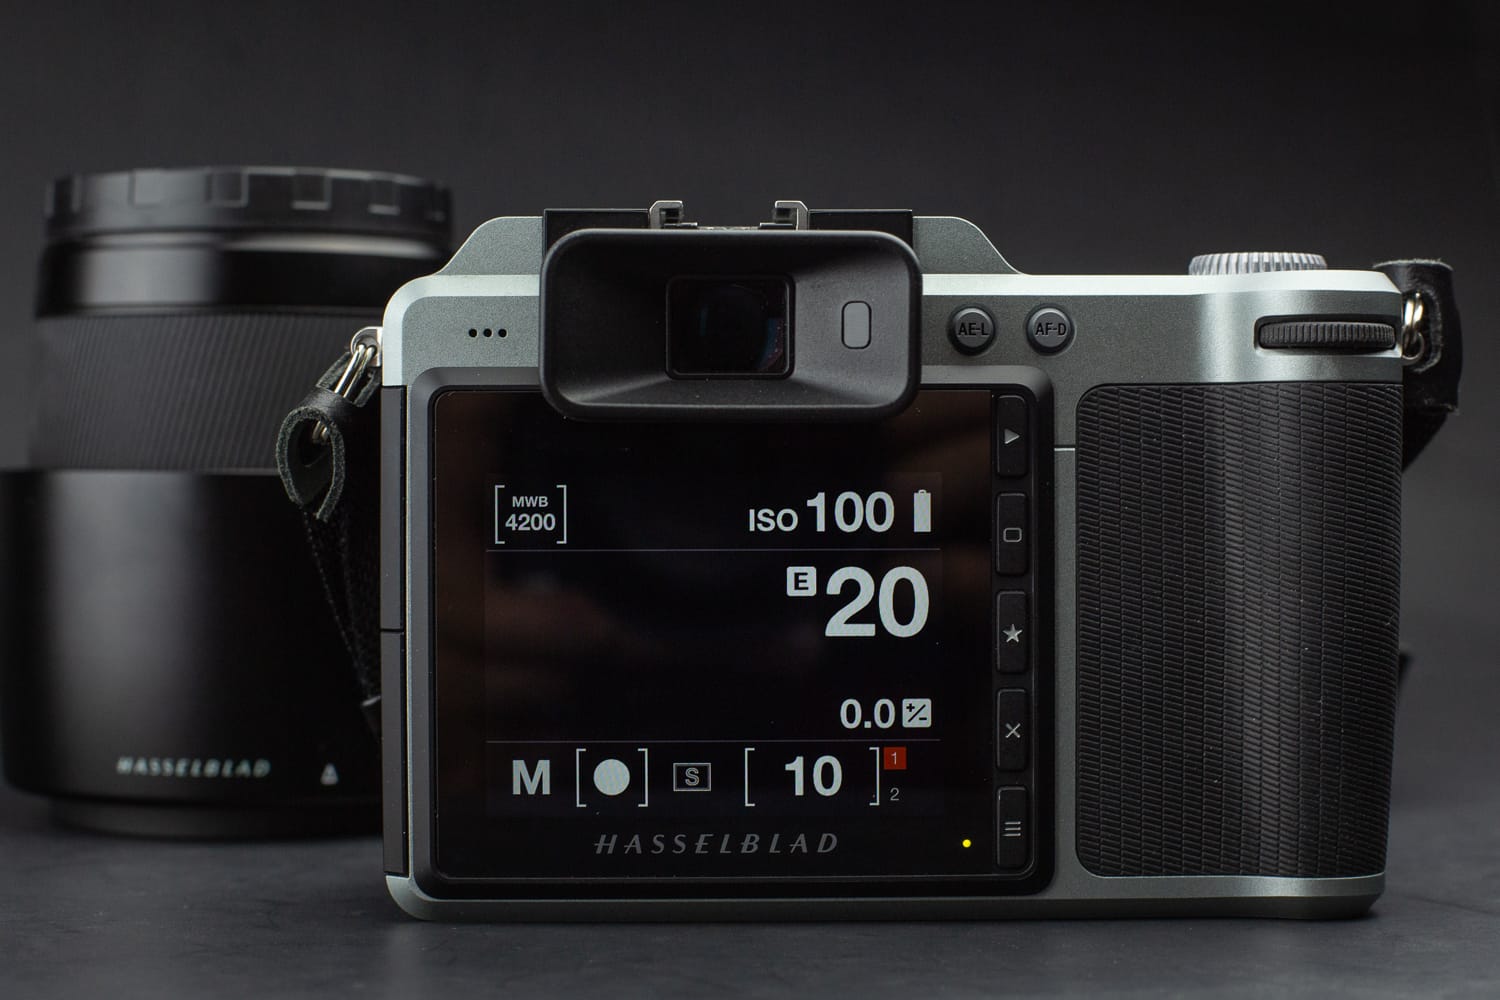
ISO stands for International Standards Organization. In the photography world, though, it’s essentially a setting on your camera that brightens or darkens your image.
It’s a common misconception that ISO is a measurement unit for how sensitive your camera sensor is to light. In fact, ISO acts more like a “gain” setting that you can use to brighten or darken a photograph.
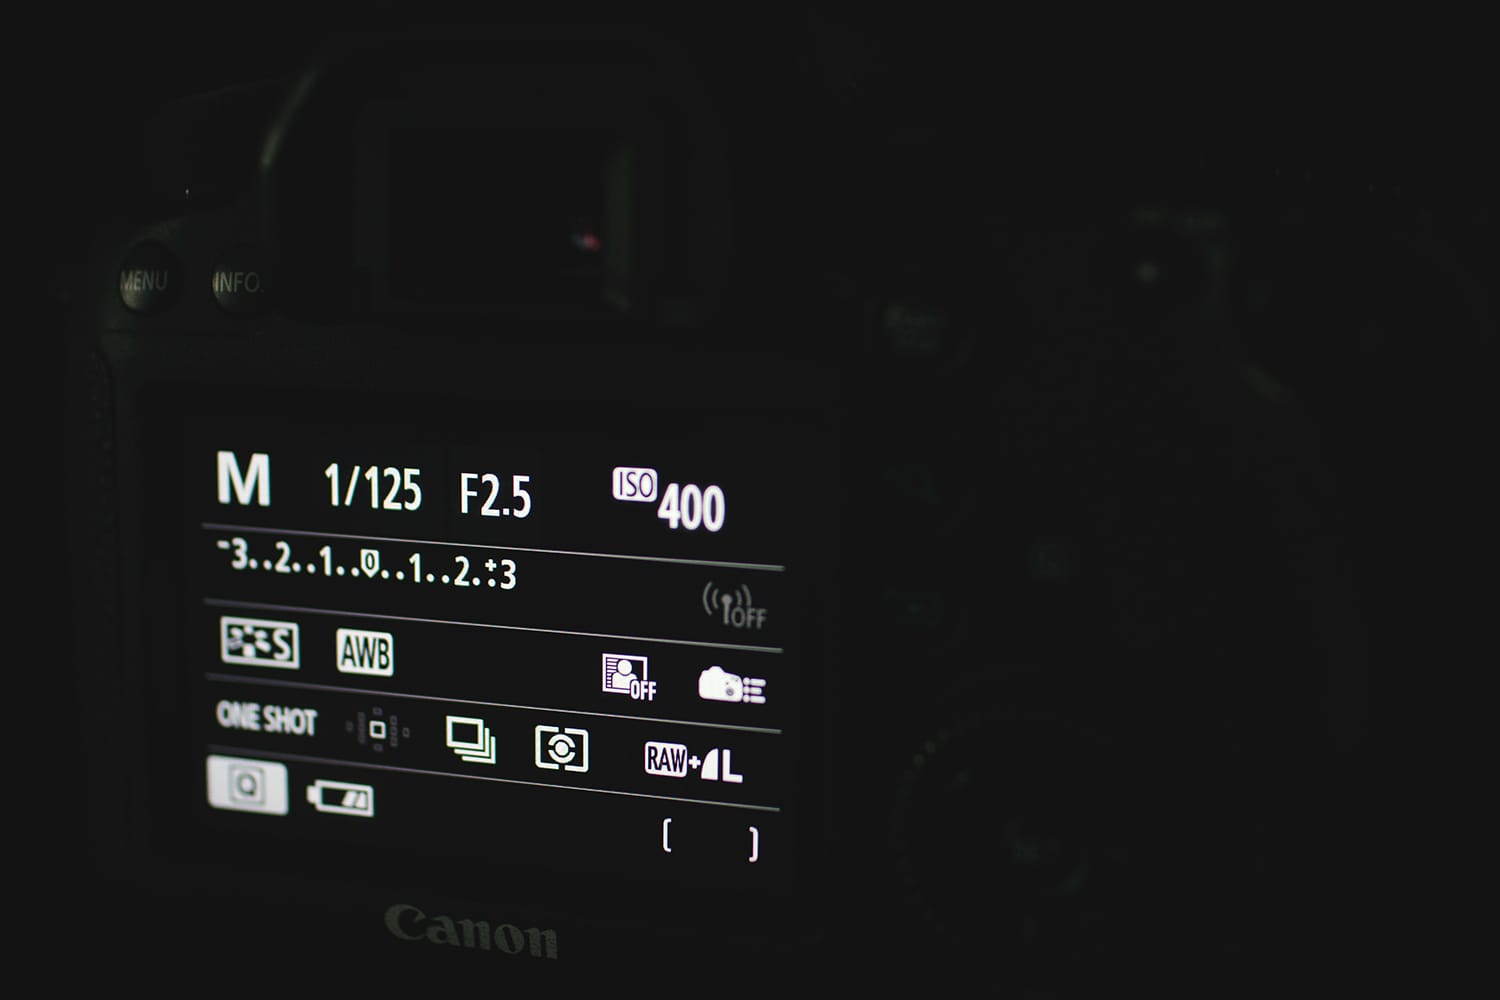
ISO is part of what we call the Exposure Triangle. It’s the combination of Aperture, Shutter Speed, and ISO [1] settings that all affect the resulting exposure of images.
These three settings go hand in hand when setting up your shot and getting the proper exposure. Learning to master these three settings simultaneously can be overwhelming for many beginners when learning to shoot in manual mode.
Rather than getting intimidated by all of the numbers, rules, and options, it’s easier to familiarize yourself with each setting individually first.
This will give you a better understanding of how they all correlate when you are comfortable taking the plunge into full manual mode.
It does become second nature after you have done your research, put in a lot of practice, and have a genuine understanding of each setting.
The smaller the ISO number, the darker your image will be. This means that if you are shooting with low ISO numbers (say ISO 100), you will need to have ample lighting available or make your shutter speed longer to expose your image properly. Otherwise, your image will be underexposed. The less light you have to work with, the higher your ISO may need to be.
When working with higher ISO settings, one thing to keep in mind is that the higher it is, the greater the risk of getting noise in your images.
That’s because increasing the ISO also increases the noise ratio in your pictures. Just like when you turn up the gain on an amplifier. It increases the volume, but it also increases the general noise level and artifacts of a sound.
Generally, you want to shoot using the lowest ISO setting you can get away with.
The digital camera industry has made many improvements when it comes to noise, but depending on the camera you are using, it can be an issue when your ISO reaches a certain setting.
Example Of Different ISO Settings
The image below shows how different ISO settings affect the overall brightness or darkness of an image.
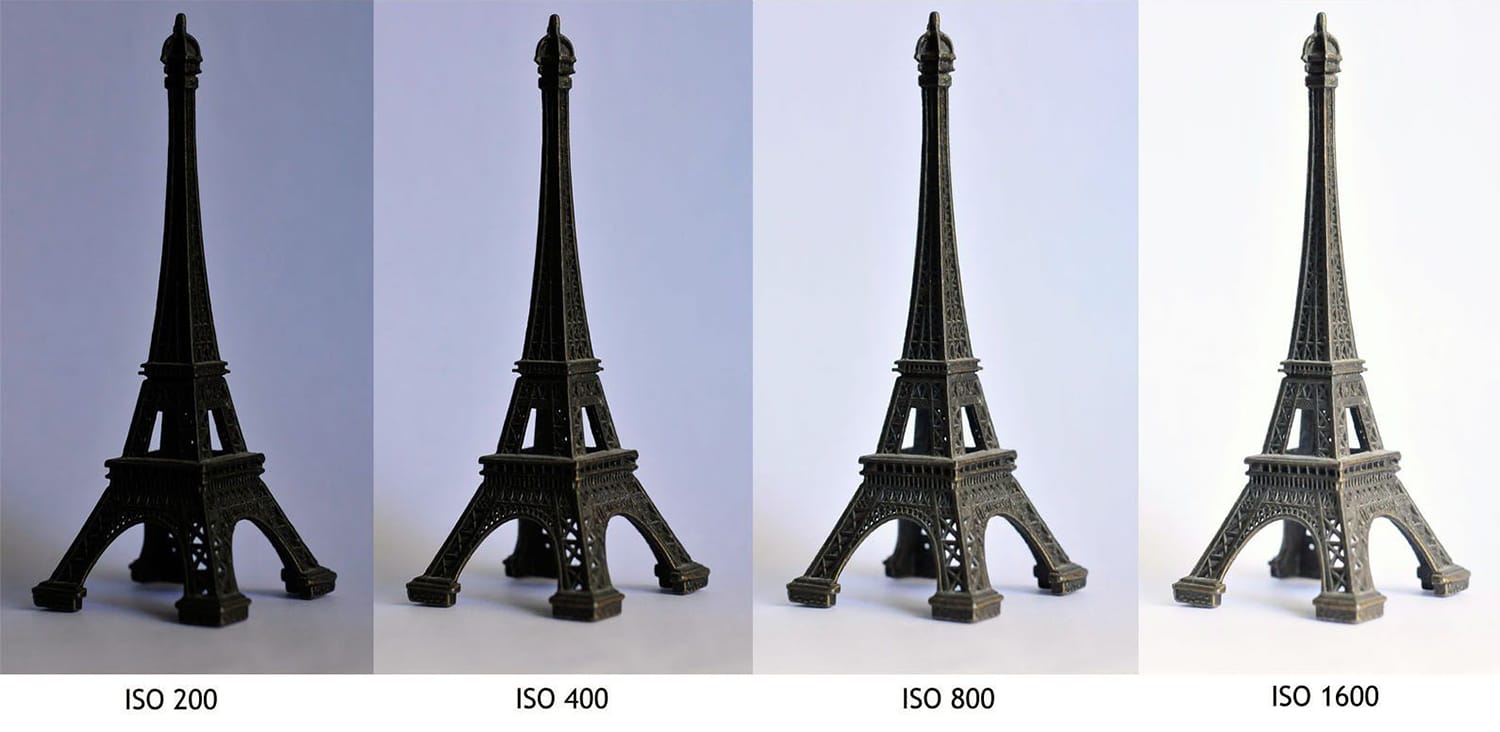
All other settings equal, a low ISO will result in darker images, while a high ISO setting will result in brighter images.
Remember that small aperture settings and slower shutter speeds let in more light. So it will be up to you to find the balance between the three settings.
For example, if you are shooting in a setting that requires shooting with fast shutter speeds to freeze motion (maybe a sporting event), you may need to bump your ISO up depending on the lighting.
This will make up for the lack of light hitting your sensor because of the fast shutter speed. The same holds true for aperture settings. The smaller the f/stop number you are shooting with, the more light you can hit the sensor. So you could likely get away with lower ISO settings.
There may be incidents where you are forced to shoot with higher ISO numbers. Such as museums or churches with low lighting that prohibit the use of flash. Or let’s say your child is blowing out the candles on his/her birthday cake, and you don’t want to take away from the natural candlelit ambiance in the room by using a flash. Bumping your ISO up will increase the “gain” in your image and enable your camera to pick up more on the natural lighting in the surroundings without using a flash.
All About Balance
When learning the art of shooting in manual mode, don’t overwhelm yourself trying to master blending these three settings all at once. The more you understand each of the three settings individually (ISO, Shutter Speed, and Aperture), the more comfortable you will be when it comes to learning to find the proper balance between them as a whole.
Do your research on each setting. Learn what they mean, how they work, and how they affect different aspects of your image. Of the three, ISO is probably the simplest to get comfortable with and understand. It really only affects the brightness/darkness of your photo. For as long as you keep in mind the level of noise/grain in your images, you’re good to go.
On the other hand, shutter speed [2] affects capturing motion, and aperture [3] affects depth-of-field, but both also affect exposure as well.
Invest the time to get a genuine understanding of all three, practice… then practice some more.
Learning to shoot in manual mode doesn’t have to be an overwhelming task! Just take the time and have a little patience learning your camera from the inside out. When you produce well-executed images by controlling your settings, you will be glad you invested the time and energy into the craft. No one becomes a pro overnight.