The Ins and Outs of Golden Hour Photography

Whether you call it the golden hour or magic hour, one thing is clear: This time of day has the potential to let you take some truly spectacular shots. This time of day takes place right after sunrise or just before the sun sets. Essentially, this is when the natural light is both softer and redder than when the sun’s high in the sky.
What’s really nice about the golden hour is the very unique quality of photograph you can produce. It’s hard to replicate this effect, no matter how hard you try with things like filters, actions or textures. To succeed with golden hour photography, you have to know how to make it work to your advantage.
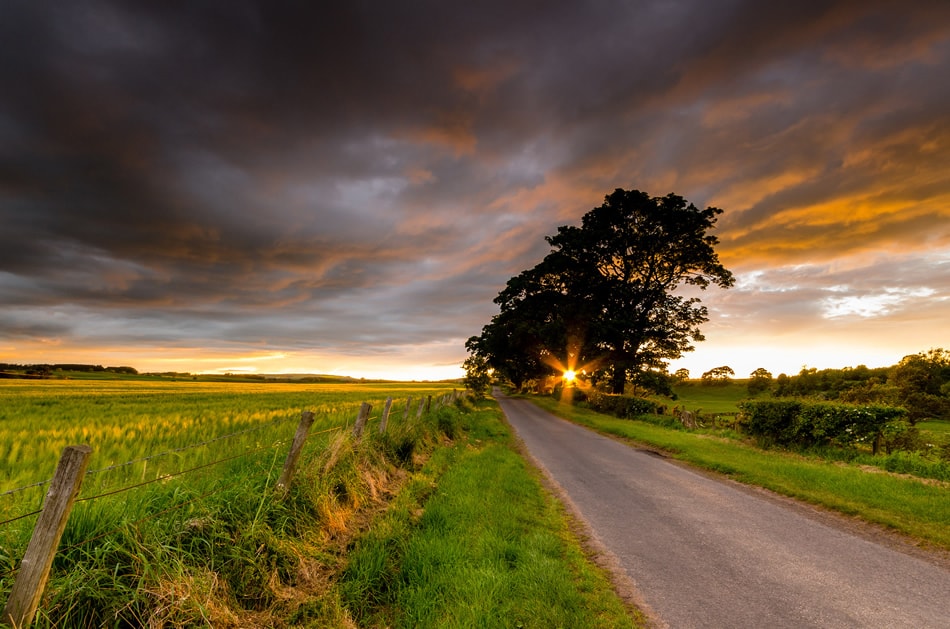
Photo by Jonathan Combe
1. The Qualities of the Golden Hour
This brief time of day that rolls around twice every 24 hours has very unique properties. First of all, it’s really soft, which means your subjects are going to look more attractive than ever. That’s because the natural light is journeying through a lot more of the planet’s atmosphere. Usually, during the golden hour, your subjects can actually face the sun, but they won’t need to squint!
Color temperature-wise, the golden hour is warm. Warmer colors make people in general look more flattering in shots. When the light is golden, what happens is that more of the blue wavelengths get scattered, thereby making the light appear more yellow and reddish.
Finally, the golden light is also dimensional. Thanks to the low angle of the sun just before sunset, more directional light is scattered. As a result, you get shadows that are longer as well as softer than during the entire day. In turn, this makes scenes look more interesting, too.
Okay, now that you know the basics of the golden hour and what makes this part of the day so advantageous to photography, it’s time you learnt some shooting tips to get amazing photographs.
2. How to Find the Right Location
Location scouting can really help or sabotage your golden-hour foray – it’s that important. Find a familiar area; if you’re not familiar with it, take some time to actively scout it to understand its strengths and weaknesses.
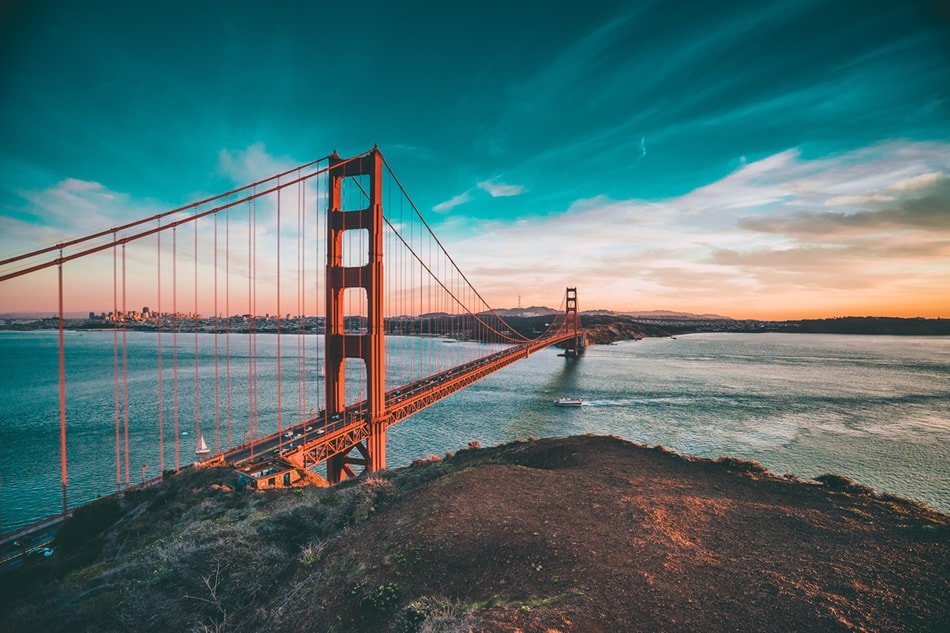
The geography matters a lot. For example, if you’re thinking of shooting the golden hour in an area with lots of tree cover, be mindful of the fact that the light will be diffused all the more. This means you’ll get something of a spotlight kind of effect in your shots.
Further, if you’re not sure when exactly the golden hour happens in your neck of the woods, just consult the web to find sites – like the Sunrise & Sunset calculator from Cambridge in Color – and apps – like the Golden Hour One app – that calculate exact sunrise and sunset times for extra precision.
3. Getting the Metering Right
Instead of spending a lot of time in post-production to attempt to get the look you want, use spot metering from the get go. Don’t even think of putting your camera in standard mode.
To recap, spot metering is when your camera just measures the light from a tiny area of your scene. Usually, this small area is the center of your image, and it spans a three- to seven-degree range of measure. A highly effective mode of metering, spot metering works very well in high-contrast circumstances and offers quite precise readings from these small areas.
In terms of golden hour photography, try to spot-meter just off your subject’s face or the image’s shadowy portion. Then, follow up by recomposing and adjusting your exposure compensation by approximately half a stop or more for the look you’re going for.
4. Refine Your Shooting Techniques
While this may seem like a no-brainer, it definitely needs to be explicitly said, just the same: you’re under a harsh time crunch during the golden hour, as the gorgeous, natural light won’t stay soft, warm and dimensional for a that long. Your only solution is to shoot fast. Yes, this takes practice, but you need to make the most of your pretty short window of time to make this work well.
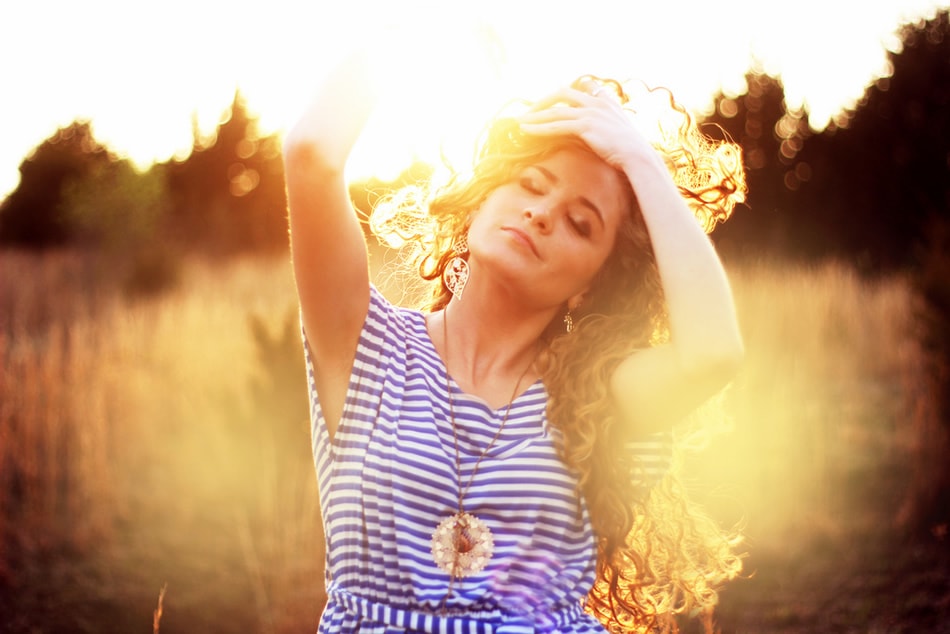
Photo by haylee –
Another issue is your aperture. A wide aperture works best for shooting at this time of day. Look at this as a perfect way to get more comfortable with using a wide aperture, if you don’t find yourself normally shooting wide.
When it comes to white balance, it’s best to reject the auto white balance. Auto white balance doesn’t lend itself well to the golden hour. Instead, adjust your white balance to cloudy; if you don’t, you’ll defeat the purpose of shooting during this time, which is to get as much of that glorious, golden glow in your frame.
5. Using the Natural Light
Use front lighting during the golden hour for amazing results. This is when your subject directly faces the sun. Your subject won’t have to squint since the light’s soft, and the sun is at a low angle in the sky. Not to mention, the sun isn’t harsh, and the light’s even and warm, allowing you to shoot subjects in a flattering light.
With back lighting, your subject is right in between the sun and you. Creating a warm glow, scenes of this nature are usually stunning. Help this innate advantage by exposing for your subject’s skin tone instead of exposing for the sun, which typically creates silhouettes. Of course, if you want silhouettes in your shot, that may be something worth experimenting with.
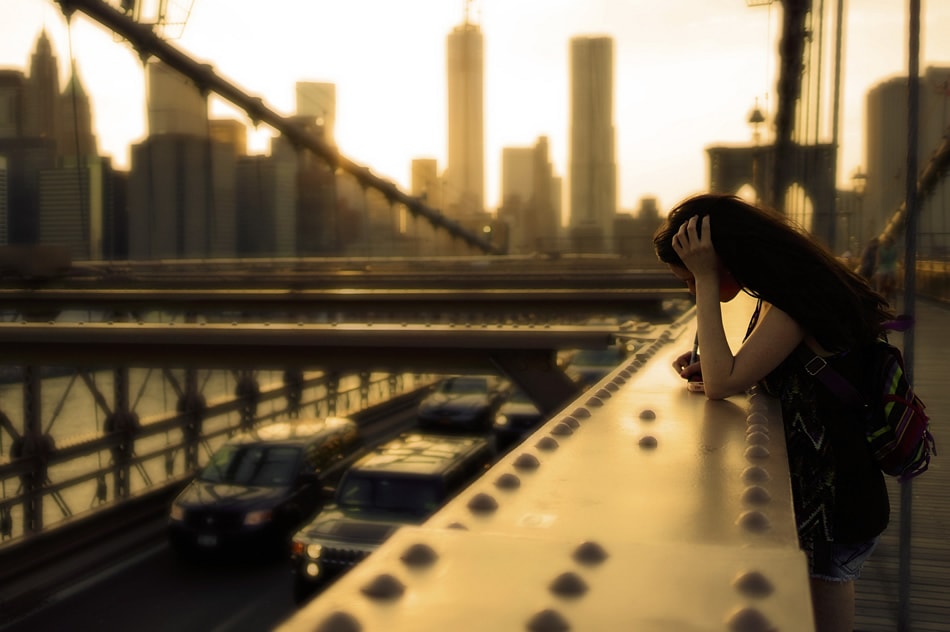
Photo by Dianne Rosete
We can’t forget about rim lighting, which is the sun acting as a backlight for the subject. Now, the subject is in between the sun and you. With a darker background, you can maximize rim lighting’s effect, as there typically will be a subtle glow outlining your subject. This is the beauty of rim lighting: It heightens the contrast between your subject and the background, thereby making the subject the focus and clearly separating it from the background.
6. Golden Hour Spectacle
If you have the right location and the right techniques, then golden hour photography can be effective and magical. Half the battle is all about understanding the natural light, so if you know how to make it work to your advantage, you’ll see great success during the golden hour.
Remember that you’ll have to work fast in any event, as this magical time of day doesn’t last too long. On the bright side, though, if you fail the first time, you can always try to hone your skills the next day… and every day thereafter.
About the Author: Marc Schenker
 Marc is a copywriter and content marketer who covered photography. These days, he runs The Glorious Company, a content marketing agency.