Photographs of mountains have something heartwarming, inspiring, and beautiful. The photo can be of a glorious sunrise peeking through the mountains or it can be a snow-capped mountain. Mountains are the favorite subjects and the perfect location for nature and landscape photographers.
Mountain landscape photography can take your breath away, especially when the composition is perfectly achieved. But it is not something that you can do with just a simple click of your camera. It can be quite challenging.
Like everything else in photography, however, there are tips and tricks that you can use to guide you as you move along in your mountain landscape photography.
Tips & Tricks to Remember When Shooting Mountain Landscape Photos
One of the first things you need to understand when you start shooting mountain landscape photos is dynamic composition [1]. This term pertains to images that clearly exude or project the look and feel of the natural world.
In other words, the more natural an image appears to be, the more dynamic it is. This is an important factor for mountain landscape photography.
As such, it is essential for photographers to consider the following when composing a shot or scene:
- lines (leading or converging)
- visually appealing and interesting foreground, mid-ground, and background elements
- good tonal control and vivid colors
- an attention-grabbing and unique perspective
- some sense of movement or action (image must suggest that there’s activity going on)
It may be quite difficult to find a photo that capture all the above-mentioned dynamic elements, but there are more than enough that possess most of the qualities. Then again, you can always practice as long as you want until you become comfortable with most – if not all – of the elements of dynamic composition.
Briefly, here are some reminders to guide you as you work on the elements:
1. Lines in photos attract a lot of attention
Leading lines [2] are useful for holding audiences’ focus or their attention to the image such that they zero in more on it. Converging lines, on the other hand, help create depth – or an illusion of it – in an image.
2. Visualize mountain photos that made you stare in amazement
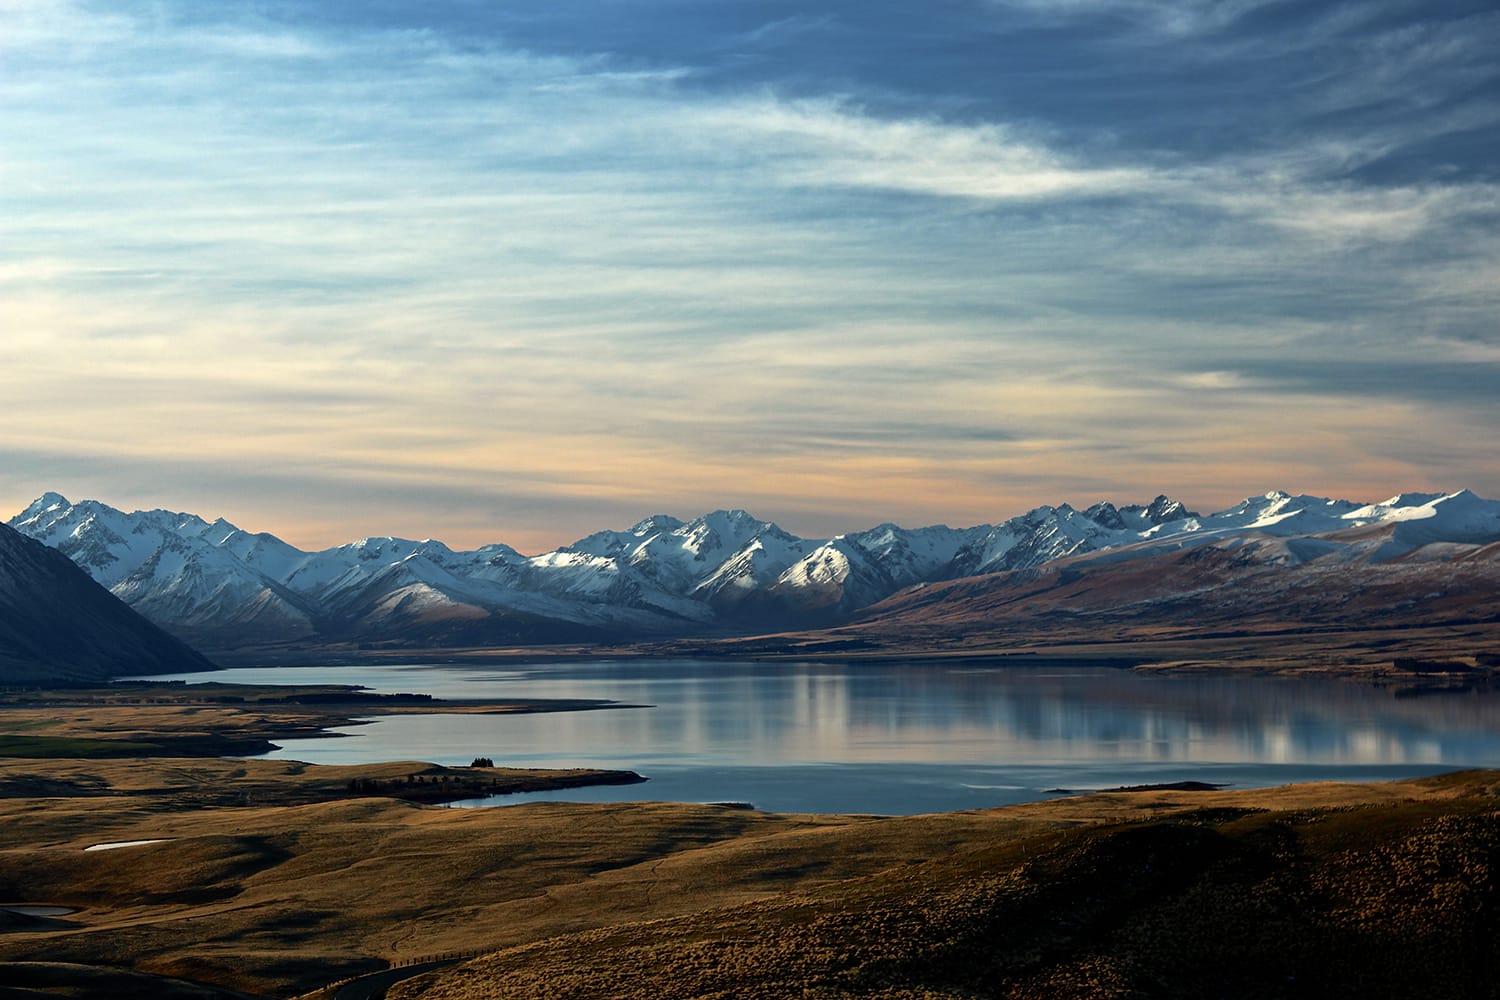
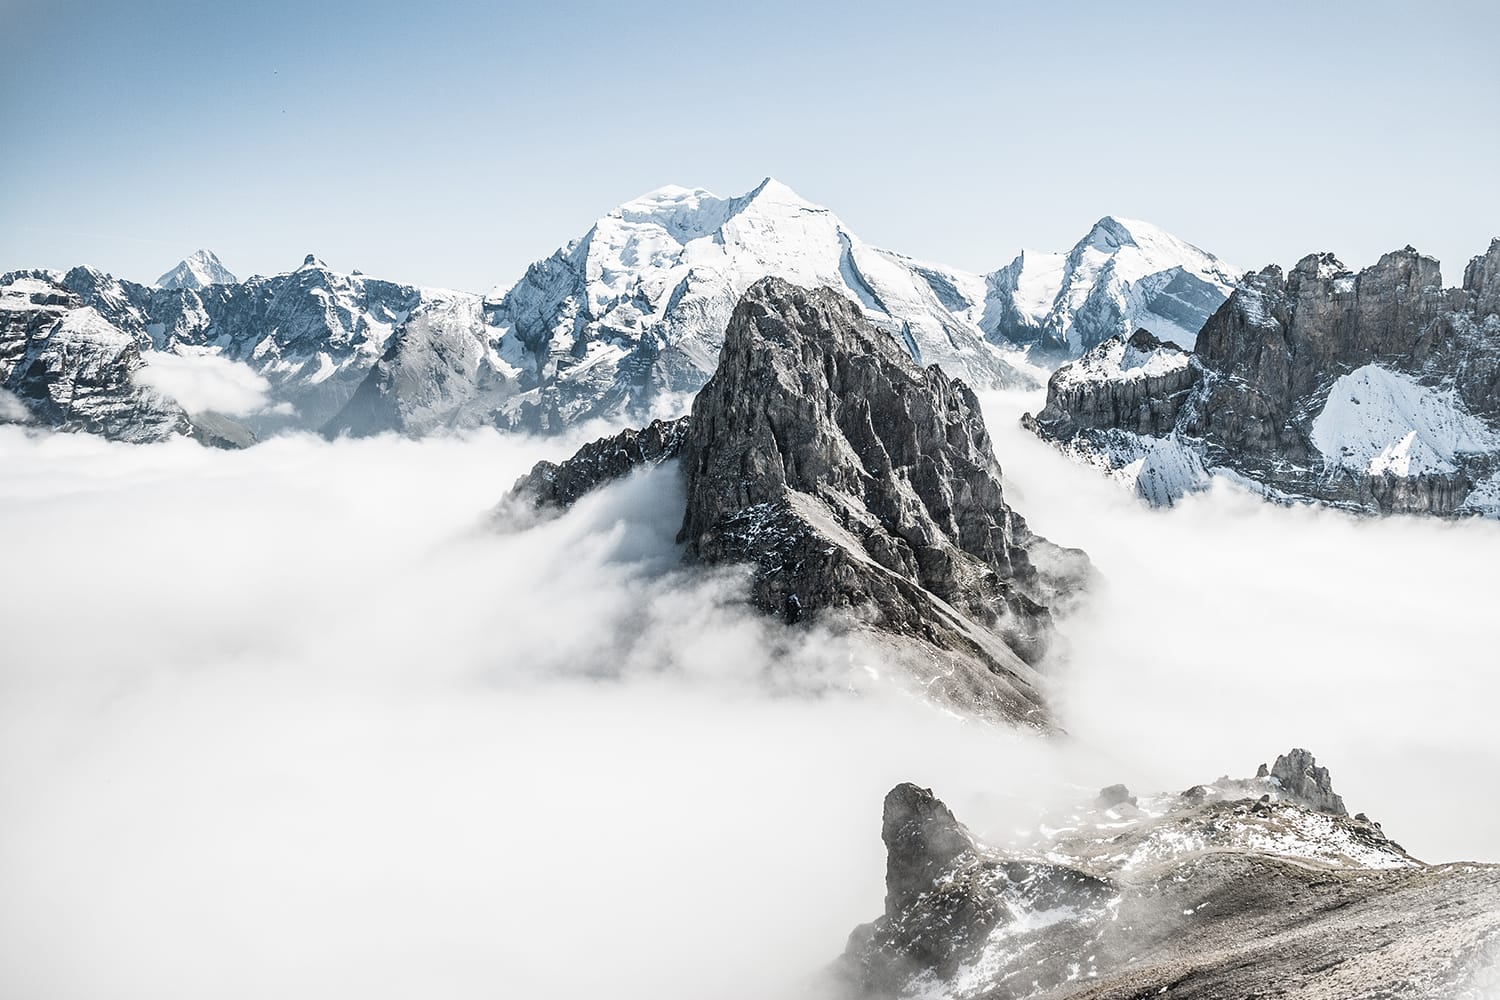
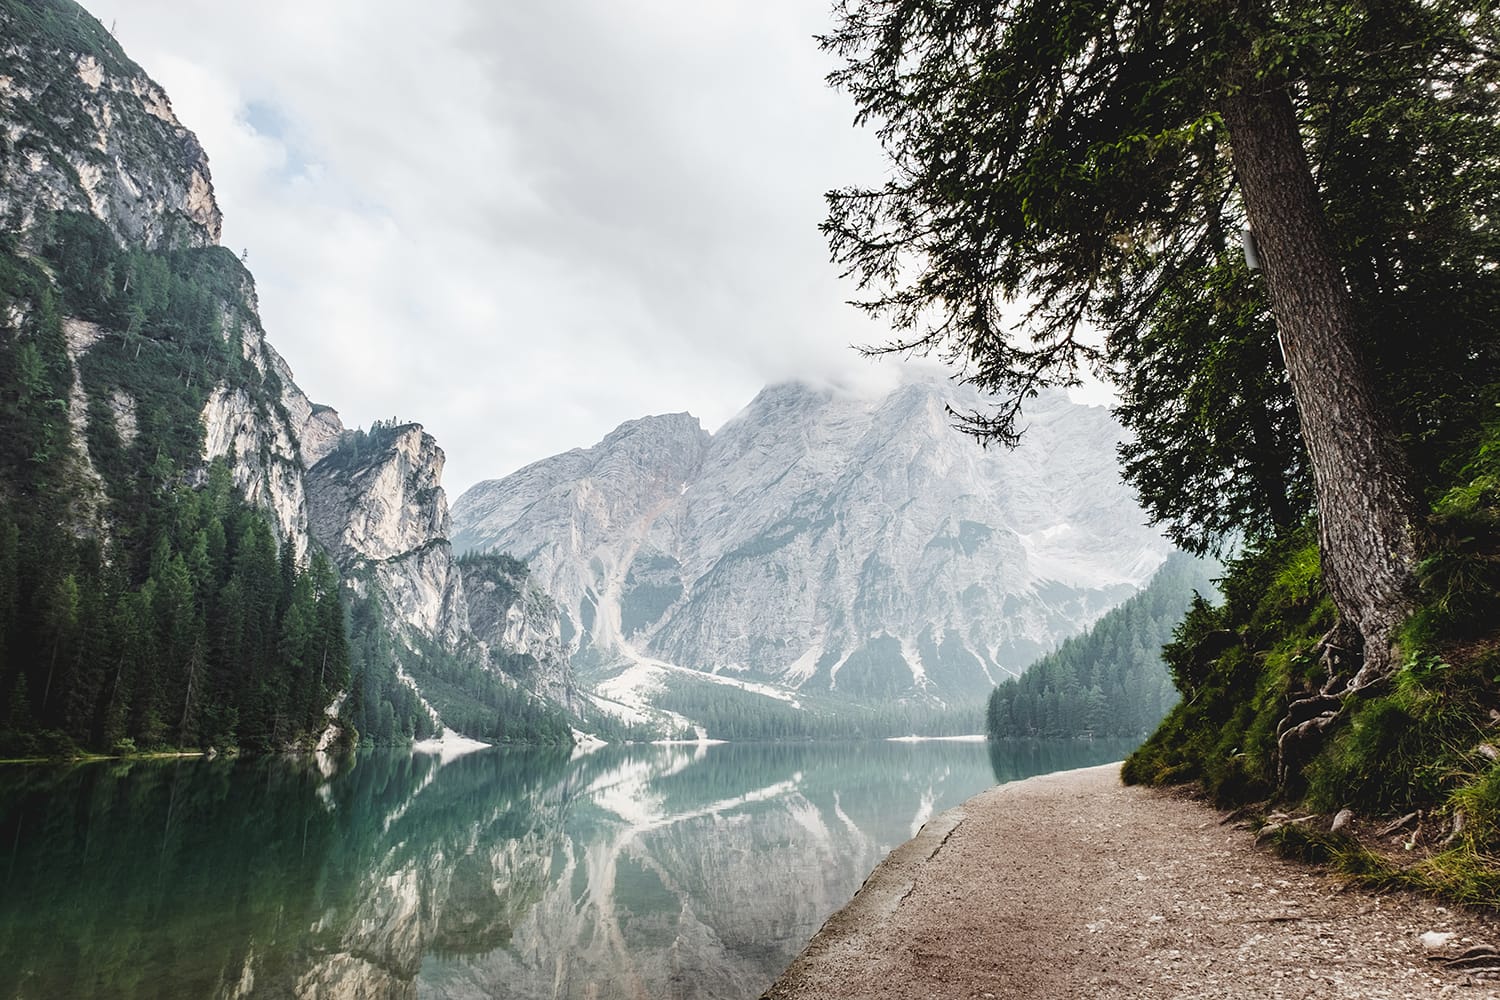
A lot of them have stunning foregrounds, mid-grounds, and backgrounds. A good example would be a panoramic photo of cloud-covered mountains with a calm sparkling body of water (i.e. a river or ocean) in the foreground.
Mid-ground and background elements add more life to images. Most of the time, audiences will look at the background first before focusing on the foreground. As such, you need to have a visually appealing and interesting one. The same thing goes for mid-ground elements. Go around and practice shooting from different positions and angles first and stop only when you’ve found the most visually interesting combination of elements.
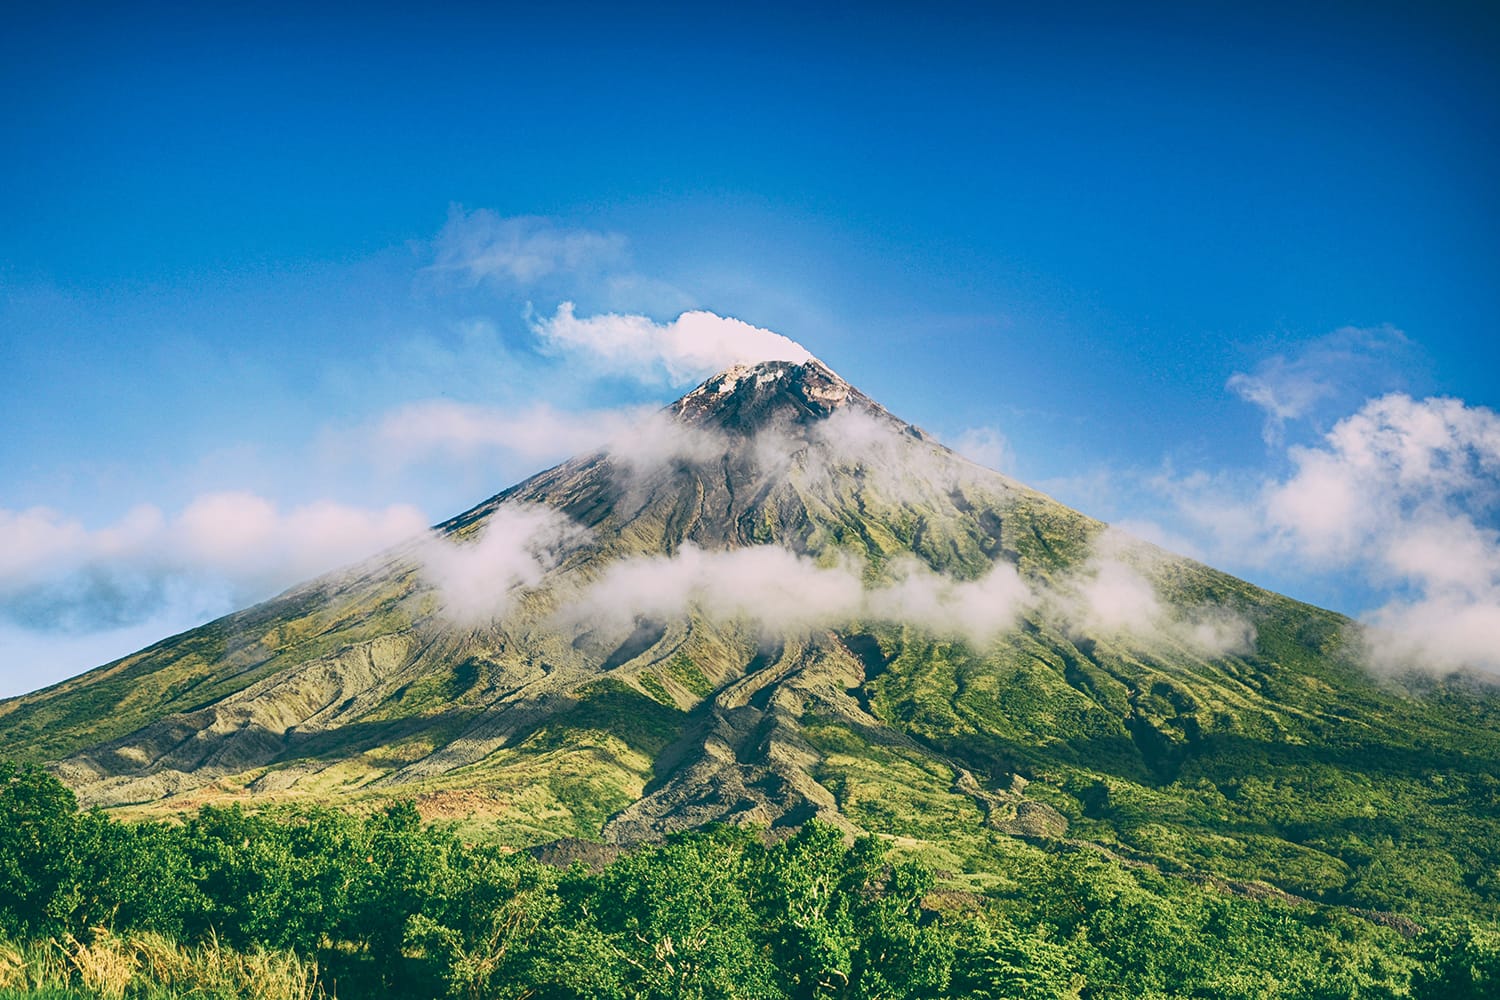
So aside from the calm sparkling river, adding a background element like the sun peeking through the mountains or shining high up in the clear blue sky can do the trick.
3. Good tonal control combines the photo’s light & dark edges
This is what’s more popularly known as vignette. When you use vignettes, you are drawing your audience to both the light and dark elements of the image. As such, their attention is held longer than usual.
4. If you want dynamic images, you should know how to work with colors
Vivid colors. Don’t overdo this though as you might end up with overly saturated photos. Always keep the colors in the right balance.
5. Employ unique and interesting perspectives
The tricks are: learn to experiment and move around; don’t stay stuck in one area just standing up. Get down, move closer to the ground or water or snow, or find a spot where you are slightly elevated.
6. Getting a sense of action or motion
This can be quite challenging, as achieving the perfect frozen motion or motion blur is not easy. Use a tripod or apply a fast shutter speed above 1/100th of a second.
More Useful Tips and Tricks
Apart from the composition-focused tips given above, there are other things you also need to keep in mind and practice when shooting mountain landscape photos.
7. Where do you plan to shoot?
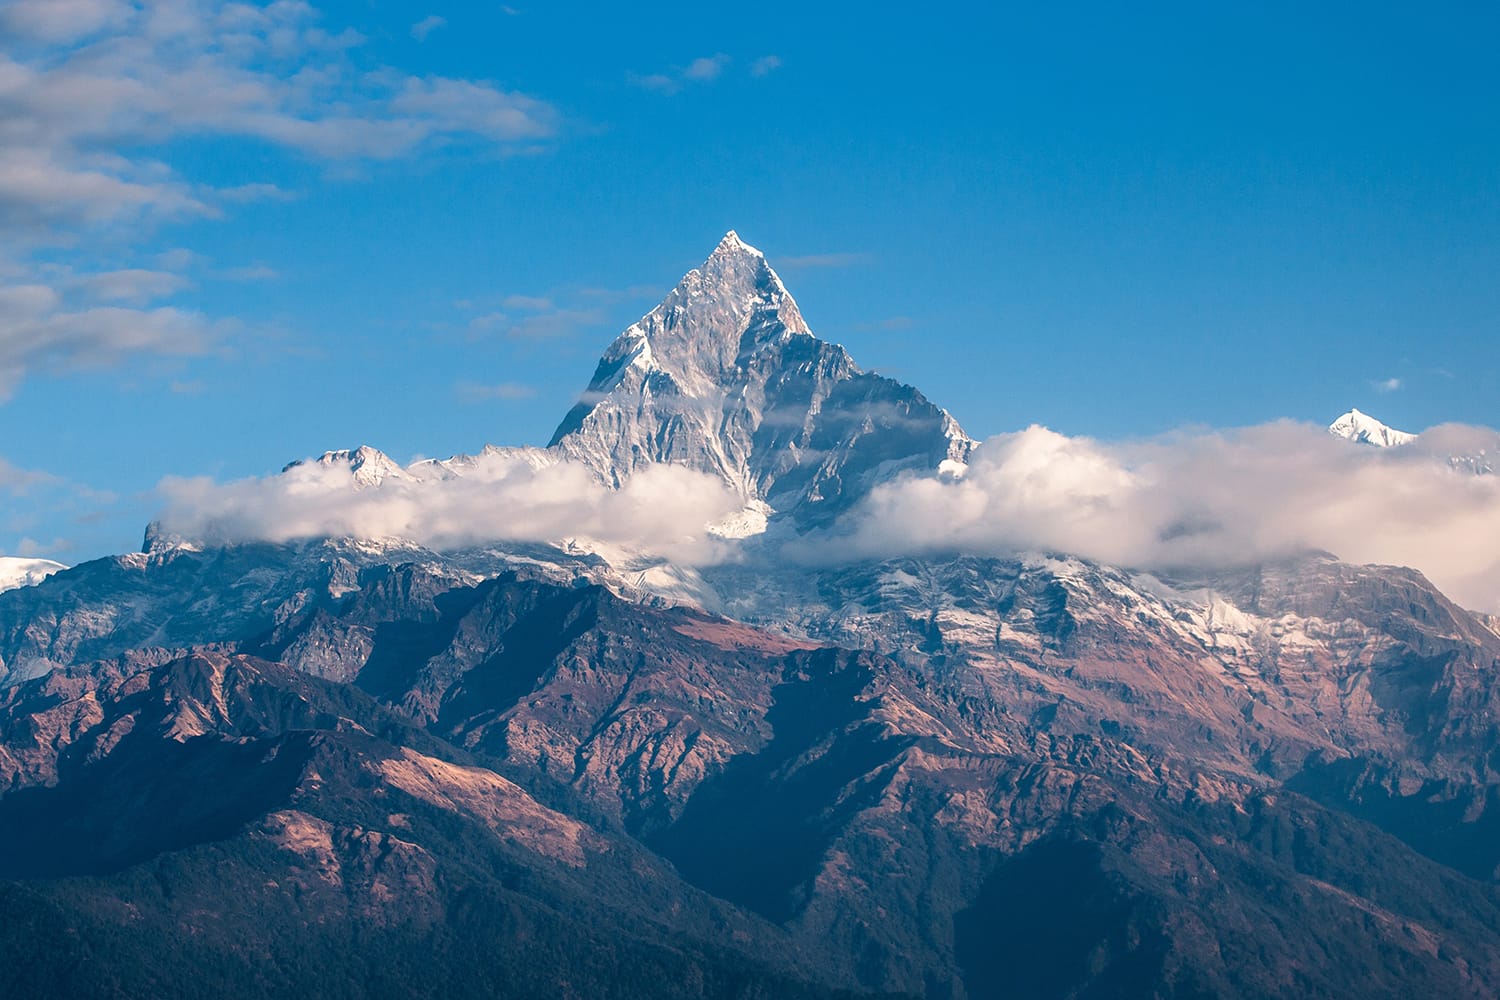
Do you prefer hard mountains or the softer ones? Do you fancy large boulders of rocks? Are you particular with the shape of the mountain? Should they be perfect cones? Or maybe you prefer snow-capped mountains? Decide first where you want to shoot and which mountain you want to focus on before you start your journey.
8. Consider the time and season
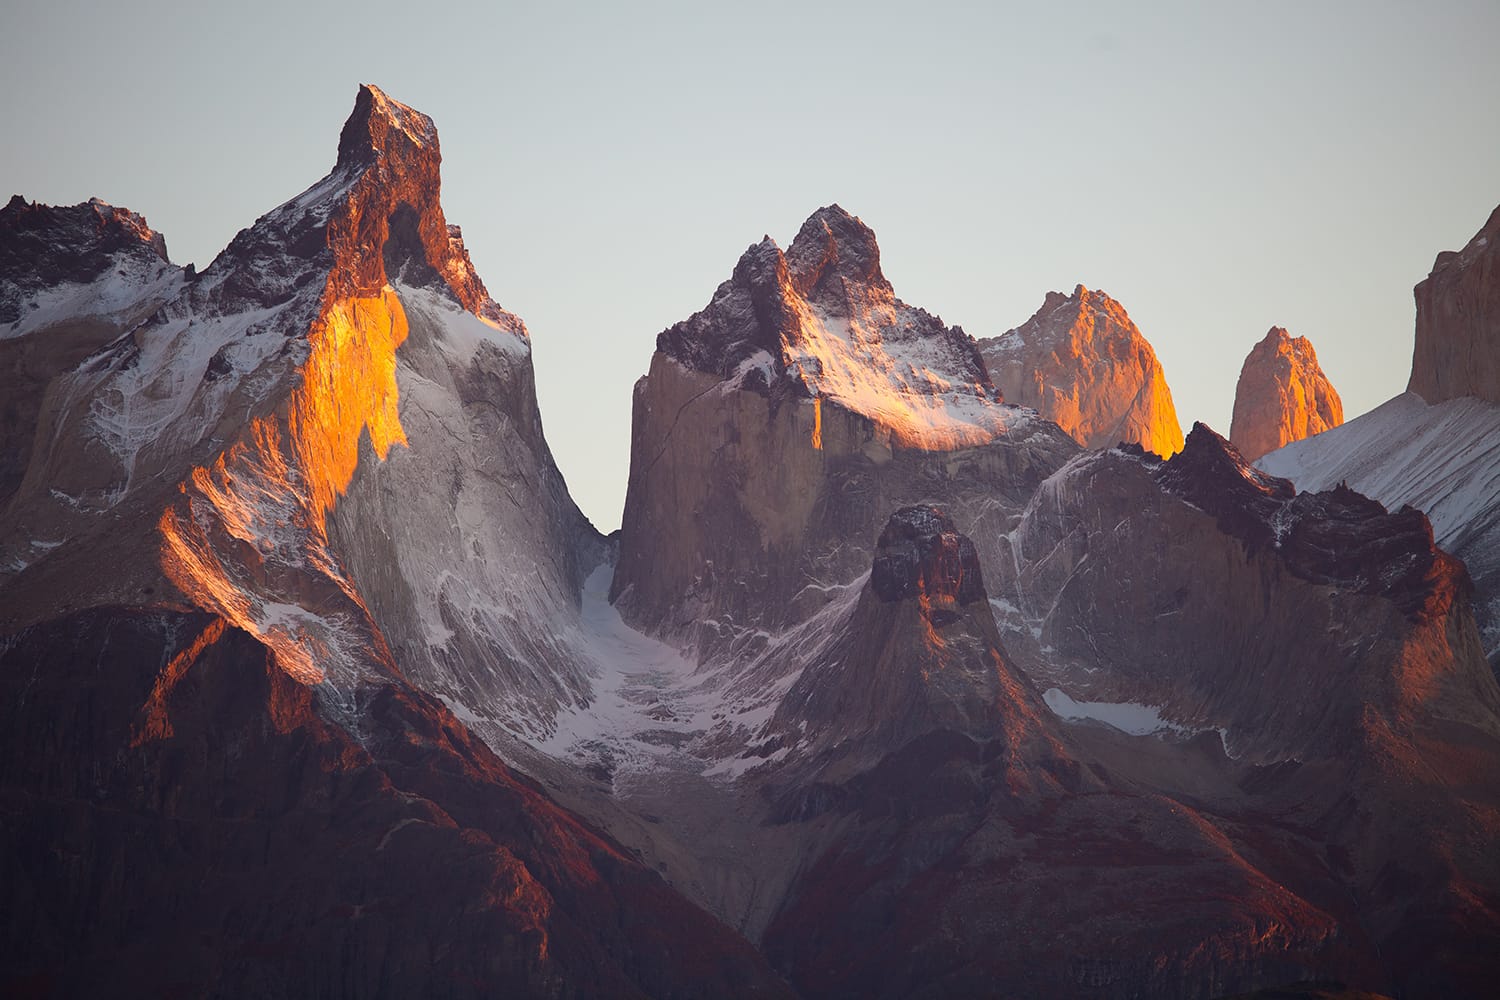
The light you’ll get will depend on your choice. For example, if you want an autumn-like effect on the mountains, the last weeks of September and first weeks of October would be perfect. This will give you the right amount of light. It is softer too.
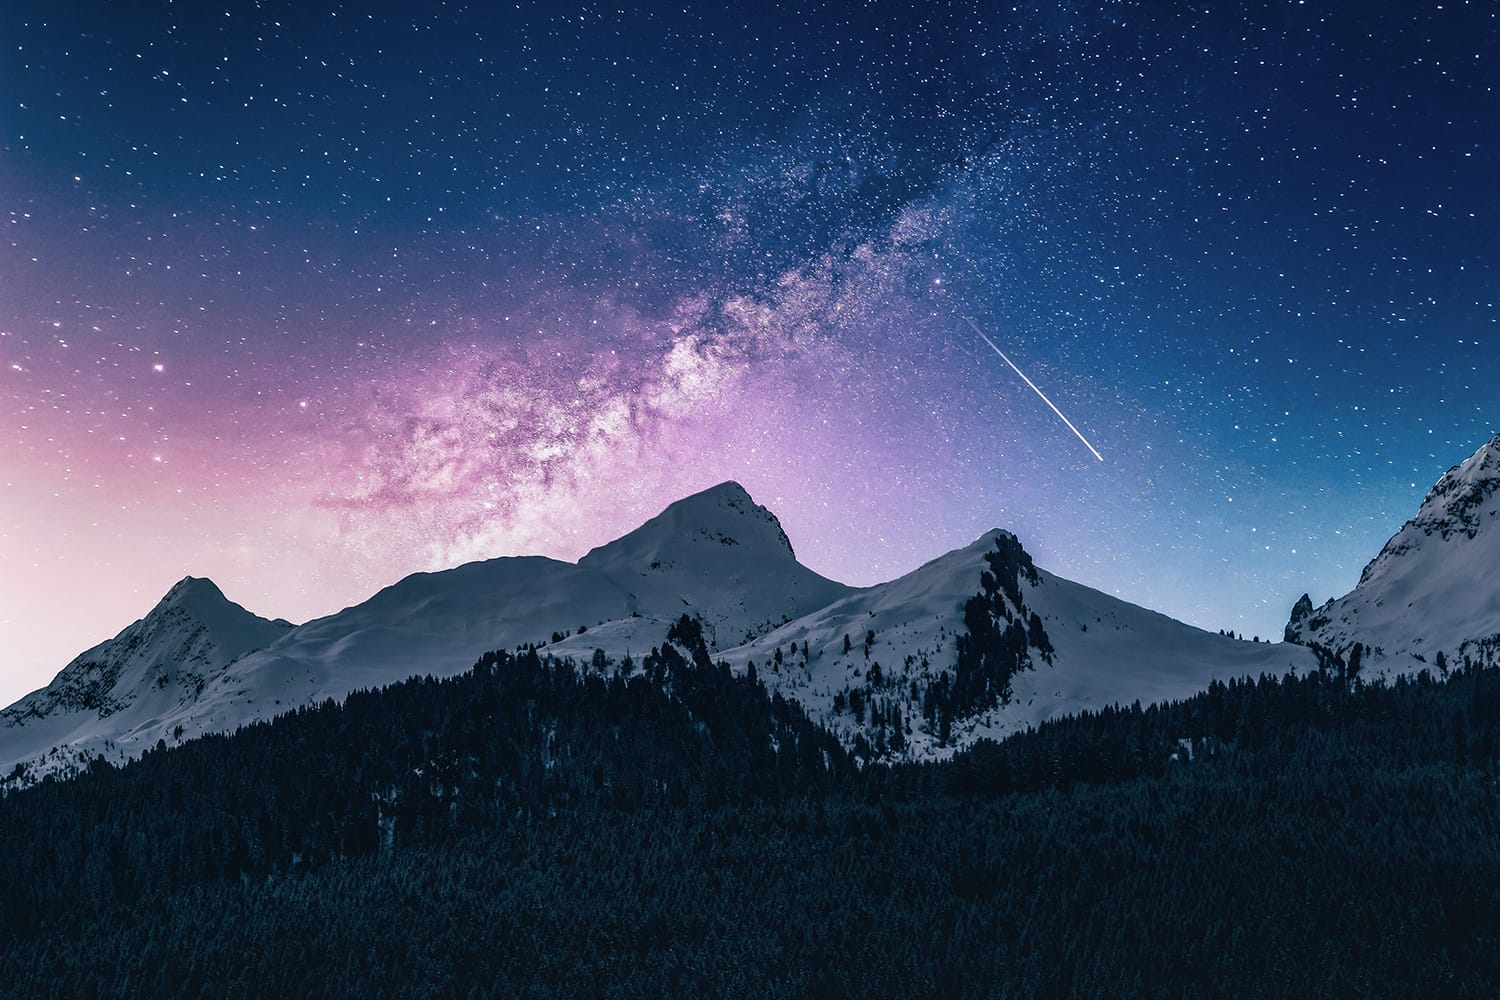
If the mountain you plan to shoot is located near or above the Arctic Circle, it would be best to go in the winter season. Who knows? You just might capture the Northern Lights [3]!
Although many prefer to shoot in the daytime, mountain photography is ideal at night, during the golden hour, or very early in the morning; when clouds swirl around the mountain’s tips and pinnacles.
9. Be at the location hours before the actual photoshoot.
This will give you ample time to go around and explore the place. If you can, spend at least a half a day scouting the location.
10. Don’t forget the Rule of Thirds
Ideally, the sky should take up only one third of the entire photo. The other thirds should be for the background and foreground (lower part). Use the grid view of your camera if it comes with one.
11. Include people and/or water in your images
Including people or a group of people can help you achieve an interesting perspective. Adding water to the picture, on the other hand, will give you extra points for composition. Water, any body of water at that, simply blends well with mountains.
12. Add some drama and emotions to your image
Who doesn’t want drama and emotions in photos [4]? You can do this by adding fluffy clouds or a setting sun with its reflection in the water. To creatively convey emotions in mountain landscape photography, adjust the position or angle of the horizon. Placing it high will have a strong dramatic effect [5], while placing it a bit below the frame’s center will give off a lonely, sad effect.
13. Add some negative space when necessary
Negative space is an empty or blank space in an image. It adds more meaning to your composition. Just make sure that the negative space [6] isn’t too dark or too bright so it won’t grab the viewer’s attention away from the subject or main focus. For example, if you want a sad or moody effect, add some misty grey area beside a mountain peak.
Practice Makes Perfect
Yes, practice makes everything better and, eventually, perfect. So, go out and bring your camera. Explore mountainous landscapes and keep clicking!