In photography, if you want to create a certain kind of mood, one of the things that you can do is use high and low key effects. These effects are important if your intention is to be as creative as you can be and play with the atmosphere and style of your photos.
But there’s more to high and low key photography than white backgrounds and lower or higher contrast.
Defining High Key and Low Key Lighting
Originally, high key lighting was used to help improve high contrast ratios. It is important to note, however, that the concept key lighting started in the film industry. Cameramen used the term key light whenever they referred to the main light used for a particular scene. Along with the key light, the cameramen would also use backlight and fill light to complete the lighting effect that they envisioned for the scene. Of course, nowadays, more sophisticated lighting technology is used in movie-making, so the three-light technique, while still in use today, has paved the way to more complex lighting setups.
When you say high key lighting [1], what you are referring to are scenes that possess a lot of whites and light tones – a whole range of them. These images have very minimal mid-tones and blacks. If you use high key lighting in your photos, the mid-tones or mid-range tones become white. The whites, meanwhile, become whiter. High key photography is not devoid of blacks, it just has very minimal amounts of the said tone. For example, if you’re shooting a portrait of a child, your subject’s eyes will still have black pupils (not white).
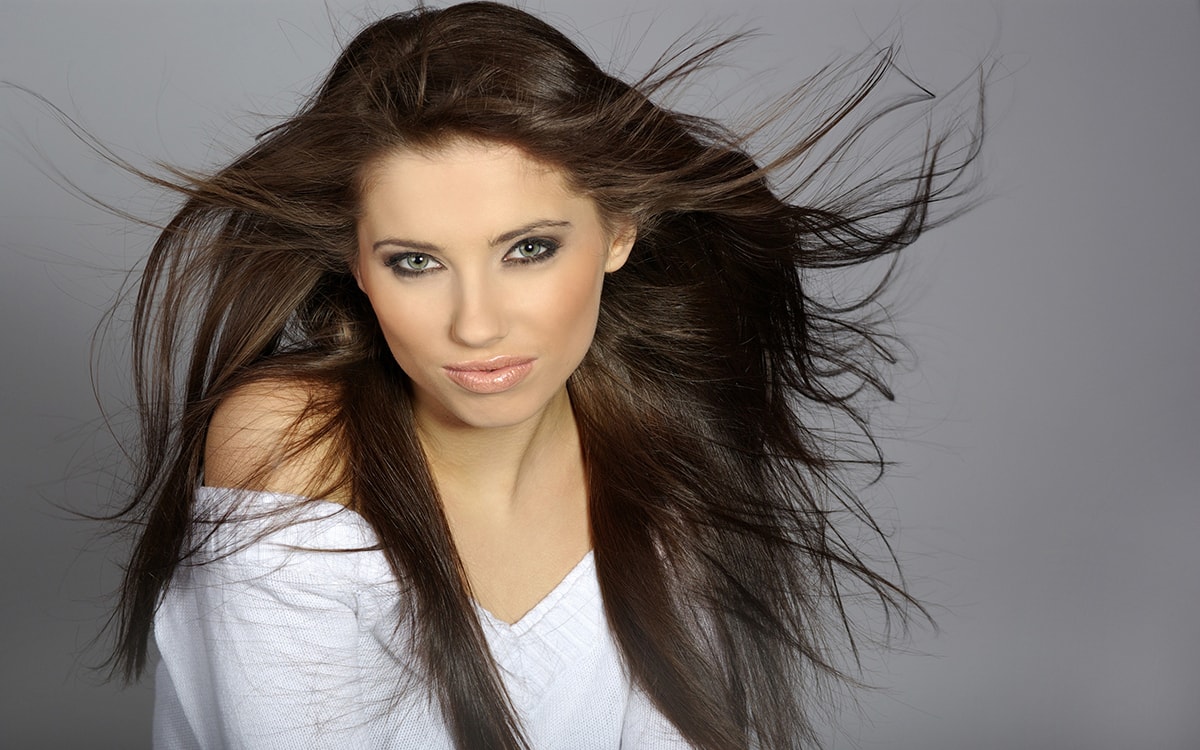
High key lighting is used to produce images that encourage an optimistic, upbeat reaction. The photos come out youthful and simple but sophisticated.
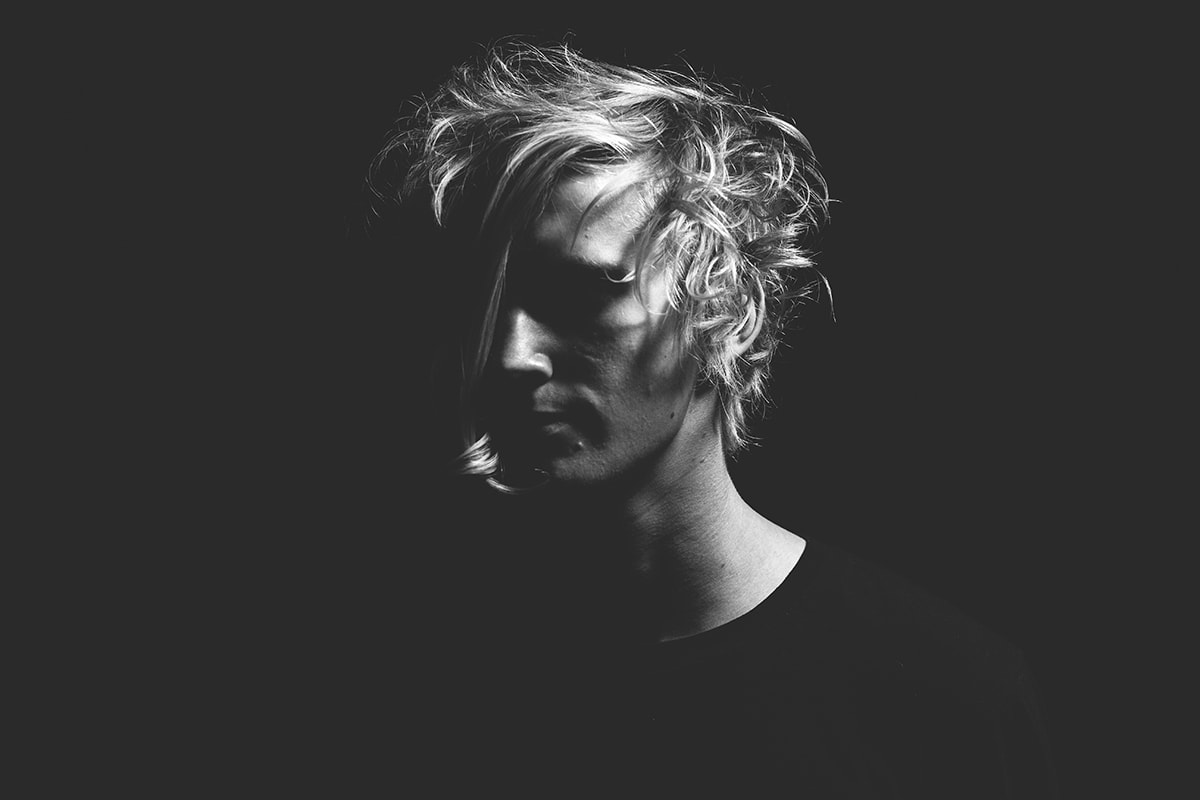
Low key lighting, on the other hand, produces images that are the opposite of high key photos. The low key technique uses a lot of darker tones, shadows, and blacks (the really deep ones). Photos taken in low key lighting [2], therefore, have very minimal amounts of mid-tones and whites.
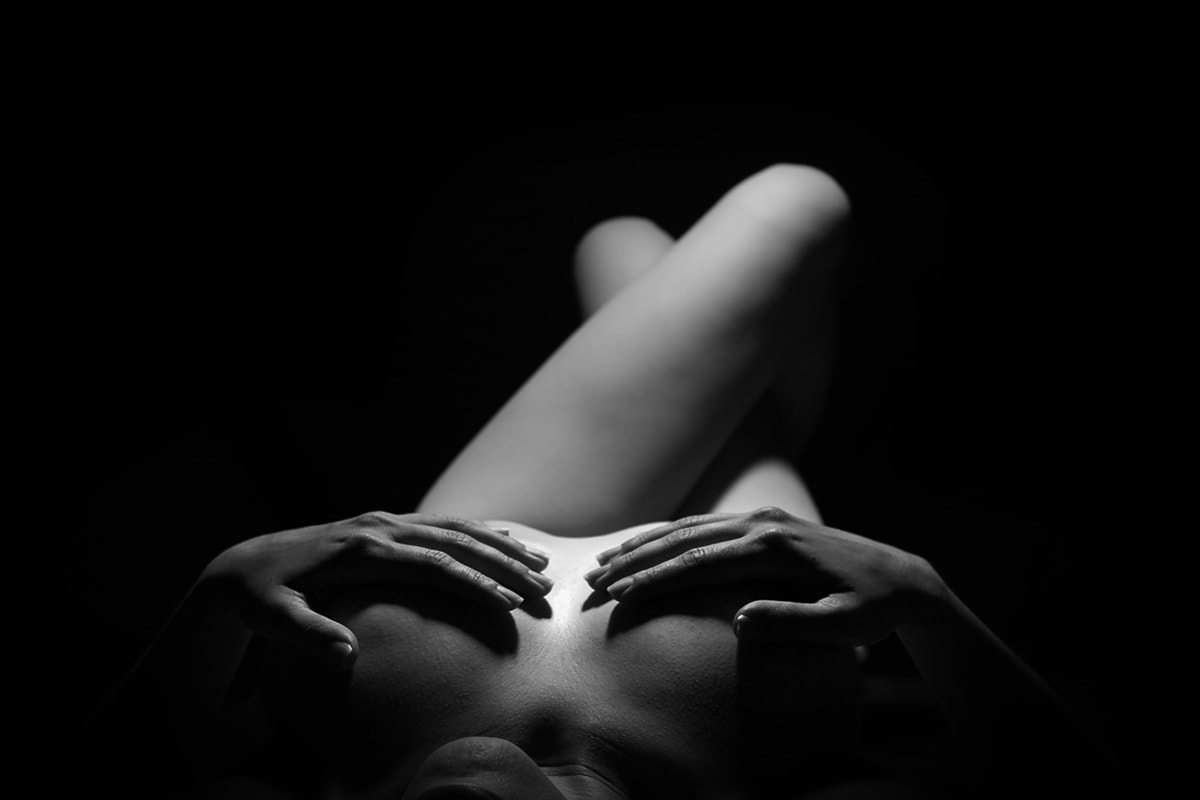
Images taken in low key lighting create a mysterious and dramatic mood. They can display a varying range of deep negative emotions. Of course, the over-all effect depends on the scene, the subject, and the theme being portrayed.
Characteristics
To help you better understand [3], here’s a list of the most dominant characteristics of high key and low key lighting:
High Key Lighting:
- Bright and high lights dominated by ranges of whites
- Very minimal blacks and mid-tones
- Optimistic, upbeat, youthful, light, and airy
- Mostly used in portrait, wedding, newborn and fashion photography
Low Key Lighting:
- Uses a lot of deep blacks, darker tones, and shadows
- Very minimal amount of whites and mid-tones
- Reduces lighting to produce images with striking contrasts
- Produces dramatic and mysterious photos
- Features a lot of shadows

High Key Lighting Photography Tips
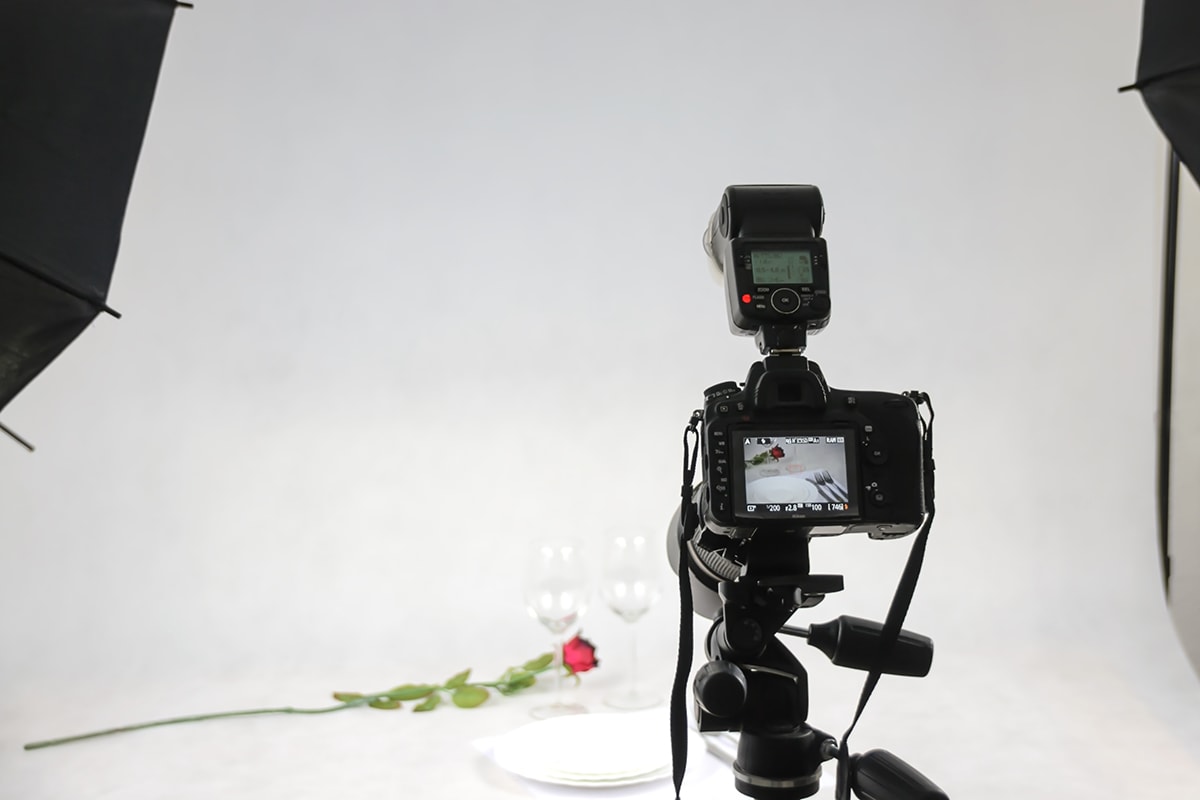
Basically, if you want to produce high key lighting images, you will need to have a good and reliable set of studio lights. This means you’ll need a fill light, two lights for the background (that should be brighter by one stop than the main subject light), and a key light that has at least double the amount of brightness compared to your fill.
The most common background color for high key lighting is white, although you can also create beautiful images using a pastel-colored background. Although a model’s outfit does not have a major effect on the lighting, it is advisable to stick with white or light-colored dresses.
If you cannot afford studio lights [4], you can always go for high key photography using natural light [5]. The best time to shoot naturally to achieve the high key effect you want is when the sky is overcast. Just make sure that there are no thunderstorms or rain.
Before shooting, take some time to experiment with your settings or take test shots of the background for your natural or outdoor shoot. Make sure that the background you choose does not have deep blacks, shadows, or dark tones. The more creative your photo is, the better its effect will be.
Be careful that you don’t create images with a lot of dark shadows. Too much dark shadows in your photo might not be pleasing.
Low Key Lighting Photography Tips
You can also shoot low key images inside the studio, but you’ll have to use just one source of light instead of the three that high key photography uses.
When it comes to the background, be sure to avoid bright ones or whites. Go with deep black or something with a similar kind of darkness.
To get the maximum desired effect, make sure you do not shine any light on the subject and the background.
As in high key photography, you can also use natural light for your low key photos. The best time to shoot is at night. Just don’t forget an extra bright light source. The perfect example would be the headlights of a car. You can also shoot near a campfire. Streetlamps or streetlights can likewise provide the bright light you need, but this usually depends on how strong the light it shines is.
A daytime shoot can also work for low key photography, but you’ll have to know how to properly position your subject so that it gets some light from the sun even if its background is shadowed. In addition to this, you’ll have to improvise and create your own background. Maybe you can bring a piece of deep black cloth or any similar material.
Finally, bring a tripod [6] and an off-camera flash [7].
When to Use High Key and When to Choose Low Key
Here are some examples of when you can use high key lighting and situations where low key photography are perfect:
High Key Lighting:
- Portrait Photography: when taking photos of business professionals; for baby or newborn photography; for fashion shoots; for pre-nuptial shoots; professional or fun close-ups or shoots. Weddings, especially photos of the bride, are perfect for high key lighting.
- For professional portfolios (corporate employee profiles and model setcards)
- For nature shots
- For cinematic shots
- For advertising-related photoshoots (brochures, booklets, posters, billboards, etc.)
Low Key Lighting:
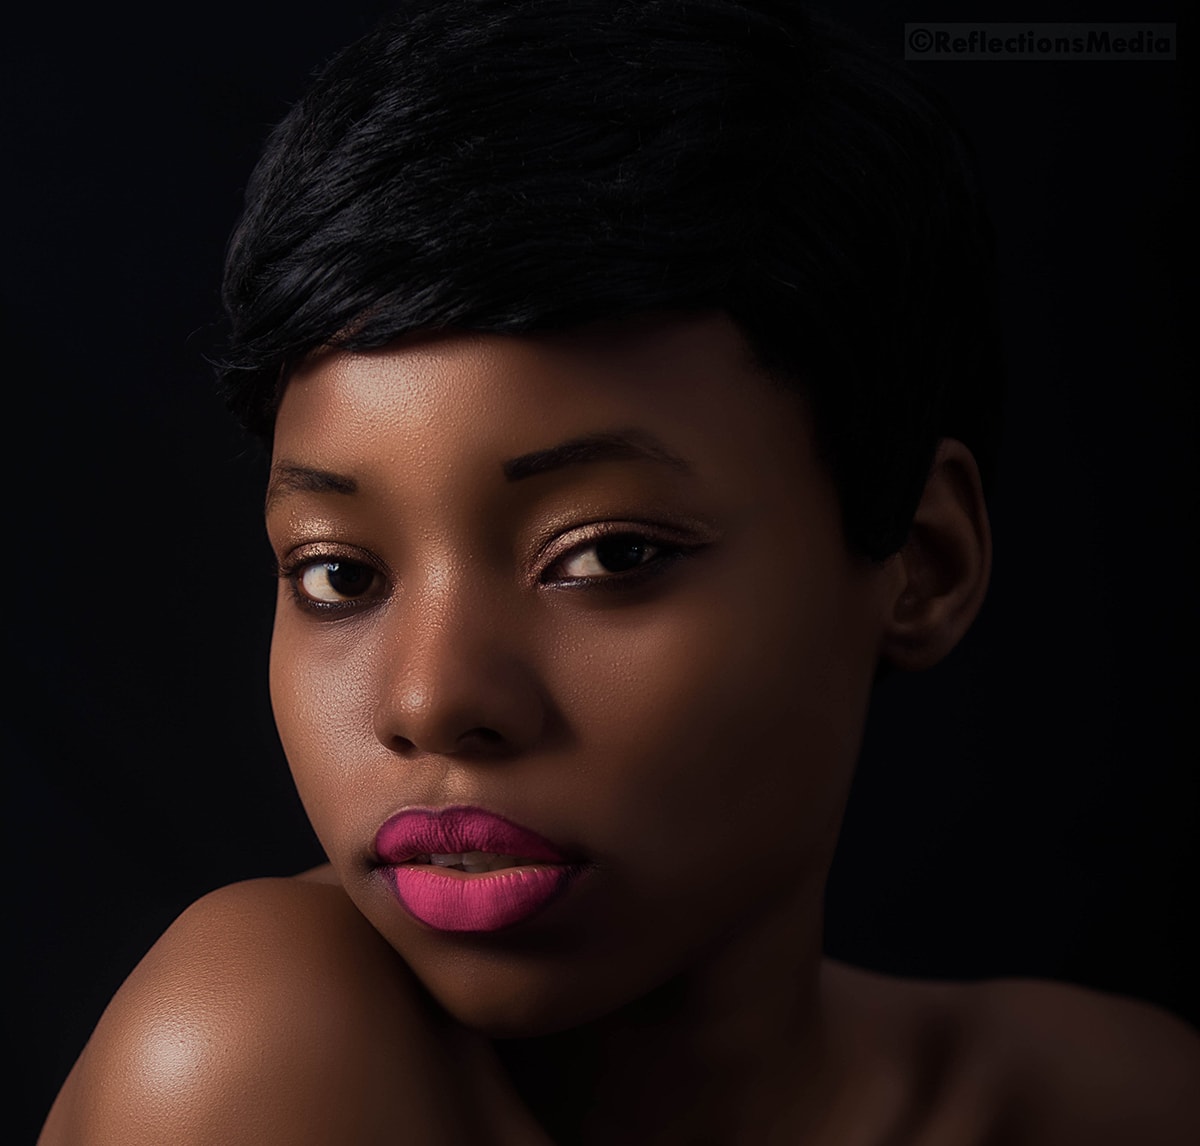
- Dramatic close-ups, like when you’re trying to capture emotion. A close-up of someone crying is a good example. Journalism and documentary photography would be a good example of this.
- When you’re trying to emphasize part of a subject’s face or body, for instance the subject’s blue green eyes.
- If you want your subject to look dramatic in black & white.
- When there is intense action happening, such as two people in a shouting match or two soccer players holding on to one ball.
To come up with the best results in high key and low key photography, practice as often as you can. In photography, practice makes perfect.