All About ISO Invariance
 by
Jo Plumridge
by
Jo Plumridge

Have you heard of ISO invariance? If the answer’s no, you’re not alone. Although it’s an important topic, it’s also technical and can even seem counter intuitive.
So in this guide, I’m going to break down the topic and try to simplify things.
Here’s what we’ll cover:
- What is ISO invariance?
- What are the sources of noise in a photo?
- What is Analog Amplification?
- What is Digital Amplification?
- What makes a camera ISO invariant?
- How does ISO invariance relate to dynamic range?
- How to use ISO invariance in real-world shooting scenarios.
What is ISO invariance?
We all know that ISO is one of the three elements of the exposure triangle (along with shutter speed and aperture), controlling the sensitivity of your camera’s sensor to light. ISO invariance is the fact that the electrical signals coming from your camera’s sensor are more or less the same no matter what ISO you’re using. The change comes with how these signals are amplified afterwards.
So, the idea is that if your camera is perfectly ISO invariant there would be no noise (digital grain) penalty for brightening a photo in post-production instead of increasing your ISO in-camera. However, no camera is perfectly ISO invariant at base ISO although many cameras become ISO invariant at high enough ISO values. The ISO invariance concept is that, in many ways, your ISO setting doesn’t actually matter. By this, I mean that whether you set ISO 3200 in your camera and then brighten in post production, or set ISO 12,800 in camera, the suggestion is that you’ll end up with two files that have the same amount of noise (although truthfully, the ISO 3200 photo may have more ability to recover highlights).
 A photo with high ISO. Photo by Maël Balland
What are the sources of noise in a photo?
To more fully understand ISO invariance we need to understand a little more about why noise occurs in a photo and the types of noise you might see in your image. Noise occurs both due to the scene in front of your camera and because of problems in your camera’s ability to read said scene. Let’s look at the types of noise in a little more detail:
- Photon noise – Photons are the basic unit of all light and the scene in front of your camera will produce noise purely because the photons from your subject don’t all arrive equally. This type of noise is present in the atmosphere so will always be present in your images.
- Front-end read noise – Front-end read noise (also known as upstream read noise) originates in your camera. There are lots of reasons for front-end noise, including imperfections in resetting your camera’s pixels after a photo. This type of noise is on the front-end of analogue amplification (which I will explain shortly).
- Back-end read noise – Back-end read noise (also known as downstream read noise) also comes from your camera and is often caused by factors such as the physical electronics in your camera. Back-end read noise happens after analogue amplification.
What is Analogue Amplification?
When we take a photograph light hits your camera sensor and photons collide with the pixels. This causes your pixels to start to emit electrons. A build-up of electrons starts to occur and the amount of charge that builds up is directly proportional to the number of photons that strike each pixel. More photons will mean more electrons being emitted. Now the camera converts that charge into an analogue voltage and amplifies it – hence the analogue amplification.
The amount of amplification that your camera applies directly depends upon the ISO you set. So, using a higher ISO tells your camera to amplify more in order to capture a brighter image.
While your camera is doing this both photon noise and front-end noise will have occurred and been amplified along with the actual signal during analogue amplification. Any read noise (i.e. back-end) that happens after this point won’t go through the analogue amplifier.
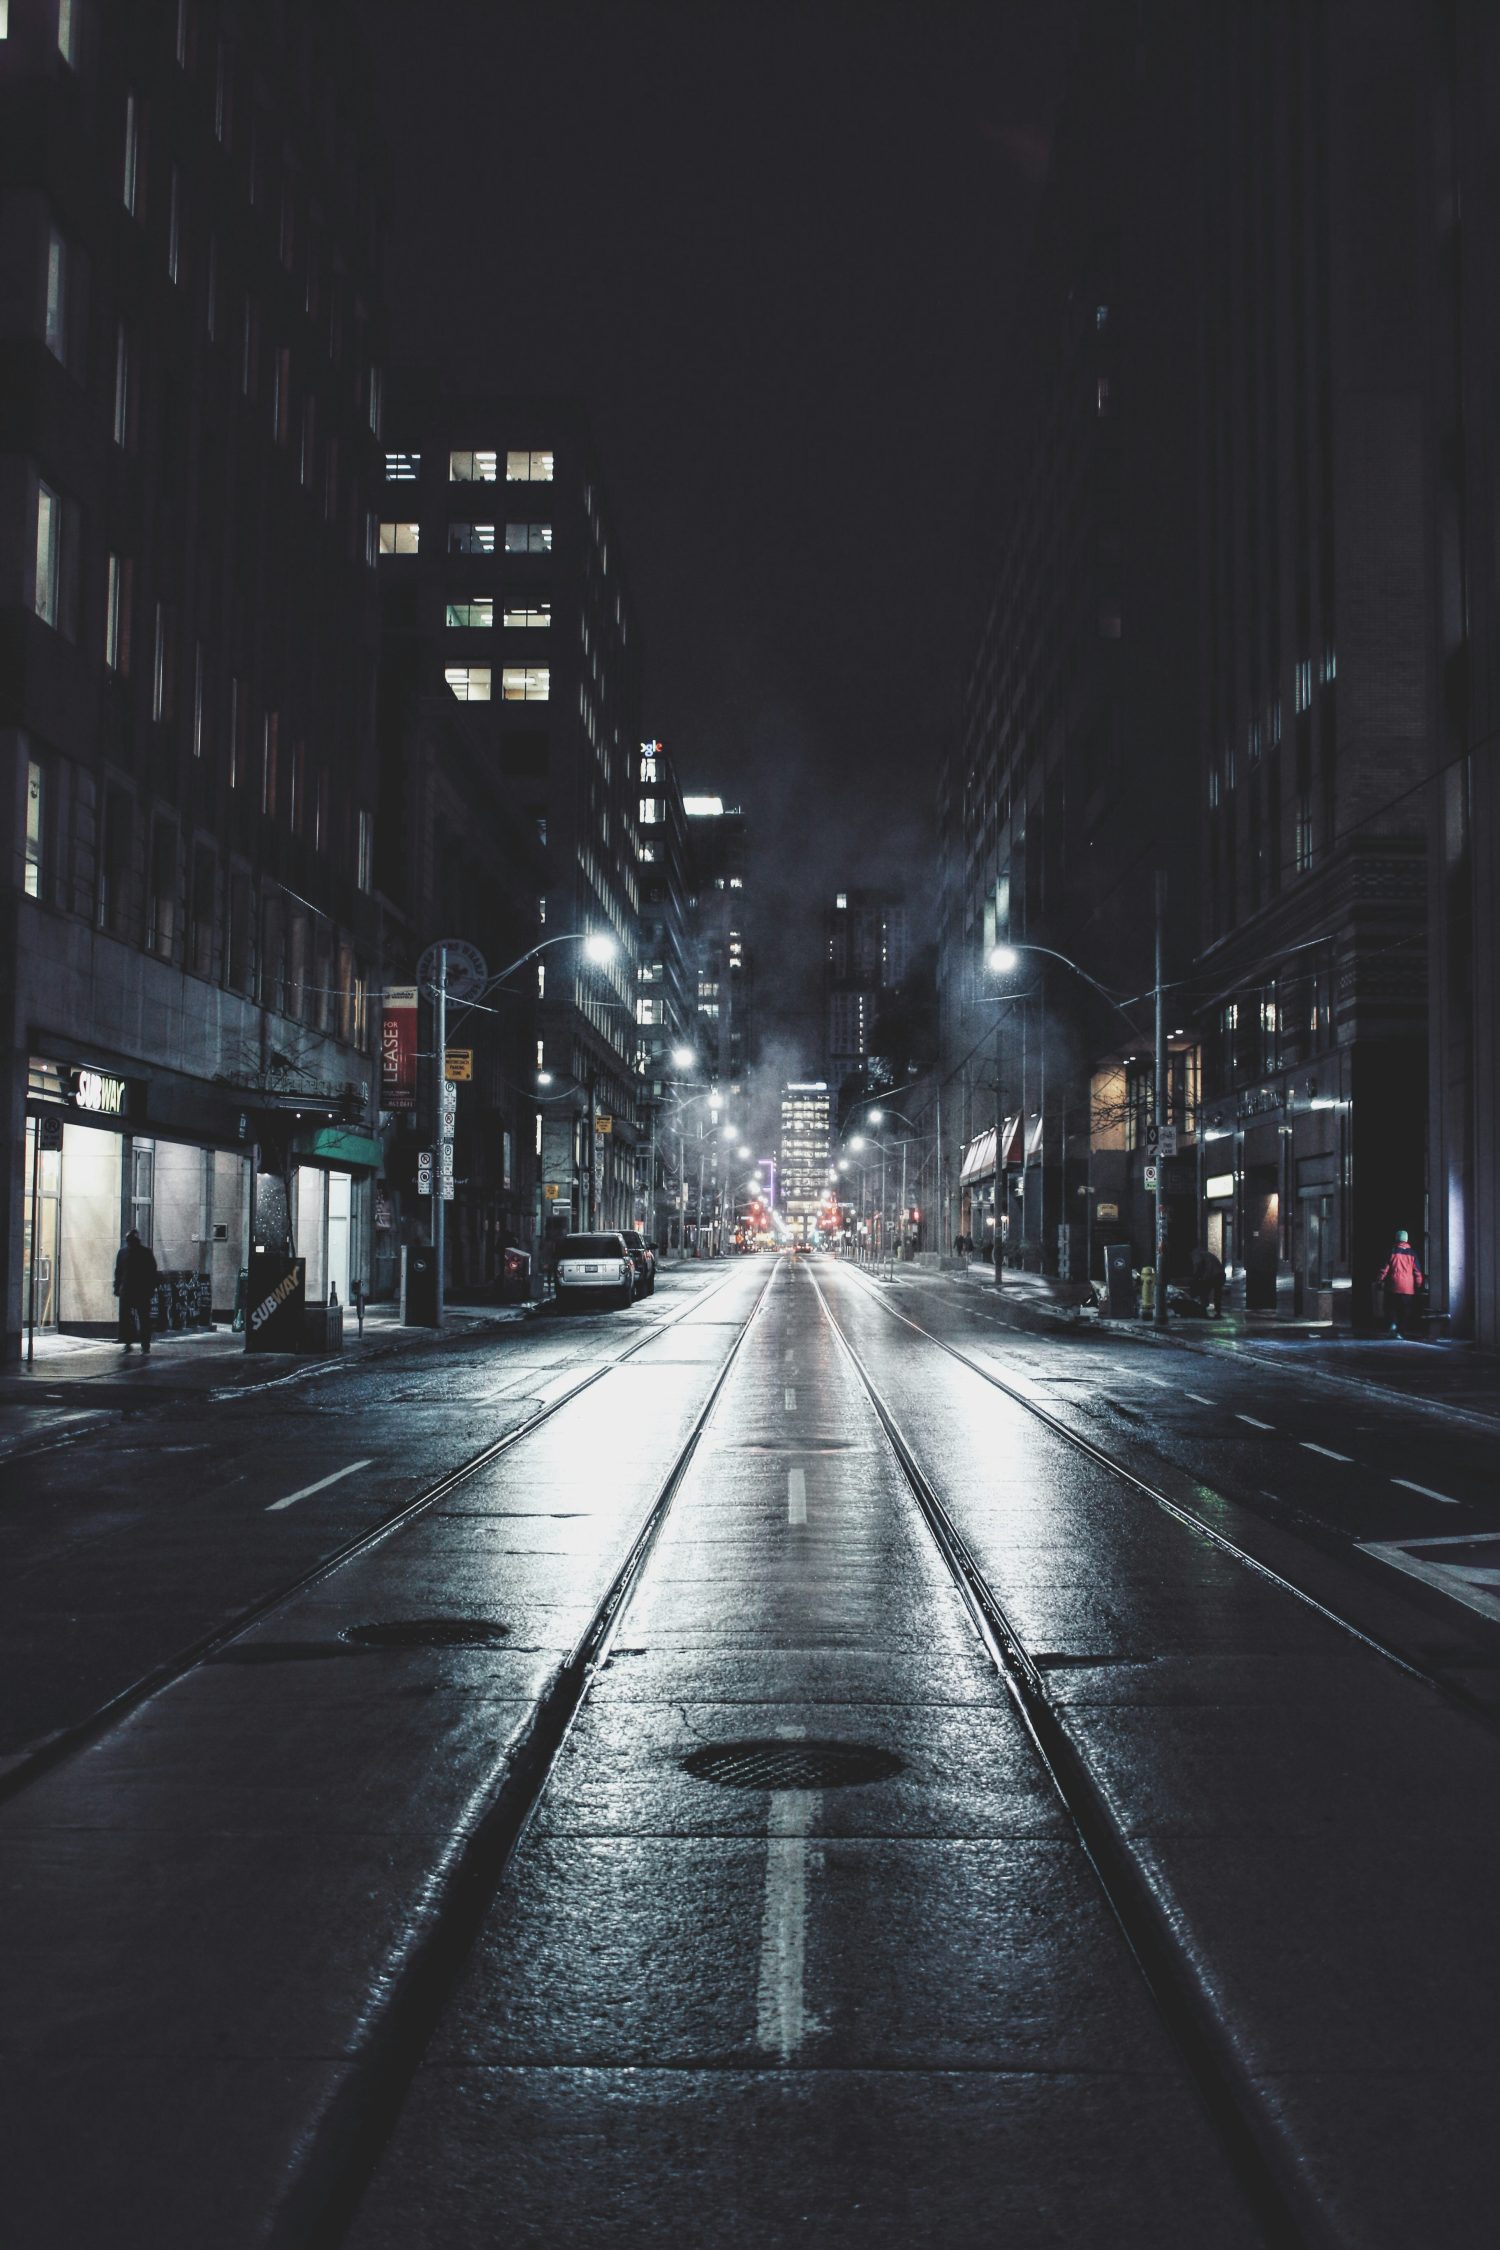 A photo with high ISO. Photo by Patrick Tomasso
What is Digital Amplification?
At the very end of the image-capturing process digital amplification occurs. After analogue amplification the information you’ve captured is converted into a digital number (written in binary) that your computer can read. This analogue to digital conversion is important as the binary number it produces is the final output of each pixel. Things work similarly in post production editing programmes – when you brighten a photograph in post you are simply multiplying the binary number. Of course, this also means that you’re multiplying the noise in an image.
At this moment, in camera, your back-end noise may not even be being amplified as it occurred after the analogue conversion took place. You may not even become aware of it unless you need to brighten your image significantly in post production.
This is particularly important in regard to native and extended ISO values on your camera. Native ISOs relate to the camera’s effective ISO range without any digital enhancement. But you will also find extended ISO values that seemingly allow you to push your ISO far higher. In reality these simulated ISO values in your camera actually only perform digital amplification of the highest native ISO on your camera by simply multiplying the binary number as post production software does.
What’s important to take from this is that there is no image quality benefit from using an extended ISO value. It’s always best to use the highest native ISO and then brighten your image in post production.
 A photo with low ISO. Photo by Oliver Johnson
What makes a camera ISO invariant?
Certain cameras have very low levels of back-end read noise. This means that most of the sources of noise have occurred before the analogue amplification. Now, if a camera had no back-end read noise at all, it would no longer matter whether the image was brightened via the analogue or digital amplifier. So, although these cameras have a little back-end read noise and are not 100% ISO invariant, they are close enough that the difference is noticeable.
How does ISO invariance relate to dynamic range?
If an image has a lot of read noise, it can hide details in the shadow areas of your image and thus damage the dynamic range. An image with a lot of read noise will eliminate information across the image, although it’s most noticeable in the shadows. So, if a camera has very little read noise, it will be easier to brighten the image in post production and reveal details in the shadows. Of course, this isn’t the only factor that affects dynamic range, but it will make a difference.
How to use ISO invariance in real-world shooting scenarios
Do note that you need to be shooting RAW. For the best possibly dynamic range, I would recommend shooting within your native ISO range and not the extended ISO values. These extended values don’t give you any great benefit with shadow details or noise performance, and you could run the risk of them clipping the brightest highlights in your image. I would also check that the ‘middle’ ISO values (those in between full ISO stops) aren’t stimulated as well (e.g. stick to ISO 100 or 200 rather than using 125 or 160). The Photons to Photos page will give you more information here.
 A photo with low ISO. Photo by Eleni Koureas
The same page also has information on whether your camera has low read noise (anything under the five-electron mark is fairly good) for a given ISO. If there is low read noise, this gives you more leeway to brighten an image in post production.
You can experiment with ISO invariance in any photographic situation but do check that your camera is considered ISO invariant. One of its most useful applications is in shooting at night and with long exposures. If you shoot with extremely high ISOs in these situations, you will be guaranteed a noisy image that’s barely useable. The idea here is to instead shoot with a lower native ISO and then brighten the shot in post production. This will give you a higher chance of reducing noise whilst still retaining detail and dynamic range.
In conclusion
It’s a technical subject and not the easiest to get your head around, but understanding ISO invariance can make a big difference both to how you approach shooting and the images you end up with.
About the Author: Jo Plumridge
Jo Plumridge is a UK based photographer, writer and lecturer. She specializes in portrait, corporate and travel photography, and writes photography, travel and comedy pieces for magazines, websites and books. You can see some of her work at her website, or follow her on Twitter.