The Basics Of DSLR Videography
 by
Mark Myerson
by
Mark Myerson

DSLRs are for taking photographs, right? Well…yes. But the modern DSLR can do so much more; I’m talking about video. DSLRs are now designed with both still, and moving pictures in mind, with manufacturers providing dedicated video controls on their cameras, and sensors capable of operating for longer periods of time without overheating. As a result, the latest DSLRs are used frequently in both TV and movie productions.
To the DSLR video-shooting beginner, however, the techniques and equipment involved in taking high quality video can be hard to get to grips with. What you folks could do with is a guide…
The Anatomy of a Video
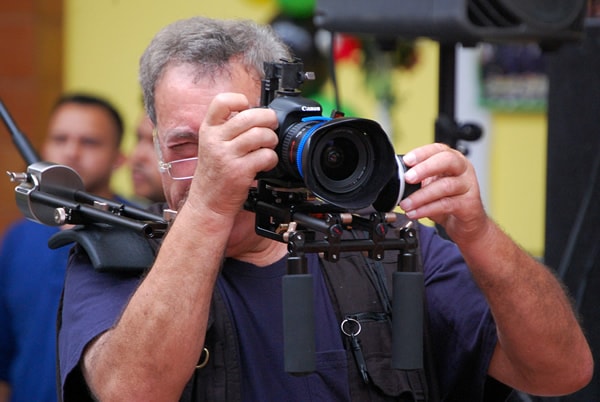
image by James Willamor
For photographers starting to shoot video for the first time, some video fundamentals won’t need explaining – ISO and aperture, for instance. But what about weird video-related stuff like 24FPS and 1080p?
FPS is an abbreviation of frames per second – the number of still frames per second your camera is capturing while you are recording video – and most cameras operate at 24, 25, 30, or 60 FPS. A higher frame rate will generally result in smoother video, but larger file sizes.
Be careful not to muddle FPS and shutter speed, though. Remember, FPS is the number of frames per second; shutter speed is the amount of time each frame is exposed for.
Then, there’s resolution and scan to learn about.
Among your camera’s menus you may see numbers like 720 and 1080. These figures indicate the size of the individual pictures making up your video – record video at 720, and your video will be 720 pixels wide. Selecting a higher number here will produce video which will be displayed at a higher resolution, meaning better detail and definition.
Finally, you may see an ‘i’ or a ‘p’ after the resolution number (e.g. 720i, 1080p). These letters refer to the “scan” – the technical term for how the individual frames are displayed. The ‘i’ stands for interlaced, and the ‘p’ stands for progressive; yes I know, that hasn’t clarified anything. To be honest, to explain the difference between the two fully, would require me to double the length of this article; so, for now, I’ll just tell you that progressive scan (p) produces smoother, more realistic video than interlaced scan (i).
The Fundamentals of Shooting DSLR Video
So, now we’ve got the theoretical aspect of DSLR videography out of the way, we can think about actually shooting some video!
As with photography, DSLR videography has its own set of “rules,” which exist as general guidance. You are, of course, free to ignore any of these, but the likelihood is that following at least some of them won’t do your videos any harm.
Use a tripod…
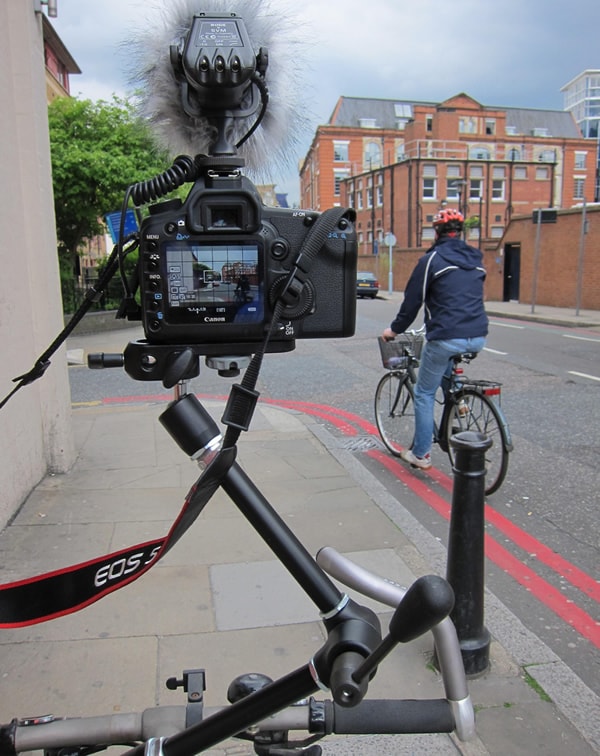
photo by Lars Plougmann
I know, I know – tripods are heavy, unwieldy lumps of metal which you’d throw in the trash if you had the chance. But while you are shooting video, use your three-legged beast whenever you can, especially for those wistful, lingering shots of sunsets and the like.
Whilst the “Shake, Rattle and Roll” look is acceptable at times, it will make you viewers feel sick before too long.
…or a monopod
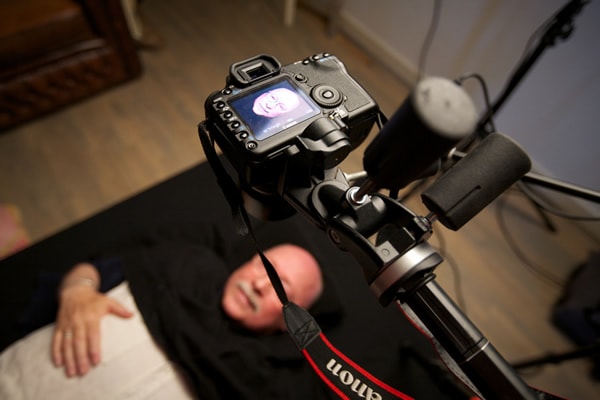
photo by Sebastiaan ter Burg
Quite apart from a monopod’s normal use as a stabilizing foot on the ground, it can provide your hand-held shots with some much needed stability. When you want to shoot hand-held, make sure the monopod is extended to no more than about three feet. Then, simply hold onto the monopod’s handle, rather than your camera. This is wise on two levels – the monopod acts as a pendulous, stabilizing weight, and you’ll also be in prime position to focus manually…
Ditch the Autofocus
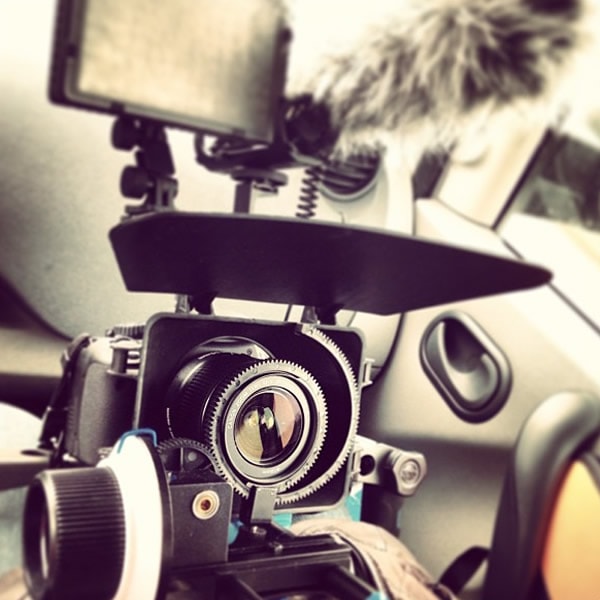
photo by Iza & Audrey Love!
Even for those of you who own a DSLR equipped with live video autofocus, it’s advisable not to utilize it – the autofocus on a DSLR is usually noisy and jerky during video-recording, so manual focusing is generally the way to go.
That said, focusing manually while you’re recording is hard. I mean, seriously hard. What’s more, the moving of the focus ring with your hand usually causes vibration or wobbliness, and focusing is often wildly inaccurate.
To get around this problem, many DSLR videographers invest in a follow-focus system. These add-on contraptions allow you to operate your manual focus ring – via a dial and a set of cogs – without touching your lens. It sounds like a gimmick, but it’s actually a seriously great piece of kit which most pros use.
Loupe-the-Loupe
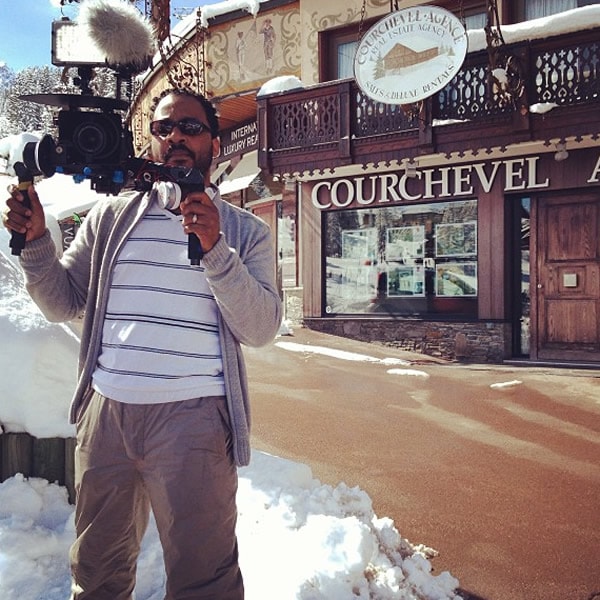
photo by Iza & Audrey Love!
Experienced DSLR videographers will tell you to purchase one piece of equipment before anything else – a screen loupe. These eyepieces attach to the back your DSLR, allowing you to view the screen as if looking through a viewfinder. Why is this important? It’s great for checking your manual focus, and clamping the eyepiece to your face acts as very effective stabilization.
Filter It
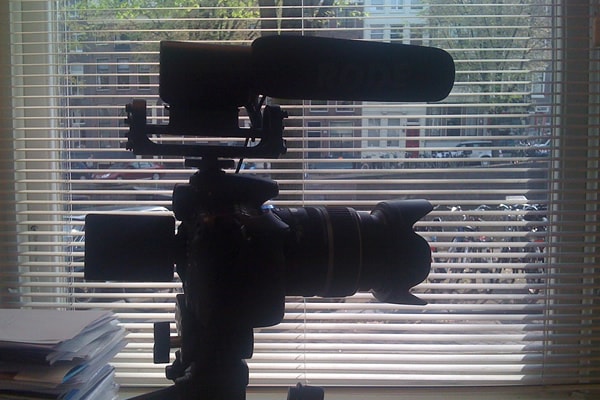
photo by 1000zen
When the need arises to adjust exposure mid-way through a recording, the photographer’s natural instinct is to reach for the shutter speed or aperture controls. When you’re shooting video, however, you need to think differently – changing between “stops” mid-take will cause a disconcerting, abrupt change in brightness for your viewers.
The solution is to purchase a variable, circular ND filter. This type of filter has a rotating front element, and turning it adjusts the strength of the darkening effect, allowing a smoother transition when adjusting brightness.
And Finally, Some Math
If in doubt, the best fraction-of-a-second shutter speed is double the FPS you are shooting at…so…
30FPS → 1/60 shutter speed, or 60FPS → 1/120 shutter speed
Choosing a faster shutter speed than this produces sharp, jittery motion, while a slower shutter speed will produce a softer look, ideal for flowing water, or for grass blowing in the wind, but not great for fast-moving action like sport.
Summary
So there we have it, a basic run-through of the technology, terminology and techniques of DSLR videography. The likelihood is that you’ll need to do a lot more reading, and shoot plenty of dud video before Spielberg thinks about hiring you; but the basics mentioned above will set you on the right track, whatever you want to do with your DSLR videography.
About the Author: Mark Myerson
I’m a landscape photographer, and the great outdoors is where I like to take my camera. I also love technology, whether photographic or otherwise, and I blog about the latest tech. I live in Devon, in the south-west of the UK. You can view my photography here or follow me on Google+.