Today there exists something of a paradox among some in the photography community; some people want to eliminate as much noise from their images as possible, while others seem to accept or even gravitate to photos that display a large amount of noisy grittiness.
In nearly all photo processing software… somewhere, there is usually a slider for adding or subtracting noise. Of course, when I say noise i’m referring to the digital noise inherent to our modern production of digital still photos. Neither side of the issue is wrong and neither side is wholly right. As with most things, it’s all up to you.
Still, there seems to be some confusion as to what the actual nature of noise is when it comes to digital photography. You often hear individuals referring to their digital images as “grainy” due to noise and seek to apply noise reducing techniques [1] in their post processing in order to smooth out the photo’s appearance. There is actually an article here on Contrastly that deals with the different types of digital noise and what you can do to reduce it in Adobe Lightroom [2]. While the general appearance of noise does look grainy the fact of the matter is that grain and digital noise are not the same animals.
Aside from working with noise reduction during post processing there are easy ways for you to minimize eye distracting noise from your images before you even import them into your processing software [3]. Yes, really. In this guide we will show you how to minimize the inherent digital noise found in your photos by putting basic photographic concepts to work for you. But first, a brief refresher on the difference between digital noise and grain… you knew it was coming.
Separating Grain and Noise
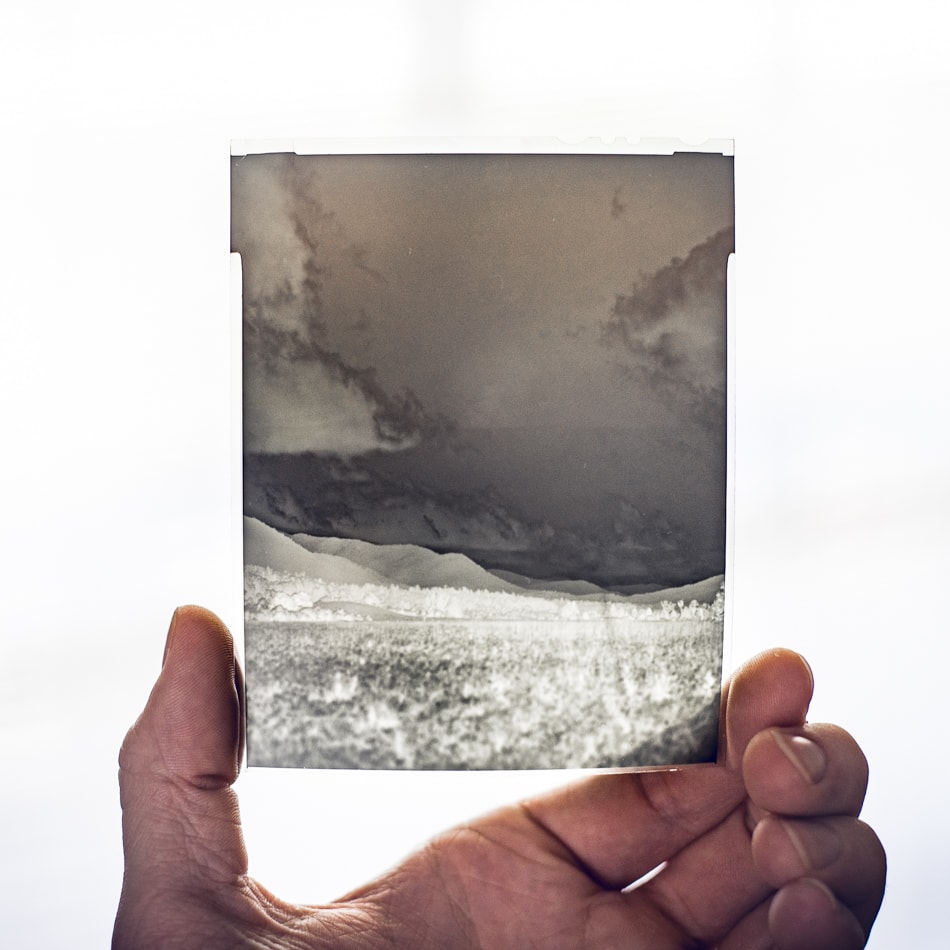
You know, analog film [4] is light sensitive due to the silver halide crystals present in the films emulsion. These crystals a vary in size and number depending on the brand of film and more importantly, the ISO of the film. The higher the ISO rating of the film the more silver halide crystals are present which in turn manifests itself noticeably as grain.
Digital noise, though similar in appearance to grain, is by contrast completely an electronic phenomenon brought about by the nature of the digital image capture itself. When we select a higher ISO setting on our cameras we are essentially energizing each pixel of the image sensor to be more sensitive to light which results in greater noise. There are also external factors that come into play at the same time.
It is these external factors that you can meditate in order to produce an image with the least amount of digital noise possible in camera. While we can’t(for now) eliminate noise from our digital photographs there are some simple things you can do right now in order to reduce the noise in your photos.
Nailing the Exposure
The so called “get it right in camera” adage can at times seem like a hard pill to swallow but it is a ragged truth about photography that we all must face.
Today, coming close to an “optimum exposure” is easier than ever. We can use our camera’s histogram. The histogram is simply a graphic display of the exposure reading from our cameras light meter. It is an average of the luminance of the highlights, midtones, and shadows across the entire frame. When the curve peaks approximately in the middle of the graph the exposure is relatively well done.
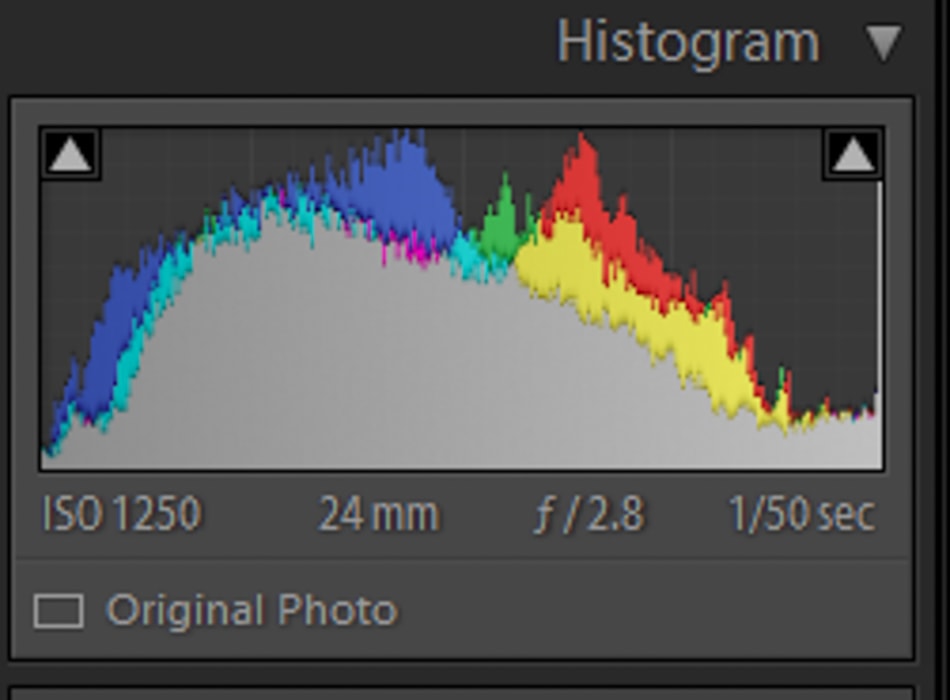
While this average isn’t always ideal depending on the objective it is a great way to ballpark where we should be in our exposure. Depending on your camera, go into your display settings and select the option to show your histogram in real time so you can adjust your exposure accordingly. You can also select to view the histogram after the fact when you review your photos in-camera.

The closer you get to the correct exposure the less you will need to “pump up” the exposure in post processing which will add even more digital noise to your photo. The key thing to remember is the more you increase the exposure in your editing the less ideal your noise situation will be. When in doubt, overexpose by a stop so that if need be you can reduce, not increase, the exposure later in your post processing.
Keep Cool
Believe it or not, heat is your enemy when it comes to digital noise.
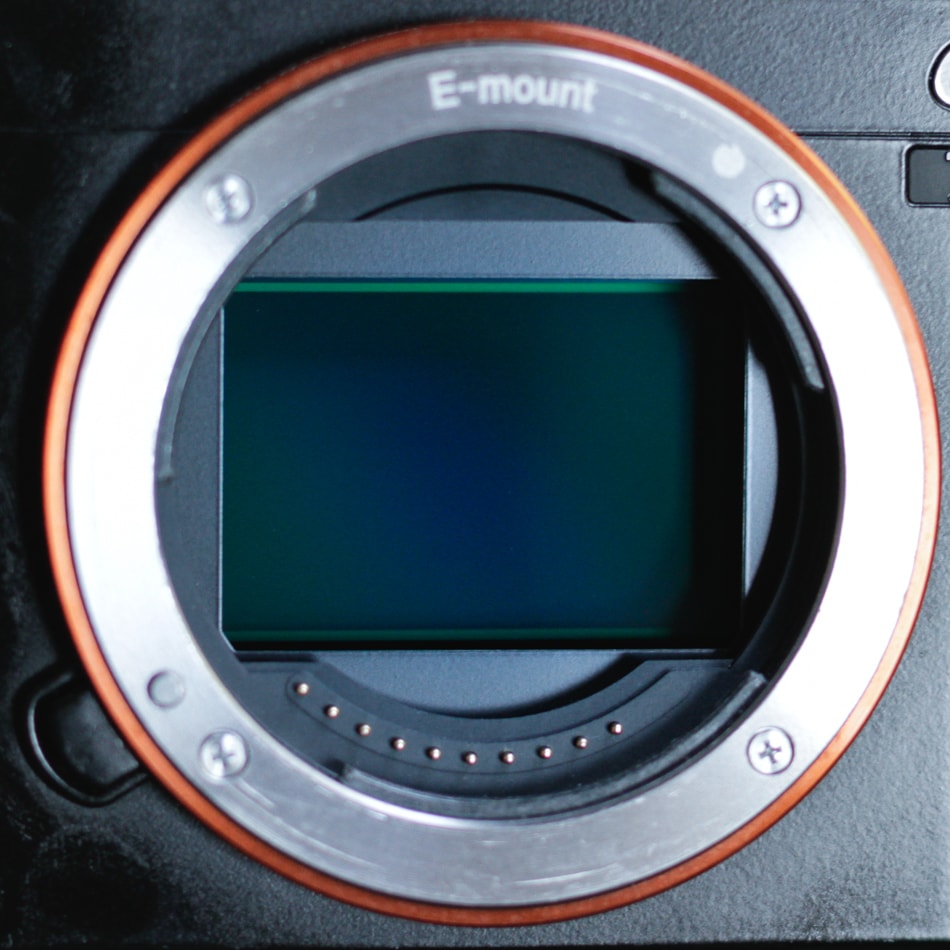
The hotter the camera’s sensor becomes the more noise will be introduced to your photo. This is why long exposures display greater noise even when shooting at lower ISO settings. This is also why full-frame camera sensors generally produce less noise than crop sensor cameras due to the larger surface area which allows heat to dissipate more easily.
This means that you should avoid introducing as much additional heat to your camera as possible. Some ways to prevent heat is to reduce the time your LCD screen remains active and to keep your camera out of the sun whenever you can. When making long exposure shots during night work try to reduce the number of exposures you make and if you can give your sensor a chance to cool off every few exposures by turning off your camera for a few minutes.
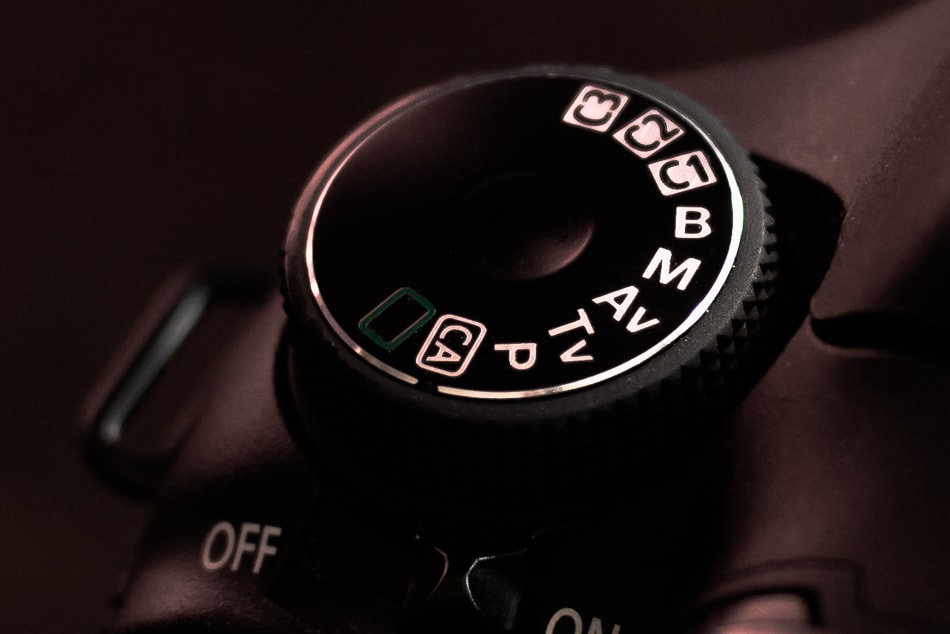
The ISO Paradox
It’s true that with increases in your ISO setting you will introduce more electricity to your sensor and therefore more noise. However, it is also true that skimping on the best ISO for your particular scene can cause even more harm. This goes back to the two sections above about correct exposure and heat. Always use the lowest ISO possible to reduce noise but keep in mind that with lower ISO’s the longer your exposure will likely be, which means more heat, which means even more noise. Along those same lines, if you use a lower ISO and undershoot the exposure you will have to adjust the exposure more in post and that means…you guessed it, more noise being introduced to your image.
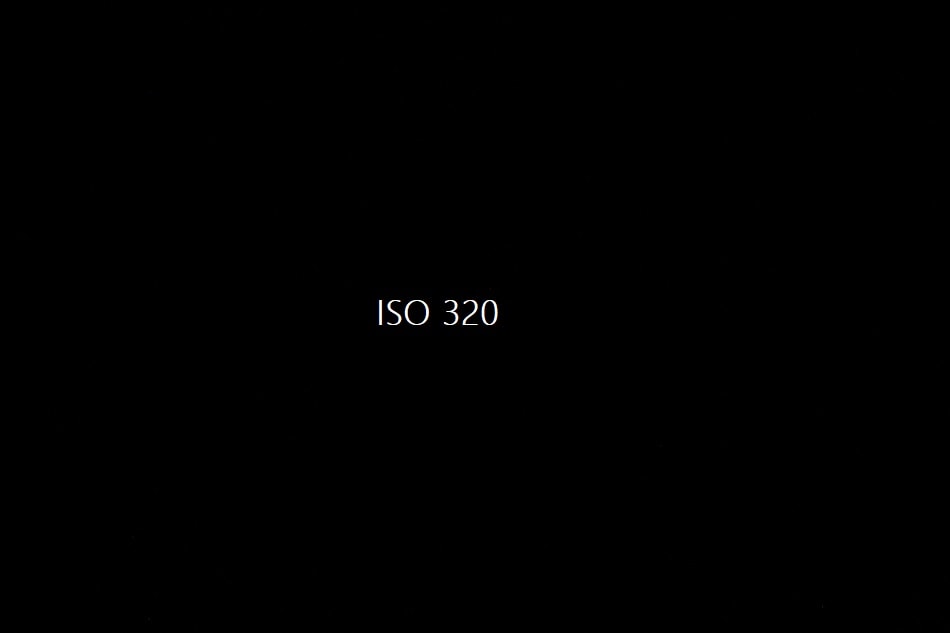
Here’s a blank exposure zoomed to 1:1 at ISO 320:
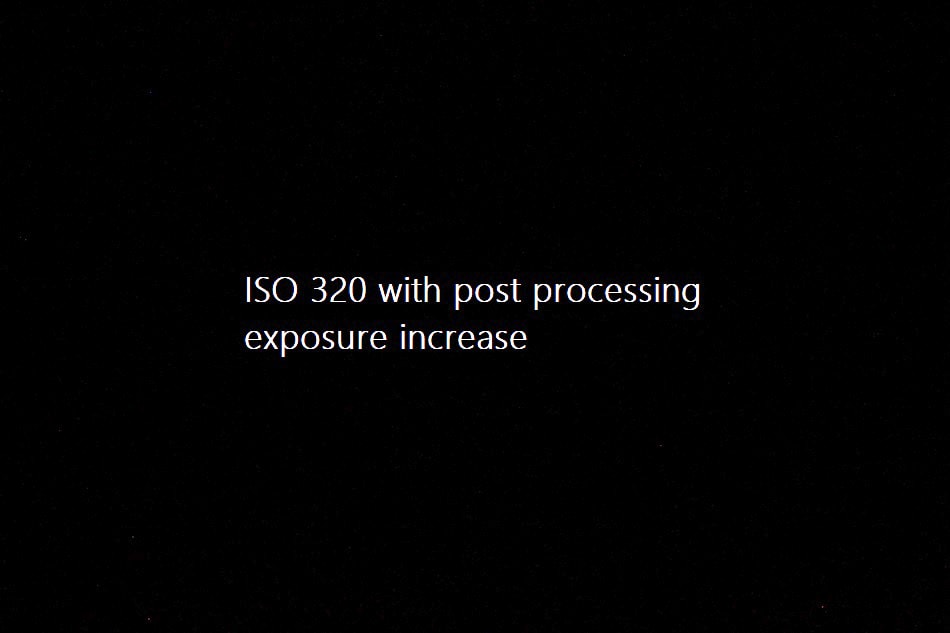
And here is the same image with a considerable exposure increase in Lightroom… the noise becomes much more noticeable even at this relatively low ISO setting.
So the paradox of ISO is that you should always use just enough to achieve the best exposure without going so low that your underexpose. Don’t be afraid to use a higher ISO setting if it means a sizeable reduction in exposure time or less exposure adjustments later in your editing.
- Keep an eye on the histogram. This will help you to reach the ideal exposure which balances the shadows, midtones, and highlights. The better exposure you make means the less adjustments to exposure you need to make in post which in turn reduces noise due to cranking of the pixel brightness. If you are unsure overexpose the scene slightly.
- Heat is your enemy! Reduce the heat of the image sensor whenever possible. Keep your camera out of the sun and turn off the LCD when not in use. The cooler the camera sensor remains the less noise will appear.
- Increase your ISO as much as you need. Using an ISO that is too low will likely cause you to underexpose your image which means corrections later will introduce more noise than may have happened if a correct ISO was used in the beginning. Still, keep your ISO setting as low as allowable depending on your desired outcome.
While dealing with digital noise is a necessary evil it doesn’t mean we are completely helpless. Follow these tips and you will find the amount of unwanted noise in your images becomes less even before you click your mouse in post processing.