The Ultimate Guide To Understanding Noise Reduction
 by
Adam Welch
by
Adam Welch

Understanding how digital camera noise affects image quality can be very confusing and downright frustrating. Common questions about noise reduction usually are “How much noise reduction is too much?” or “How much noise is acceptable to have in a photograph?”
If you’re struggling to overcome DNA (digital noise anxiety) then you’re in luck. By understanding exactly what digital image noise is you can begin to understand how and to what extent it can be managed.

The Difference Between Noise and Grain
There is a good bit of confusion when it comes to what noise means in respect to digital photography. Quite often the terms “noise” and “grain” are used interchangeably.
In reality, grain and noise are two completely different photographic animals. Grain comes from the days of analog film. The film was made photosensitive by coating it with various emulsions which contained very small crystals (usually silver halide). It is these crystals which make it possible for light to be recorded on the film.
The larger the crystals were the more sensitive the film became to light and thusly was rated with a higher ISO number.
This is why film with higher ISO ratings are more grainy and film with lower ISO ratings are more fine. The grain we see in prints from film is a direct result of the physical size of the crystals within the emulsion. A good way to think about this is to imagine film grain as grains of sand. The larger the grains of sand the more visible they become.
Digital photographs on the other hand possess no true grain structure because they don’t have any physical crystals to be seen. Instead, the grain-like abnormalities which we see in our digital images is in fact digital noise and it comes in two flavors: luminance noise and chromatic (color) noise. Next, we will look at how these two types of digital noise can affect your photographs and what you can do to manage the effects.
Luminance Noise
This is type of noise is most often associated with digital photography. Luminance noise, as the name suggests, is directly related to available light or the lack thereof.
Here is a black and white image zoomed to 3:1. All those little specks are luminance noise.
Luminance noise is colorless and can vary based on the size of the pixels in the image sensor, the size of the image sensor itself, and the ISO selection being used.
When we increase the ISO sensitivity of our digital cameras we are in actuality “pumping up” the individual pixels within the image sensor. This is effectively increasing the signal each one of those pixels emits when it interacts with light to amplify the brightness of the image. Luminance noise can also be caused by long exposures because of the heat produced by the image sensor itself. This long exposure noise manifests as “hot pixels” within an image which appear as small bright points of light.
Color Noise
Chromatic noise is inherent to the digital camera world. Chromatic noise, usually called chroma noise or simply color noise, is the splotchy fluctuations of color tone between pixels. This type of noise is very unsightly and can arguably be more of a nuisance than luminance noise. This type of noise becomes more apparent in the very dark or very light areas of digital images.
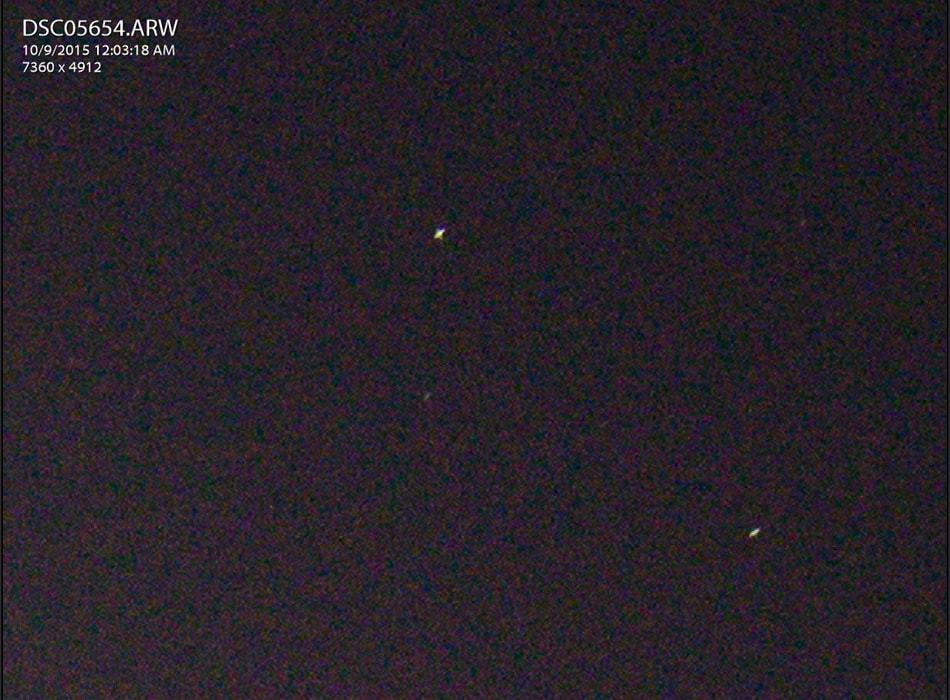
Color noise showing itself in an area of night sky at 2:1. The rainbow coloration is classic color noise.
Managing Digital Image Noise
Fortunately, photographers today have a host of options when it comes to dealing with and reducing noise.
Still, the question of “how much is too much?” can cause some to be confused as to how much noise actually detracts from their photos. Sadly, any noise reduction is an exercise in compromise.
As such, the photograph and the photographer will be the deciding factors in finally choosing how much noise reduction should be applied. Still, there are some guidelines you can follow to help you decide how much noise is acceptable to you and your work.
Reducing Color Noise
Reducing color noise has became much easier and much more efficient in recent years. Color noise is managed by decolorizing the pixels which your processing software sees as unusual compared to the surrounding pixel colors. The software locates these pixels and decolorizes them thus making them less noticeable. The noise is technically still there but is essentially converted to luminance noise.
Again, be mindful not to over-apply color noise reduction because it will cause an overall decrease in color saturation of your image.
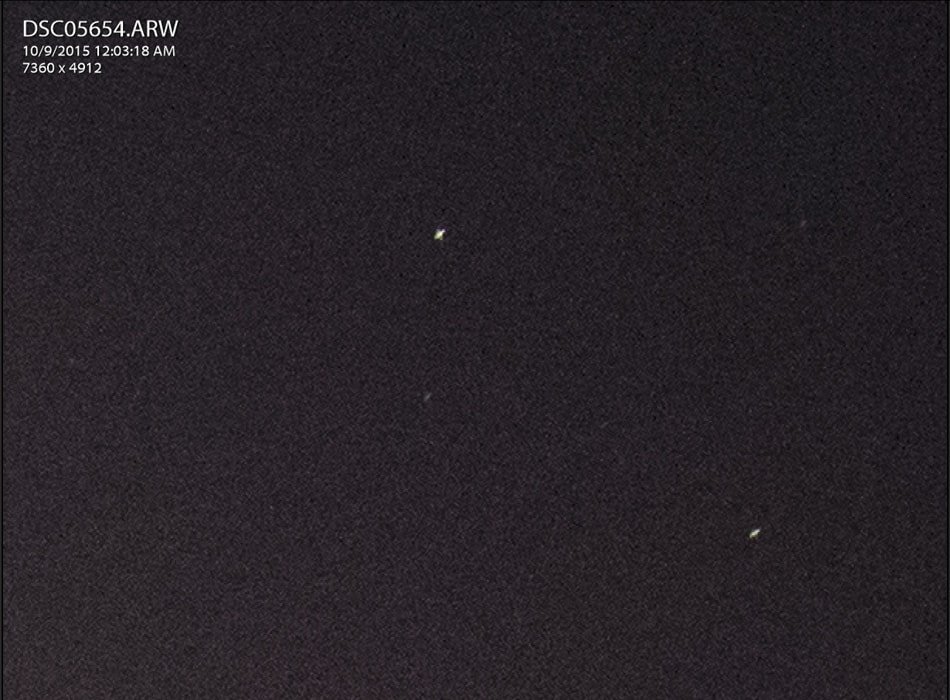
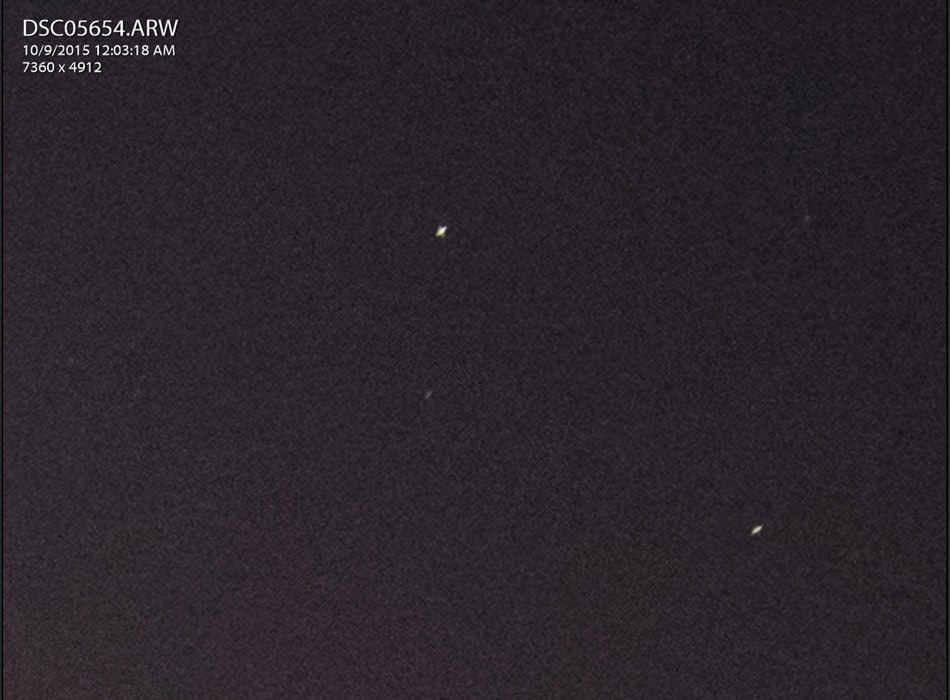
Below we see the same image from above but with a small amount of color noise reduction applied. Use the slider to see the difference between the two images.
Reducing Luminance Noise
As we have said, luminance noise causes that gritty and somewhat grainy appearance sometimes found at high ISO and long exposures. The way photo editing software reduces luminance noise is by averaging the pixel values and smoothing the picture. This reduces the roughness of the image but at the same time it results in an overall loss of sharpness.
Pushing the luminance noise reduction even further will cause the dreaded “wax” look and your photo will look fake and over-processed. The goal here is to find balance between maintaining key details within the image and reducing overly gritty texture.
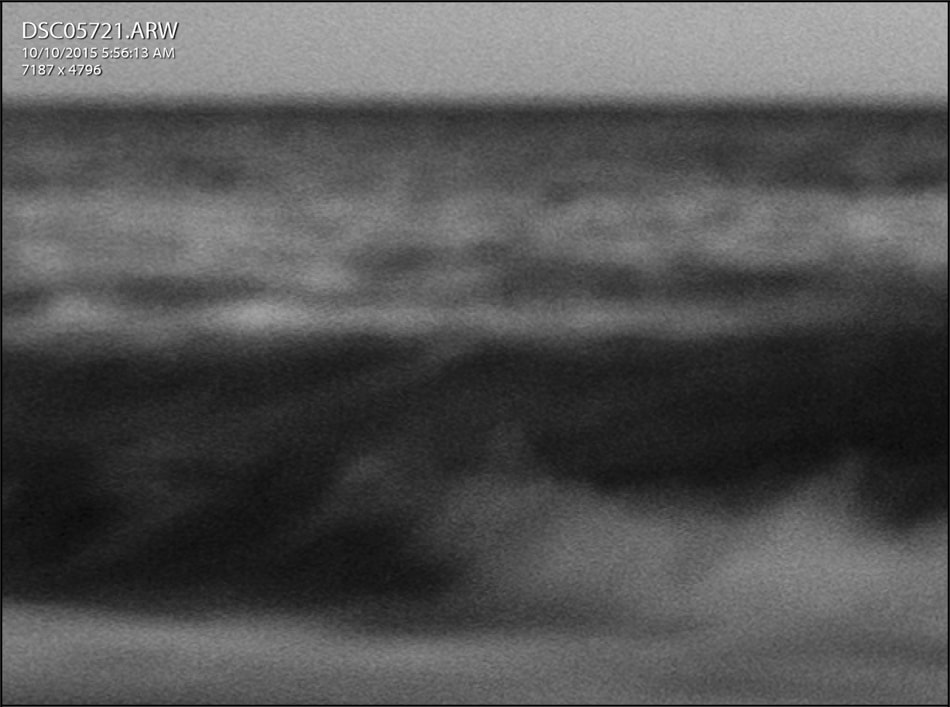
Using a slight amount of luminance noise reduction dramatically reduced the rough texture of the sky making it appear more natural.
Tips for Reducing Noise
Correctly expose in-camera. Pushing the exposure in post-processing will amplify the digital noise in your image. Focus on using your camera’s histogram. The less processing the better as far as noise is concerned.
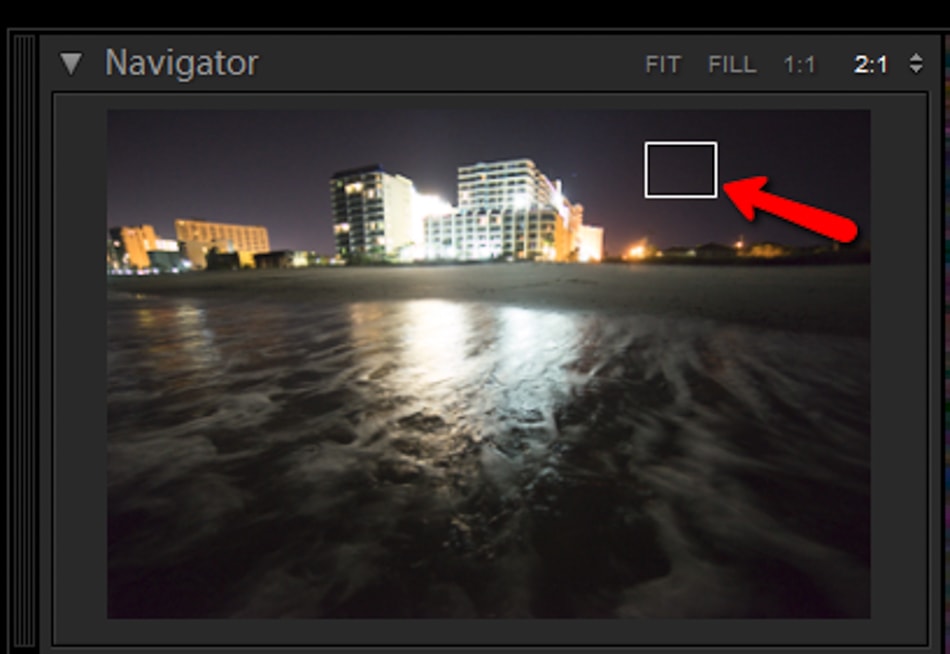
Zoom to at least 1:1 when apply your noise reduction. Some call it pixel peeping, but it is the most efficient method for observing how much noise is visible in your images. This is especially useful in color noise management. I usually zoom in to 3:1 and even 8:1 when I know I will be printing a photograph to large size. The night sky images you saw earlier were sampled from this tiny area of the image.
Don’t forget to look at the image as a whole. This goes along with the previous tip. Even though you need to zoom in to see exactly how your noise reductions are affecting the image, don’t forget that your viewer will (probably) not be looking at your photo with a magnifying glass. Remember to zoom out and see the image fully. This will keep you from doing more harm than good.
Shoot the lowest ISO you can. Shooting low ISO’s will make for less noise. But keep in mind that you still need to properly expose the image. Don’t opt for low a ISO that will force you to ramp up the exposure in post.
Reduce the noise last. Only after you have completed all your other edits should you then apply your noise reduction. This will allow you to have a final version of your image so that the extent of reduction can be better determined.
Final Thoughts
Noise reduction is tricky. There are no definite rules to follow in order to get the best noise reduction each and every time. However, there is always a tipping point you will reach when reducing noise will take away the impact of your photo.
Learning when this “one brush stroke” might ruin an image takes practice and is wholly subjective. We all have our ideas of what is and what is not acceptable. In the end, the noise will probably bother you much more than it will anyone else. The best advice is to trust your own instincts and when in doubt less is usually more.
About the Author: Adam Welch
Adam is an author, adventurer, photographer and a jolly co-founder of Contrastly. You can usually find him on some distant trail making photographs, in his darkroom or at his computer writing and planning his next project. Follow his work over at his
website , Facebook, Instagram and YouTube .