A lens isn’t much use to a photographer if it doesn’t produce sharp images. When you’re a pro, you can become quite obsessive about the optics in your lenses and the image quality that they deliver.
But what a lot of people don’t realise is that lenses are not uniformly sharp at every aperture or every focusing distance. In addition, if you’ve got a zoom lens, they’re also not equal across the zoom range.
Obviously, it would take somewhat too long to list the optimum shooting parameters for every lens on the market, but there are some guidelines to help you find your lens’ sweet spot.
So, What Is The Sweet Spot?
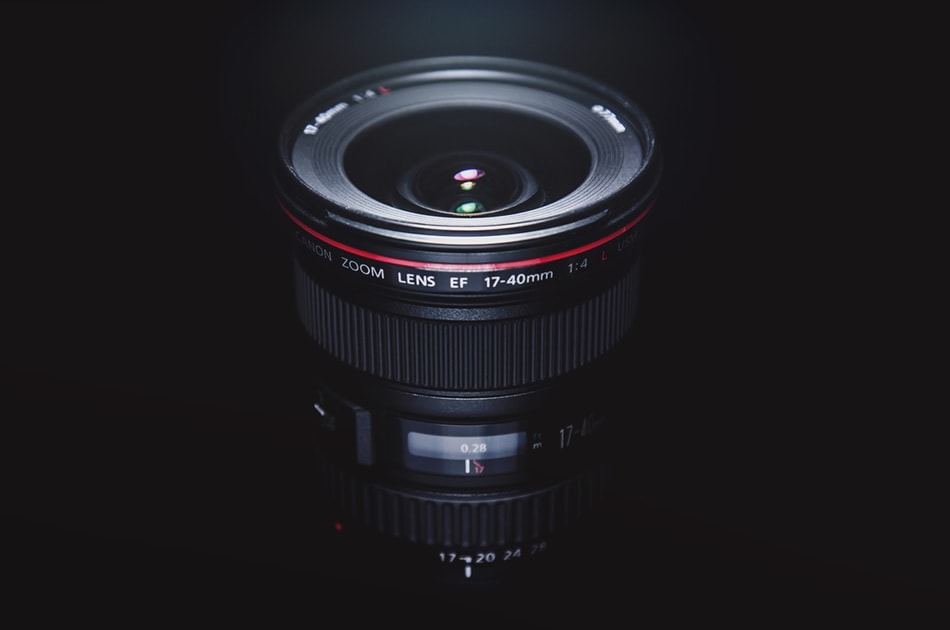
The sweet spot, by the way, is the aperture at which your lens will give you maximum sharpness. It’s actually fairly simple to calculate your lens’ sweet spot. As a general rule of thumb, your lens’ sweet spot will be between two to three full stops down from the lens’ maximum aperture. So, for example, the sweet spot of my Canon 50mm f1.4 will be around f2 – f4. A lens with a maximum aperture of f2.8 will be around f4 – f5.6.
Sharpness vs. Depth Of Field
This may seem counter-intuitive, but that’s because it’s easy to confuse sharpness with depth of field, which is a measure of focus. When you stop down to smaller apertures, you bring more of the image into greater overall focus. So images shot at f16 or f22, for example, appear sharper than images taken at a wider aperture such as f2 or f2.8.
This is because smaller apertures have a larger depth of field and this means that more of your image is in focus.
However, whilst you might have more in focus, overall it won’t be as sharp compared to the ‘in focus’ sections of the same image taken at the sweet spot of your lens. Do note, however, that just as the widest aperture of your lens won’t represent the sharpest point of its capabilities, neither will its very smallest aperture.
How To Find That Sweet Spot
You can perform a simple sweet spot test to ascertain for yourself each lens’ sharpest aperture. The easiest way to do this is to switch your camera to Aperture Priority mode. This means that you will control the aperture but your camera will sort out the shutter speed and ISO.
It’s also best to put your camera on a tripod [1], so each shot is consistent. Take around seven or eight shots through the lens’ aperture range, making sure to concentrate on the apertures you think are most likely to be the sweet spot, but also making sure you take some at the smallest and largest apertures.
Now upload these images to a computer and zoom in to 100%. You should quickly be able to see which aperture gives you the sharpest overall image. A little tip here – try including some writing in the image, as this makes it easy to ascertain sharpness.
To Conclude
Obviously, whether you choose to shoot at your lens’ sweet spot depends very much on what you’re shooting. If you’re photographing a landscape, the smaller depth of field found at the sweet spot won’t really work for the style of shot.
However, finding and using your sweet spot can work particularly well if you’re shooting portraiture, where you want your subject to be as pin-sharp as possible, with the added bonus of a nice blown out background from the smaller depth of field. The sweet spot can be a very useful tool!