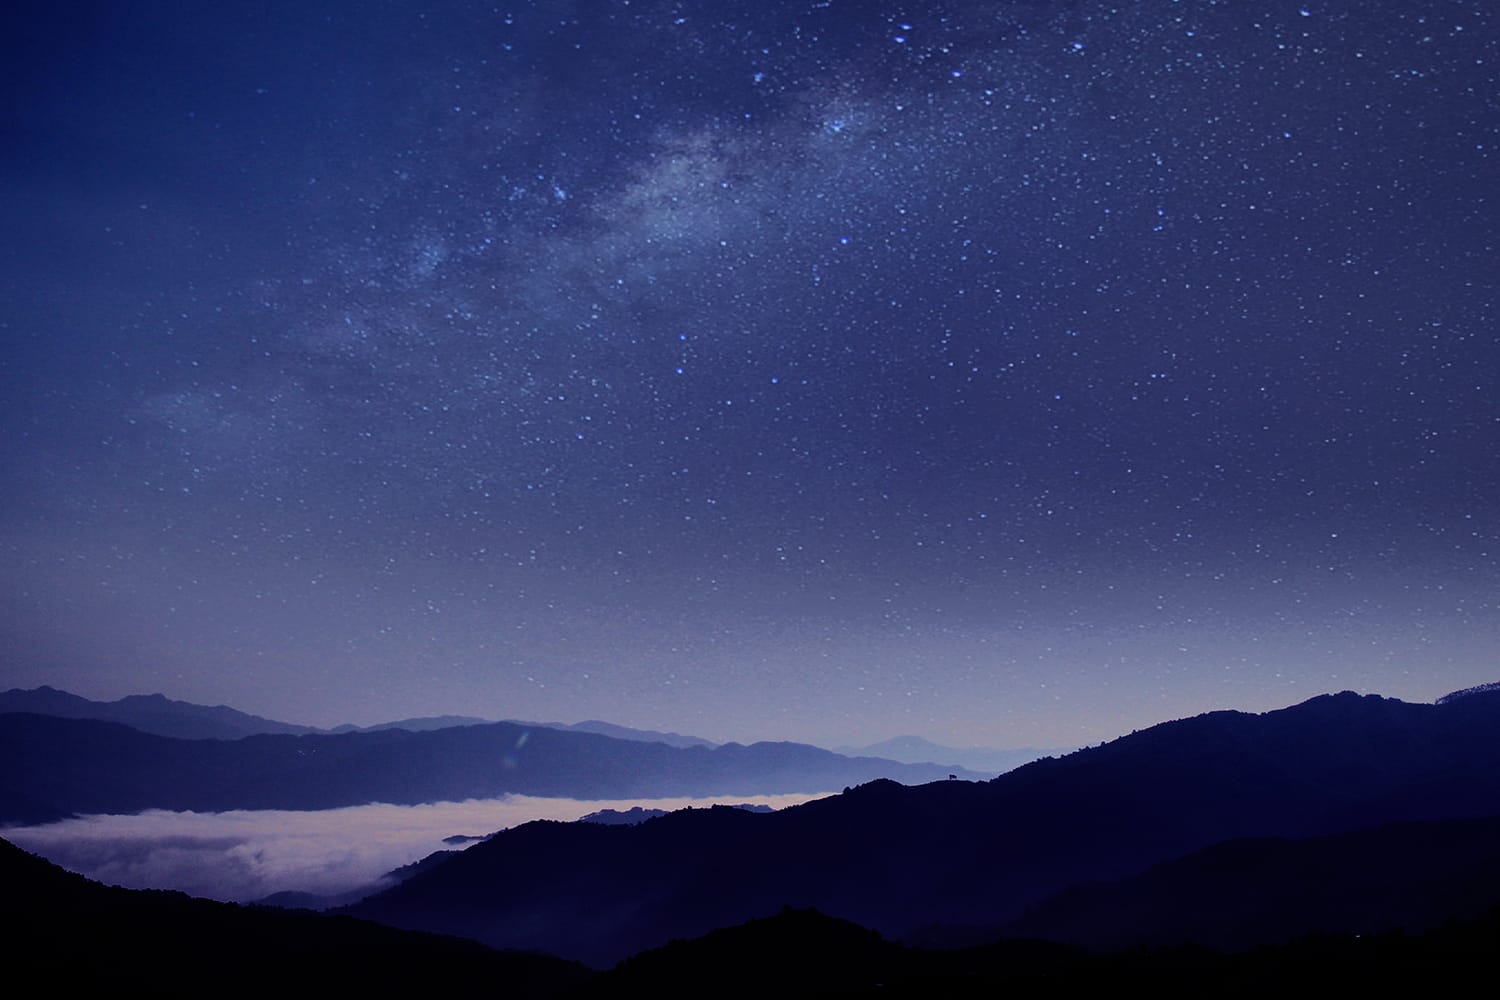
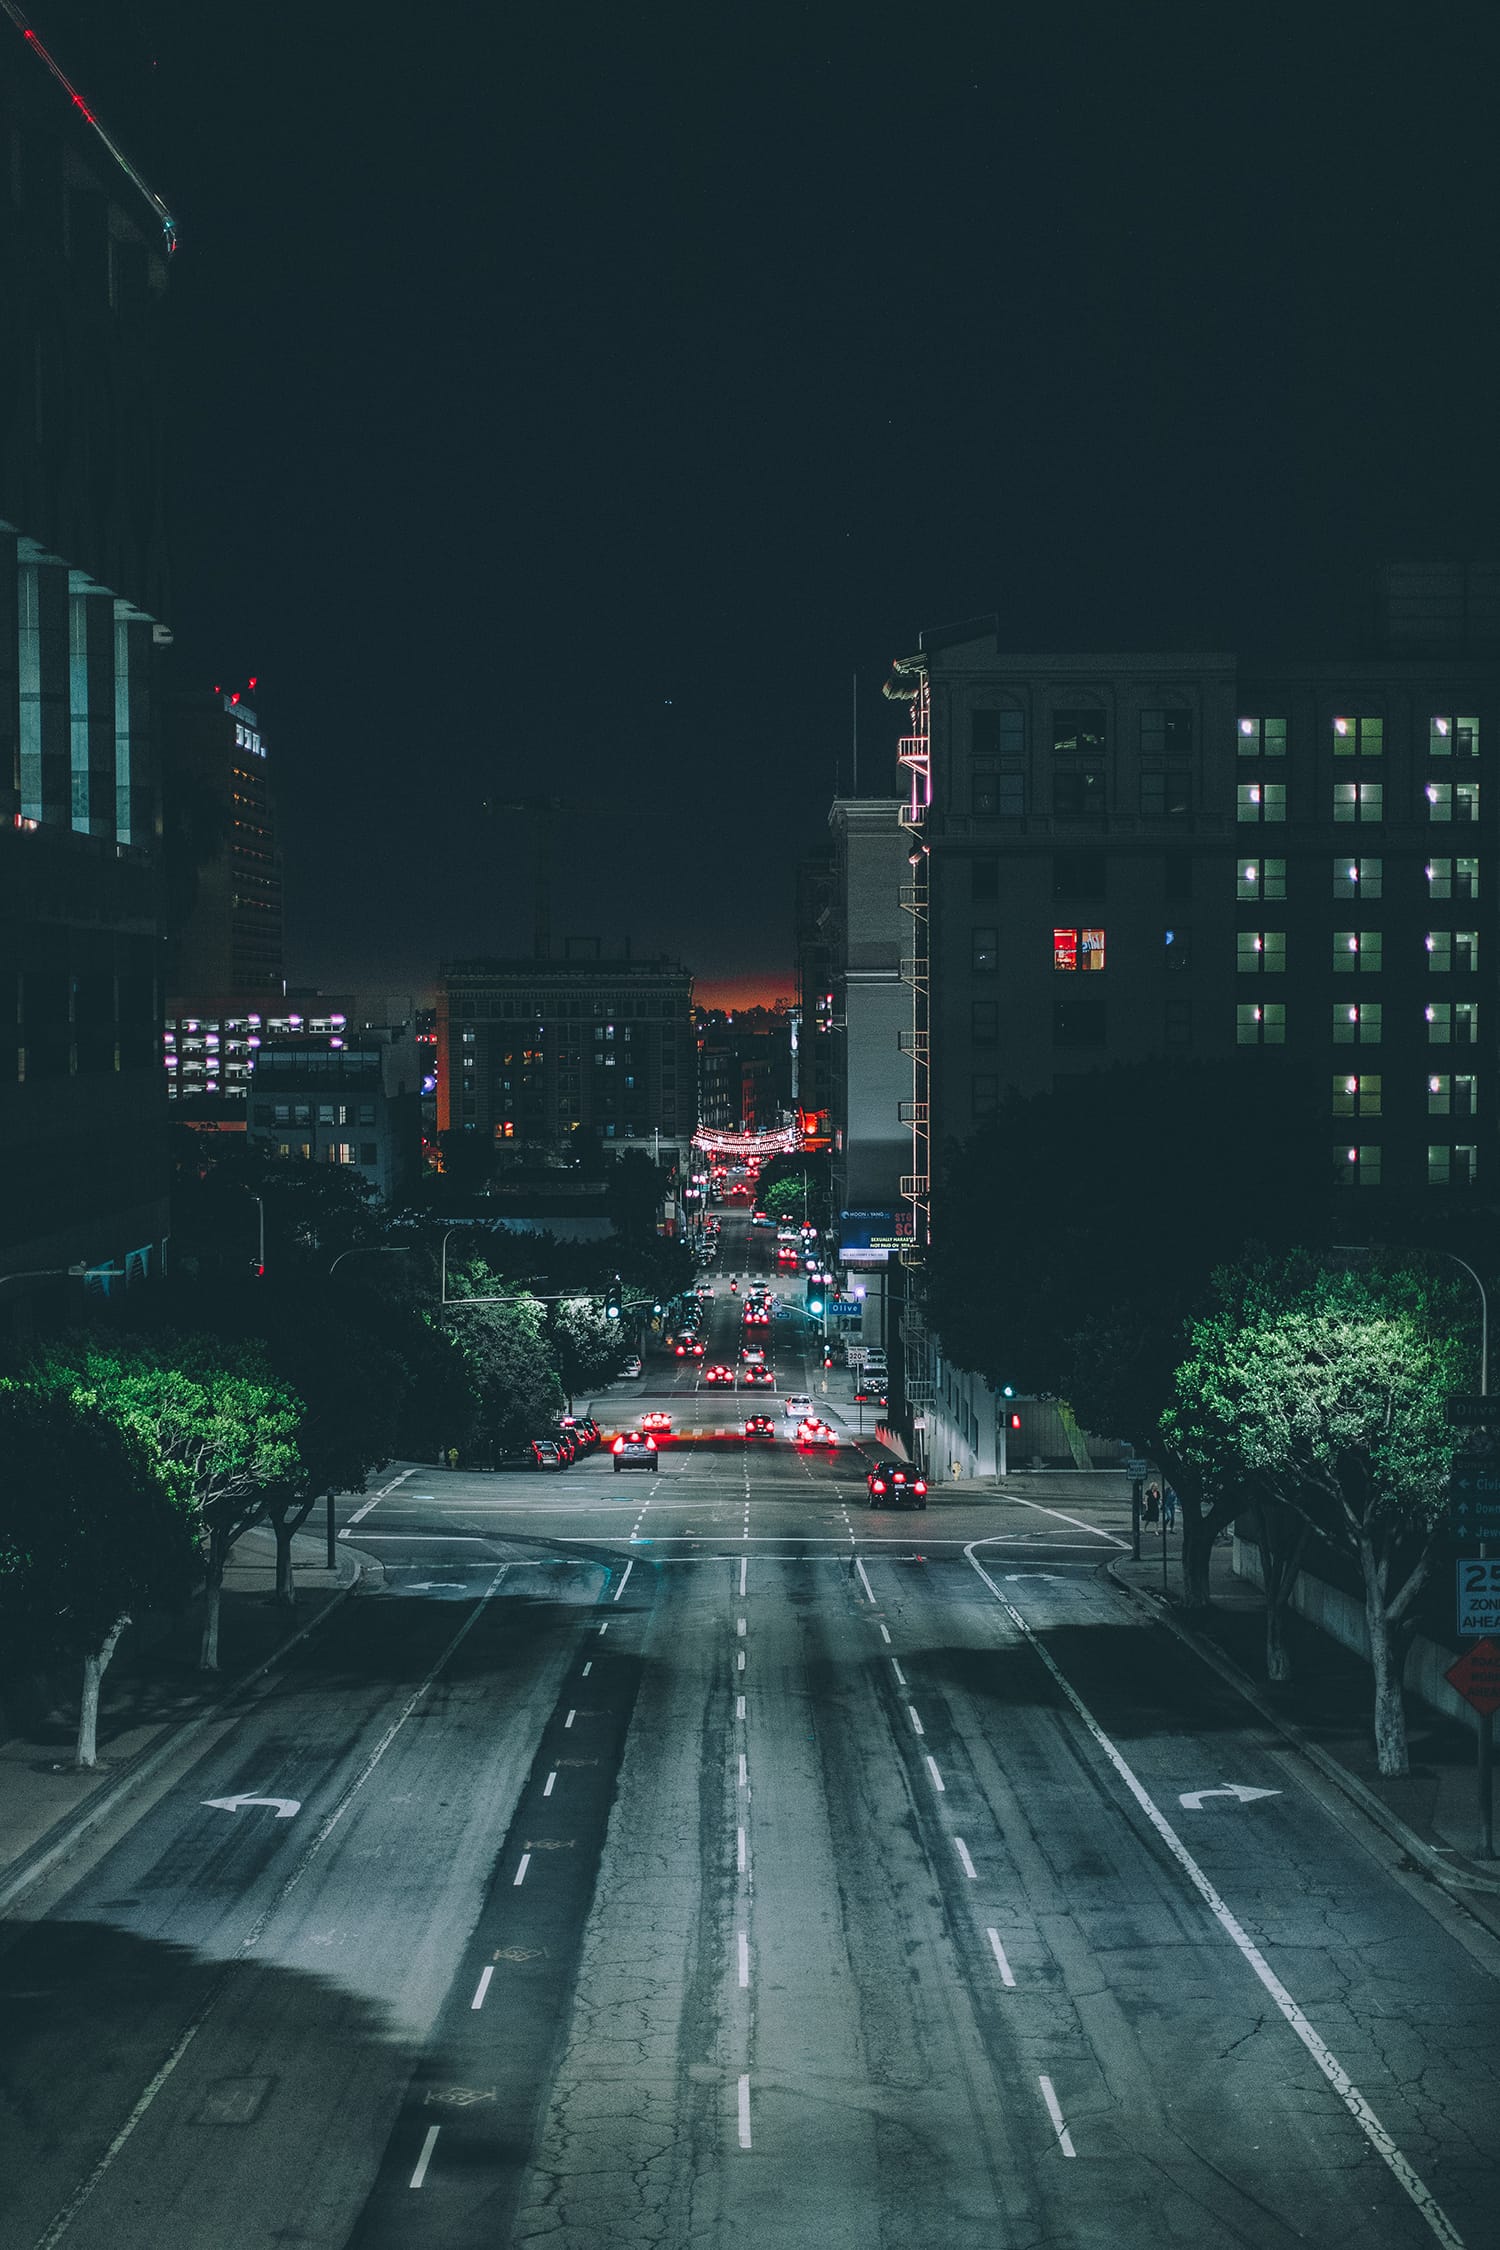
Night or low light photography comes with its own set of unique challenges which can cause frustration for photographers new and old. Many beginning photographers make the mistake of assuming that night photography is similar to shooting during the day…
However, the world of low light photography is something else entirely, and mastering it requires some special skills. So, what’s the key to overcoming these challenges? Awareness of their existence is a great place to start!
Areas of particular concern when shooting at night include:
- A lack of clarity
- Achieving the optimal camera settings
- Overexposure or uneven exposure
Tackling these Challenges for Better Low Light Shots
Below are a few tips we’ve put together to help you conquer these challenges associated with night photography and majorly improve the outcomes of your low light images. Let’s get started, shall we?
1. Familiarize yourself with your camera
It’s easy to take some things for granted during the day, including how much simpler it is to toggle functions and settings when you’re shooting in broad daylight. When you’re working at night or in low light situations, you’ll no longer have the luxury of a well-lit space when you need to remember which series of buttons you must press to pull up that menu!
Some photographers prefer to use a magnifying light when setting up for a nighttime shoot and to make adjustments to their equipment throughout the process.
2. Use manual mode
The automatic settings found in modern digital cameras are designed to function at their best when the camera is capable of sensing light. When it’s struggling to find a light source in your chosen nighttime scene, it will be unable to provide optimal settings. That’s when you take over!
By manually adjusting settings like aperture, ISO, shutter speed [1], focus, and white balance [2], you can achieve the ideal setup for your low light shoot.
(By the way, don’t forget our previous tip, and ensure that you can make all of these necessary adjustments without daylight’s aid.)
3. Tackle focus
If you’re aiming to reduce the number of manual settings you adjust for each shot, you’ll need to trick your camera’s autofocus features when shooting at night. Because cameras tend to focus based on contrast (which you will find less in low light situations), try focusing on a bright light in the scene.
If there are no lights available, try shining a flashlight on the spot where you want your camera to focus. For the best results, however, sticking with a manual setup is usually best.

4. Experiment with exposure by bracketing your shots
Many night photographers struggle to find the perfect level of exposure for their nighttime shots, so use this as an opportunity for experimentation!
Taking multiple shots of the same scene at varying exposures – this is usually referred to as bracketing [3] – allows you to compare options side by side and choose the best result in post. Or even better, merge exposures into a single image to create an HDR photo.
5. Use the histogram to evaluate exposure
You may associate the histogram with only post-processing procedures [4], but you can often check the histogram [5] directly from your camera!
Utilizing this feature in the field will ensure that you’re not just estimating which exposure is best. Instead, the histogram will tell you with certainty whether or not the exposure you’ve chosen is within your camera’s dynamic range.
6. Use a tripod
Even if you pride yourself on your steady hand or if you hate using a tripod because you fear it will limit your flexibility or increase set up times… you’ll want to get used to carrying a tripod anyway.
Due to the long shutter speeds you’ll be utilizing at night, a sturdy tripod is absolutely necessary [6] if you want to improve your night photography. You may find value in a tripod with a place to attach a weight, something which offers even further stabilization when the wind is working against you.
7. Try a remote shutter release
The importance of not touching your camera and disturbing it from its steady perch on its tripod can’t be understated! Even for the split second that you’re pressing the shutter.
To minimize camera shake or movement, use a remote shutter release [7] for a no-touch solution. You may choose a cable release, for example, or you can use a phone app with certain cameras. Another great alternative is to use your camera’s self-timer.
8. Forget the JPEGs and shoot RAW
While you can fit many more JPEGs on your camera’s SD card [8], the appeal of JPEG is much less at night, when the dynamic range matters most. Because JPEG images are processed and compressed right in-camera, you won’t be able to achieve the wide dynamic range you need to clarify your low light shots and recover details within dark shadows.
Instead, shoot in RAW format – this is also a good practice when you’re shooting during the day. RAW files contain so much more information [9] than JPEG files which you can then use in post-production [10].
Even with these handy tips at your disposal, night photography can be frustrating – not all of your shots are going to turn out the way you would’ve liked. And that’s ok.
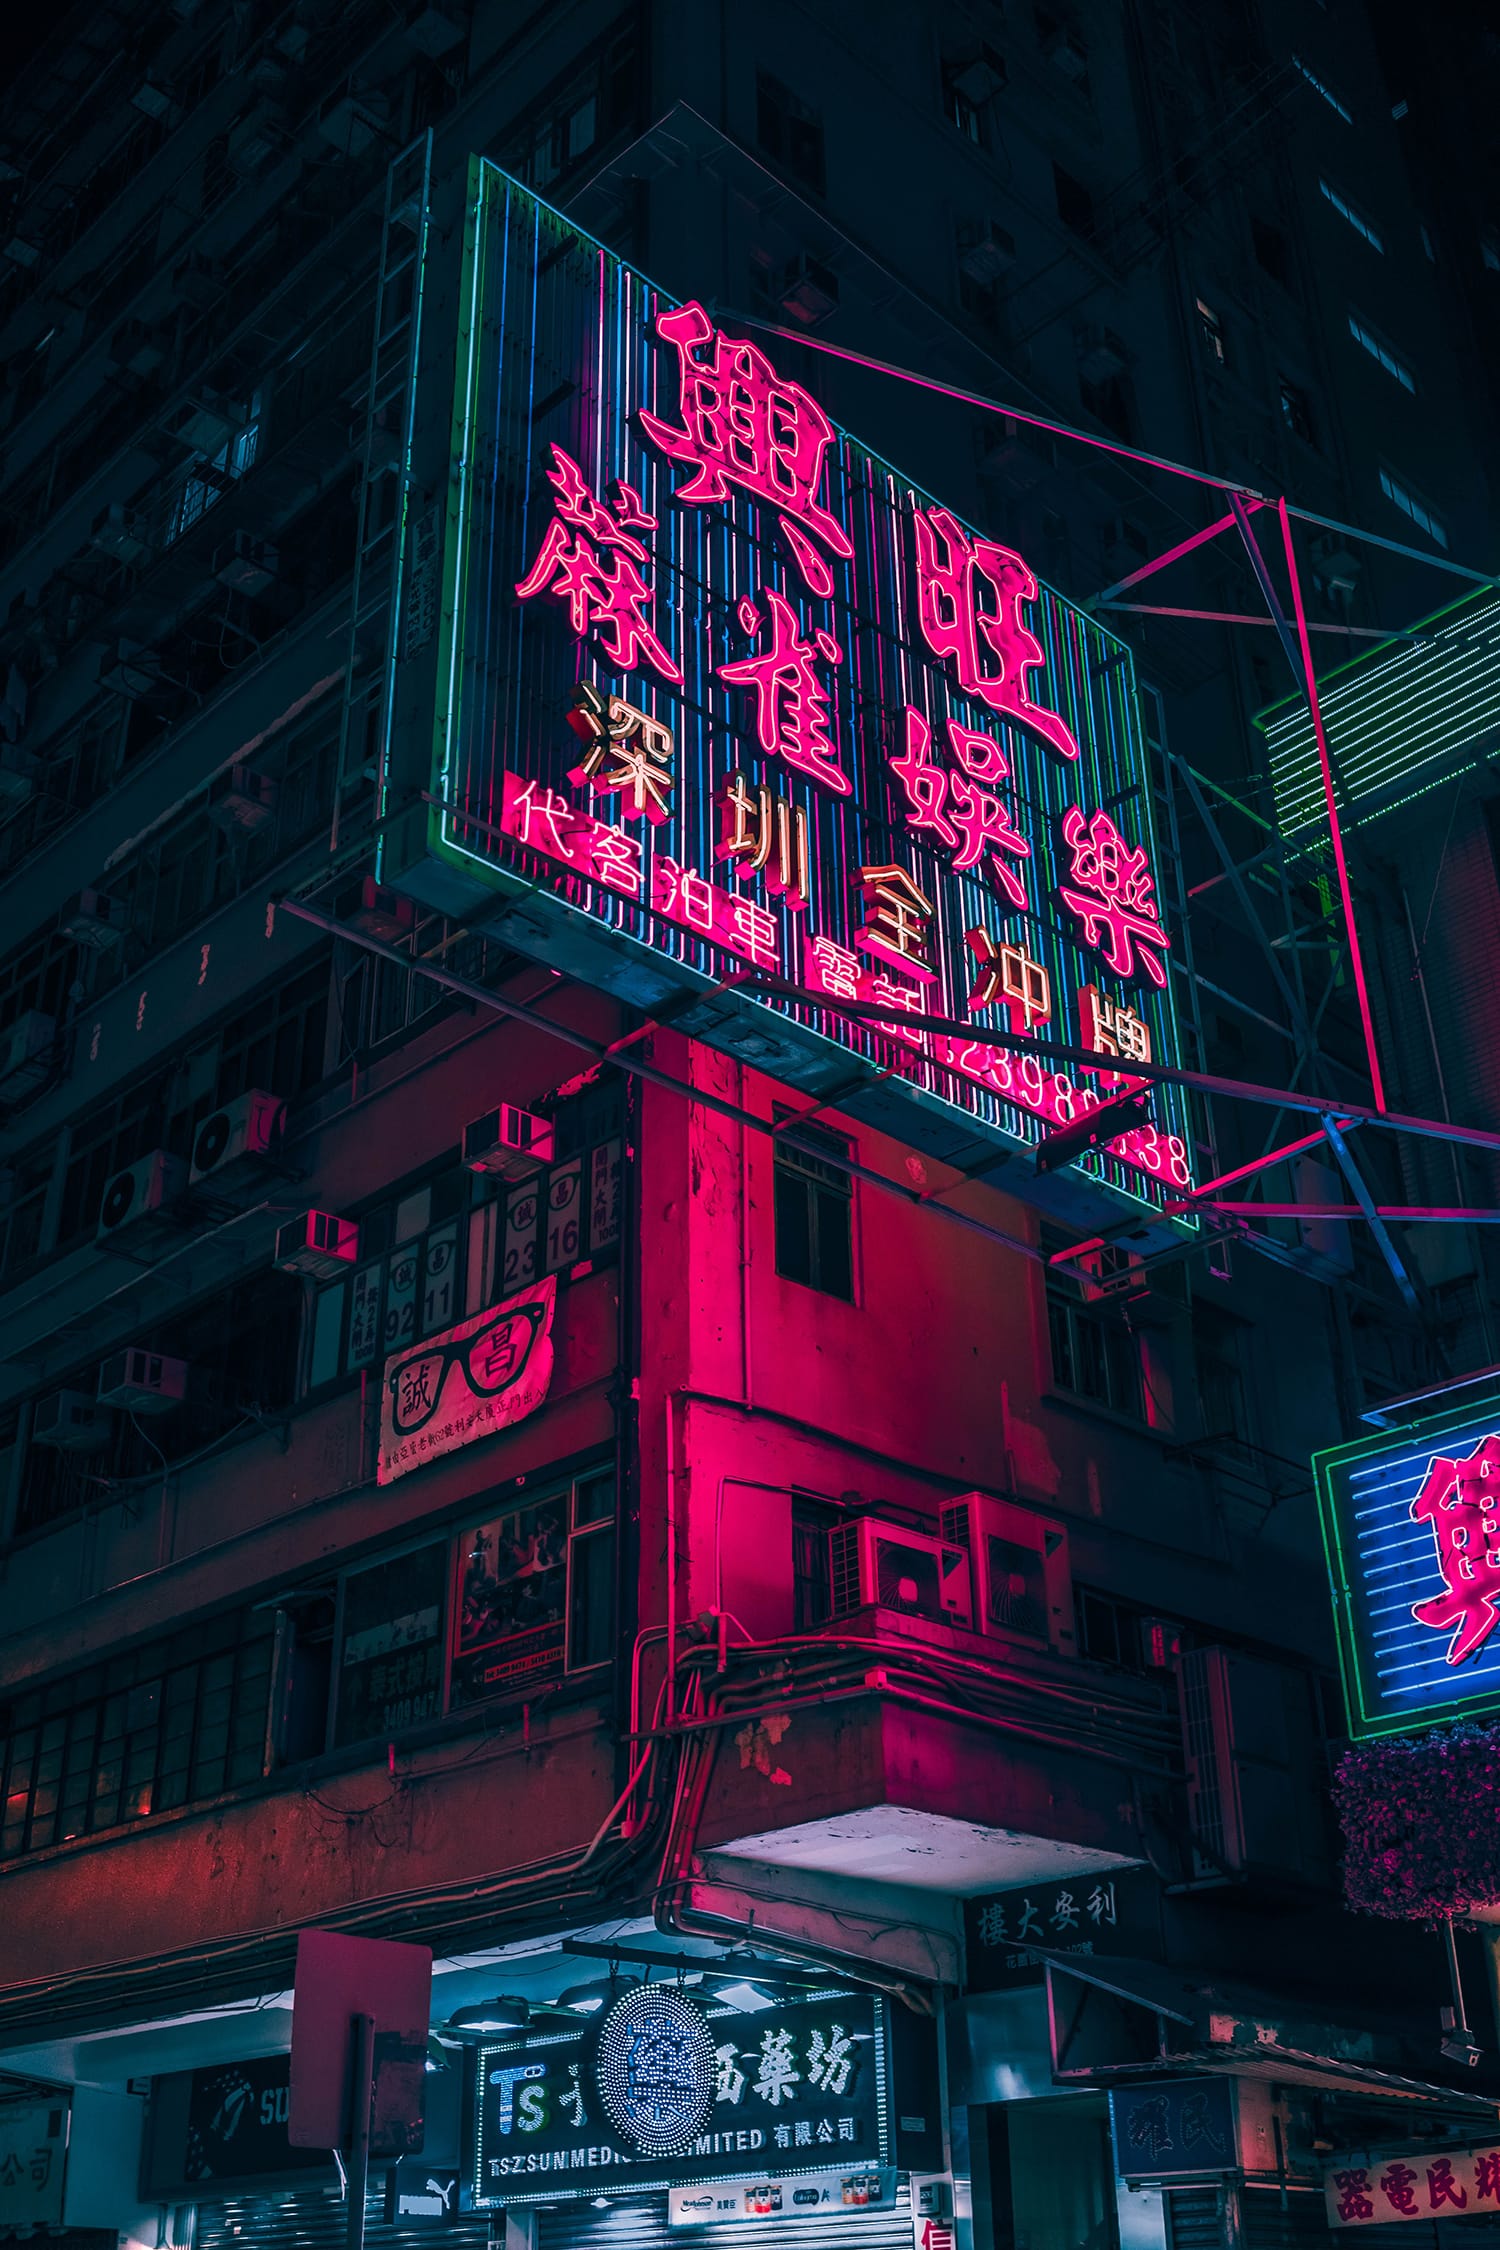
As you continue to shoot in low light, exploring settings from natural landscapes to bustling street corners, your instinct for choosing the right settings and physical setups will improve.
Learn in a few hours, what would take you months of trial and error to grasp. Get an almost unfair advantage over other photographers by learning to take stunning photos at night with Digital-Photography-School’s Night Photography course [11]