Astrophotography is one of the best ways to master photography and add some stunning photos to your repertoire. But the fact of the matter is that there are some important rules that you need to follow to capture great pictures of starry nights.
That’s why we’ve come up with this tutorial. It will definitely get a little technical, but brace yourself (and bookmark and share this article!), and you’ll soon become a master of astrophotography! Let’s get a few things out of the way first, though.
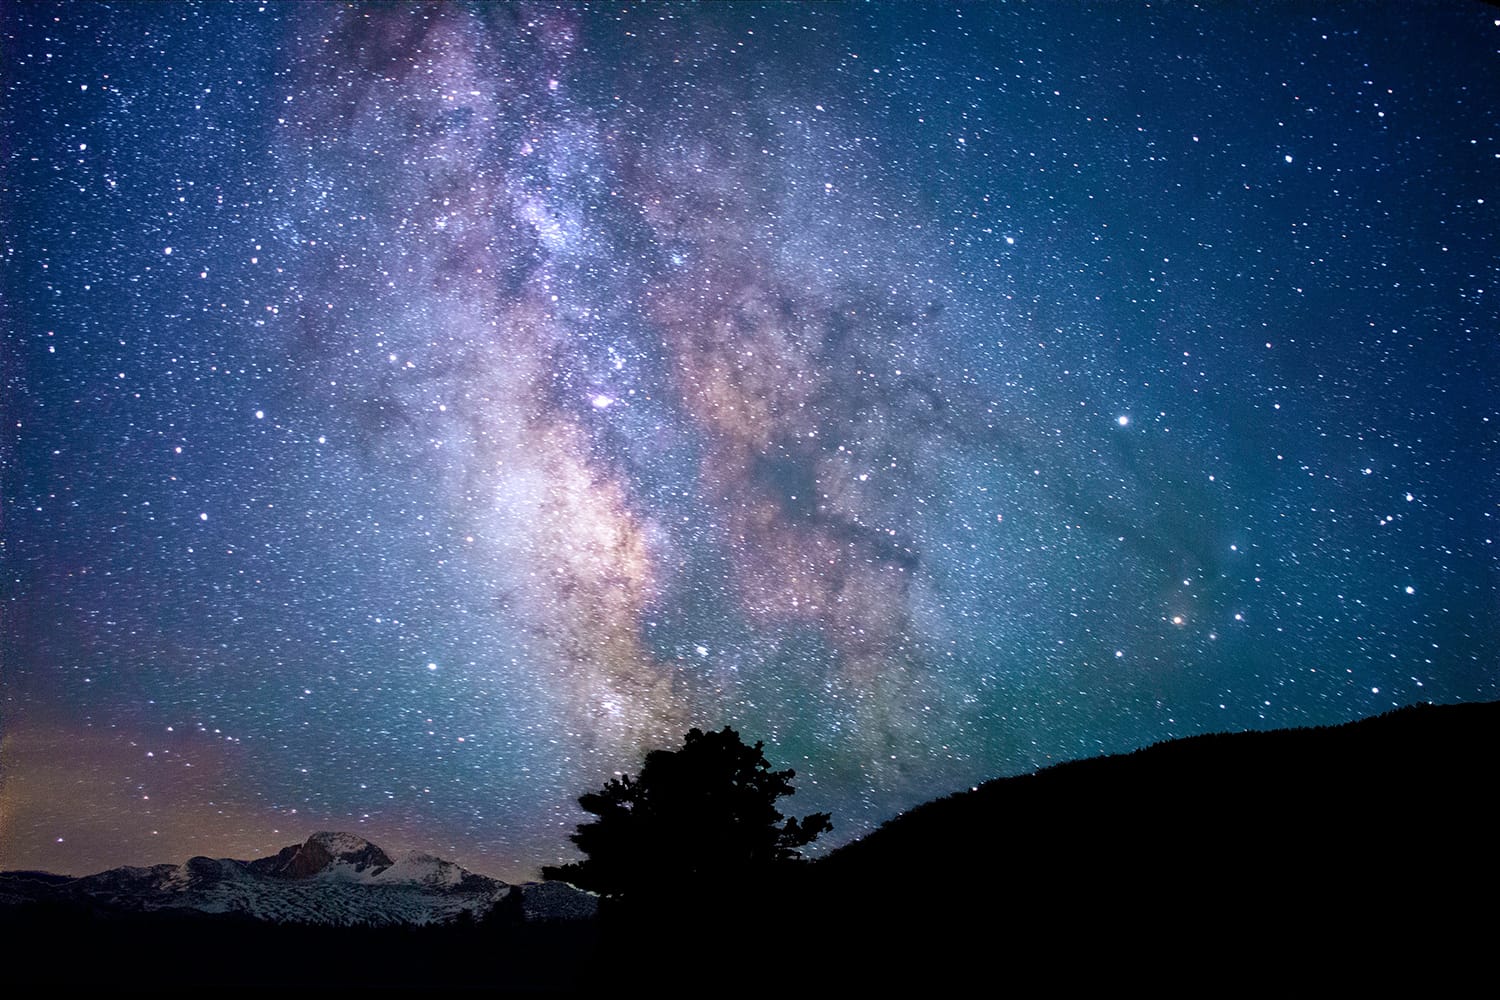
When you look at stars at night, they appear as very sharp points. Ideally, you want to capture them as they appear, and maybe also incorporate the beauty of our stunning Milky Way [1]. To capture that true beauty, you need to use a relatively long shutter speed.
But when you do, you end up with star trails because of the movement of the stars and the Earth (although capturing star trails is a great thing, that’s not what this tutorial is about).
The NPF Rule Compared to the 500/600 Rules
You can calculate the maximum shutter speed to get you acceptably sharp stars using the 600 rule [2] (or the 500 rule, but let’s stick to the 600 rule to keep things simple).
The idea is simple. Divide 600 by your focal length, and that will give you the maximum exposure time in seconds that you can use before you get star trails. That is for full-frame sensors. If you use a crop-sensor, divide 600 by your crop factor.
If you use a Nikon DX camera for example, you will want to use a 1.5 crop factor. Canon crop-sensor cameras usually have a 1.6 crop factor. If you have a Nikon DX [3] camera, the formula would then use 400 instead of 600 because 600 divided by the 1.5 crop-factor = 400.
But the problem with the 600 rule is that it doesn’t take into account diffraction, declination, aperture, or pixel density, or pixel pitch. That’s where the NPF rule comes into play, which provides a more accurate time for your shutter speed.
What is NPF Rule, and How Can You Use it?
The NPF rule is a much more accurate and a little more complicated rule to capture sharp stars. NPF stands for Aperture (or N, which is the letter used in the optics world to represent the aperture), Pixel Pitch, Focal Length, which is calculated as:
(35 x Aperture + 30 x Pixel Pitch) / (Focal Length) = Shutter Speed (in seconds)
But, how do you find the pixel pitch to complete the equation? Glad you asked! It is calculated as follows:
(The physical width of the camera sensor in millimeters / number of total pixels in width) x 1000 micrometer (µm)
This will generate the result in microns.
For example, let’s say you have a Sony a7III [4] camera with a 35.6mm x 23.8mm sensor, and the image resolution is 6000 x 4000.
The pixel pitch would be (35.6 / 6000) x 1000 = 5.93.
Now, back to the NPF formula:
(35 x Aperture + 30 x Pixel Pitch) / (Focal Length) = Shutter Speed (in seconds)
Here you need to make sure that you apply all the mathematical operations in the right order. It means that you need to use multiplication, then addition, or otherwise, you will get the wrong result.
Let’s stick with the Sony a7III [4] example, and let’s assume you use an aperture (N) of f/8. We know that the pixel pitch is 5.93. Now we just need to know the focal length we’ll use. Since we want to capture as much of the scene as possible, let’s go with a 16mm wide-angle lens [5].
The formula would be:
(35 x 8 + 30 x 5.93) / (16) = Shutter Speed in seconds
(280 + 177.9) / (16) = 28.62s (or approximately 28-29 seconds)
Both the 500 and 600 rules provide much longer exposure times than what you get from the NPF rule, and they don’t take into account as many values and settings. This means you will get better results while capturing stars if you follow the results provided by the NPF rule.
Here’s a comparison using the same camera, lens, and settings but using the 600 rule.
600 / 16 = 37.5s
As you can see, that’s much longer than the 28 seconds we got using the NPF rule. But that’s not all. The 500/600 rules don’t take into account the aperture. So a 16mm lens will always get you 37.5s exposure time.
Whereas with the NPF rule, changing the aperture value will give you a completely different result.
In our previous example, we use f/8 as the aperture:
(35 x 8 + 30 x 5.93) / (16) = 28.62s
Now let’s change the aperture (N) to f/2.8:
(35 x 2.8 + 30 x 5.93) / (16) = 17.24s
That’s a roughly 11-second difference just because we changed the aperture value in the formula.
Use the App to Calculate NPF
As you can see, the NPF rule is entirely different from the 500 or 600 rule, and it’s a tad more complicated as well.
The issue with the NPF rule is that when you’re out in the field, you might not have enough time to run the numbers when you’re setting up to capture stars in the night sky.
To remedy this issue, you can use an app such as Photopills [6], which will perform all the complicated calculations for you. It will also take declination into account (more on that in a minute.)
You just need to open the app and enter the aperture and focal length for your camera and lens setup. The app will instantly provide you with the maximum shutter speed you need to choose while capturing the starry night. Moreover, the app also gives you the 500 Rule to compare it with the NPF Rule. It’s a paid app, but it’s worth every penny.
To use the NPF rule in Photopills [6], just click the Spot Stars icon and fill out the details.
Declination Also Matters!
Another important factor that you need to consider is that all the stars move differently in the night sky. In simple words, if a star is closer to the North Star (Celestial Pole), then it’ll be slower as it will need to move a shorter distance as compared to the stars farther away from the North Star. However, all of them will have the same angular speed. The farther the star to the celestial equator, the smaller distance it will have to travel and vice versa.
Moreover, the stars at the celestial pole have a declination of 90 degrees, and the stars at the celestial equator have a declination of 0 degrees.
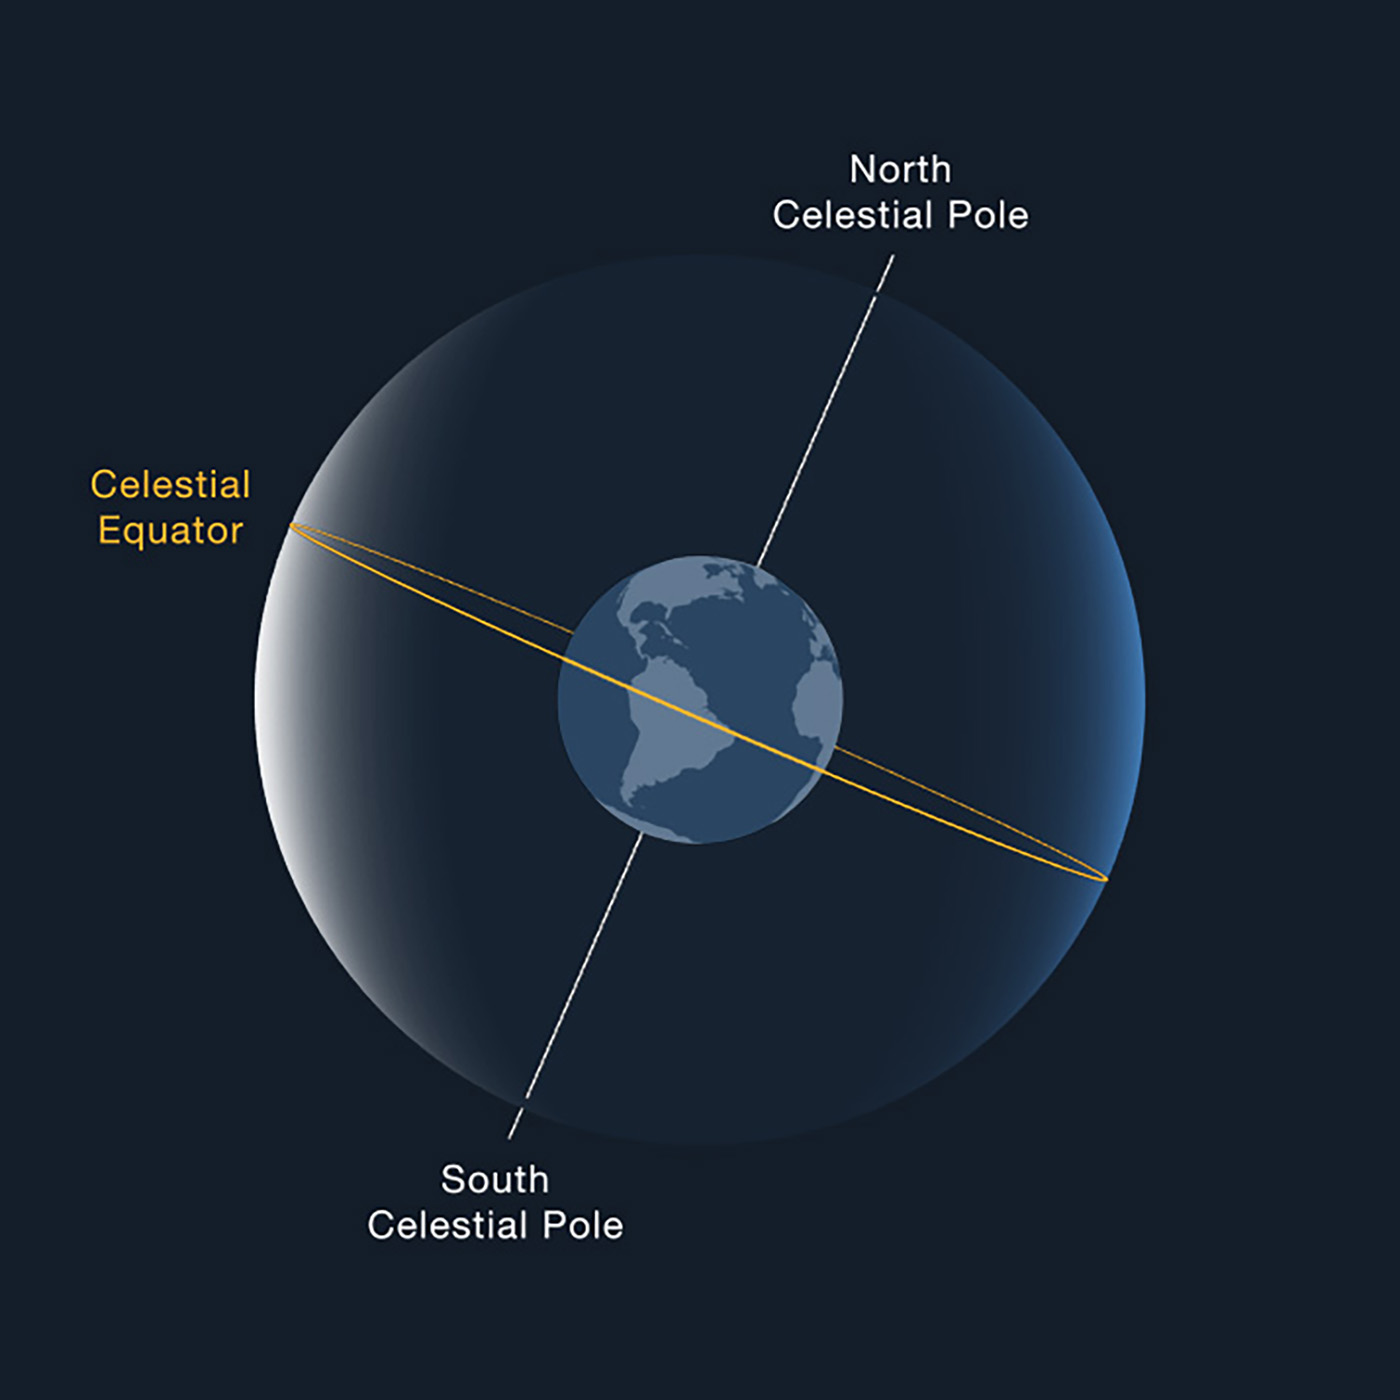
Source: Solar System Nasa Official [7]
You can consider declination as the angular distance of any star south or north of the celestial equator. The speed of earth rotation is highest at the celestial equator, and that’s why stars from that point have to move the most.
Calculating Declination
There are two important factors that you need to keep in mind to calculate declination, which is as followed:
- Where are you capturing from?
- In which direction do you want to point your camera?
You can also use Photopills to calculate this as well. Tapping on AR in the Photopills app and pointing your smartphone in the direction you want to capture the night sky will find the declination for you at the bottom of the screen.
You will also find the aperture, focal length, and shutter speed that you can use to input to calculate NPF manually. You will even notice that the app provides different shutter speed values for different declination to allow you to capture the photos with the best results.
The default setting that the application offers calculates the shutter speed for you to capture the photos with unnoticeable star trails. But if you want to go one step further, especially if you wish to have very large prints, we recommend choosing the “Accurate Settings” feature in Photopills. It will decrease the total time of exposure by approximately half, and you can always compensate by increasing your camera’s ISO. But it will allow you to capture the impressively sharp photos that you always wanted.
Final Words
These are the best tips & tricks that you can follow to understand the NPF rule better. We hope this article helps you find the sharp and stunning picture of stars that will become a valuable addition to your collection!