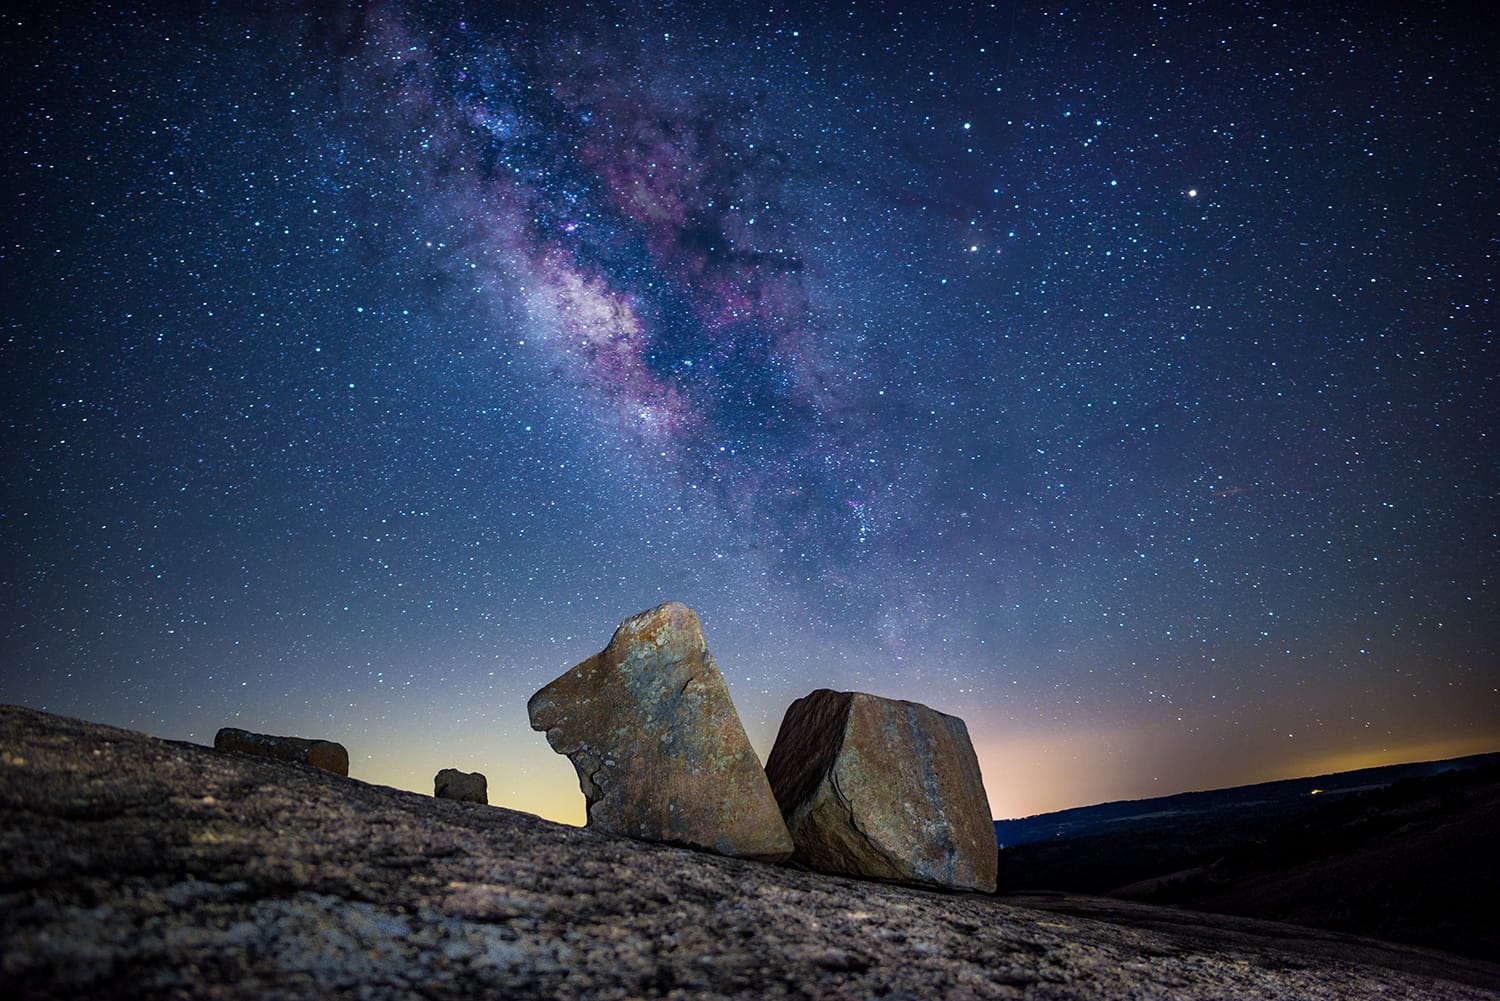
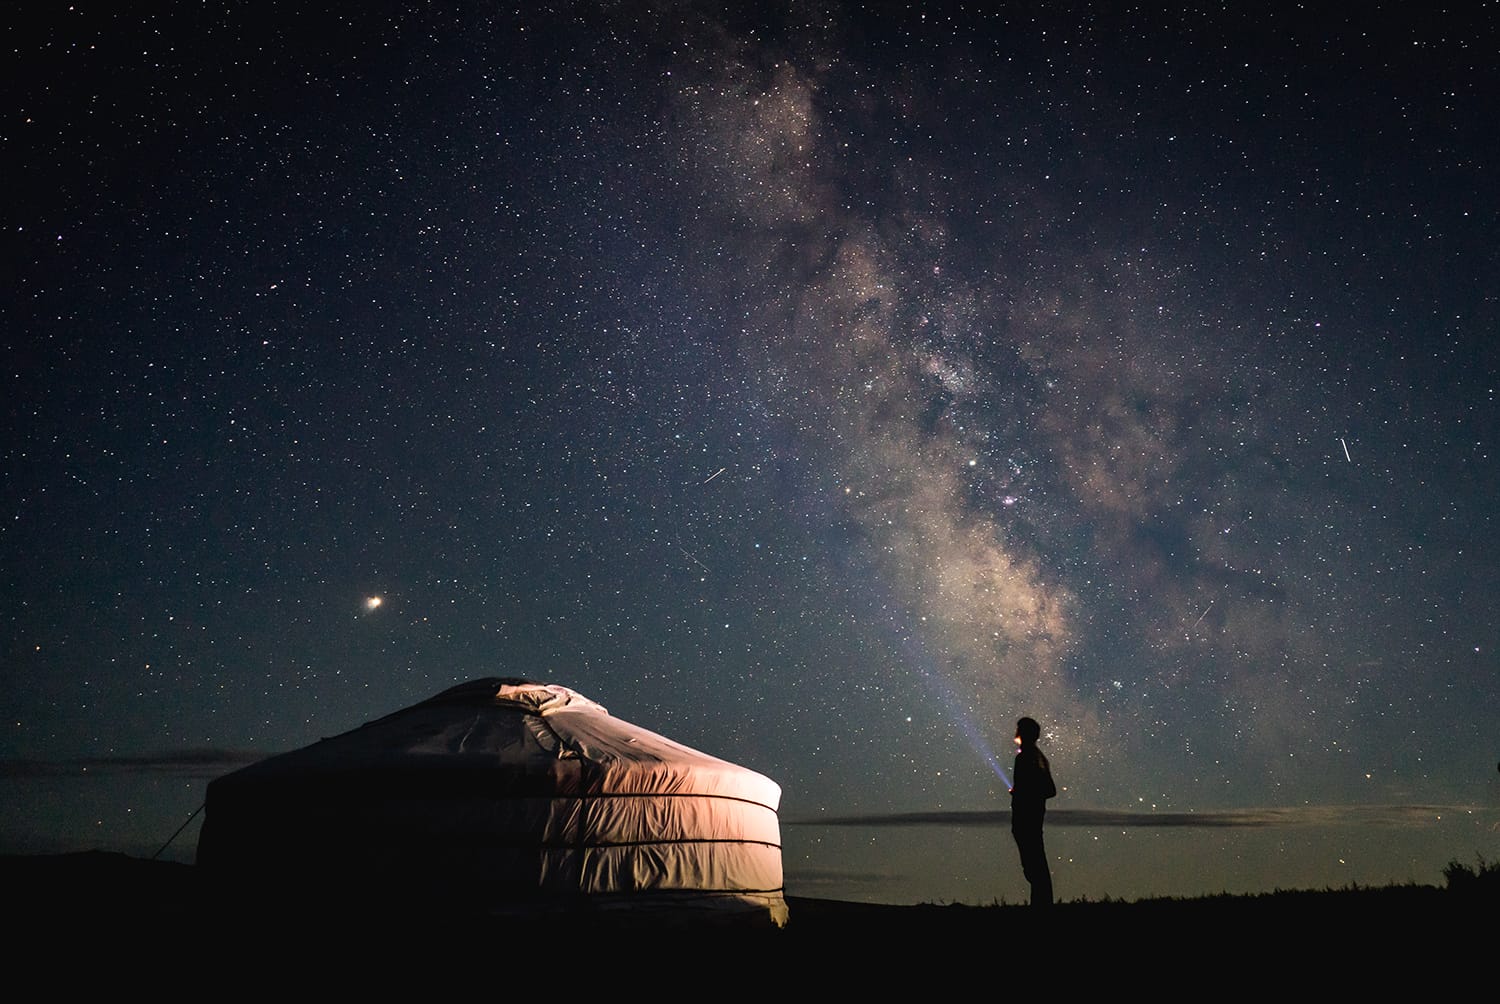
A Comprehensive Guide to Photographing the Milky Way

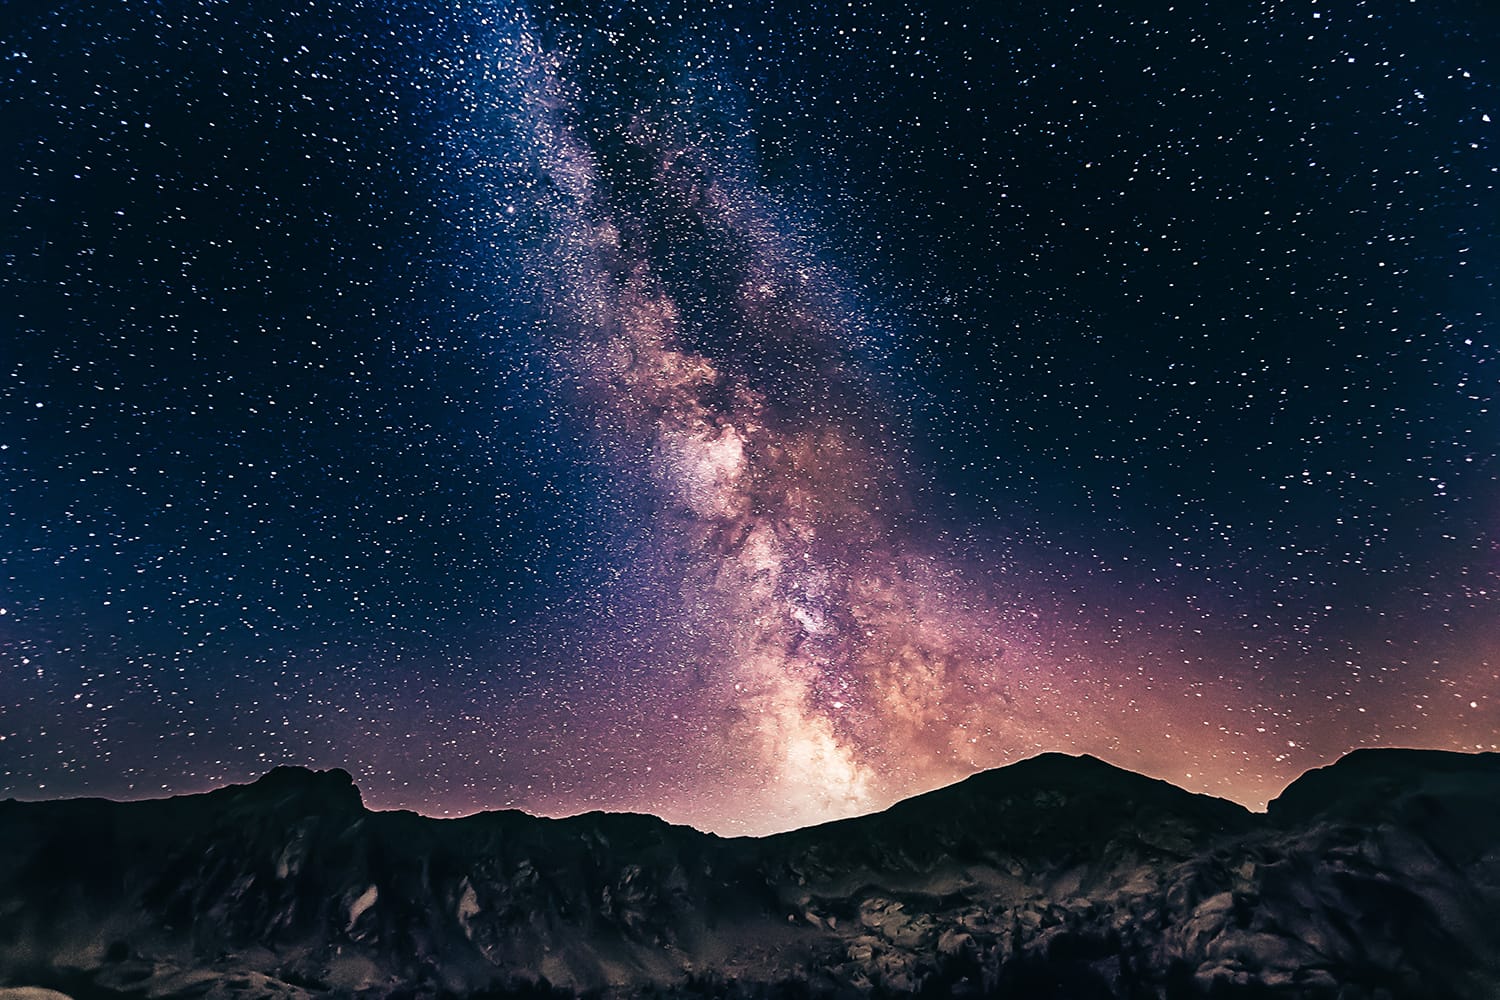
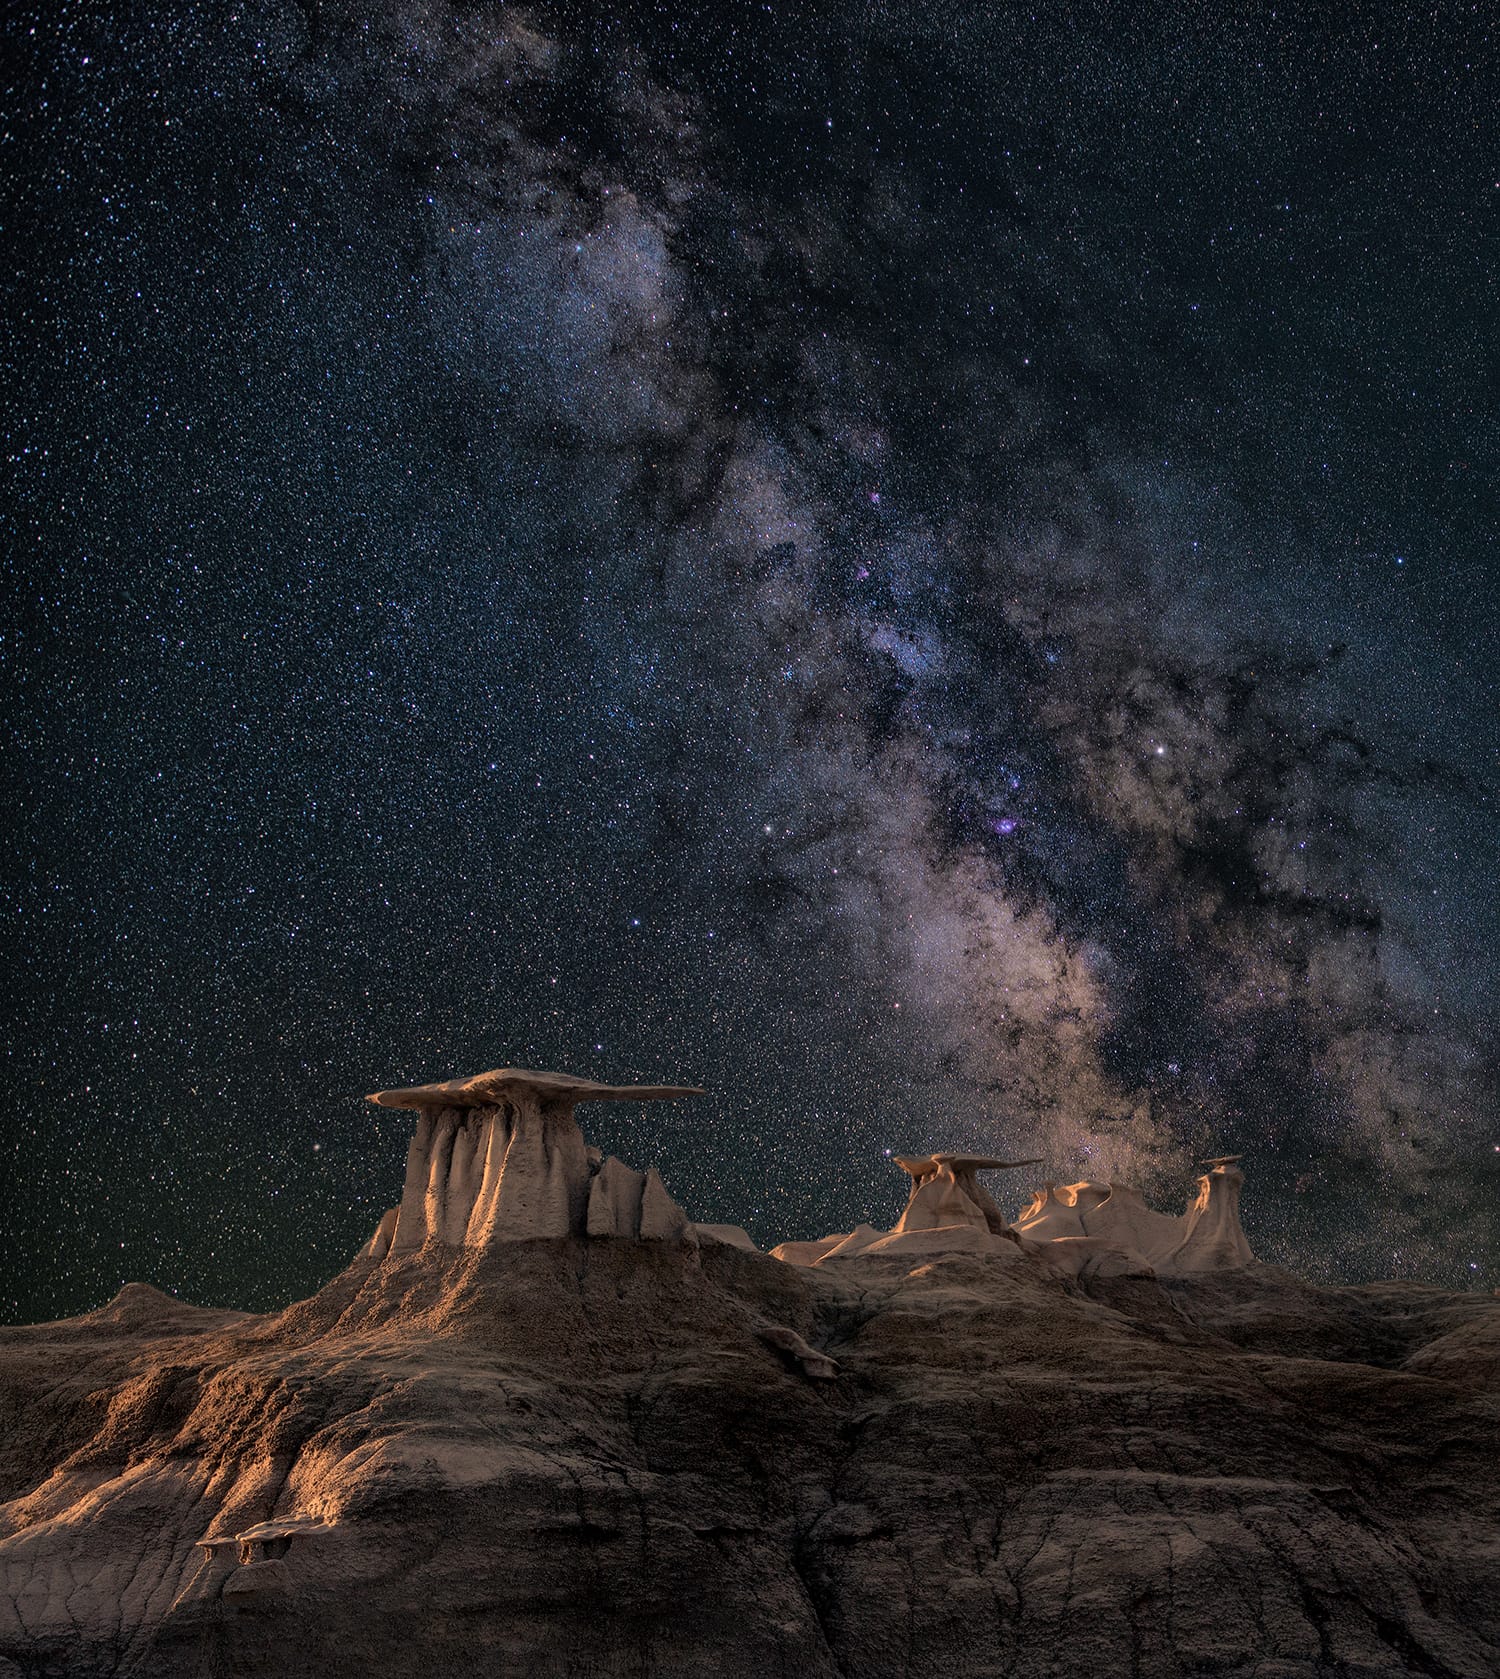
There are few things more stunning than the magical view of the Milky Way, the massive, spiral galaxy containing all the planets and stars within the solar system we call home.
As you might expect, however, it can be a challenge to capture the essence of this stellar view in a photograph! Below, I’ve highlighted seven techniques you can use to photograph outer space from our own humble planet.
1. Planning is key
If you’ve been interested in photography for some time, you’re probably well aware that planning and patience are two components necessary to achieve solid compositions. Shooting the Milky Way and other astral bodies is no exception! However, you’ll want to plan ahead even more than usual when tackling this more advanced subject.
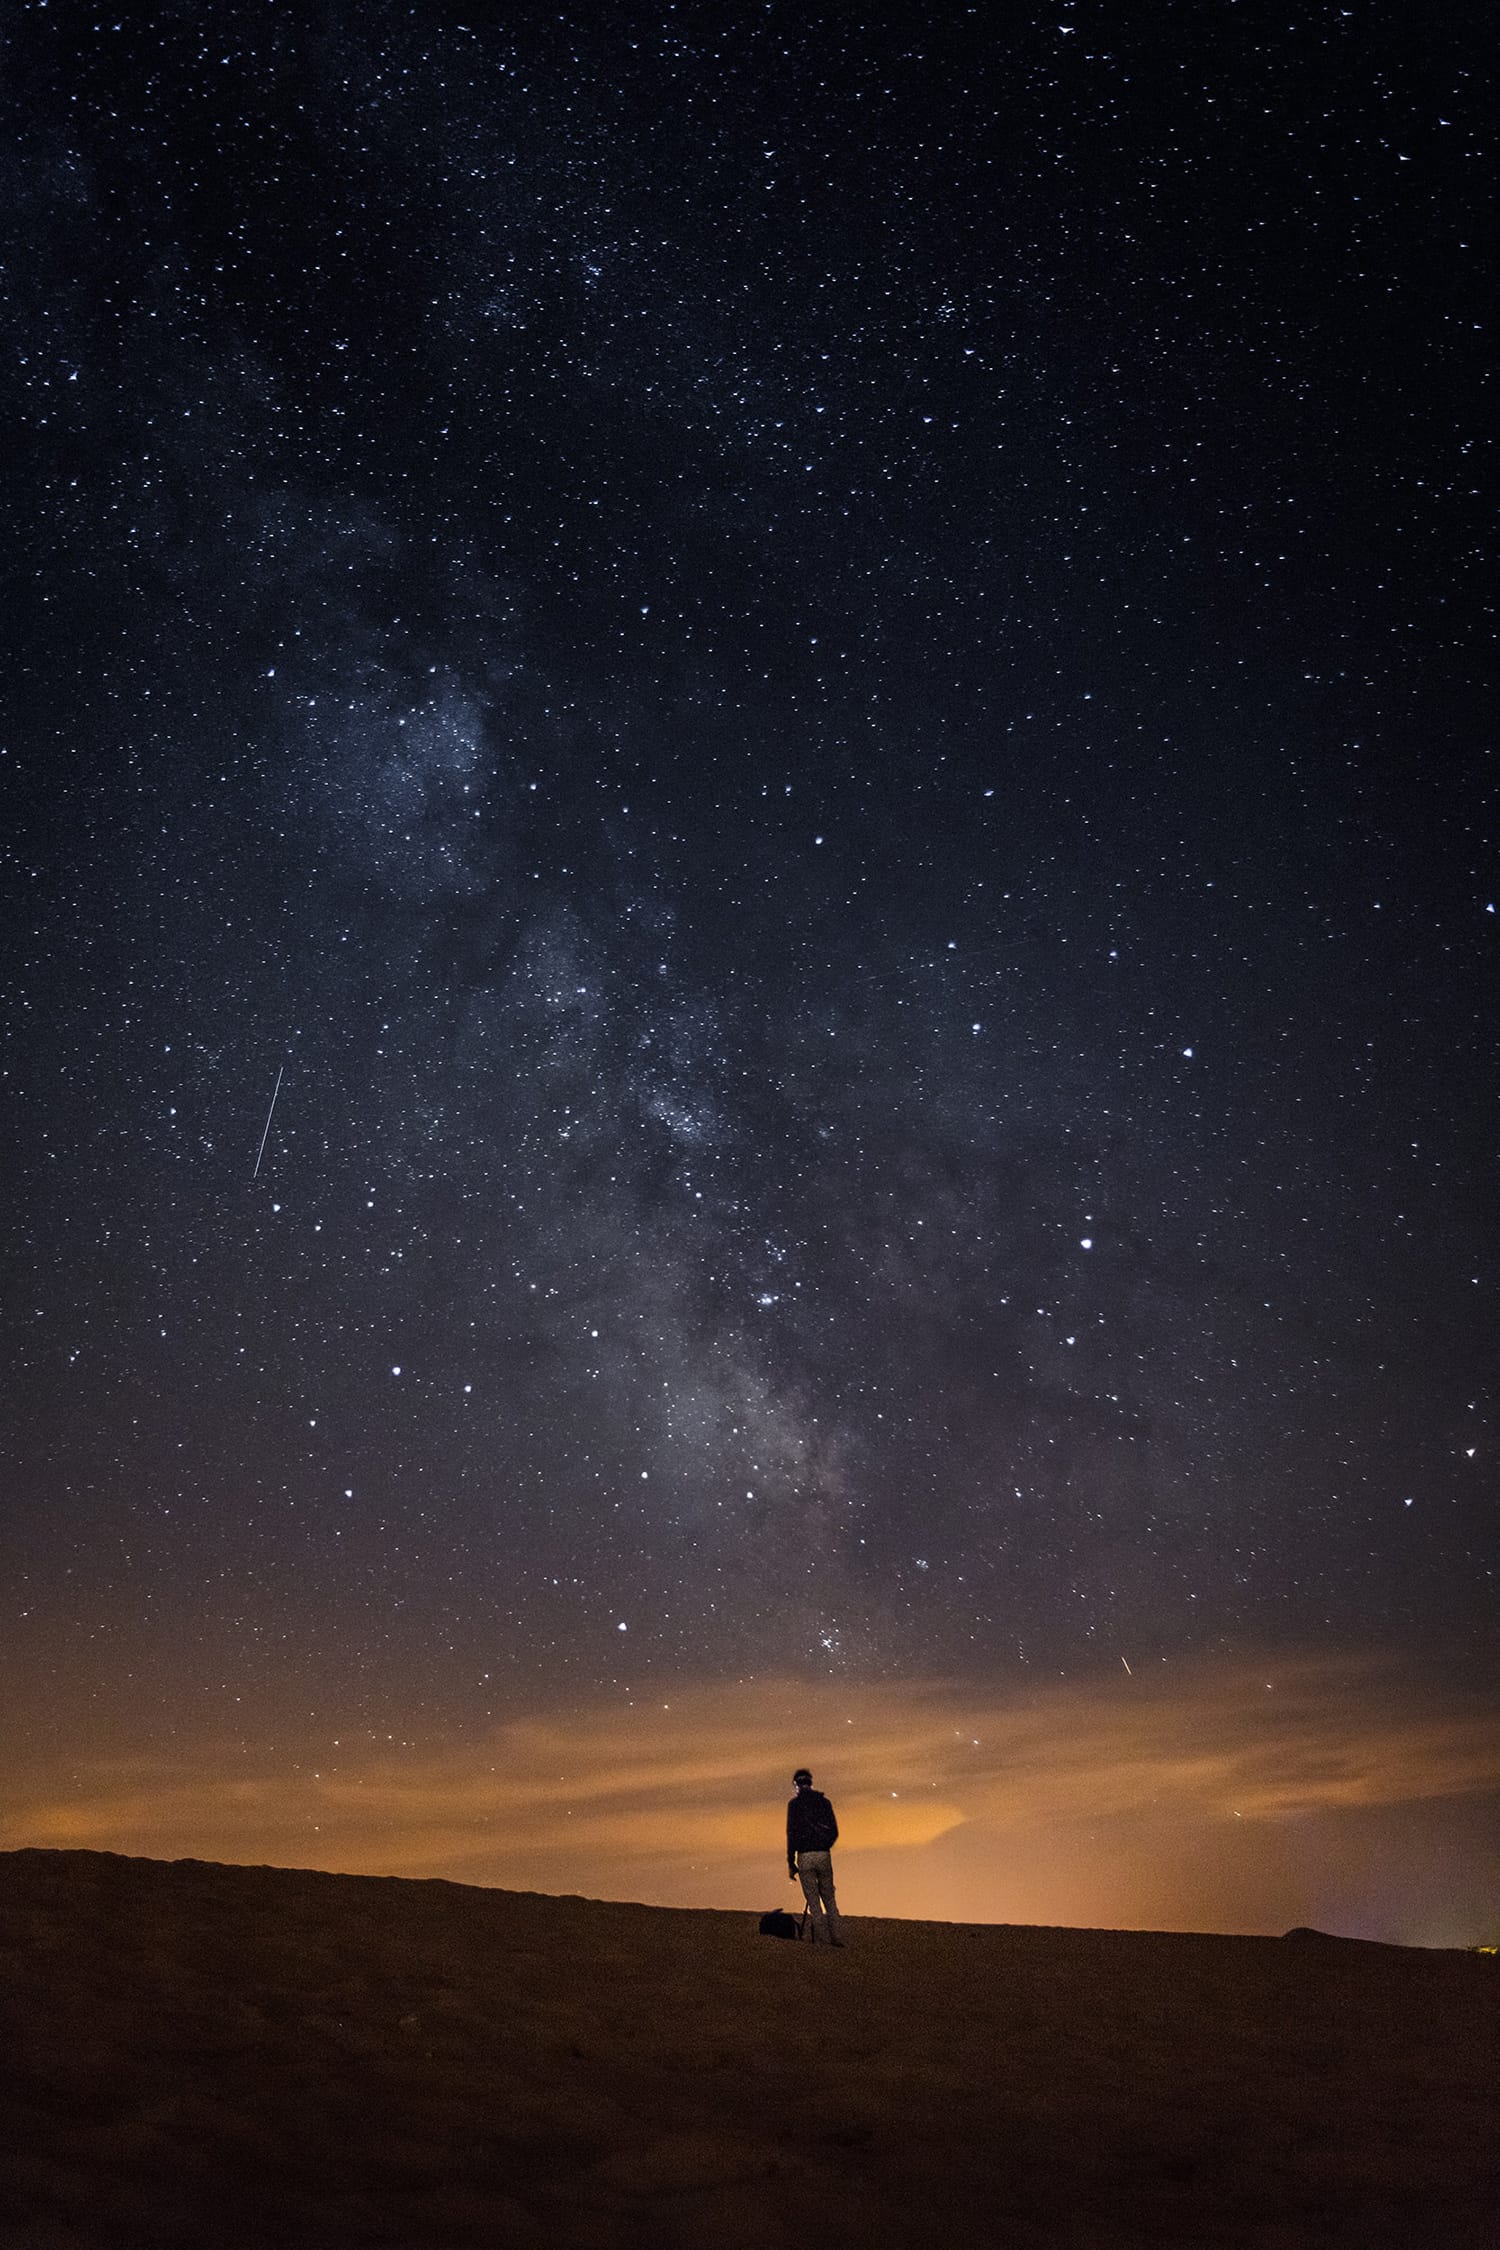
Reference resources that catalog light pollution to determine the best location for shooting (inhabitants of the night sky won’t be visible among all those city lights), then scout the area in advance to begin planning for the most ideal shots and plotting out the composition of your photos.
2. Expose for the sky
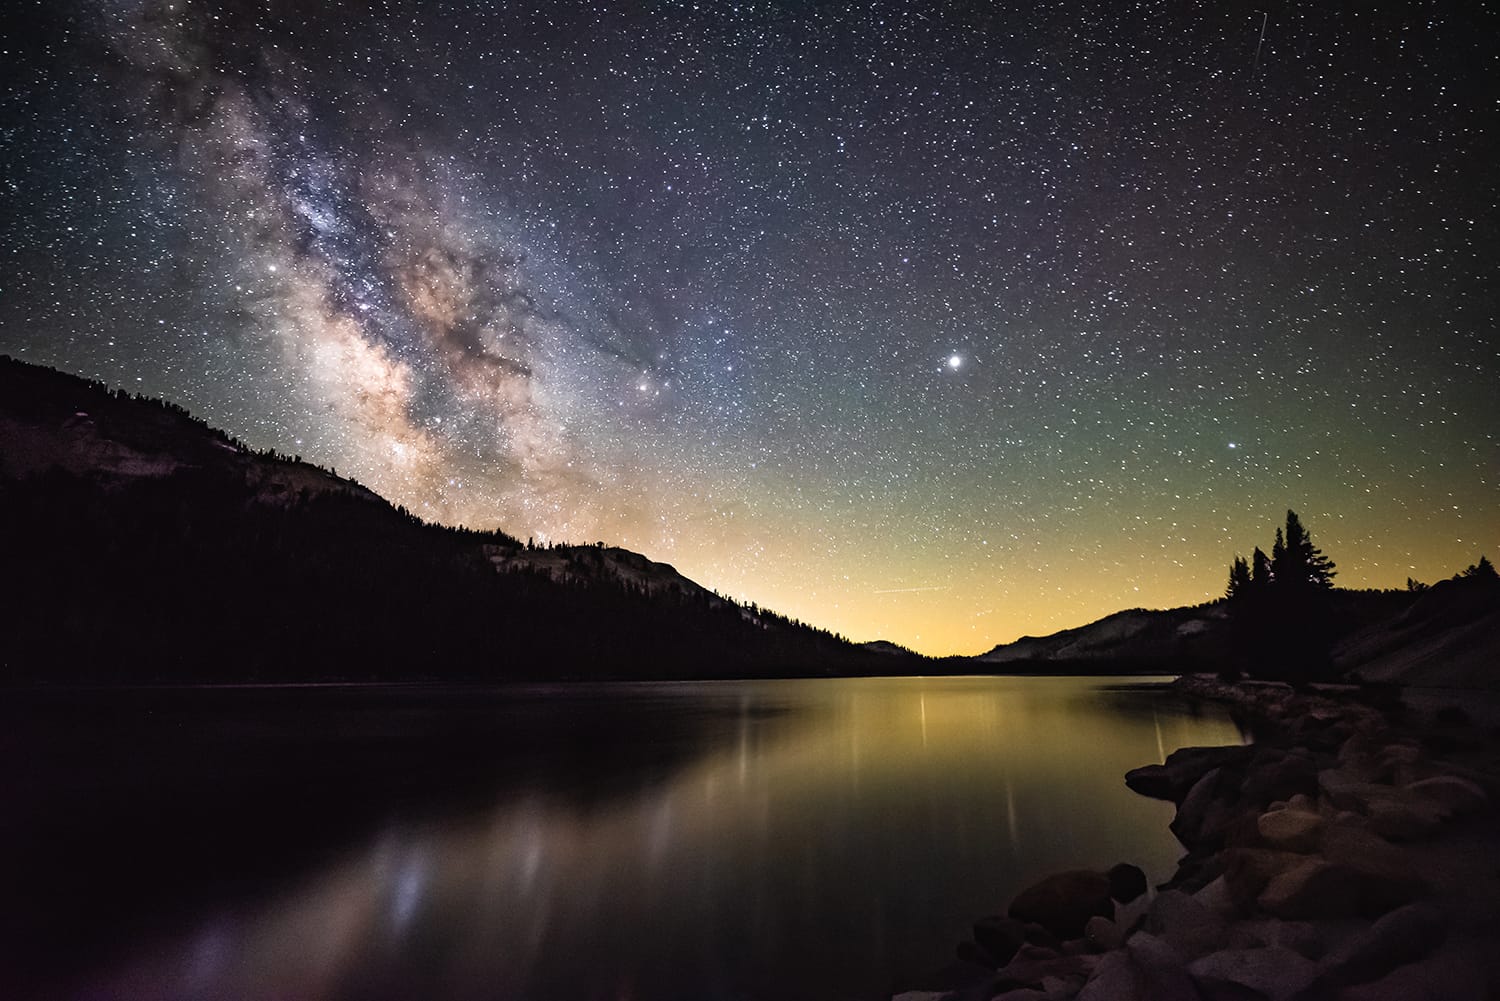
As tempting as it might be to maintain exposure settings in order to properly capture items in the foreground of your shots, avoid this! If you truly want to photograph the Milky Way at its best, in all its nighttime glory, you’ll want to expose for the sky.
This doesn’t mean you can’t include some foreground interest into your composition, but trust us—you’ll much rather have your settings primed for the sky rather than for proper foreground exposure.
3. Understand the 500/600 Rule
Speaking of exposure, set your shutter speed as high as you can. Like other nighttime photography adventures, it can be a challenge to ensure that your camera’s sensor picks up on enough light for a decent shot, so the longer the shutter is open, the better.
Like most principles in photography, however, striking a delicate balance between the ideal and the practical is easier said than done! In your quest to set the shutter speed for as long as possible, you will eventually encounter a phenomenon known as “star trails.” These trails occur when the earth’s rotation results in enough movement to yield blur in the final product.
Luckily, there’s a way to determine the best shutter speed as you attempt to balance these factors – the 500 Rule (or the 600 Rule). Both rules rely on the same principle, but the rule you choose to use in the field will be a matter of personal preference.
To calculate the best possible shutter speed, divide 500 (or 600) by the focal length of the lens (in full-frame equivalent). Ideally, this will be the longest shutter speed you can use before you begin to see the motion blur of star trails.
Related reading: The Cameras in the Wild ebook.
4. Go for the widest possible aperture
When you’re embracing the darkness of the night sky and aiming to capture every gorgeous detail of the astral sights which fill it, keep your aperture as wide as possible.
When paired with the slowest manageable shutter speed, this will ensure that your camera grabs up as much light as it can so that it lands the perfect shot and photographs the stars at their best.
5. Pack the proper gear
Because shooting the Milky Way means that you’ll be working with extremely slow shutter speeds, it’s critical to do everything within your power to keep your camera steady!
In addition to investing in a portable yet sturdy tripod for your outdoor excursions, using a remote shutter to further eliminate camera shake induced by your hand pressing down the camera’s shutter button is a must!
6. Keep ISO relatively high
Yes, I know I keep emphasizing the point that your camera must capture as much light as possible in order to result in the best possible final image – I wouldn’t harp on this if it weren’t true and incredibly important!
In the continued quest to allow your camera’s sensor enough light to capture the most stunning Milky Way shots, use a relatively high ISO when shooting. Some night sky photographers will recommend starting around 1600-3200 and adjusting from there depending on your conditions.

7. Learn to reduce noise in post-processing
This becomes particularly important if you’re a photographer who prefers to bypass your camera’s noise reduction mode. I’d argue that photo editing software will allow us to do just about anything, and noise reduction is among the skills you can learn to improve your photos long after you’ve wrapped up your shoot.
For example, you might utilize Lightroom’s clone tool to get rid of the hot pixels in your images. Those are essentially bright-colored pixels (usually red, blue, or green pixels) in your images that are the result of a long exposure time.
Don’t be discouraged if these techniques don’t result in the perfect shot right away!
Photographing the Milky Way and other astral bodies is a difficult photography skill to master, and even the pros don’t get it right every time. Enjoy the experience and just keep shooting!
Each one of us is uniquely unordinary. In the Cameras in the Wild ebook you will learn not only how to capture a strong photograph, but also how to develop your images so that they become polished manifestations of your unique vision.
About the Author: Jon C. Phillips
 Jon C. Phillips is a photographer, watch lover, product developer/designer, guitarist & musician, and all-around web nerd. He's the founder of Contrastly which he launched in late-2012. He also co-founded DailyPhotoTips and TheDailyPreset.