Shooting Epic Landscapes: Improve The Foreground

If you are looking to improve your photography, then look no further than your foregrounds – quite literally! The foreground is often what separates flat, snapshot images from spectacular, exceptional photos.
Getting the foreground right can help to transform your images into a beautiful works of art. Take, for example, those photos that you find in photography magazines; most make great use of foregrounds. Images with a strong foreground will make you feel as though you’ve stepped into the scene, and are there in-person.
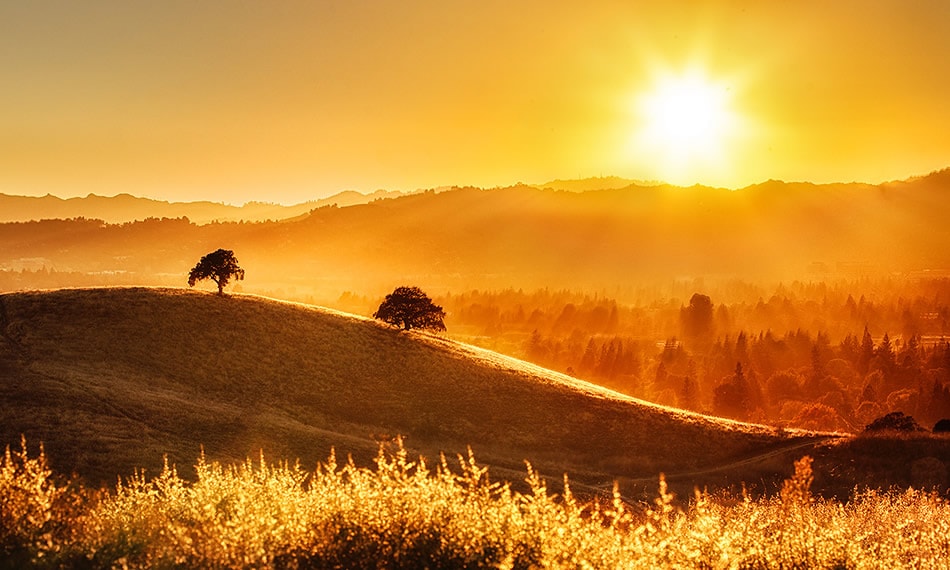
Photo by Daniel Peckham
But while foregrounds play an important role in landscapes, all too often they’re overlooked. It’s easy to forget about the foreground when there’s a beautiful sunset unfolding before your eyes, or when you’re trying to capture a stunning mountain peak. But it’s worth taking a few extra seconds to look for some interesting foreground elements for your photo. Doing so will set the stage for the composition and help you to capture images with more depth and dimension.
If you’d like to take your photos to a whole new level, here are some tips to help you improve your foregrounds, and, in turn – your photos.
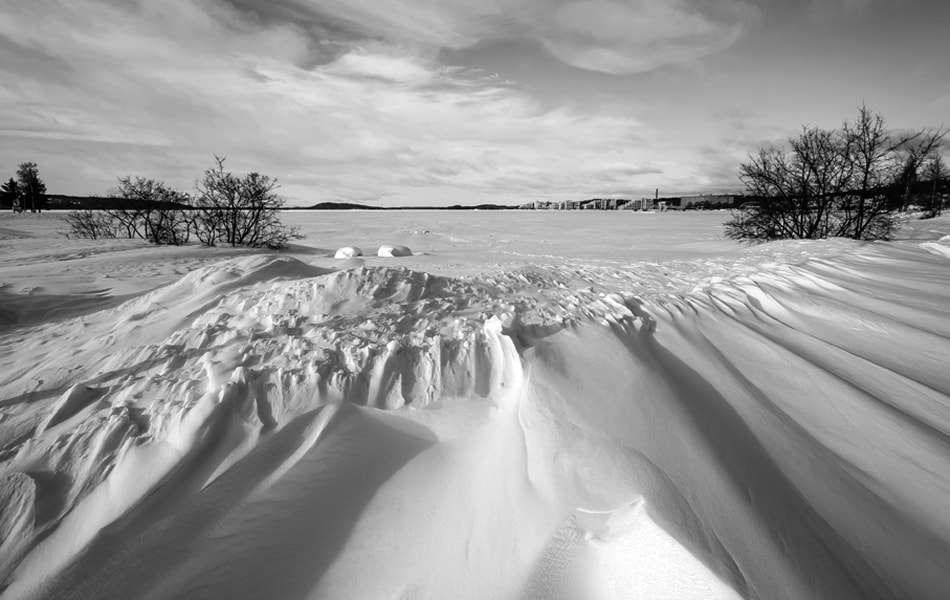
Photo by Miguel Virkkunen Carvalho
Look for Leading Lines
When strategically placed in a composition, leading lines are an excellent way to direct attention on towards the focal point. Leading lines don’t have to be straight; diagonal or curved lines work too – as long as they lead the eye through the image or on towards the main focal point. Lines don’t even have to be literal lines, eye-catching elements and points of interest that help to guide your eye through the image will work as well.
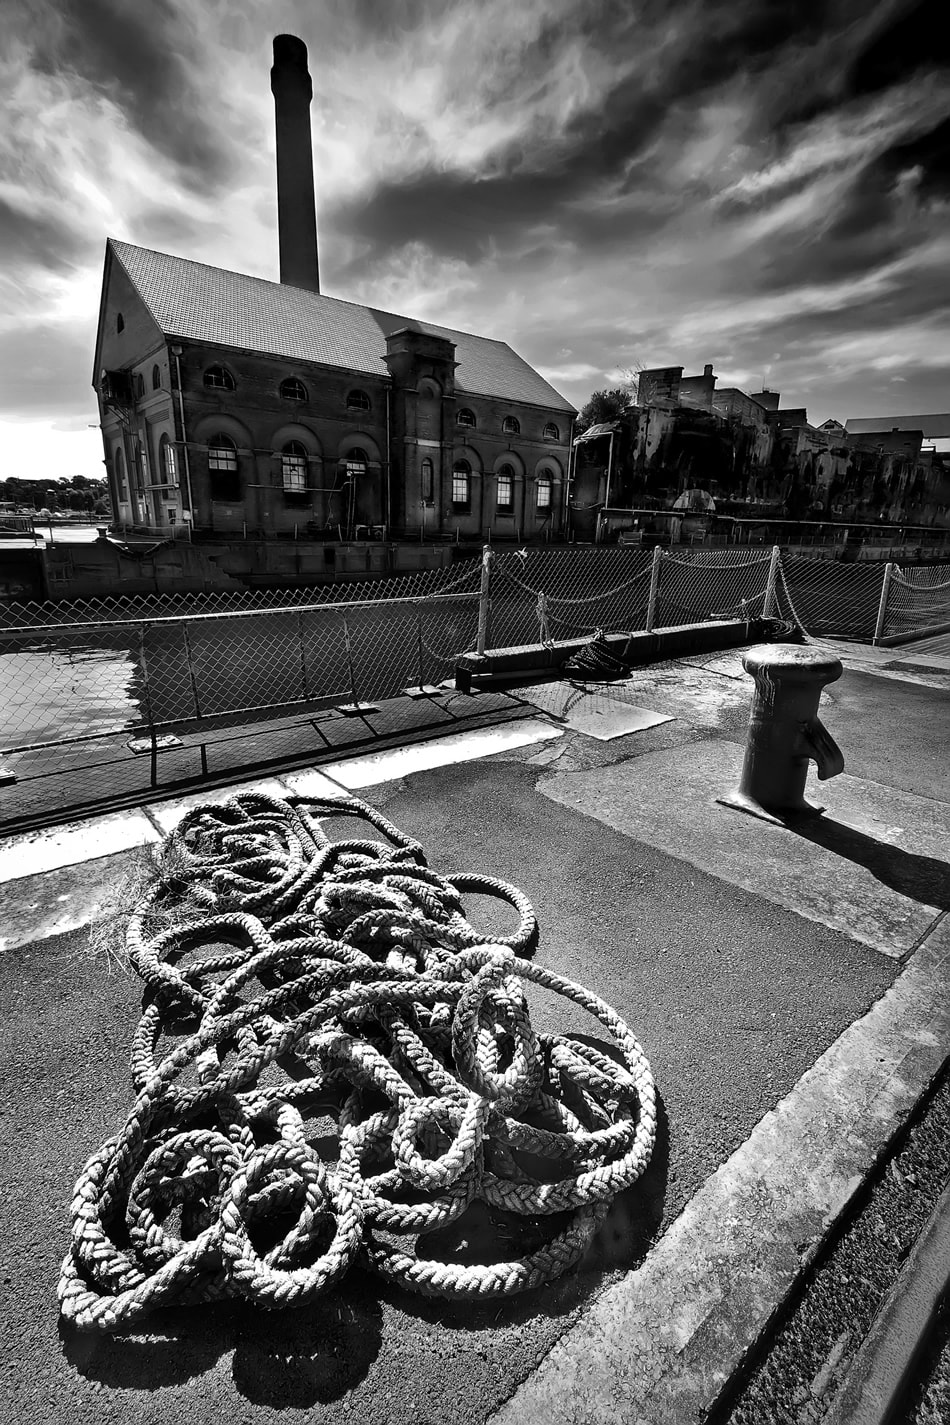
Photo by Gemma Stiles
Look to Include Some Context
Foreground is a great way to add some context to your image, and provide visual cues that will give the viewer more information on the setting, or story. While it may be tempting to fill the frame with that spectacular scenic vista, adding some more of the surroundings can enhance the composition, taking it from flat, and one-dimensional, to spectacular.
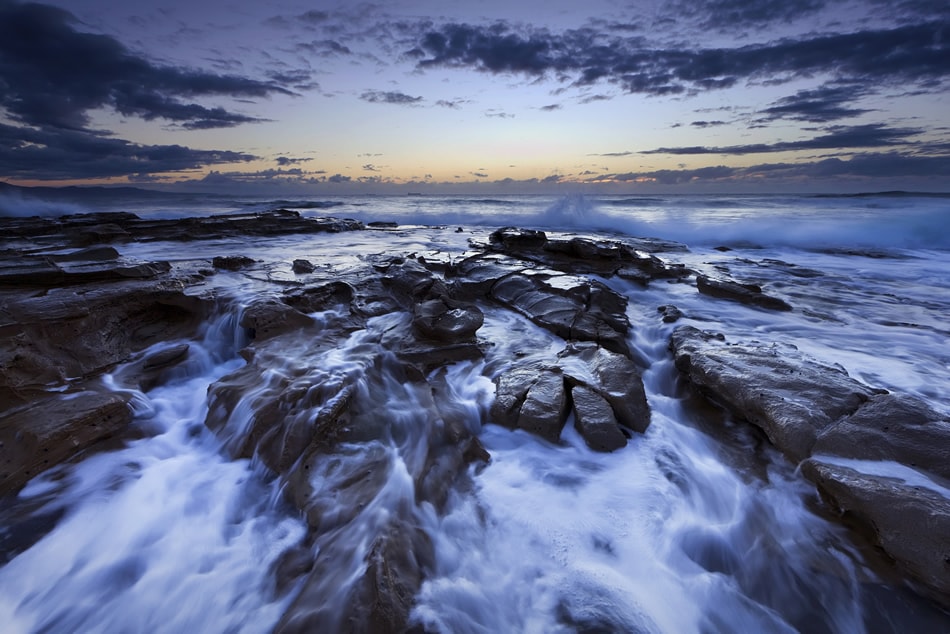
Photo by Gemma Stiles
Consider a Wide Angle Lens
A wide angle is a great lens for creating dramatic landscape images. Wide angles tend to increase the sense of depth and distance in a composition, and cause elements in the foreground to appear more prominent, making them perfect for landscapes. To get the most out of your wide angle, look to include plenty of great foreground in your compositions.
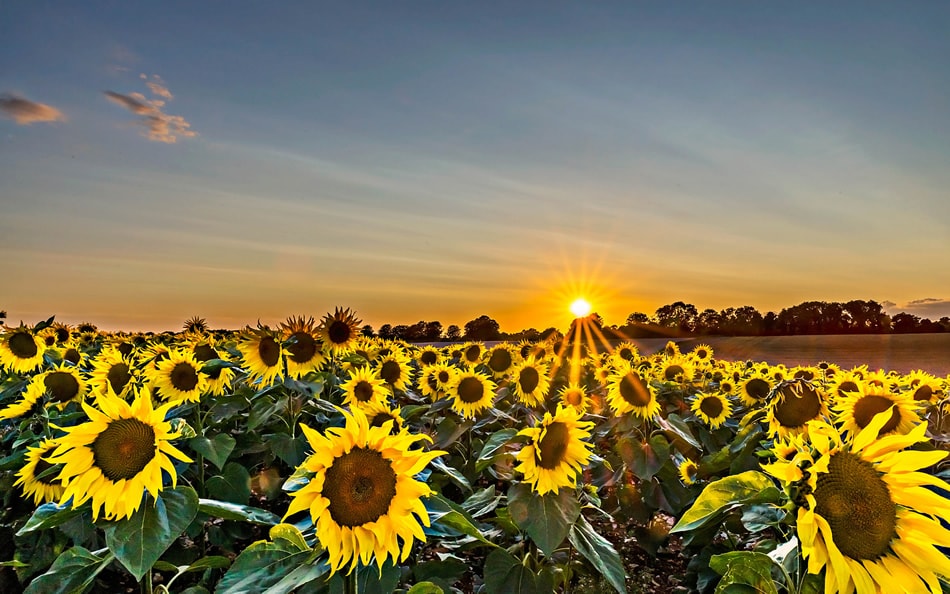
Photo by Ben Cremin
Get the Exposure Right
A common issues with landscapes, is getting the exposure right. This is especially the case when one part of the image has less light than the other. When including foregrounds, this is often the case.
The sky or distant background may require one exposure, but the foreground is often very different and often ends up looking darker. While you could take two different images at different exposures and merge them together later, post processing isn’t the only option. You could also use a graduated neutral density filter to balance the exposures, helping to keep the sky and the ground both exposed properly. If you do plan to do post processing though, be sure to shoot in RAW so you’ll have more flexibility when editing the images later on.
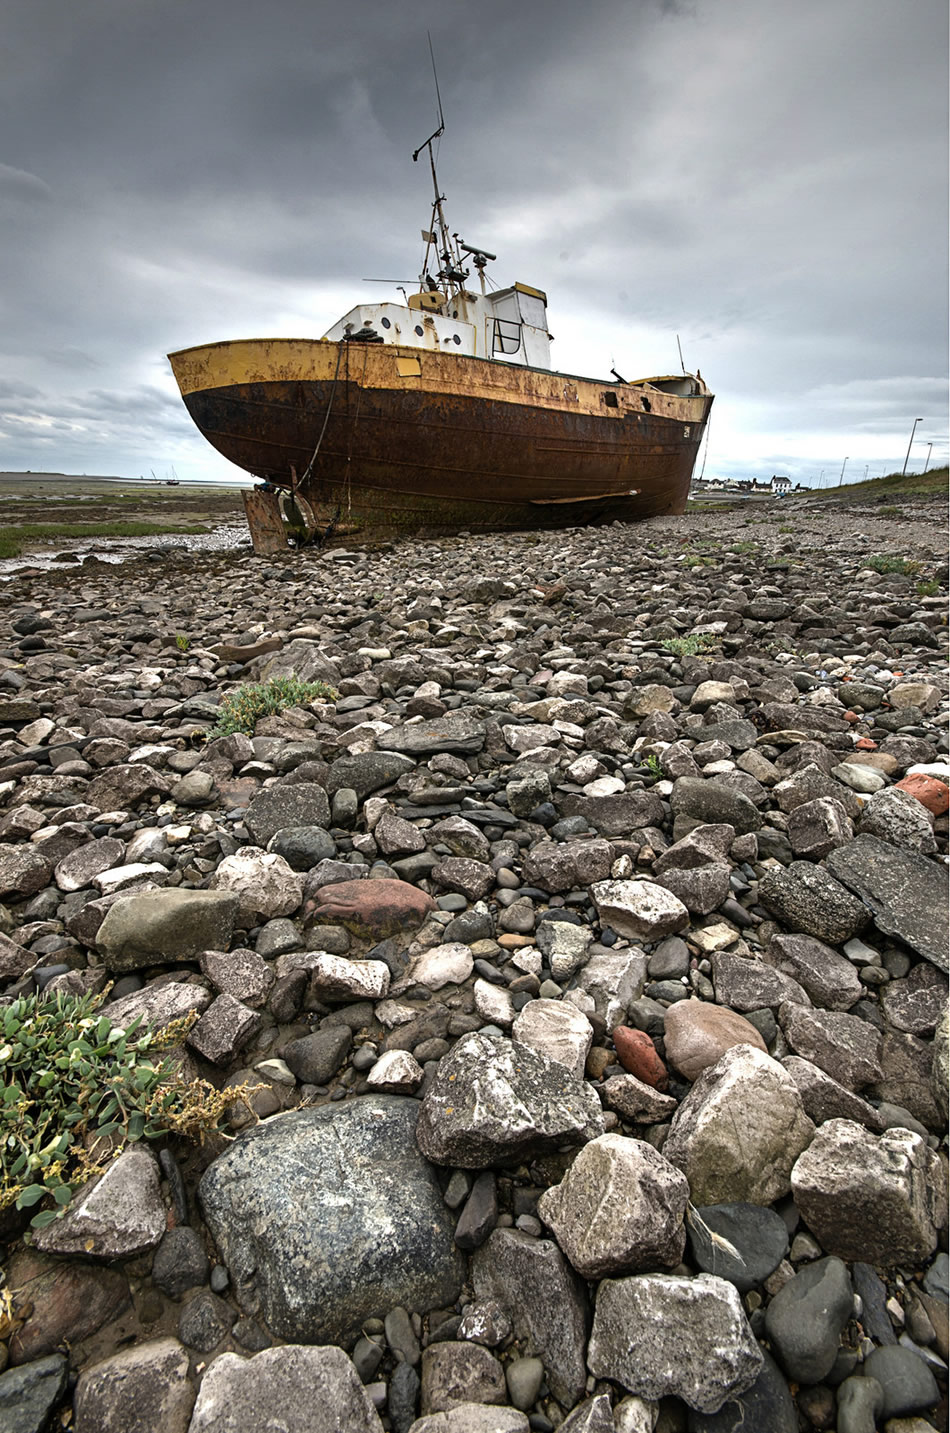
Photo by Pranavian
Shift Your Angle
Can’t find any foreground for your images? Start moving. Often, you’ll find a drastically better perspective just a few feet away. You may also want to consider getting lower, or angling the camera to include more, or less of the sky in the photo. Don’t forget to look for trees, fallen branches, or driftwood to feature in the foreground your images. Don’t assume your location is the best spot; often a simple shift can give you a much better angle.
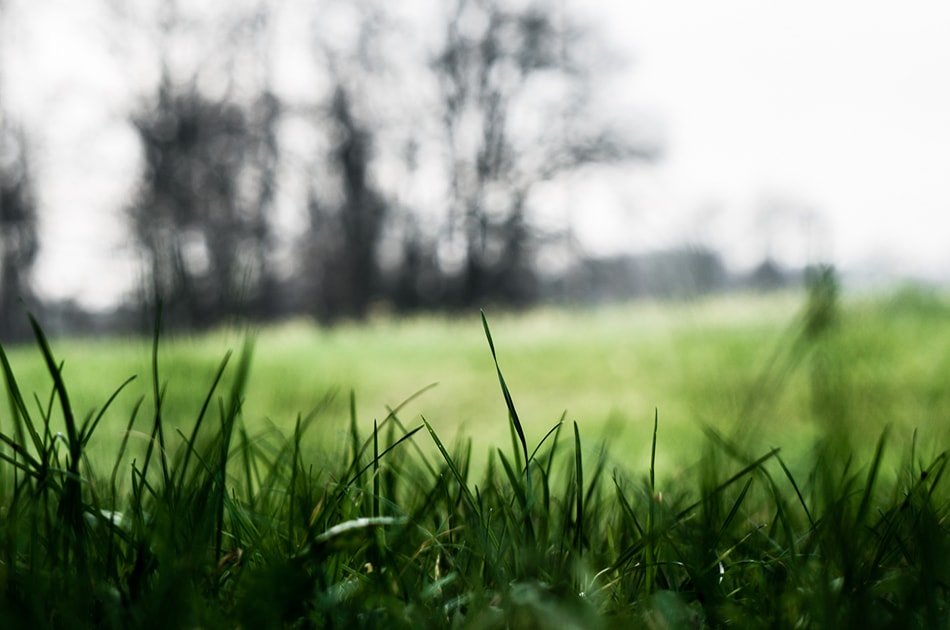
Photo by Hannes Flo
Change Your Focus
While many landscape compositions benefit most when the entire image is clear and in-focus, sometimes you may want to have the foreground blurred out, and the background in focus. Or the foreground sharp and clear, and a background that fades into the distance. Here’s how adjusting your focus can change the resulting image.
-
Sharp Foreground
Having a sharp and in-focus foreground and blurry background can make for an artful, interesting composition – and can even add a sense of mystery to an image. For a sharp foreground, use a wide aperture to throw the background out of focus and manually focus on an element in the foreground.
-
Sharp Background
A sharp background, on the other hand can help to direct attention on towards the main focal point in the distance. This is an especially good idea if you want all of the attention on the main point of interest, with no distractions in the foreground. To focus on the background, you’ll want to use manual focus, and ensure that there’s plenty of distance between your main subject and the background.
-
Entire Image In Focus
Finally, the most popular option – trying to keep the entire image sharp and in-focus. This can be a challenge when photographing foregrounds and distant backgrounds since the camera will want to focus on either the nearby objects or the distant ones. The best way to keep both relatively sharp is to try to find your hyper-focal distance.
Focusing on this point will allow you to keep most of your scene sharp and clear. Finding the hyper-focal distance involves some math, or you could use an app like Field Tools to make things easy. Alternatively, you could get relatively sharp images by focusing on the farthest object, then adjusting the focal distance as near as possible, while keeping the elements in the background sharp.
While it’s fairly common to see photos without foregrounds, you can make your images stand out by taking the extra step and looking to include foreground interest in your photos. Keep your eyes open for elements that you can feature in the foreground, and have fun creating breathtaking images with extra depth and dimension.
Do you use foregrounds in your landscape images? Please share your own tips & tricks on Twitter or Facebook!
About the Author: Christina Harman
 Christina is a part time blogger and full time photography enthusiast living in Southeast Alaska. She enjoys travel photography and has taken pictures in countries such as Mexico, England, France, and China. She likes sunny days, new lenses and drinking good coffee. You can visit her at Tangled Thoughts.