4 Unique Studio Lighting Tips to Make Your Portraits Stand Out
 by
James Trent
by
James Trent

If you’re new to the studio, you know that finding good lighting setups isn’t easy. It’s more complicated than sticking two strobes at 45 degree angles and firing away. And if you’re a more experienced studio shooter, you’re always looking for new techniques and different lighting setups to try.
So today, I’ve listed four different techniques that I’ve learned recently. They’re relatively uncommon, at least for beginner photographers. If you are an experienced studio photographer, I bet you’ll still learn something new here. But either way, they’re very simple and easy to implement, so you can go try them today.
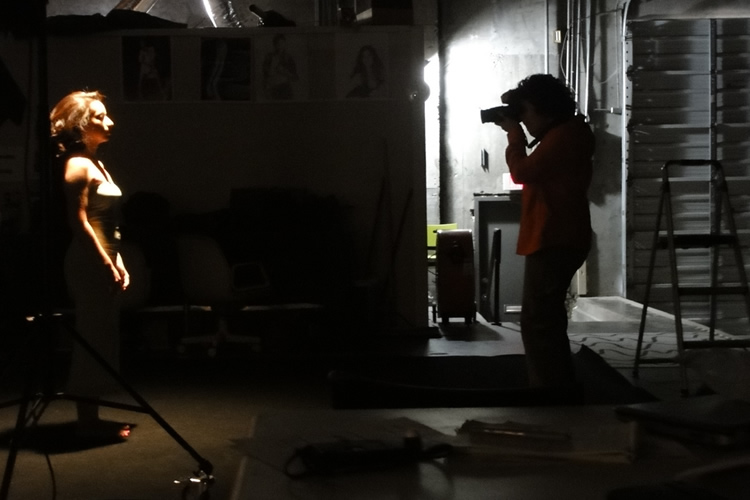
image by Sarah Worthy
1. Use the Light Source as the Background
Sounds crazy, right? Well, even crazier is that fact that it actually works. Check this out: get a big soft-box and put it behind your subject. Make sure you can take a head-and-shoulders portrait and have only soft-box in the background. Set it to fire on full power. Now take two big white bounce cards, about the size of the soft-box, and put them at 45 degree angles from the model, so that they bounce the light right back. The trick is to put them as close to the model as possible. The setup should literally be a 3-sided box around them that’s hard to get in and out of. This is because we’re trying to keep all the light in, and we don’t want any to escape. Leave a small space in between the two cards to shoot through.
Okay. So you have a soft-box with a strobe on full power behind your model. You have two bounce cards reflecting the light back. How does this look?
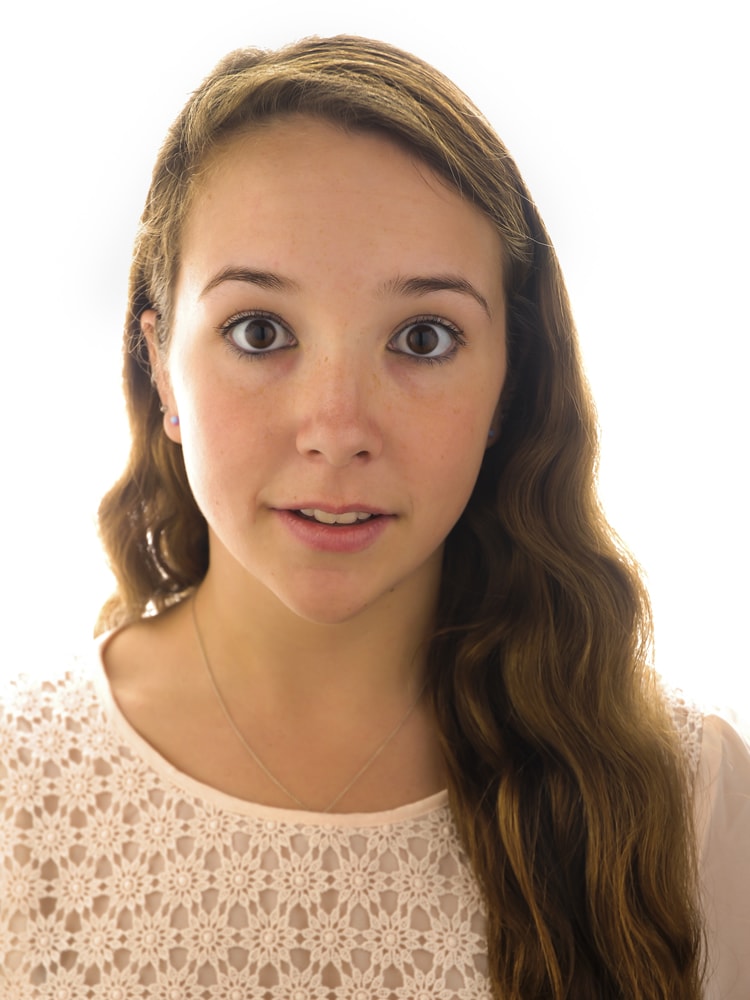
Photo credits to yours truly.
The reason we have the strobe on full power is that we want as much light as possible reflecting back. The background will be white, no matter what, so turning up the power doesn’t affect that. But it does give us more full light on the model’s face.
You can see some blooming around the edges of her hair – light that’s creeping around from the back. That’s the only downside of this setup. But in this case, it looks cool :P.
2. Use Gels on the Background Light
Okay, so you’ve probably used a background light before. If you haven’t, the idea is simple: just point a strobe towards the background to make it lighter. Now there are tons of things you can do with the light on the background, but I’ll just give you one simple tip to try: throw a gel on your background light.
Gels are awesome. They’re a crazy value for us photographers because they’re so cheap and we can do so much cool stuff with them. A gel is simply a piece of transparent colored plastic that you put over a light to change its color. If you don’t have any, you should buy a set and experiment.
Anyway, what happens when we throw a gel on our background light?
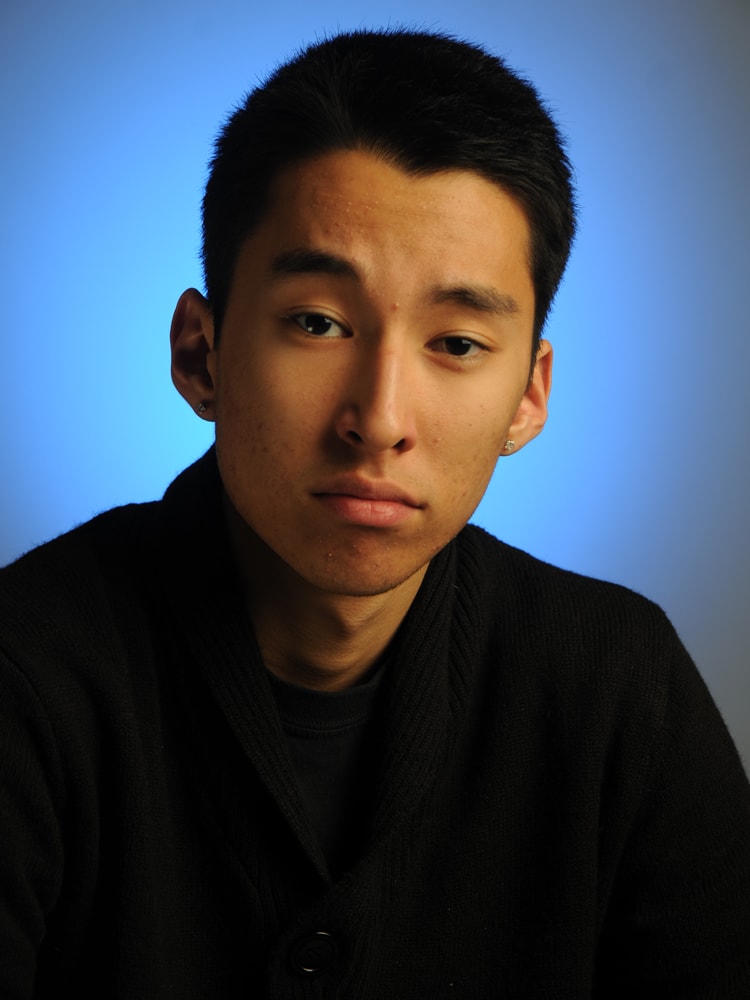
Photo credits to yours truly.
BOOM. That’s just a gray background with a basic strobe pointed on it. Instantly transformed by a $5 piece of plastic. Pretty cool, huh?
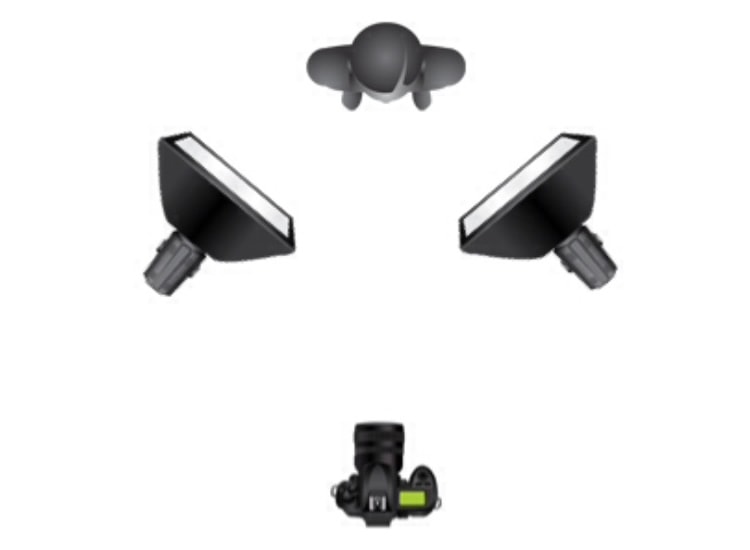
3. Rim Light Your Subjects
Looking for some extra pop to make your subjects really stand out? Try rim lighting.
If you’re used to doing a basic two-light 45-degree setup for your portraits, you’ll love this. First, you do that – a basic two-light 45-degree setup. Just set it up like normal. Then you’re gonna add two lights, each with a strip soft-box, to the sides of your subject.
Don’t have four lights? Use reflective bounce cards instead of your two main lights. Bounce the light from the strip boxes back onto your subject to fill in the shadows.
If you pull it off right, rim lighting can look super-dramatic:
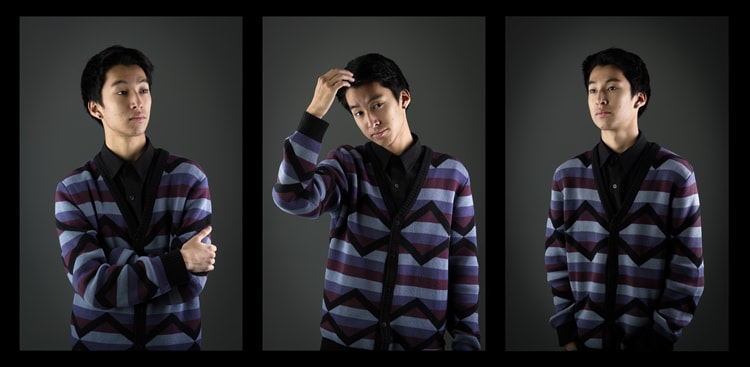
Photo credits to yours truly, of course.
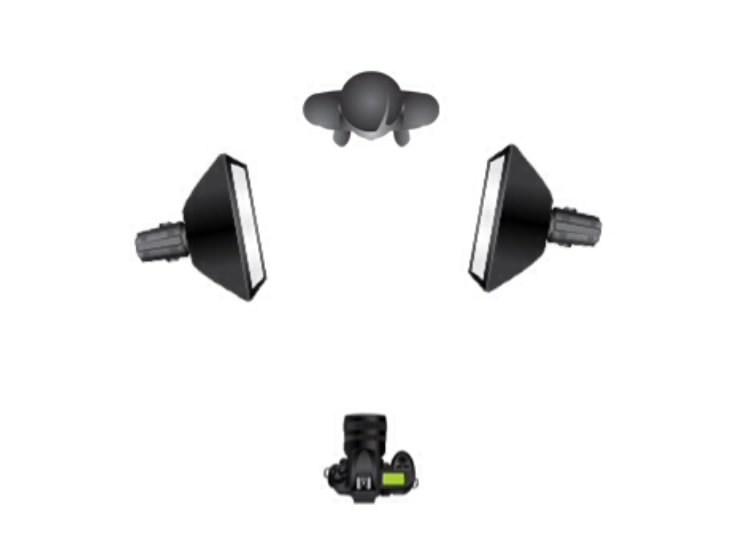
4. Avoid Light Spill by Feathering Your Lights
There are times in the studio when as photographers, we want a really dark background. If you live in the studio like I do, you know what I’m talking about.
However, if we try to light at 45-degree angles, some light always spills onto the background. And the background ends up looking gray instead of black.
This simple trick will allow you to light your subject almost the same, while dramatically reducing light spill.
First, move your lights closer to the subject, and off to the sides a little. Then turn the lights inward, so that only the edge of the light can reach the model, and most of the light goes in front of them. The lights should almost be pointing toward each other, in front of the model.
If you’re using soft-boxes, just the edge of the soft-box should be facing the model.
In effect, you’re only allowing the very edge of the light to reach the model. All the rest is going in front. You may have to adjust your exposure slightly, as we may have lost a little light here.
But check out the background now, all the light is gone. Since we pointed the lights toward the front, none of the light can spill onto the background. Only the very edge is reaching the model.
So instead of this…
It’s more like this:
Bonus tip: Use the Strobox app to map out lighting setups, like I did in the images above.
So there you go – four tips that few people talk about, but are absolutely killer for creating unique images.
Try them all – and see what you come up with. And maybe one of these ideas will set off a light bulb in your head – leading to another idea, or a combination of ideas – which eventually leads to a totally unique, eye-catching shot that you can be proud of. You’ll get the most out of these tips if you think of them as starting points to lead you to something new.
That’s what studio lighting is all about – experimentation, combining different techniques, and trying crazy stuff. This is how you grow as a photographer – keep trying new stuff. Some of it won’t work, but some of it will, and that’s where you get your best images.
About the Author: James Trent
James Trent is an artist, entrepreneur, and photography lover. He runs Canon Lens Reviews, doing video reviews of popular Canon lenses. Want to see his work? Check out his website at JamesTrent.net.