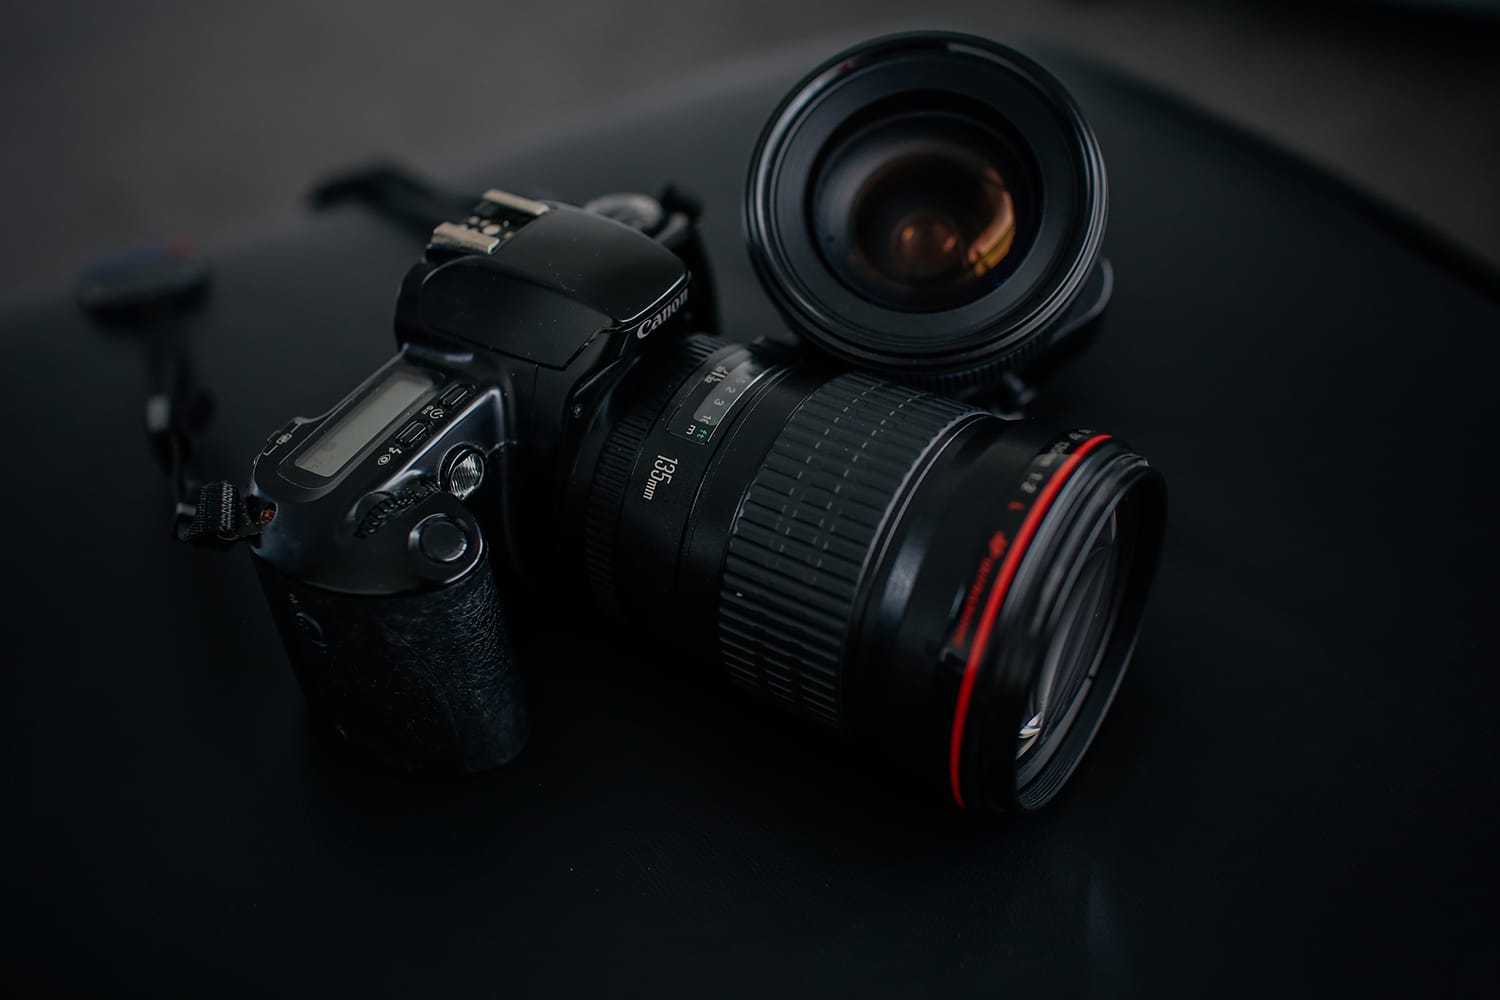
When you purchase your first DSLR [1] or mirrorless camera [2], you will need to invest some time in learning your way around all of the little buttons, dials, and settings.
Unlike basic point and shoots, DSLR and mirrorless cameras are a bit more complicated – and they offer a lot more options. One of the first things you need to familiarize yourself with are the different Priority Modes.
Here is a breakdown of the four most commonly used Priority Modes on most cameras today.
Auto Mode:
Auto Mode is pretty much exactly what it says it is. Choosing this mode puts your camera in charge of all of the settings. It controls exposure, shutter speed, ISO, and aperture. This is a popular option for those who are more interested in capturing the moment than getting a “technically correct” image. Though images shot on auto mode are technically correct.
Shooting in fully automatic mode is great for things like typical family vacation or birthday party images. It is also a good start for beginning photographers because it allows you to take images in this mode and study the settings the camera chooses based on the scene.
From there, you can begin exploring the different settings and learn how to change them to affect the overall technical quality of images.
Aperture Priority:
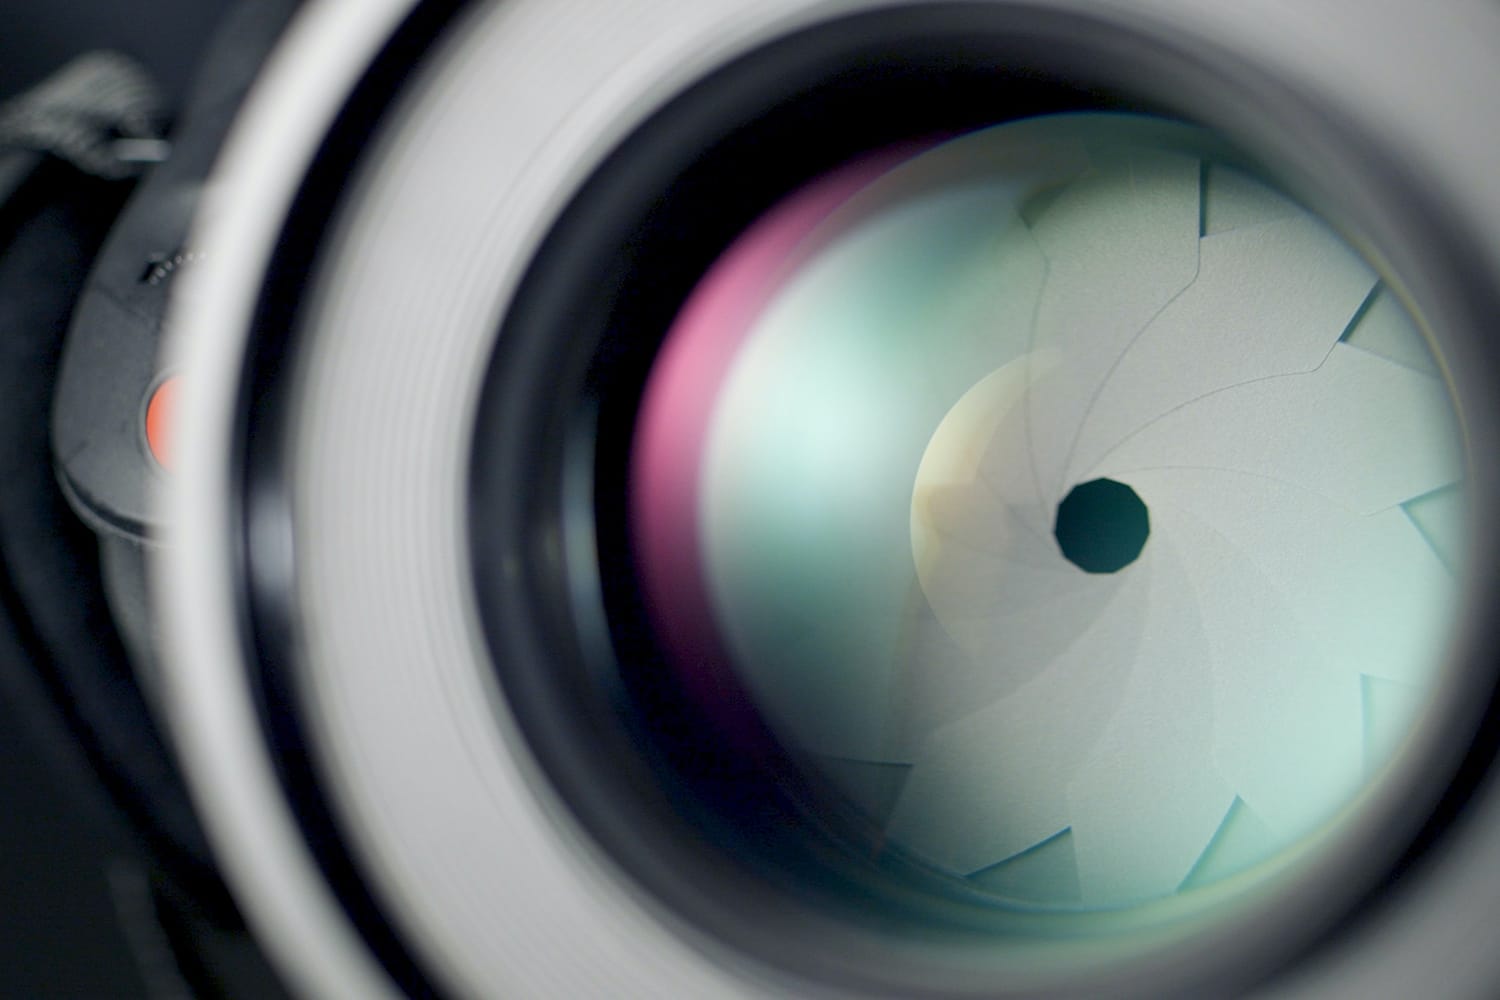
Aperture is one of the first settings beginners become familiar with when learning the exposure triangle [3]. Aperture determines two things; the amount of light allowed to come in through the opening of the lens, and the depth-of-field [4].
Wider apertures (smaller f/stop numbers) allow more light to come in through the lens. This means that faster shutter speeds can be used, allowing you to freeze motion more easily without worrying about the lack of light hitting your shutter due to the faster speeds.
Wide apertures also give a much more shallow depth-of-field, resulting in a smaller plane of focus. Shooting with wide apertures is a great way to get a naturally blurred out background (bokeh), allowing the subject to stand out and be the main point of focus.
Shooting at narrower apertures, such as f/11 or f/16, will put much more of your image sharp and in focus. In some cases, this may be better the option, especially when shooting large groups or landscapes.
If you have a specific Aperture setting that you would like to set your camera to, but want the camera to control the other settings, Aperture Priority is the best option. It will shoot every image you take with the Aperture setting that you choose, while adjusting the other settings as needed.
Shutter Priority:
Shutter Speed controls two things as well. When you determine the shutter speed, you are determining how long the shutter stays open when taking an image. The longer the shutter stays open, the more light you allow in to reach your camera’s sensor.
However, you also run the risk of camera shake and blur due to the amount of subtle movement you are allowing to happen while the shutter is open and the sensor is recording information.
In many instances, slow shutter speeds just aren’t an option, and especially not without a tripod [5]. When you speed up the shutter, you have a better chance of freezing motion and reducing camera shake ruining your images. This will result in less light being allowed to hit your sensor, so that will need to be compensated with other settings such as Aperture or ISO.
If the shutter speed setting is your top priority, then the Shutter Priority mode is the best choice. Simply set the appropriate speed, and allow the camera to adjust the other settings accordingly to ensure proper exposure.

Manual Mode:
Manual Mode is the most complex and most intimidating setting for beginning photographers. When you put your camera in this mode, you are in control of every single setting. It is up to you to choose the appropriate aperture, shutter speed, ISO, etc.
Many professional photographers prefer this option because it gives them total control of the outcome of their images. Of course images can always be tweaked in post-processing, but when you are a professional photographer, time is money. Getting it as close to correct in-camera as possible can save you a lot of time when you open those images up in Lightroom [6] or Photoshop.
Shooting in full manual mode requires patience and practice. Beginning in one of the other priority modes and getting to know those first can make the transition much easier when you become comfortable with adjusting all of the settings yourself. Happy shooting!