What’s one of the best tools that you can add to your camera bag that will make a big difference in your long-exposure photography?
Yes, a neutral density filter!
Put simply, a neutral density (ND) filter [1] is a piece of tinted glass that goes over your camera’s lens. Much like a pair of sunglasses on a bright sunny day, an ND filter reduces the amount of light that reaches your camera’s sensor, giving you the ability to capture images with a longer exposure, even in bright lighting conditions.
One of the things that make ND filters so important is that some of the effects that they allow you to capture in camera are difficult to replicate in post processing. For instance, these filters allow you to create soft, dreamy landscapes using long exposures, or even capture fast bursts of light such as fireworks [2], all thanks to their light filtering capabilities which enable longer exposure times.
If you had the chance to get just one filter for your lens, and ND filter would, in most cases be the one you’d want to choose. Here’s a look at some tips for using an ND filter to capture some truly spectacular images.
When to Use an ND Filter?
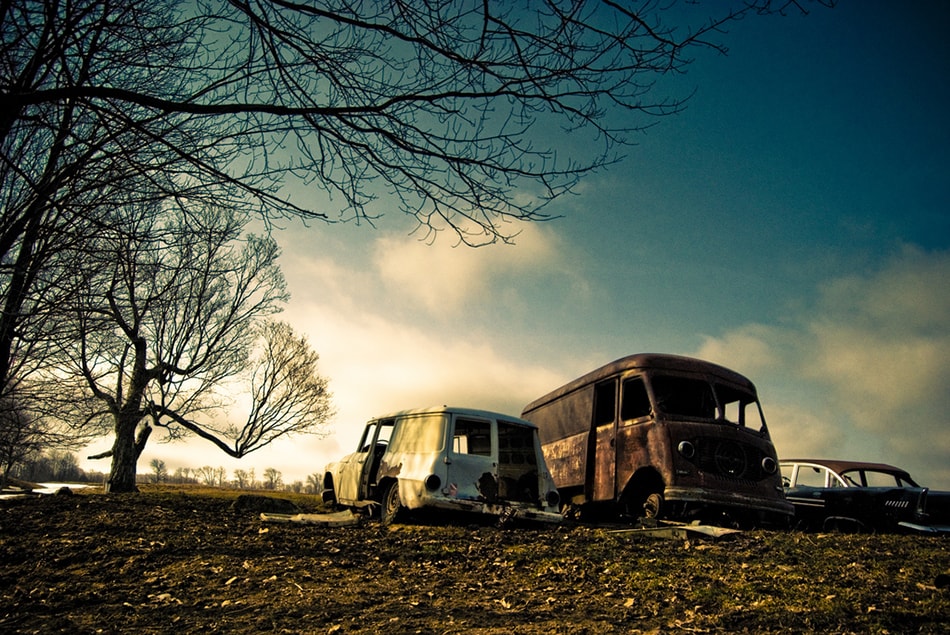
Image by Sean McGrath [3]
We spend a lot of time and money on lenses and tools that will allow more light into the camera – for instance; wide aperture lenses [4], or external flashes, but sometimes, you’ll want to reduce the amount of light that reaches the camera’s sensor.
This is where ND filters come in. For situations where you want to use a longer exposure, or capture images during bright conditions, ND filters are a great solution [5], helping to filter out some of the light and allowing you to use those slow shutter speeds, or shoot at a wider aperture.
While you could, in theory, dial down your camera settings to lower the amount of light that reaches the sensor, the problem is that adjusting your settings, sometimes makes it difficult to capture a specific photographic effect that you’re after. For instance, using a faster shutter speed reduces the light, but it will also “freeze the action,” rather than blurring it. A narrower aperture can also reduce the light, but it means sacrificing a narrow depth of field [6], frustrating if you’re hoping to capture a particular type of image.
What Type of ND Filters Are There?
- Solid ND Filters: A solid ND filter evenly reduces the amount of light that passes through the camera lens.
- Graduated ND Filters: A graduated ND filter is ideal for landscape photography. These filters are tinted on one side, and gradually transition to clear on the opposite side.
- Variable ND Filters: Variable ND filters allow you to adjust the strength of the filter by twisting it. These filters tend to be more expensive, and some photographers choose to stack multiple ND filters to get a similar effect.
ND filters vary considerably in terms of optical density, so it’s important to choose a filter that’s ideal for the type of photography that you generally do. If you shoot landscape most of the time, consider a strong 6-stop filter. Portrait photographers generally use wider apertures; which means that a 3-stop is usually ideal. If, however, you’re planning to do a lot of longer exposures during midday, you’ll need something more powerful – like a 10-stop.
Now, let’s take a look exciting things that you can do with an ND filter.
Blurring Water Motion

Image by Pieterjan Grobler [7]
One of the most popular uses of an ND filter is to capture beautifully blurred waterfalls, rivers, and ocean waves. While you may be able to get away with a slow shutter speed and no filter during low lighting conditions, during the day you’ll want to use a filter to help you get the long exposures you’re after – without overexposing your image.
Adding Motion Blur to Subjects
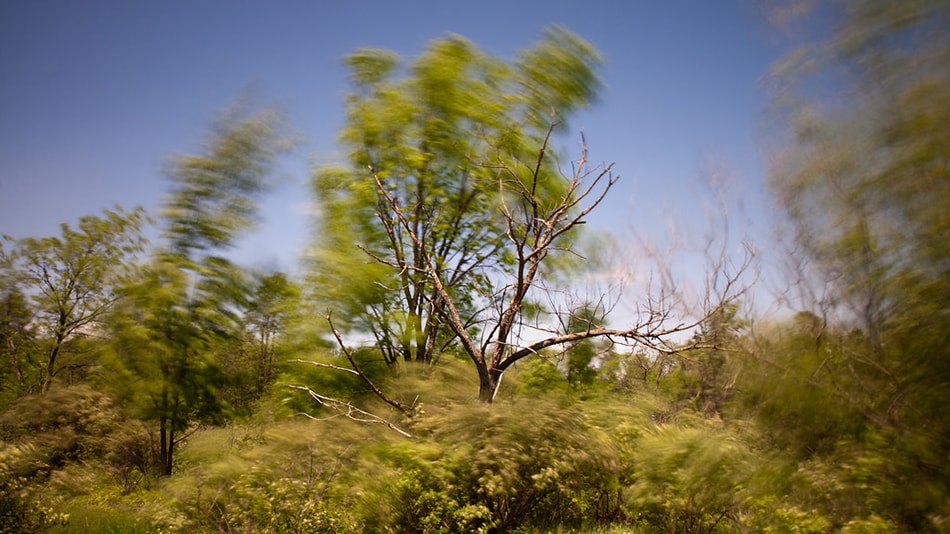
Image by jean francoeur [8]
For a fun twist on “freezing the action,” an ND filter allows you to softly blur your subjects for an artistic effect. Capturing gently blurred subjects, such as dancers, ice skaters, a bird in flight, trees blowing in the wind, or other moving subjects can make for some unique images.
Capturing Intentional Camera Shake
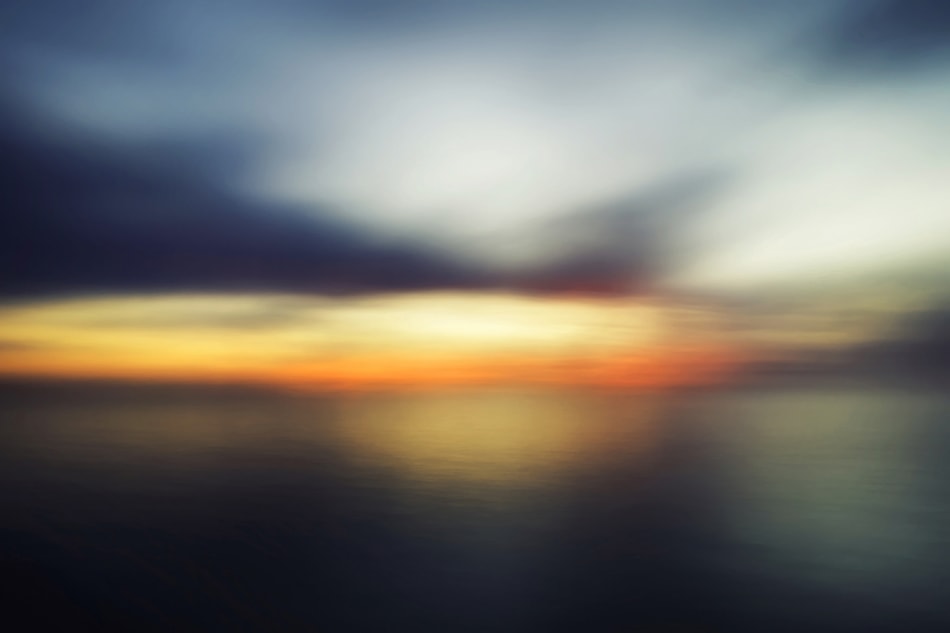
Image by James Loesch [9]
While camera shake is usually unwanted in images, using Intentional Camera Shake (or ICM) can result in some artistic, somewhat abstract images. An ND filter will allow you to keep the shutter open for longer while you pan your camera, allowing you to make deliberate movements.
Photographing Fireworks
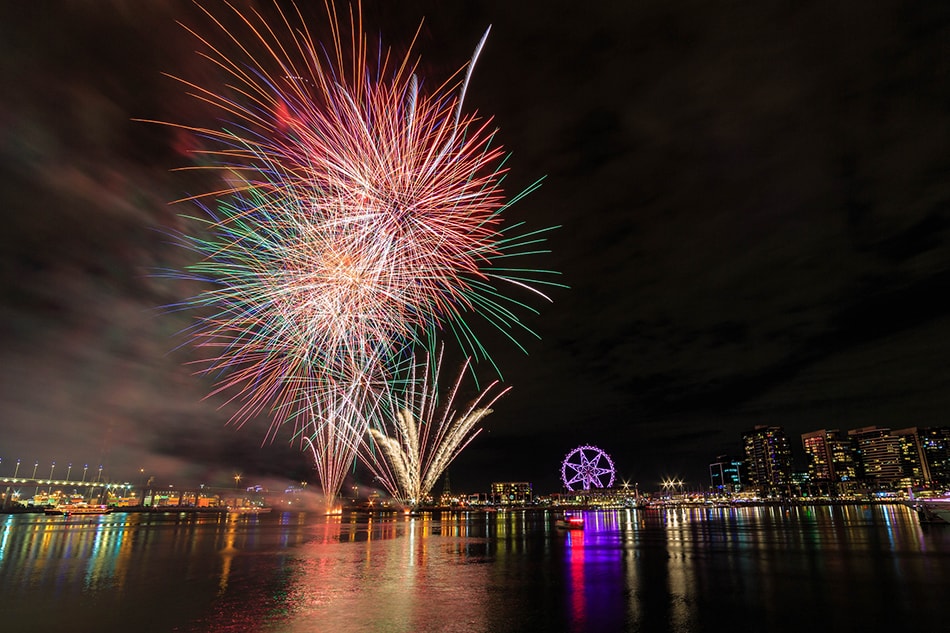
Image by Scott Cresswell [10]
Another popular use of an ND filters is capturing very bright subjects, such as fireworks at night. An ND filter makes it possible to capture fireworks [11] that are brighter, and more pronounced. Many firework photographers prefer a ND 0.9 filter.
Reducing Depth of Field in Bright Light
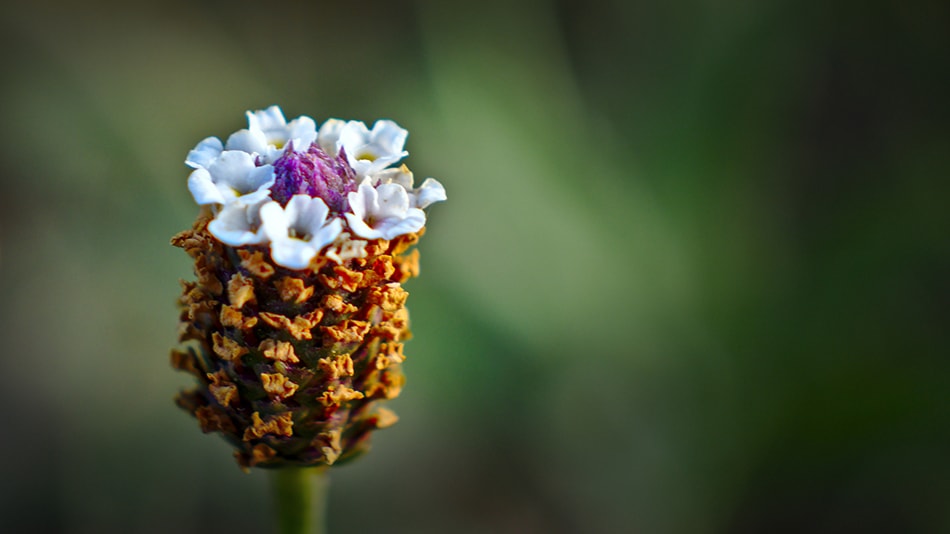
Image by Josef Wells [12]
Using a wide aperture lens can result in beautiful images with a shallow depth of field, and lots of beautiful blurred background bokeh. But on a bright sunny day, the amount of light that a wide aperture lets in can result in overexposed images. Using an ND filter allows you to use that wide aperture on a bright day, allowing you to get the results that you’re after: an in-focus subject and lots of beautifully blurred background.
To Balance the Exposure in the Foreground and Background
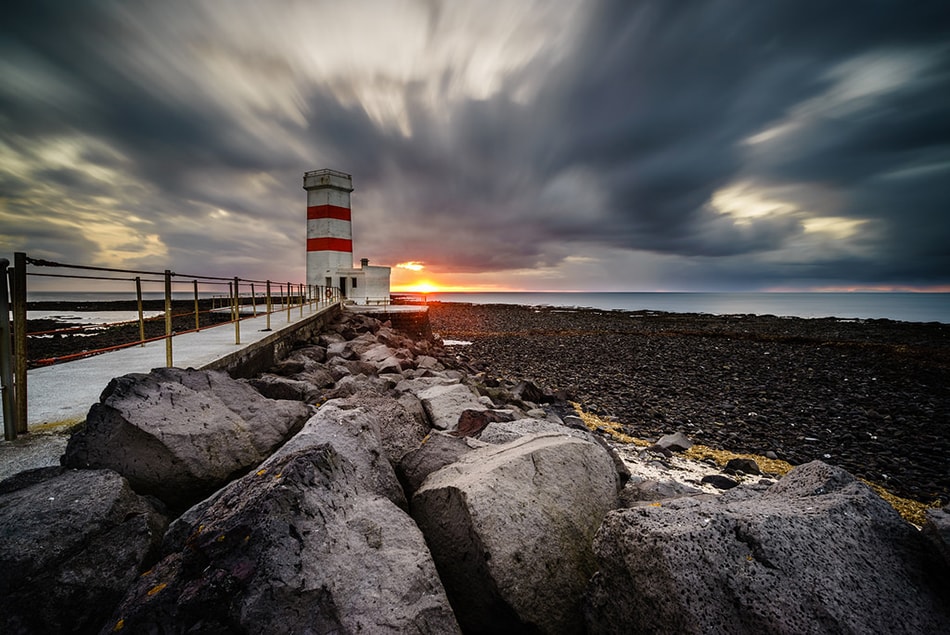
Image by Hafsteinn Robertsson [13]
In landscape photography, the foreground and the sky often require different exposure settings. While you can get the results you’re after by shooting several images and stitching them together as an HDR image in post processing, using a graduated ND filter can save you time later on by allowing you to balance the exposures while composing your shot to properly expose for both land and sky.
Reduce the Visibility of Moving Objects
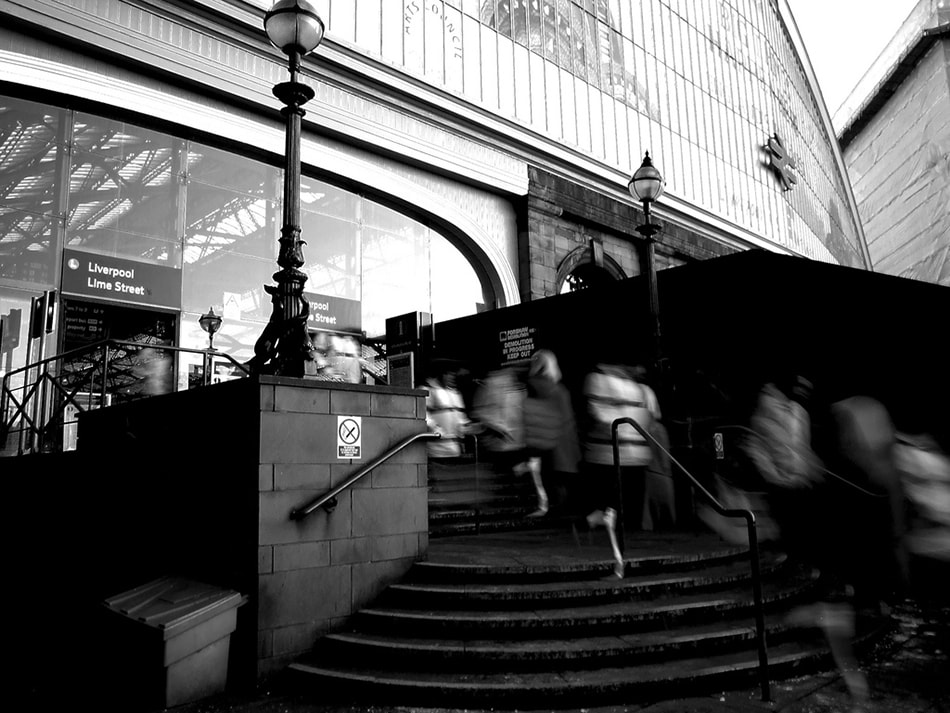
Image by SPDP [14]
Finally, an ND filter can also be used to remove, or reduce the visibility of moving objects in your images. This can be done by using a long exposure and a tripod, which will render moving people that walk through your frame, as ghostlike, or even invisible. This trick is often used by photographers to remove people from their shots, and works especially well when photographing architecture, town centers, or other busy areas.
Tips for Using Your ND Filter
Use a Tripod: In most cases, when you’re working with slow shutter speeds you’ll want to bring along a tripod [15] to prevent camera shake. You’ll also want to use a remote shutter release, or set the self-timer on your camera.
Shoot in Raw: Shooting in RAW [16] is always a good idea, especially when using an ND filter. Sometimes cheaper filters may leave a color cast on your images, and you’ll want to be able to adjust the white balance in post processing.
Having an ND filter can be a great piece of kit for your camera bag. Not only is it small and compact – meaning you’ll be more likely to carry it with you – it will also greatly enhance your photo opportunities; allowing you to capture some unique and exciting long-exposure images.
Do you use an ND filter? I’d love to hear your tips & tricks! Feel free to share them with us on Twitter [17] or Facebook [18].