Using Depth of Field in Your Images

Mastering depth of field can help you to create some truly spectacular images, and is a great artistic tool to have at your disposal.
The depth of field (DOF) in an image refers to the zone of acceptable sharpness within a photo that appears to be in focus. While some photos such as landscapes often call for a wide depth of field and most of the image being clear and in-focus; other compositions, such as portraits, are better suited by having part of the composition blurred to draw attention to the subject.
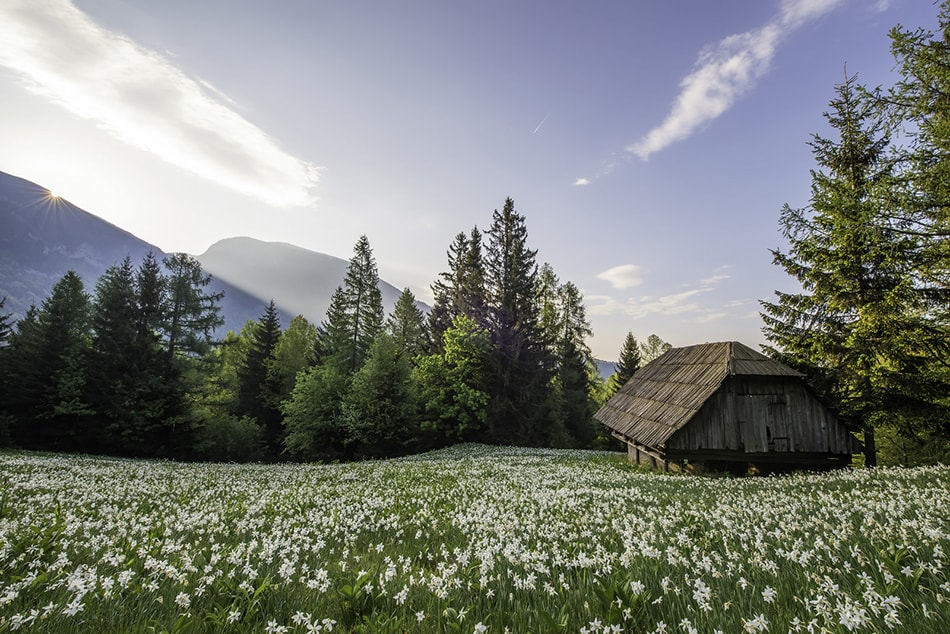
photo by Lenny K Photography
Understanding how depth of field works can help you to create effective and meaningful compositions and will prove to be an invaluable skill no matter what type of photography you’re doing, whether you’re hoping to capture allow tack sharp photos, or compositions with strategically blurred areas.
With this in mind, let’s explore how you depth of field works, and how you can adjust it in your compositions.
How to Adjust Depth of Field
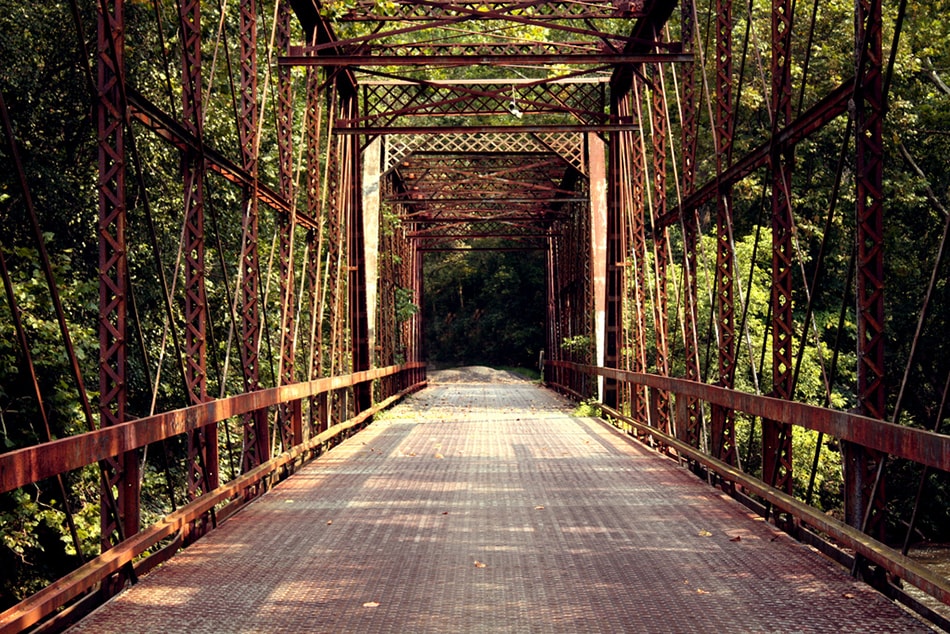
photo by Katelyn Kenderdine
There are three different factors that impact the depth of field in an image: the aperture, the distance from the subject to the camera, and the lens’ focal length.
1. Aperture
Changing the aperture is one of the most popular ways to adjust the depth of field. The smaller the aperture, or, larger the f-stop number, the wider the depth of field will be, and more of the image will be in focus. You’ll want to set your camera to Aperture Priority mode – or Av mode – or manual mode in order to have full control over your aperture.
2. Distance From the Subject to the Camera
The distance that the subject is from the camera can also impact the depth of field in an image. Moving closer to your subject will make the depth of field become smaller, while moving farther away from the subject will increase the depth of field in the image.
3. The Focal Length of the Lens
While standing at the same distance to your subject, the focal length of your lens can also impact the depth of field. As a general rule, the shorter the focal length of your lens, the greater the depth of field in an image. And, the longer your focal length, the shallower the depth of field will be.
Now that we’ve seen the three ways to adjust the depth of field in your compositions, let’s look at when – and how – you can go about doing this practically when composing your shots.
Narrow Vs. Wide Depth of Field
Understanding how depth of field works is vitally important, but knowing when to adjust it for maximum impact is also important since different compositions call for different zones of sharpness.
Landscapes
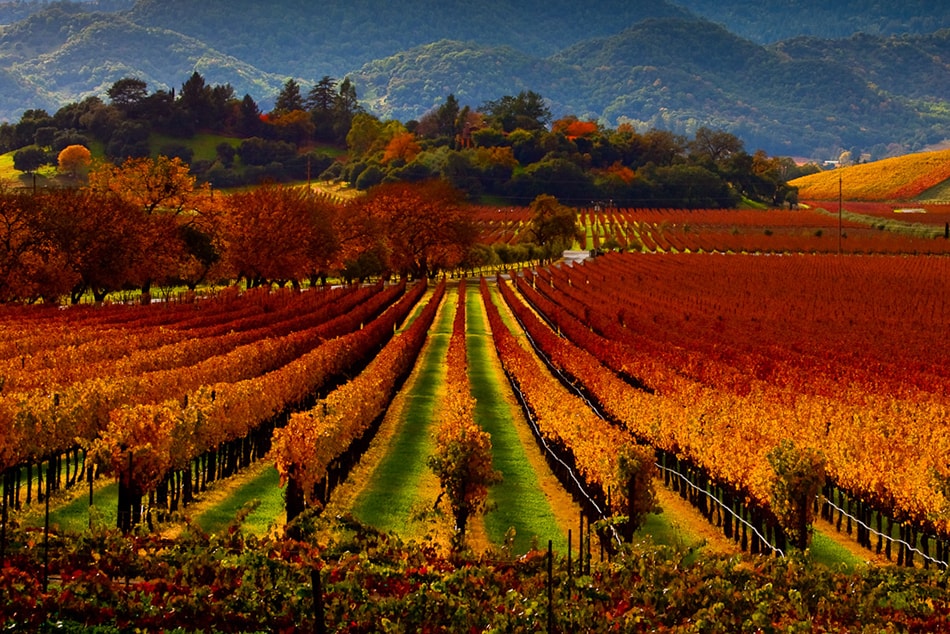
photo by Malcolm Carlaw
In landscape photography, you’ll often want most of the image to be clear and in-focus. This usually involves using a narrow aperture, or, larger f-stop number, and carefully focusing on the optimal point in your image to ensure maximum clarity.
When using a wide-angle lens, the area that you’ll want to focus on to ensure that most of the image is clear and in-focus is known as the hyper-focal distance.
The hyper-focal distance can be difficult to calculate, but thanks to apps like Field Tools, you can find this distance relatively easily. Once you’ve calculated it, you’ll want to focus on a point that’s slightly longer than the hyper-focal distance. This is because, focusing on a point that’s closer than the hyper-focal point, even slightly, can cause distant points at the horizon to be out-of-focus. If you’re stuck, and not sure where to focus, try focusing on the farthest object, then adjusting your focal distance as close as you can while still keeping the distant elements relatively sharp.
When using a telephoto lens, the hyper-focal distance is so large that you can’t focus on it. Instead, use small apertures to ensure that the depth of field is as wide as possible, and focus about a third of the way into the frame. Just don’t focus to infinity or the foreground will become blurred.
Portraits
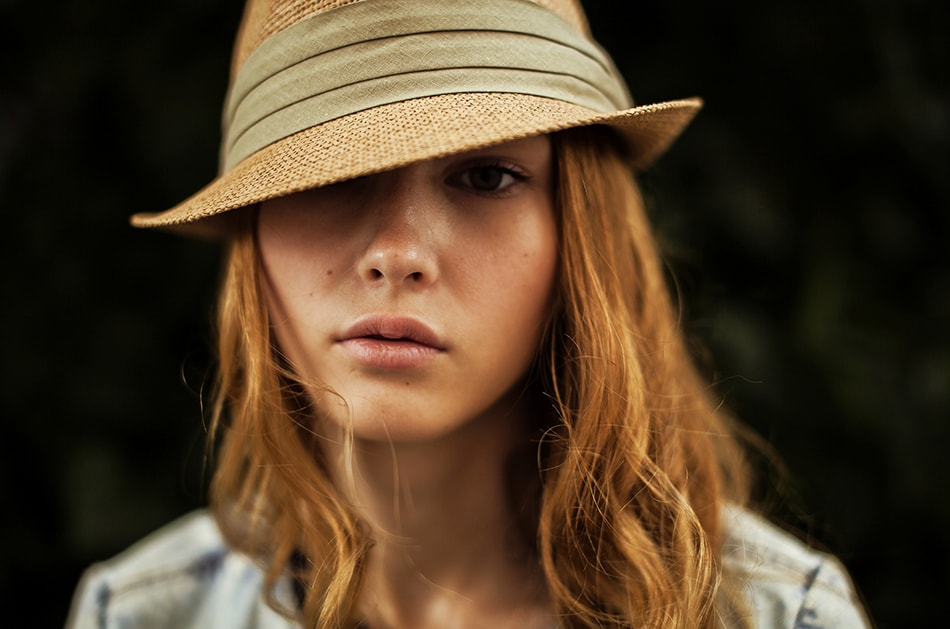
photo by anka nevasilyeva
The best portrait photographers understand how to use depth of field to their advantage. Using a shallow depth of field will allow your main subject to be sharp and in focus. In most cases, this involves using a wide-open aperture and strategically focusing on the main point of interest, usually the eyes, to ensure sharpness where it matters, drawing the subject into focus and blurring out the background. The right use of light and focus can even result in some beautiful background bokeh to offset your subjects beautifully.
Using the Depth of Field Preview Feature to Adjust the Aperture
A handy tool that many DSLRs have is the Depth of Field Preview feature. That allows you to adjust your depth of field while composing your images.
The Depth of Field Preview control can often be found on the front of the camera next to the lens mount. To use it, press and hold the button while rotating the camera’s dial through the different aperture options. The viewfinder screen will make it easy to see the effect of the different depths of field, and once you’ve found a setting that you’re happy with, you can release the preview button and capture your image.
No matter what type of photography you are interested in, understanding depth of field – and knowing how to use it effectively – will give you a great advantage when it comes to composing your images. Instead of settling for compositions that are flat and one-dimensional or simply pointing and shooting while hoping for the best, you can carefully select your focal point, and ensure that the background as well as the foreground is in-focus, or strategically blurred, allowing you to achieve your desired outcome.
So, how do you use depth of field in your images? We’d love to hear your tips & tricks! Feel free to share them with us on Twitter or Facebook.
About the Author: Christina Harman
 Christina is a part time blogger and full time photography enthusiast living in Southeast Alaska. She enjoys travel photography and has taken pictures in countries such as Mexico, England, France, and China. She likes sunny days, new lenses and drinking good coffee. You can visit her at Tangled Thoughts.