The colors of your photos are important if you want to achieve the effect you want for your images. This is the reason why a lot of photographers apply color grading to their photos.
Although this technique is primarily connected with videos, it can also be used to create a cinematic look for your photos [1]. How is this done? To answer this question, we need to understand first what color grading is.

What is Color Grading?
Color grading is a process that photographers use to change the visual tone of an image. In simpler terms, it is used to manipulate the colors of a video or photograph. Once color grading is applied, the aesthetics of an image will completely change.
A lot of people, including photographers, often misdefine color grading and color correction. The two, however, are different in many ways. Generally, color correction is simply correcting several aspects of an image to make it more appealing. The most common corrections include adjustments in white balance, contrast, exposure, highlight and noise.
For color grading, the process involves adjustments in curves, hue and/or saturation, solid color fill and levels.
Tips for Color Grading an Image
If you want a distinct look for your photos, you should master the technique of color grading. Don’t just familiarize it – learn and master it. The change or shift in colors will give you the effect you desire. Likewise, with color grading, your audience will be able to understand and interpret your image better. Color grading is especially useful if you want to create a mood-like effect.
Color Grading With Lightroom and Photoshop
If you are color grading for the first time, you’ll discover that there are different ways of doing this. You can use Adobe programs (Lightroom or Photoshop) or go with any third party software. However, if you want tons of free tutorials [2] and help from the online community, go for the most popular choices: Lightroom or Photoshop.
It may not be as comprehensive and powerful as Adobe Photoshop, but Lightroom is just as good and will give you the effects you desire, as long as you know how to use it well, of course.
Tip #1:
Use the Lightroom Basic Panel and correct the white balance (temperature and tint), exposure, contrast, shadows, highlights, whites and blacks of your photo. Changing the white balance will make your photo cooler or warmer. You need to decide what effect you want before working on it.
You can also use the Split Toning tools. Find a shadow color that’s a different shade from your highlights. For example, your shadow color can be light blue while your highlight color can be cream, tan, or any color close to beige. Adjust the effect by working on the balance and saturation.
Tip #2:
To create a natural or warm effect, something close to skin tone, this is what you can do in Photoshop [3]:
- Adjust hue/saturation by bringing the slider to the left, to around -15. This will add some drama to your photo.
- Work on your levels by bringing down the blue channel. Be sure that your bottom black slider is all the way to the right. If you see some blues in the shadows of your photo, you are doing it right. To finish this step, bring the white slider to the left, just enough to create a warm effect in your highlights.
- Next on the list is the curves adjustment layer. Work on the red channel, the green channel and the blue channel. For the red channel, the highlights should be pulled up. On the green channel, highlights should be brought down. If you want a contrast effect, bring up the highlights while bringing the shadows down. Go down and drop again for the blue channel and repeat what you did for the highlights and the shadows (up and down, respectively).
- Finally, work on the solid color fill. Use something close to gold or brown, but make sure it is not too dark. Choose something close to natural. Your blending mode should be set to Hard Light, while the Opacity should be at more or less 8%.
Tip #3:
When shooting indoors, do not manipulate the background. This should only be done when you are shooting outdoors, where there are trees, plants, and other similar items that you can adjust so they will look more attractive.
Tip #4:
When working with saturation (both Lightroom [4] and Photoshop [5]), find time to experiment with the look, especially if you’re working on your subject’s skin. Saturation can work for almost any color, just be sure that you do not over-saturate or under-saturate the image. You have to be mindful of how you set the RGB channel.
Tip #5:
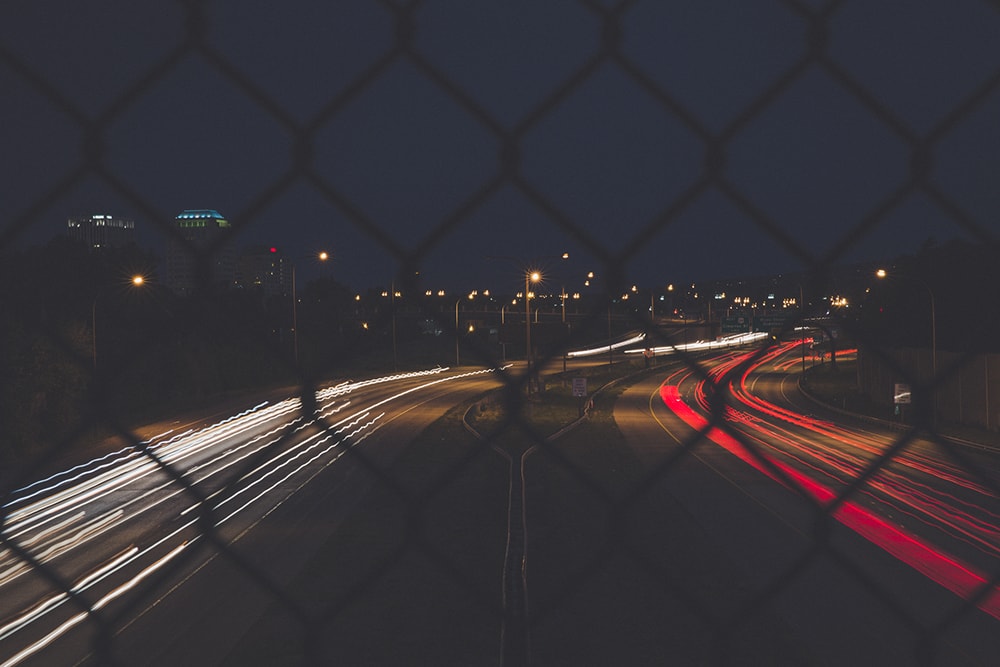
To create a cinematic effect [1], the first thing you need to do is choose the right subject. When you do this, keep in mind the mood you intend to create. Likewise, you need to select a location that allows you to experiment with a shallow depth of field.
If, for example, you chose a shot showing a little girl sitting by the lake in the early evening, the image can already be in neutral colors. In addition, the contrast may already be quite low, which is what a cinematic effect is normally about. Anyway, what you need to do is add some blues to make it more dramatic.
In Lightroom [6], open the Develop module and bring the Blacks slider to the left. Keep doing this until you see a slight clip in the histogram. Notice that your image now has a shadow.
Next, work on the contrast. Using Tone Curve, adjust the contrast of the image. Control the curve’s highlights by bringing down its upper right end. After doing this, bring the Darks a notch higher. This will help you slightly flatten the contrast. Use White Balance (color temperature) to create the first blue look. Be sure not to go over 5400k.
After the initial blues, you need to add in more blues by using Split Toning. You can find this under Tone Curve and HSL. Increase your Highlights – Saturation to 50% and then adjust the hue to get your desired blue tone. Once you are satisfied with the blue, adjust the saturation to come up with a natural looking image. Don’t forget to adjust the contrast to help create the mood you want.
For a more cinematic effect, add some grain to your image. In Lightroom, access the Effects tool and you’ll find the Grain slider there. Use this to get the grainy effect you desire. For the final cinematic touch, crop your image to make it look like a real movie shot (16:9). Use the Crop Overlay tool to complete this step.
Practice
Lightroom and Photoshop are fairly easy to use once you’ve started exploring it. If you want color grading to be a regular part of your post processing procedure, just keep practicing. Use old photos before you turn to new ones. Experiment by using the tools available. Save all your practice photos and examine them to determine which ones work best for you.
Color grading can be your best tool for creating cinematic images that tell stories. Start using it now and use it well!