Every DSLR and mirrorless camera comes with an auto mode that automatically adjusts the settings according to your environment while capturing a photo.
But if you want to make the best out of your camera, you must understand different shooting modes instead of using full auto.
We hope this guide will help you get out of auto mode and start using your camera to its full potential. So, let’s dive right in.
Different Shooting Modes
To fully understand how to use the manual mode on your camera, it helps to go over what we call “priority” modes.
Of course, if you want to be in full control of your camera’s settings, such as shutter speed, aperture, and ISO, then using the full manual mode is the right choice. In this mode, you can select the setting that you want to capture desired photos. But first, let go over the priority modes.
Aperture Priority
In this mode, your camera automatically selects the shutter speed according to the environment to capture the image with the right exposure. On the other hand, you can manually select the aperture and ISO as desired.
Shutter Priority
Just like Aperture Priority, the Shutter Priority mode allows you to set two of the three exposure settings. But this time, instead of selecting the shutter speed, the camera sets the aperture settings automatically for the right exposure. It allows you to set the shutter speed and ISO manually.
You can also set up your camera to auto-ISO and let it select the appropriate ISO setting. On many cameras, you can even set an ISO range (min/max).
How to Decide which Mode You Should Use?
It completely depends on the final results that you want to achieve and on your subject matter. As far as my personal experience is concerned, I use Shutter and Aperture Priority more often than the fully Manual mode. Your mileage may vary.
Let’s discuss how to decide which model will suit you the best in different scenarios.
When to Choose Aperture Priority Mode?
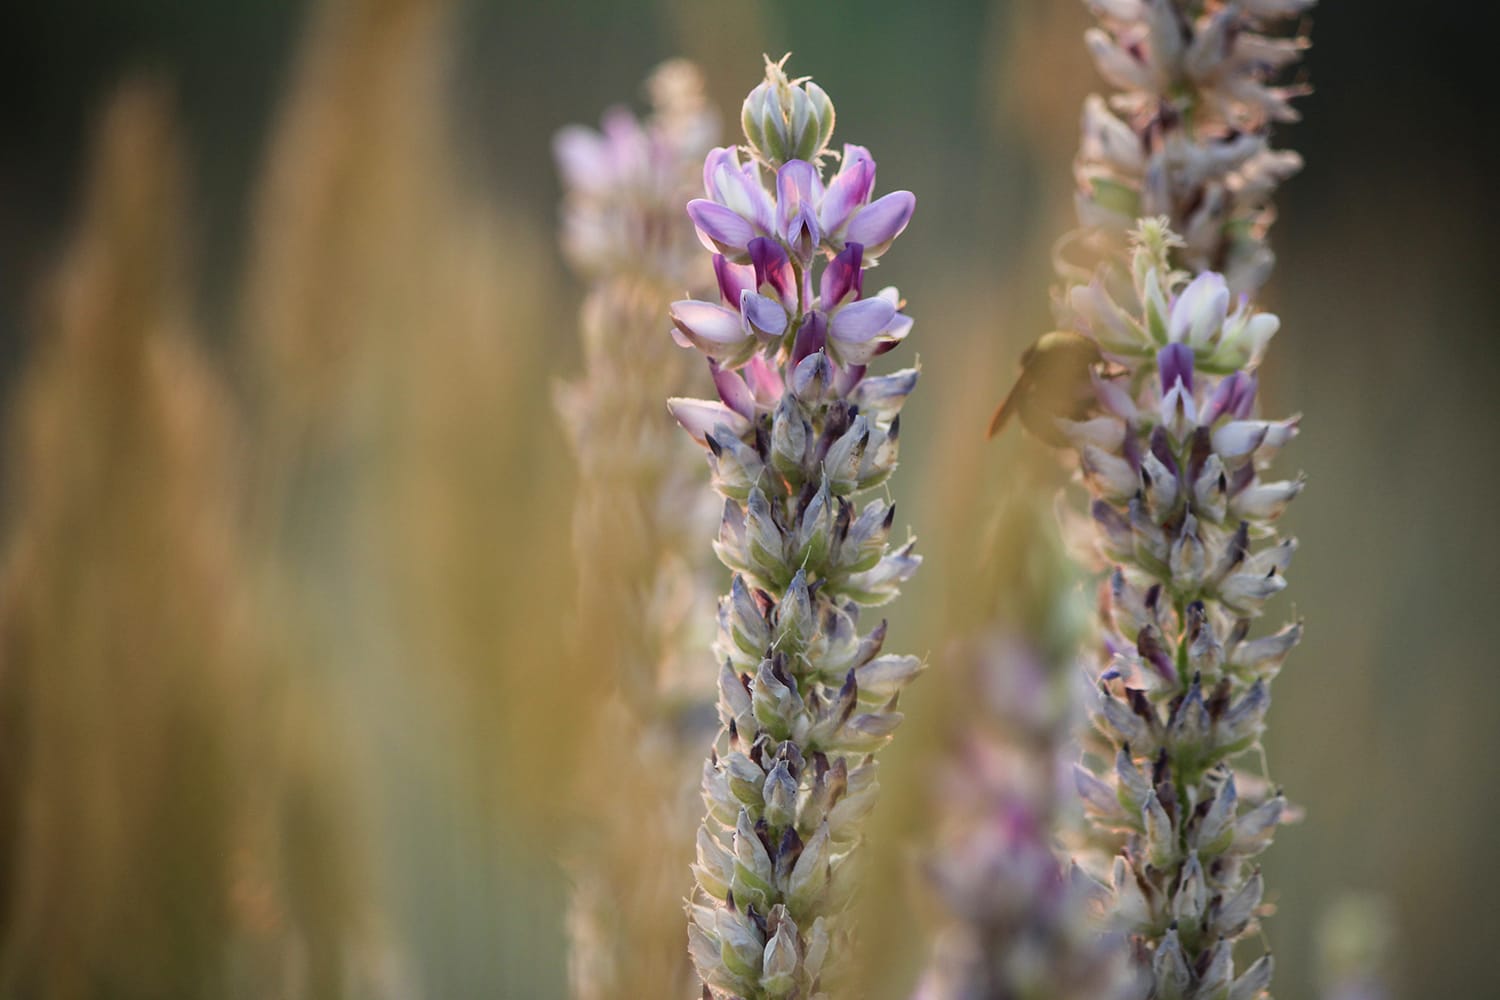
Using the Aperture Priority mode is the best option if you want to control the DoF (Depth-of-Field). It can be very helpful in photos where you want to capture the subject with a blurred background, such as portraits with creamy and pleasing bokeh in the background. I recommend using a large aperture such as f/1.8 or f/2.8 and an appropriate focal length (e.g., 85mm).
You can also use Aperture Priority mode to achieve maximum sharpness and details and a larger depth-of-field. It will help group portraits and landscape photos by choosing a small aperture such as f/8 or f/11.
When to Choose Shutter Priority Mode?
My advice is to use the Shutter Priority mode if you want to control motion in your photos.
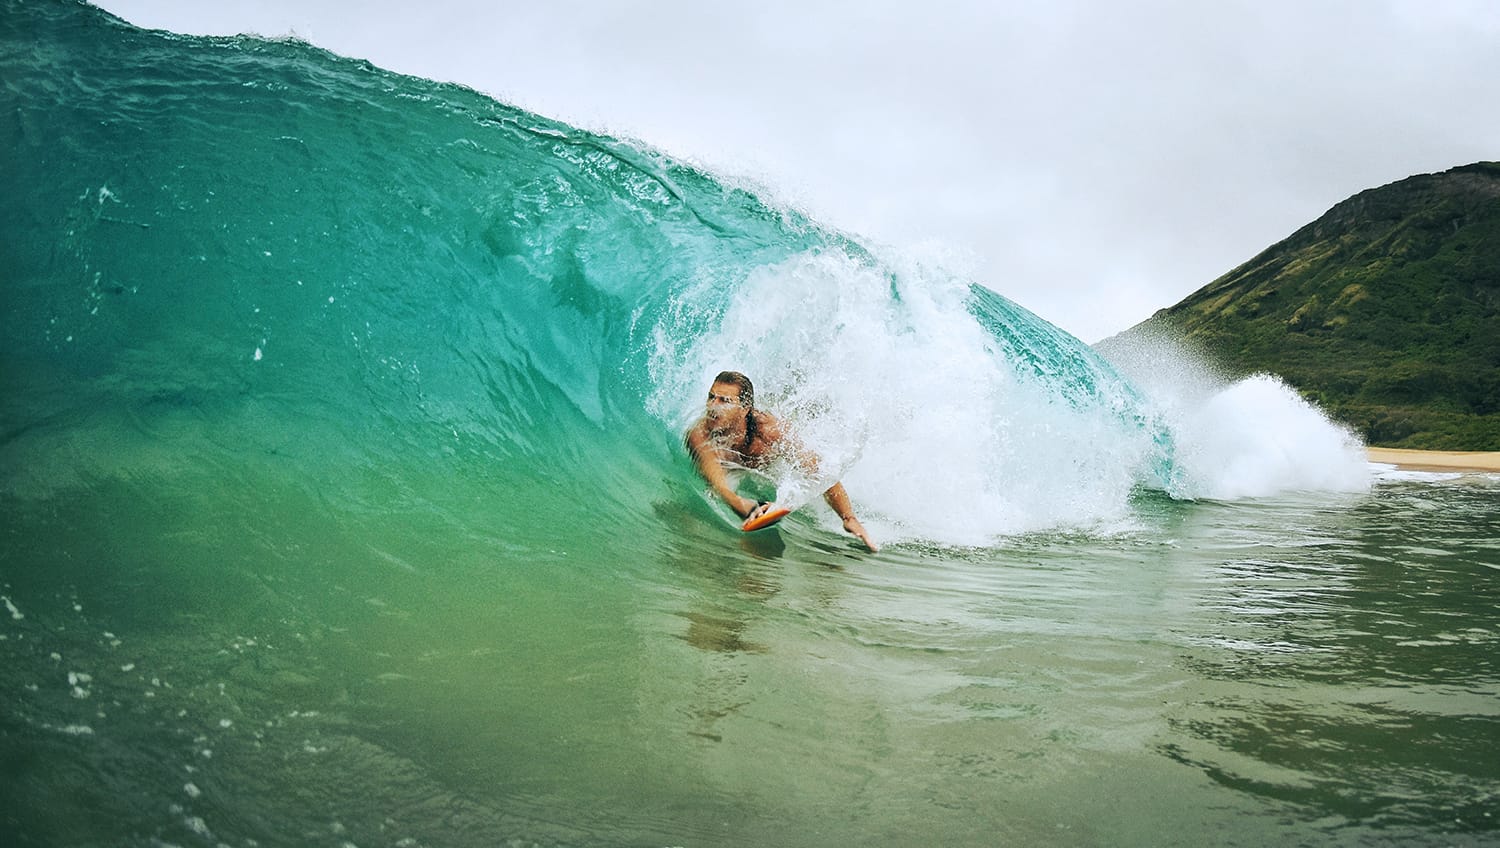
If you want to freeze your subject matter, you can go for a faster shutter speed, such as 1/500th, 1/2000th of a second, or even faster. On the other hand, if you want to capture the subjects such as waterfalls, flowing water, or any other moving subject, choosing a slower shutter speed will be a great idea. Long exposure images that feature light trails, dreamy waterfalls, and soft clouds will benefit from a longer shutter speed, up to a few seconds in many cases.
When to Use the Manual Mode?
There are some particular scenarios where you want to be in full control and need to use the manual mode. It can help you capture stunning portraits with stationary subjects, creative night photos, working in a studio using speedlights, etc.
Keep in mind that all the scenarios and settings that I’ve mentioned are not set rules. It’s what I’ve learned from my experience, and using them can be a great start for you, but you can also make your own way once you’re on the right path.
Important Factors to Keep in Mind
While using different manual modes of your camera, there are certain important factors that you need to consider.
ISO in All Modes
Regardless of the type of mode you’re using, you’ll need to select your camera’s ISO setting. It depends upon the lighting conditions of the environment in which you’re shooting.
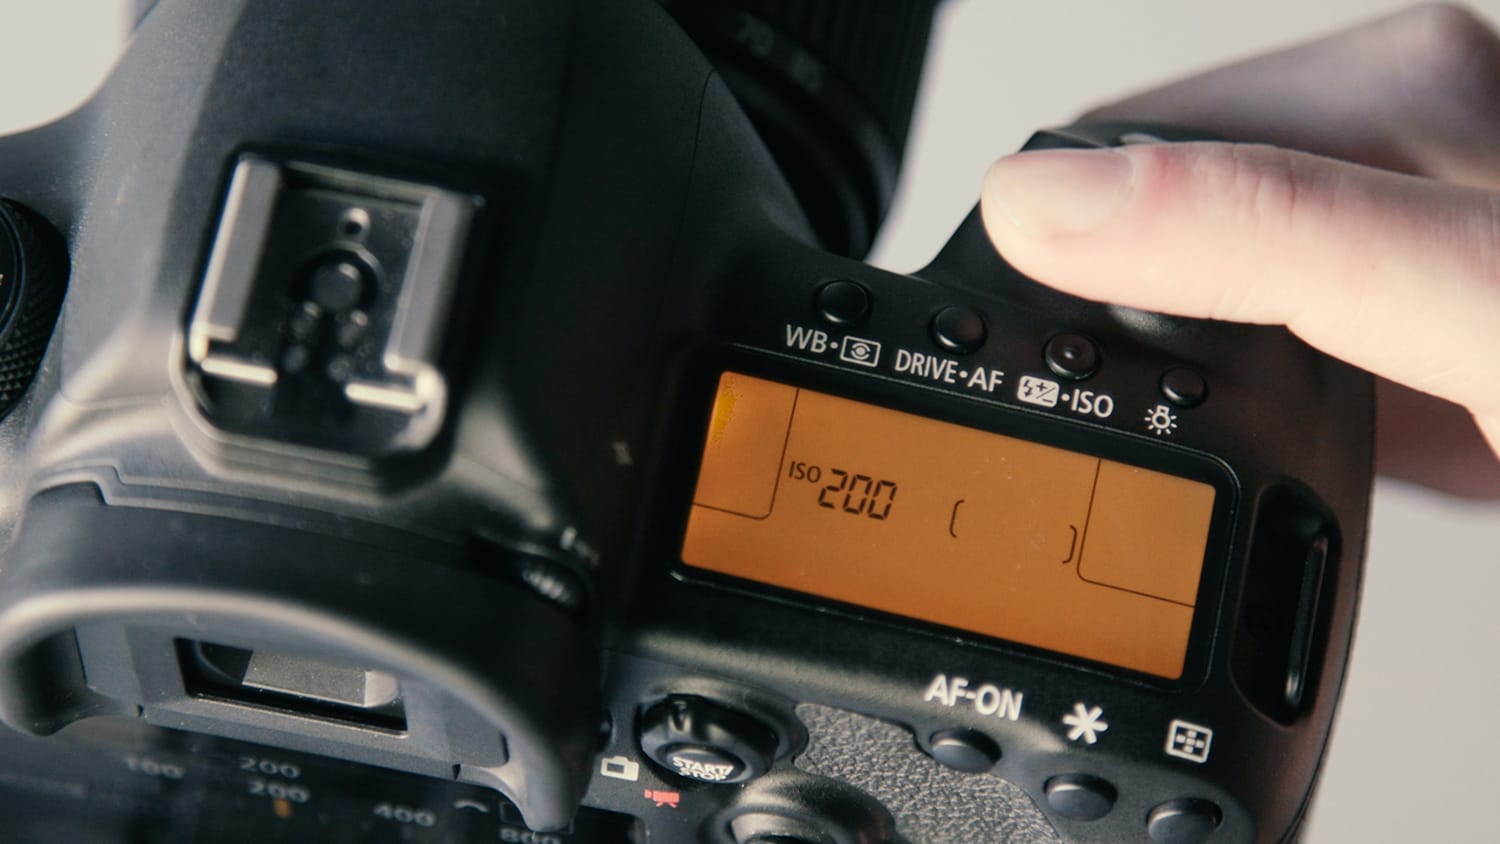
If you’re shooting in bright sunlight, then I recommend you go for 100 or 200 ISO. If the lighting is subdued or you’re shooting in overcast or shade, then you can raise the ISO value to 400 or 800. You can even go higher to 1600 or 3200 if you’re capturing photos indoors with dim light.
The best way to make sure that you’re using the right ISO value is to capture images with different values and pay close attention to the histogram on your camera [1]. Many cameras also have a sliding exposure scale [2] which can be a good indicator of the exposure.
Shutter Speed in Aperture Priority Mode
When you’re in an Aperture Priority mode, your camera automatically selects the shutter speed. However, it certainly doesn’t mean that your camera will always get it right.
The camera chooses the shutter speed to provide you with the right exposure, but the photo might not have the right sharpness. For example, if the aperture is f/16 and ISO is 100 in a dark room, the shutter speed that the camera will choose will be very slow, and thus it will introduce shake, and your photo will likely end up blurry.
Moreover, if you’re hand-holding, then you’ll end up with a blurry image. That’s why it’s important to monitor the shutter speed that your camera is selecting in Aperture Priority mode. In such a scenario where you want a sharper image (who doesn’t?), you can follow the 1/focal length rule. It will allow you to go for the minimum possible shutter speed to capture sharp photos. For example, if you are shooting with a full-frame camera and a 50mm lens, ensure that your shutter speed is faster than 1/50th of a second.
You can also change the aperture and ISO settings. Selecting a larger aperture such as f/4 and higher ISO might also help the camera choose a faster shutter speed to compensate.
Exposure Warnings in Both Aperture and Shutter Priority Modes
Undoubtedly, modern DSLR and mirrorless cameras are becoming smarter, but still, they have their limitations.
If you go out of the boundaries which your camera can’t handle, it might give you a warning notice. You can find this warning in your camera’s viewfinder or LCD. It’s important to check these warnings. It will allow you to adjust or change the settings so that the camera can assist you in the best possible way.
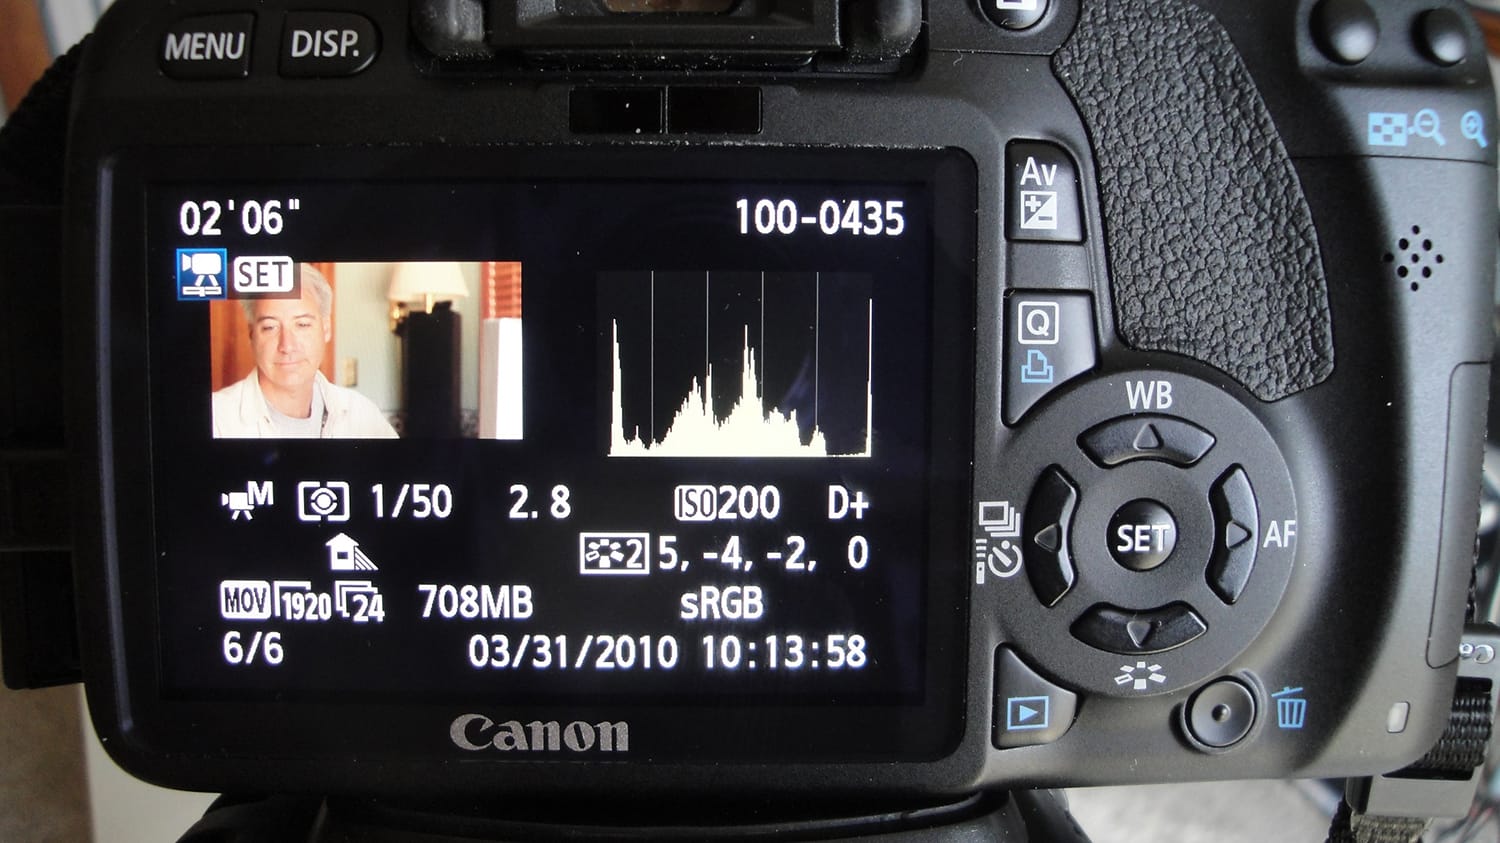
photo by Dave Dugdale [3]
Manual Mode Exposure Compensation
Beginners and amateur photographers often get confused while dealing with exposure compensation. That’s because depending on your camera brand and model, this feature might behave differently. For example, Canon and Nikon cameras don’t treat exposure compensation the same way.
Summary
You can follow the steps below to make sure that you capture the right photos using different modes of your camera.
- Choose the ISO setting first.
- Determine whether the depth-of-field (aperture) or motion (shutter speed) is most important and then select the shooting mode accordingly.
- Set the shutter speed of your camera or the aperture value to achieve the results you want.
- Keep an eye on your histogram and exposure scale.
- Capture the photo with the chosen setting and review it.
- Change the settings if necessary to achieve the desired results.
Obviously, we could’ve added so many more steps to that list, such as setting a metering mode [4], white balance [5], etc., but this should get you on the right track.
I hope that this guide will help you understand different shooting modes and use your camera to its full potential.