Long exposure photography is a wildly popular genre and with good reason! Unfortunately, it’s not always easy to head out and capture these types of images on their own without a bit of guidance.
Dealing with long exposures is tricky and requires a working knowledge of both light and camera settings.
Not to fear! We’ve got your back with a handy tutorial full of advice for the enthusiast photographer who wants to dip their toes into the realm of long exposure photography.
1. Take advantage of neutral density (ND) filters
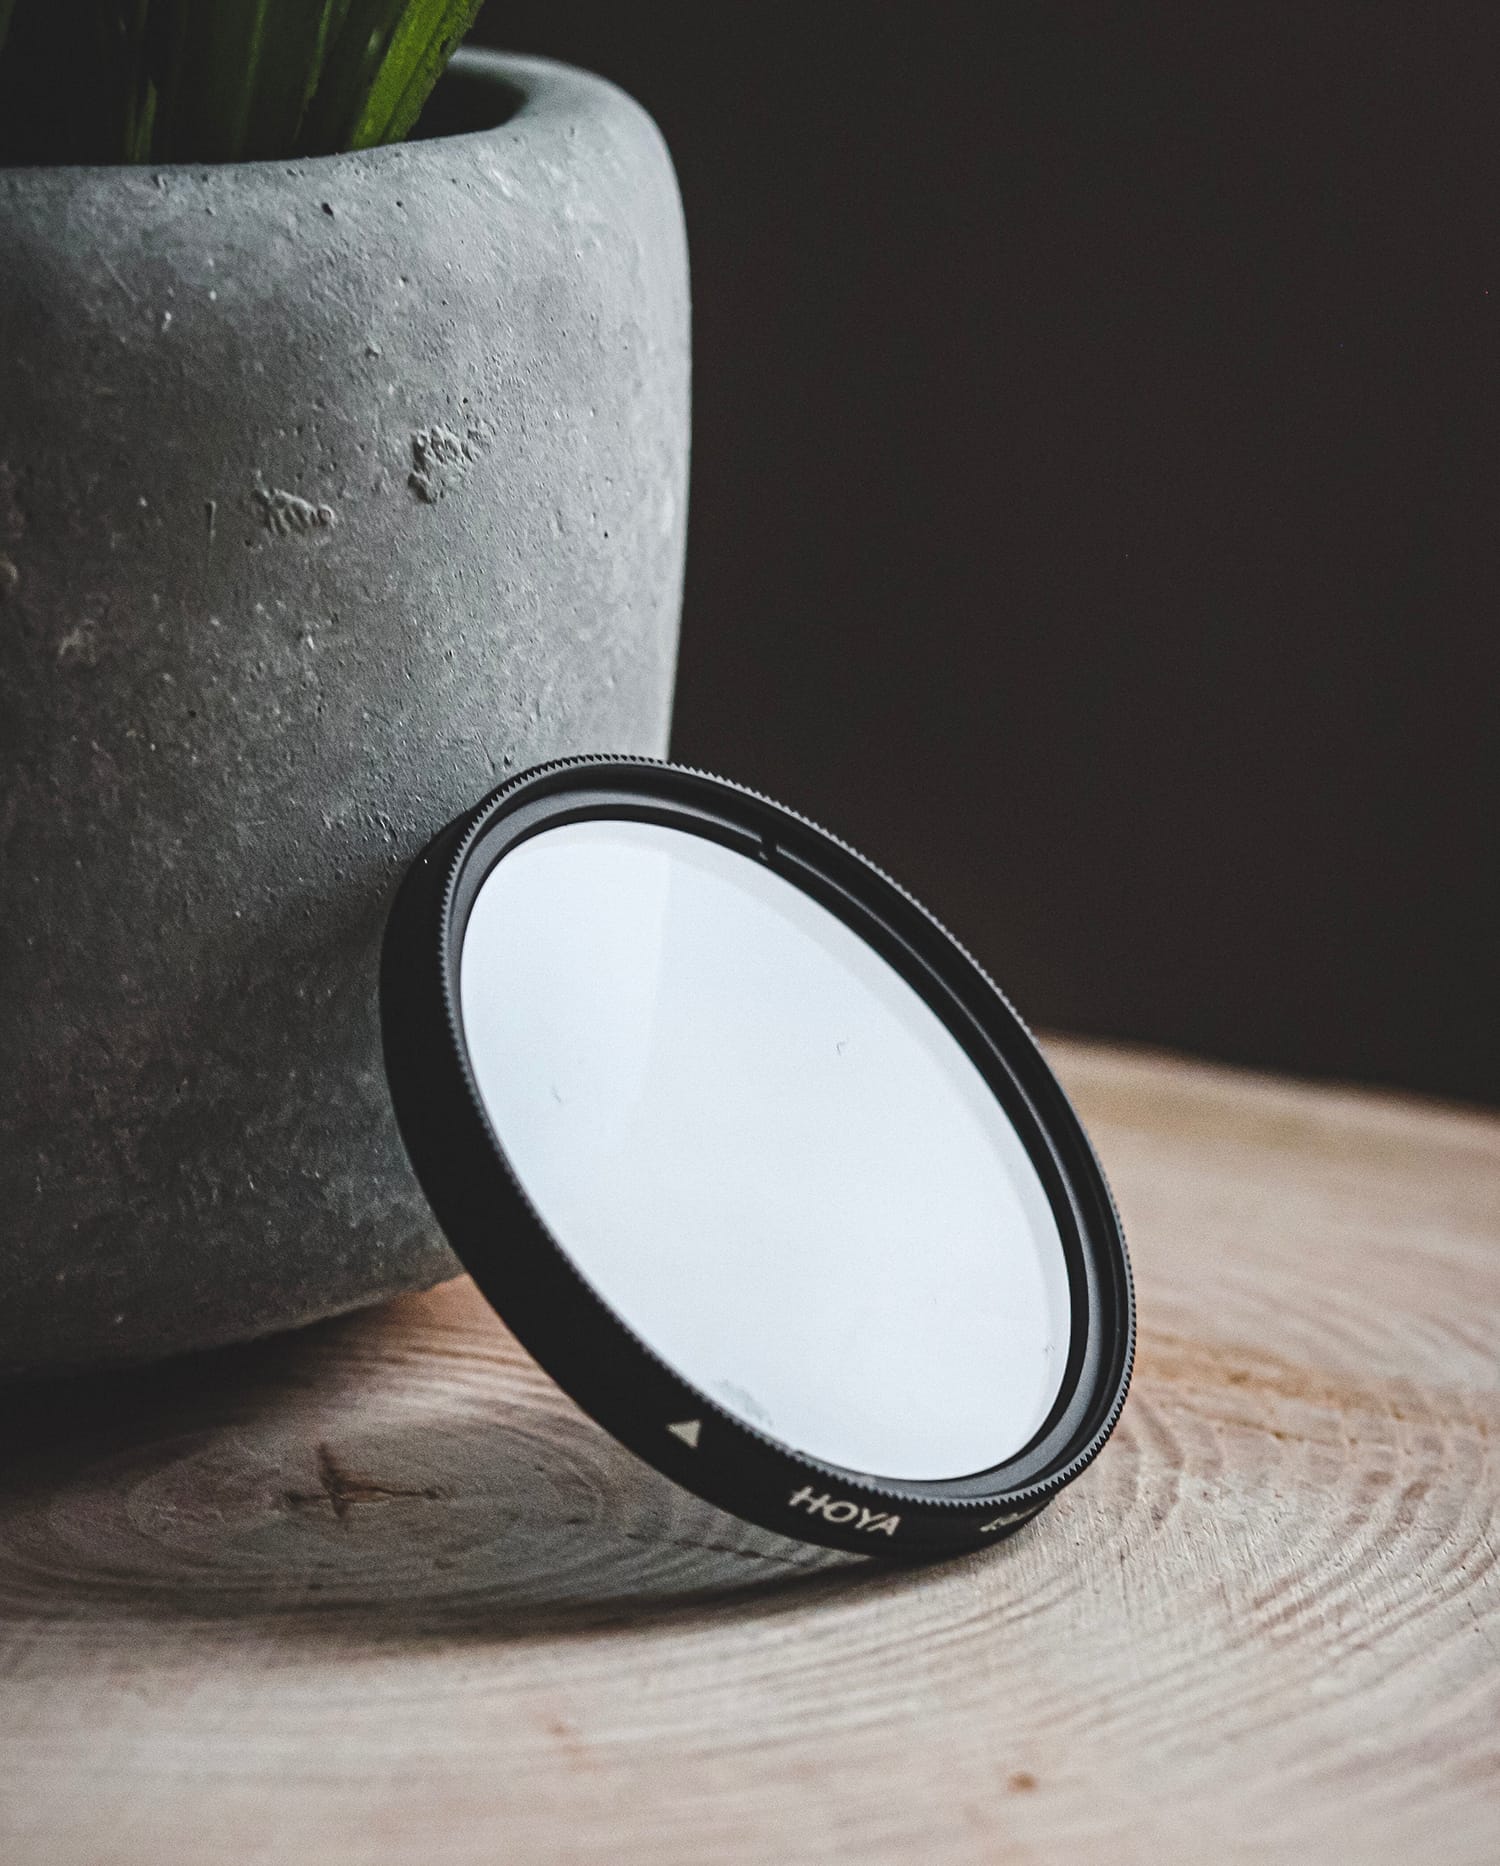
ND filters block light from reaching the camera’s sensor during long exposure photography.
Without an ND filter [1], for instance, shooting a waterfall with a long exposure time would require a lot of cloud cover or shade to be successful. Since we can’t control the weather (unfortunately), ND filters offer a consistent and straightforward workaround so that we can shoot with long exposures without worrying about the sunlight’s intrusion.
2. Understand the flexibility of long exposure photography
When many of us think of long exposure photography, we may think only of the pictures that have become more popular as of late—the photos of waterfalls [2], streams, and ocean waves that impart a soft, nearly feather-like quality to even the roughest of waters.
However, long exposure photography is a broad genre, filled with many other opportunities to take advantage of longer exposure times for eye-catching results.
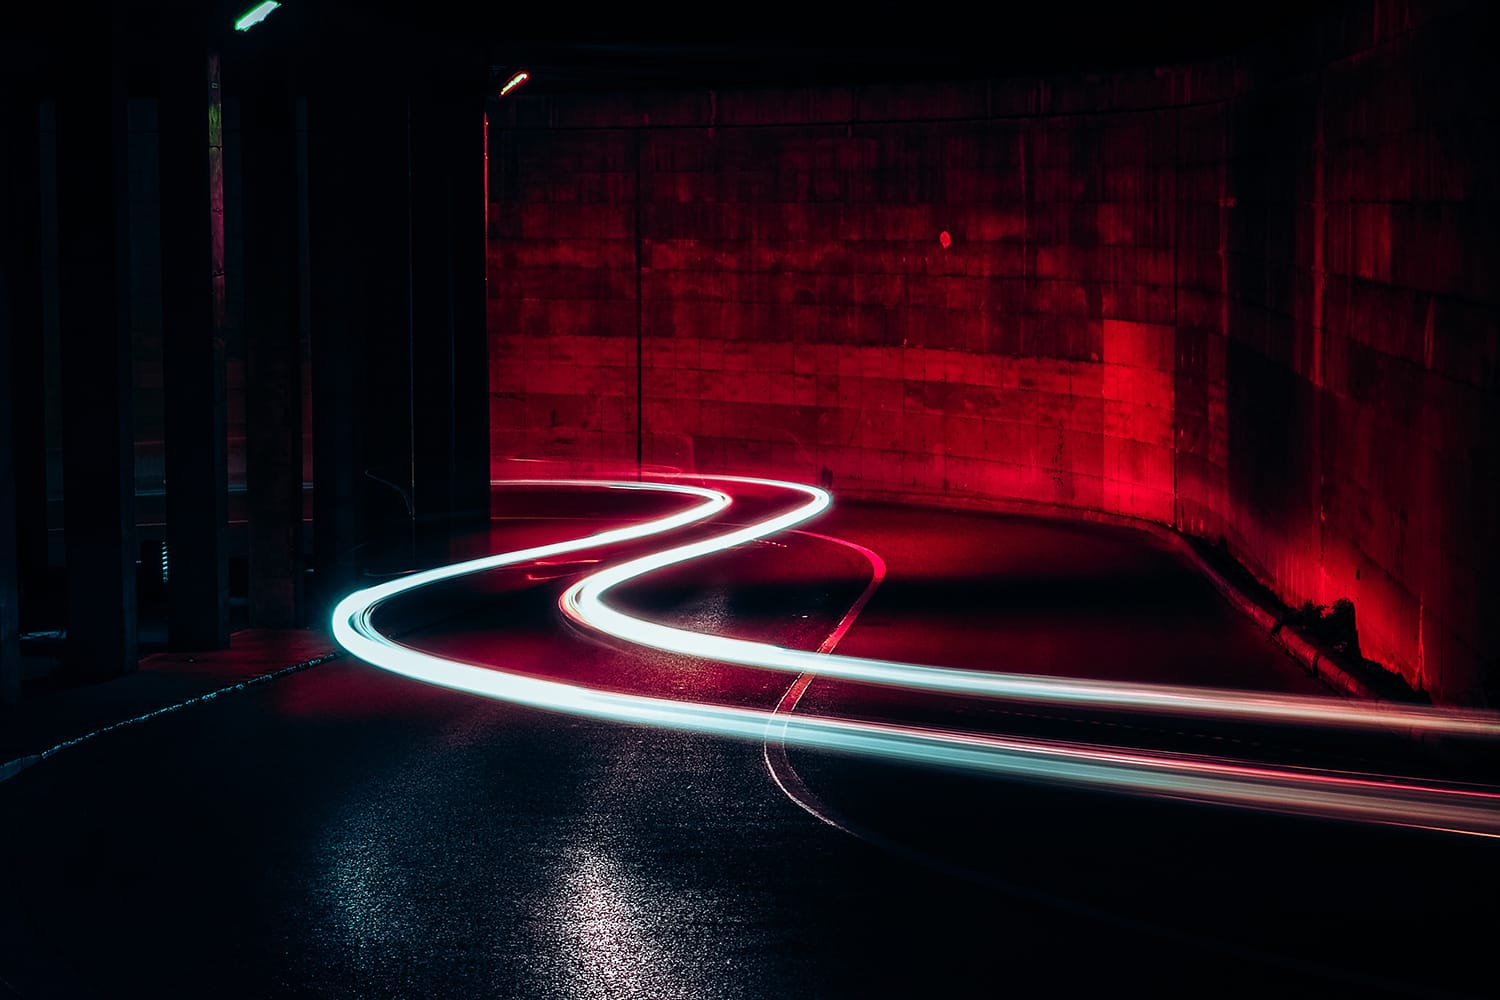
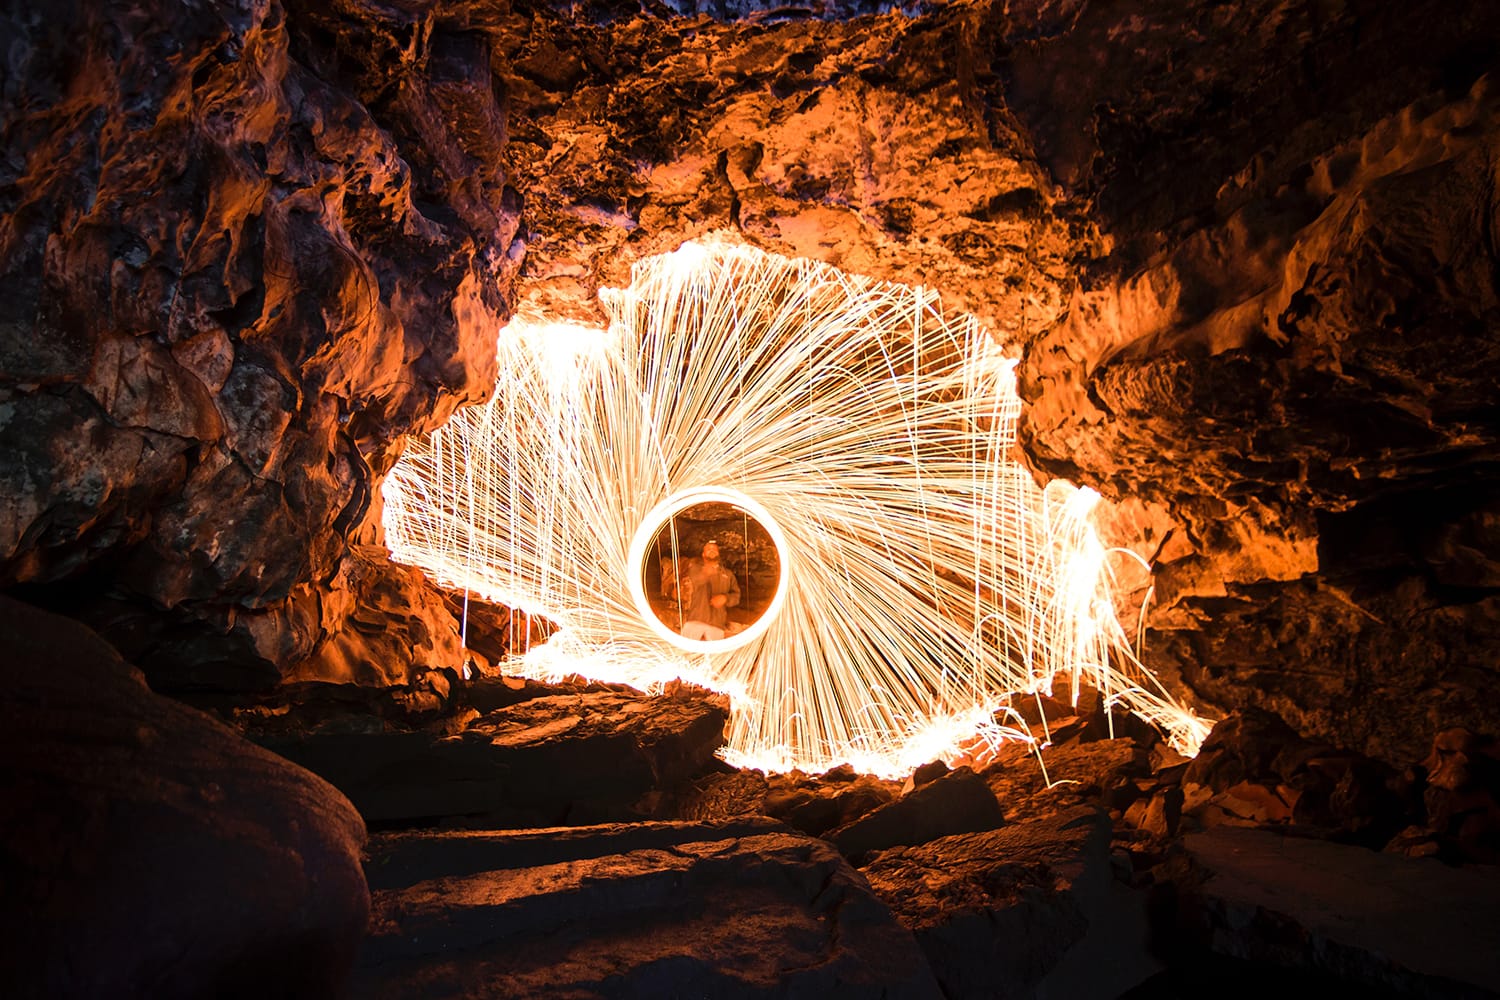
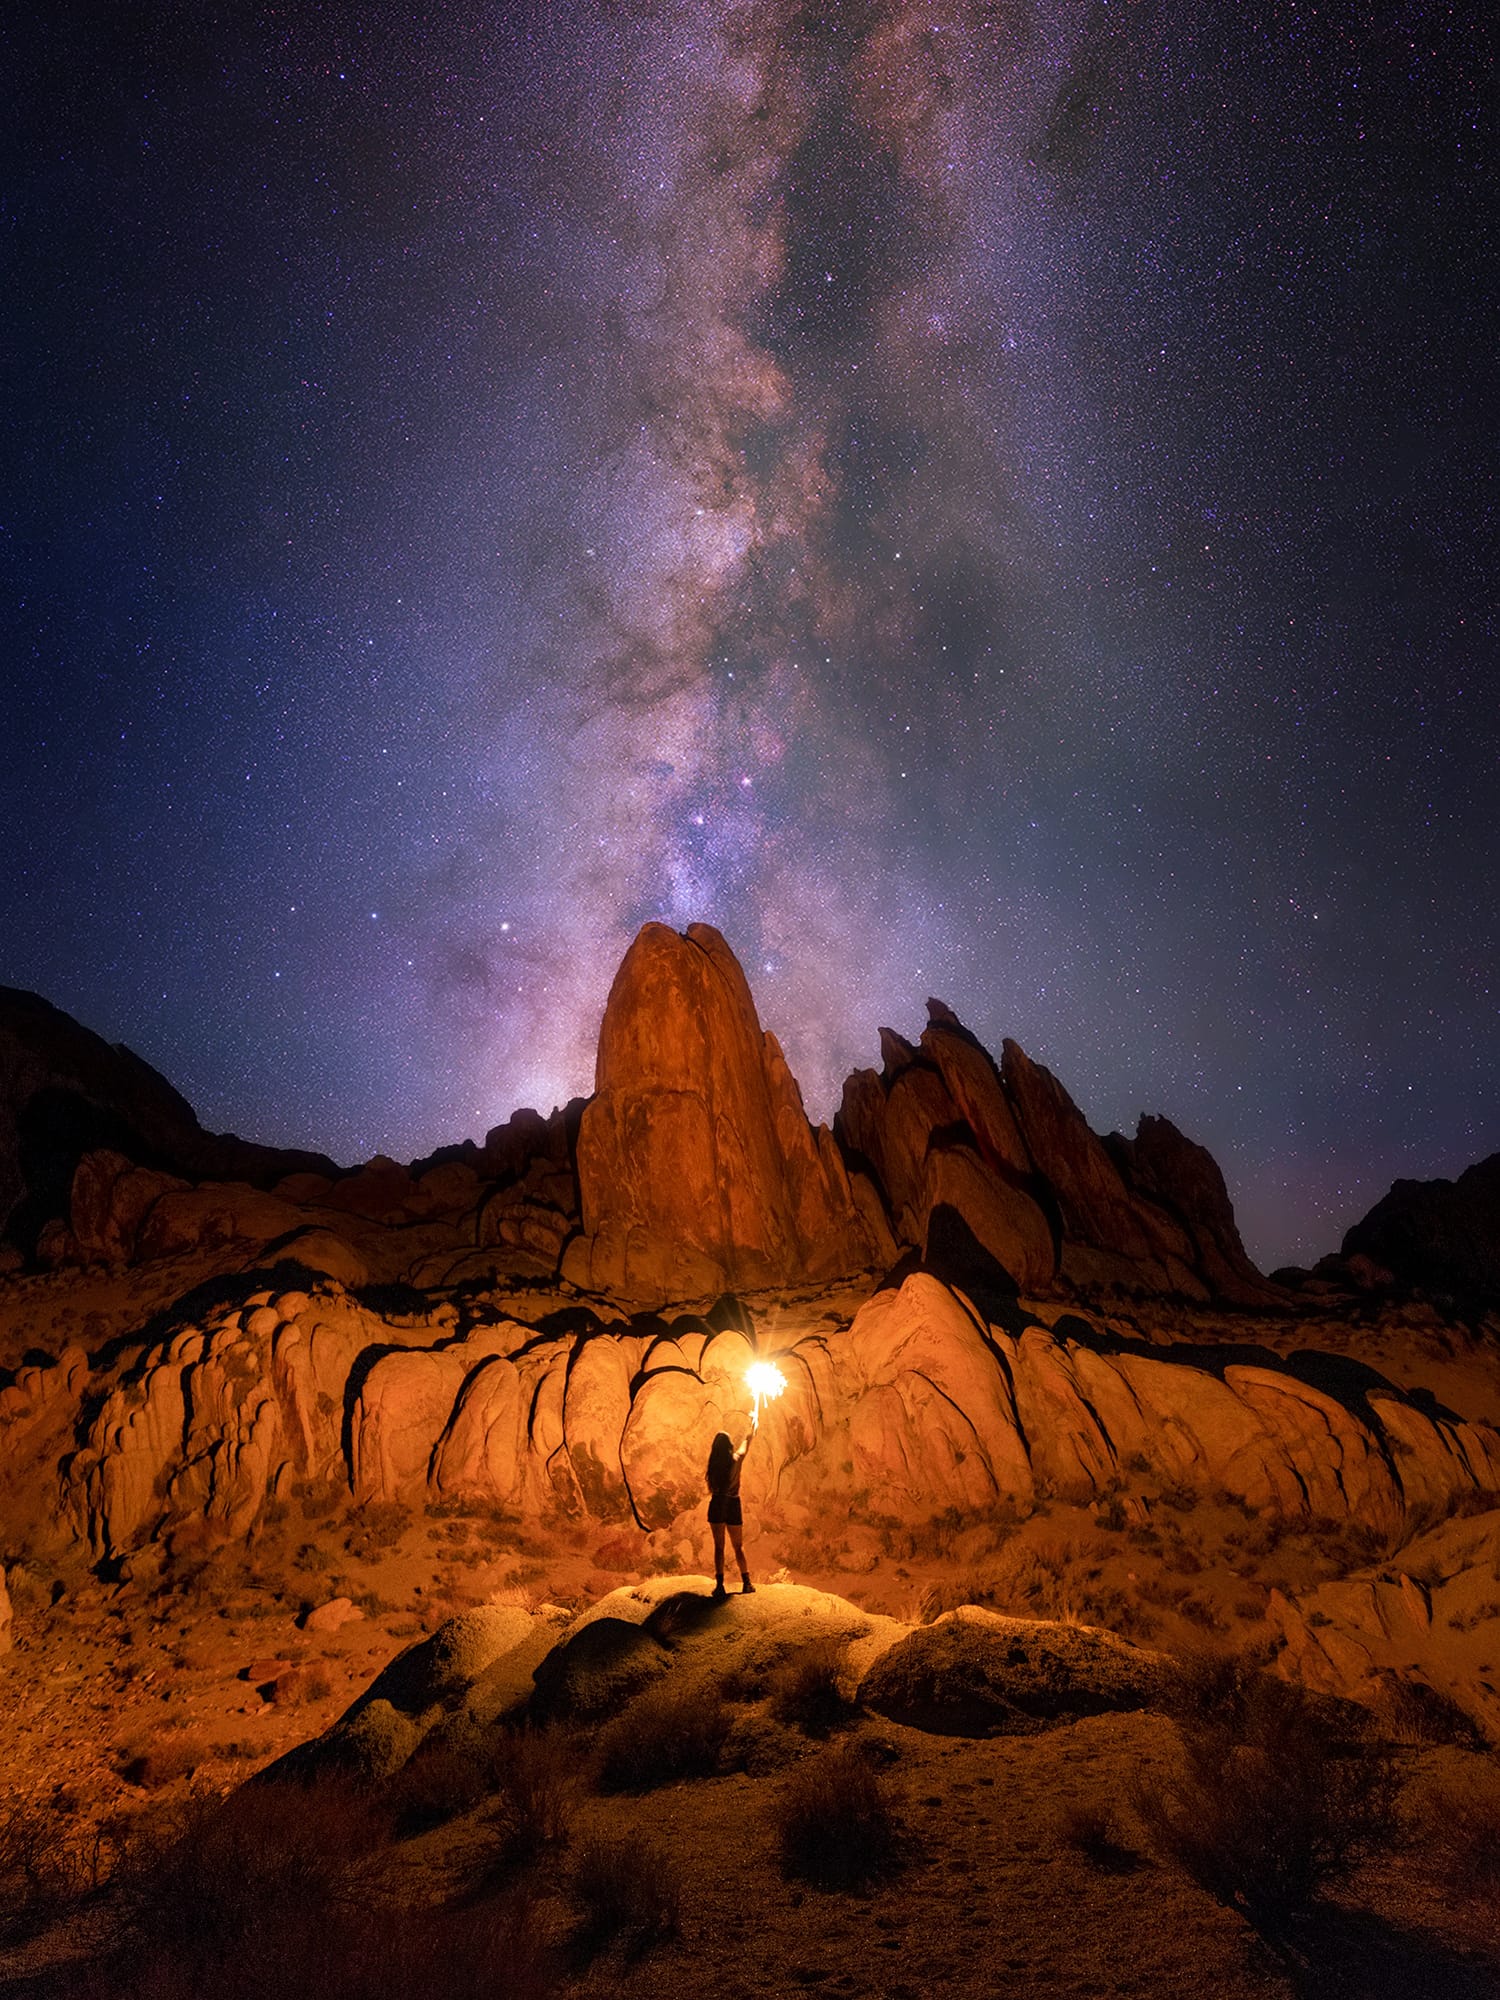
For example, capturing light trails [3] requires long exposure times – everything from steel wool photography to light painting to shooting star trails is possible. Long exposures are also often used in more abstract photography or when photographing cityscapes and street life.
Photographing landscape shots with an emphasis on the clouds [4] as they move across the sky is yet another application of long exposure photography.
Truthfully, the opportunities are endless!
3. Get your timing right
One of the most fundamental aspects of successful long exposure photography is the ability to choose the correct exposure time. Merely setting the exposure for “a long time” won’t do. Instead, determining the best exposure time for your situation is more of a science.
Both the strength of your long exposure filter and your camera’s aperture will contribute to the length of time you should leave your shutter open. Yes, this means that there is some math involved, but we promise it’s not too bad. Plus, several handy conversion tables and calculators exist online and as mobile [5] apps [6] to help you make these calculations [7] quickly, accurately, and on-the-go.
Remember, you can always double-check that your exposure time was an appropriate one by using your camera’s histogram.
4. Choose your tripod carefully
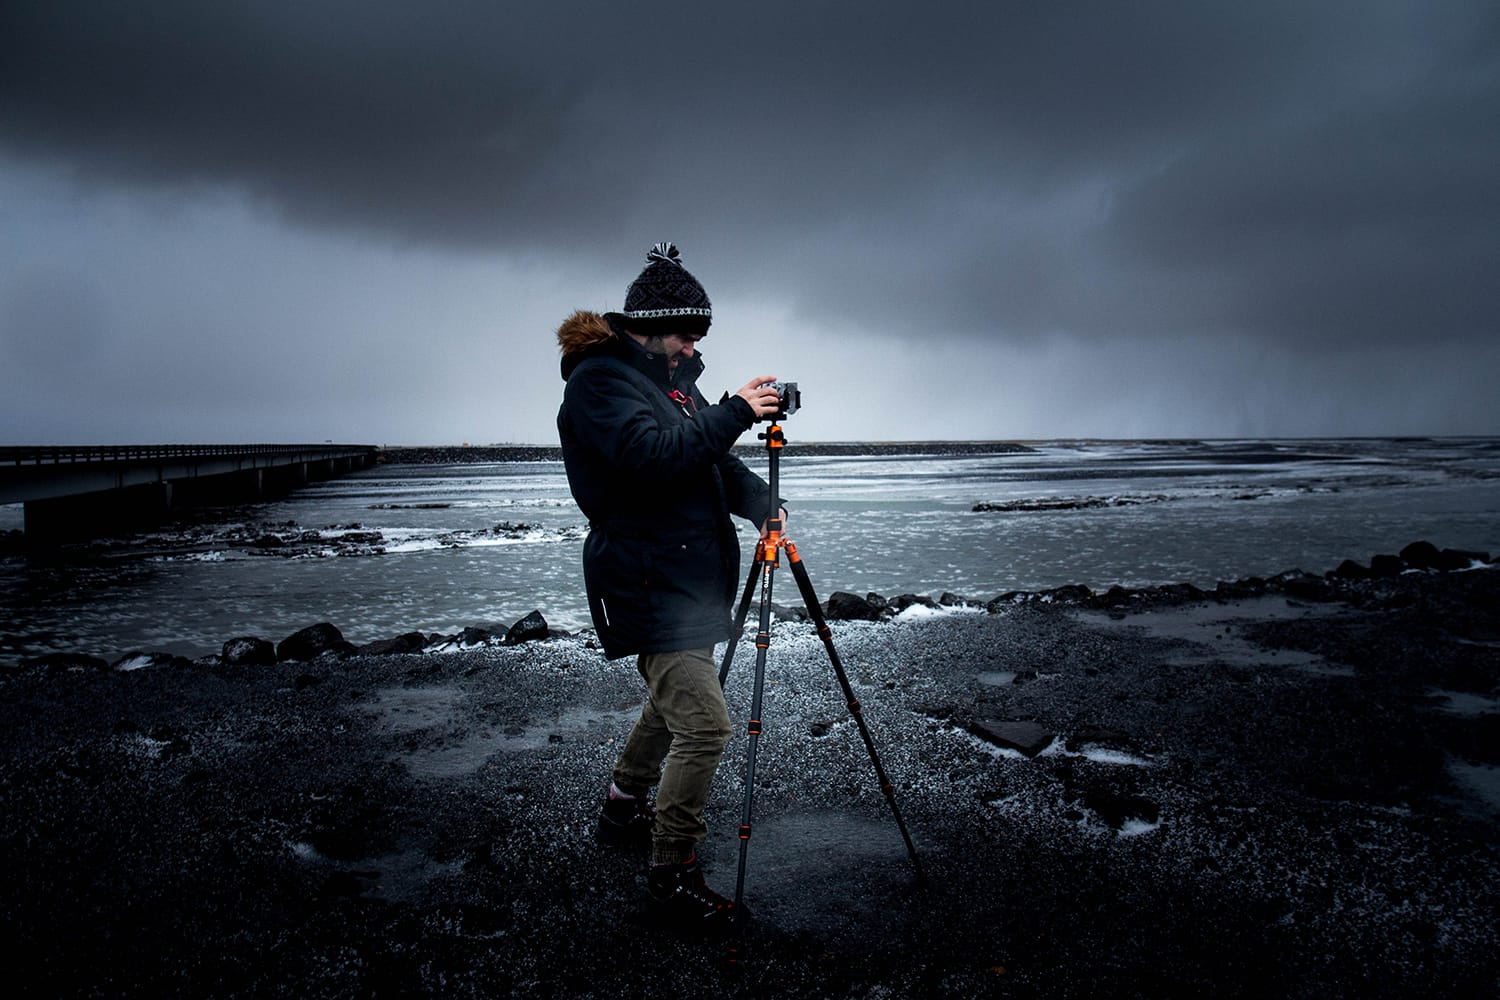
In a tutorial about long exposure photography, we couldn’t skip some brief discussion about tripods [8]. You’ll need a tripod to steady your camera during exposures that can range anywhere from seconds to minutes, but for those serious about long exposure photography, not any old tripod will do.
Stability has never been more critical than it is when shooting long exposure photographs, so we recommend doing your research and investing in a tripod that’s not going to wobble and compromise your shots.
Then, when you have your tripod in hand, use it correctly! While extending the center column will add height, keep it retracted as much as possible to maximize stability.
Also, don’t forget the center column hook, where you can hang a weighted object for even further stability.
5. Master your camera settings
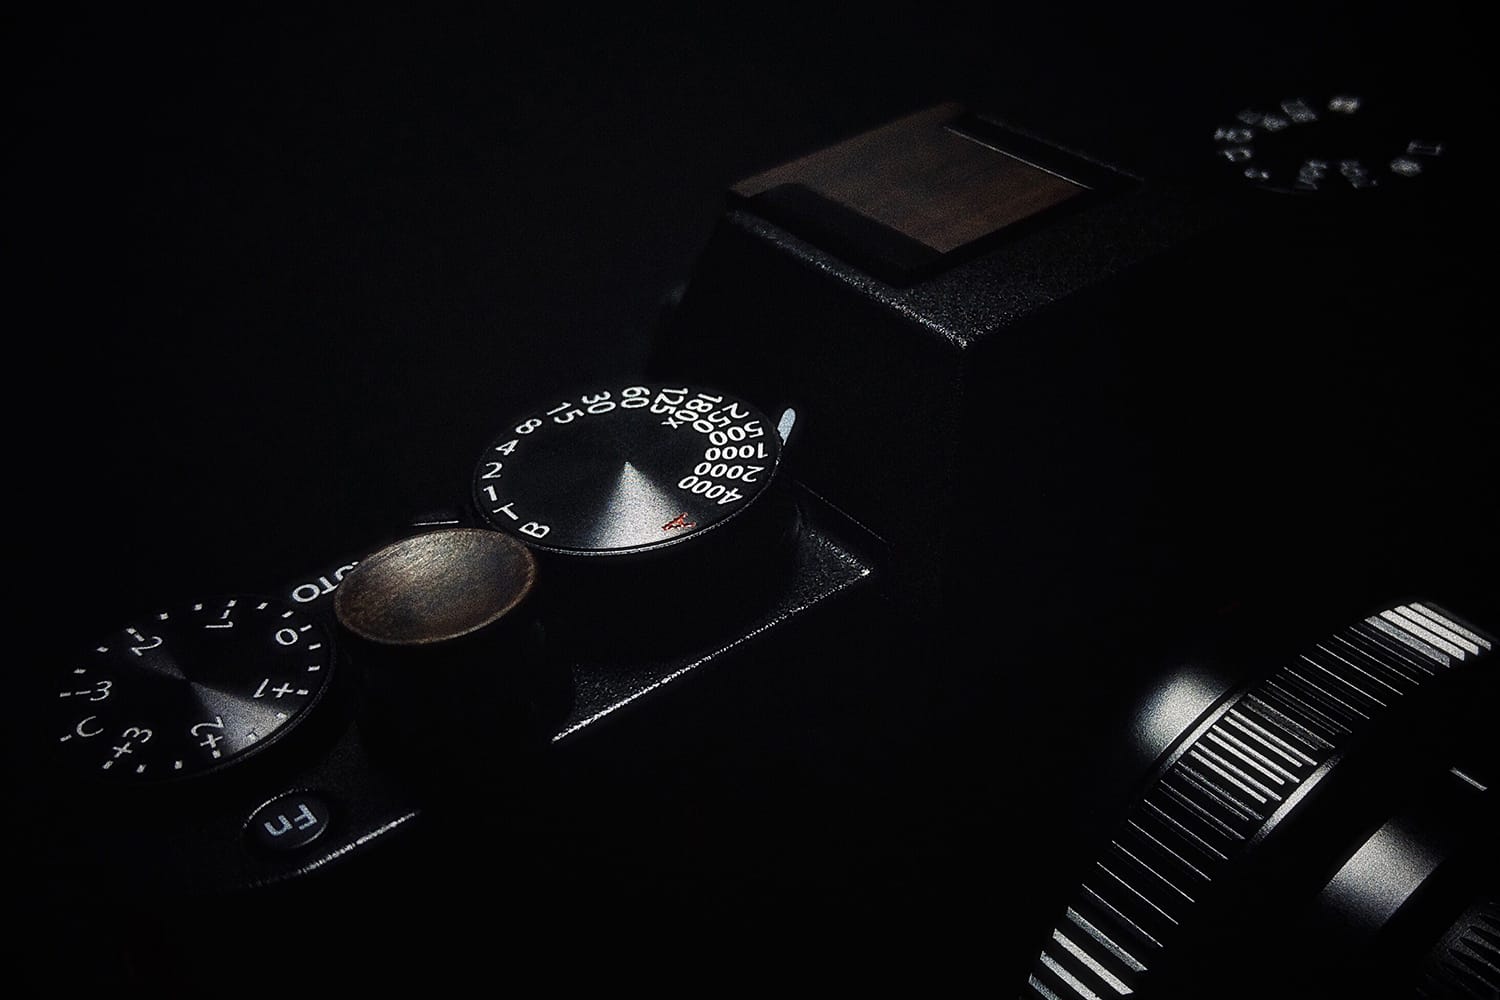
Those just starting out with long exposure photography may be tempted to focus so much on achieving the optimal exposure time that they neglect to correctly adjust other settings such as focus, ISO, and aperture.
It’s best to use manual focus here, and we like to keep our ISO around 100. Also, set a medium aperture, and don’t forget to photograph in RAW instead of JPEG [9].
If you are aiming for a super long exposure time (more than 30 seconds) and your camera won’t allow it, don’t panic! When you’re shooting in manual mode, most cameras won’t permit you to set a shutter speed for more than half a minute. To solve the problem, all you need to do is change from manual mode to bulb mode [10]. In bulb mode, your camera would expose your photos to infinity and beyond if you asked it to.
6. Learn how to correct tint in post-production
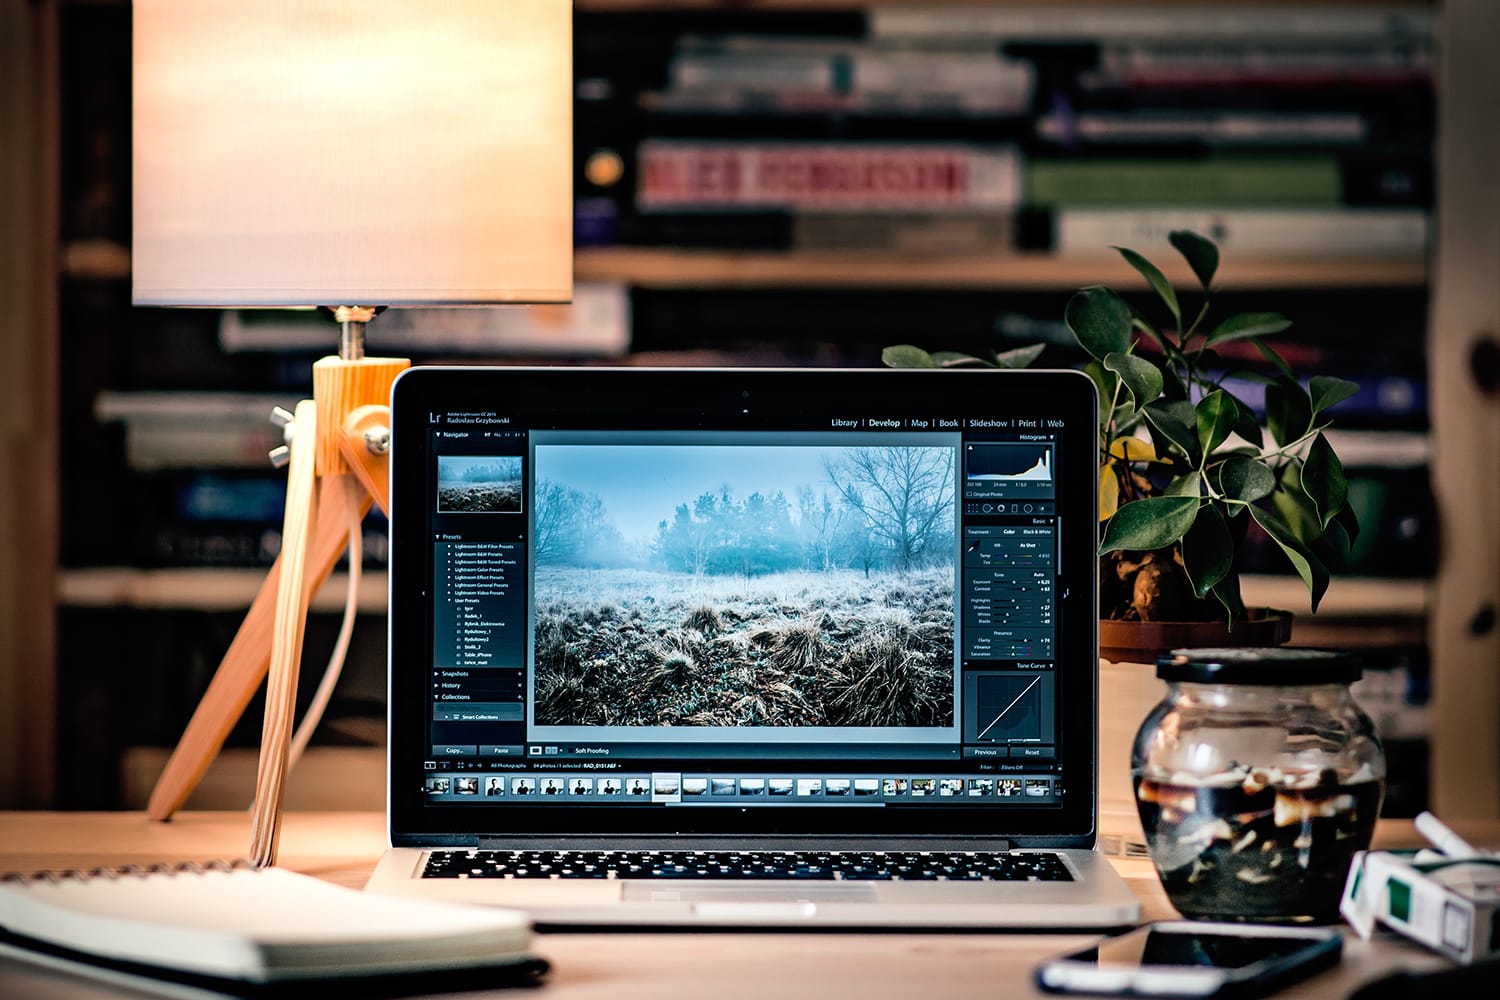
If you’re using an ND filter [11] (which we highly recommend), you may notice that these filters leave your photos with a tint or color cast. While only slight, we photographers know that even the smallest changes to color can make a world of difference.
Luckily, it’s not difficult to remove this color cast using a photo editing software like Lightroom [12] or Photoshop [13].
Use the white balance [14] targeted adjustment tool to select a neutral value in the picture (if you’re able, selecting something white is best, or even better, neutral grey).
This often removes the color cast and solves the issue, but you can also manually adjust the white balance sliders if you want to make further corrections.
With these six introductory tips, we hope you’ll feel confident enough to move beyond only dipping your toes into the long exposure waters. There’s no better way to learn a new skill, especially one as flexible and creatively stimulating as long exposure photography.