The Exposure Triangle: Mastering Aperture, ISO, & Shutter Speed

Mastering exposure may sound boring – but the truth is, that understanding how your camera exposes an image can help you to have a firmer grasp of your camera’s settings and capabilities. Knowing how to get the exposure just right will lead to better images, and a much more rewarding photography experience!
Learning about exposure isn’t hard; in fact, as you probably know, the exposure of an image is determined by only three settings: the aperture, shutter speed, and ISO. Together, these elements form the “exposure triangle,” which dictates how dark, or light an image is.
Each of these settings has an important role in affecting how the light reaches the sensor on your camera:
- Aperture – The size of the opening in the lens.
- Shutter Speed – The duration of the exposure.
- ISO – The camera sensor’s sensitivity to light.
Aperture
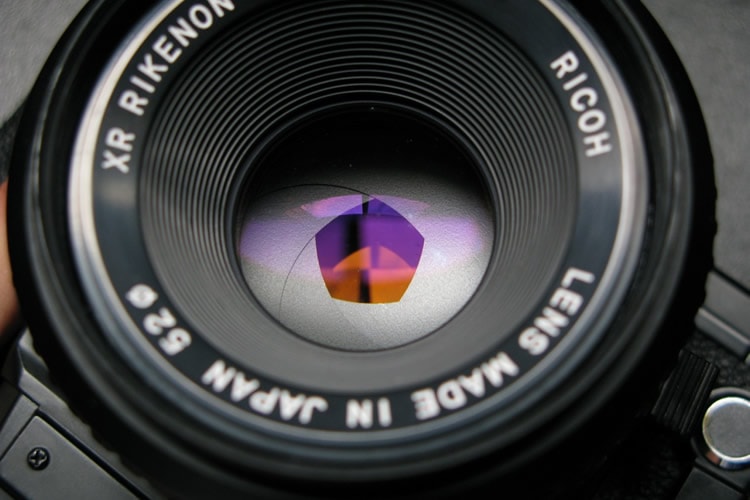
photo by Nayu Kim
The aperture controls the size of the opening in the lens, affecting how much light hits the sensor when you take a photo. The aperture is often adjusted to change the depth of field in an image, allowing you to control how much of an image is in focus. This technique is especially useful for portraits, where you want the subject to be nice and clear, and the background to be soft and out of focus. It’s also great for macro or other types of close-up photography.
You can use aperture priority mode to adjust your aperture, and let the camera calculate the other settings automatically, or use manual mode to set the aperture, shutter speed, and ISO settings on your own.
A wide aperture, like f/2.8 or f/3.5, allows the most light into the camera, resulting in a shallow depth of field with more blur. On the other hand, a small aperture, like f/8 or f/11, will let less light in, keeping most of the image clear and in-focus. If you use a wide aperture, you may need a faster shutter speed to compensate for the high amount of light that the wider aperture allows in.
Shutter Speed
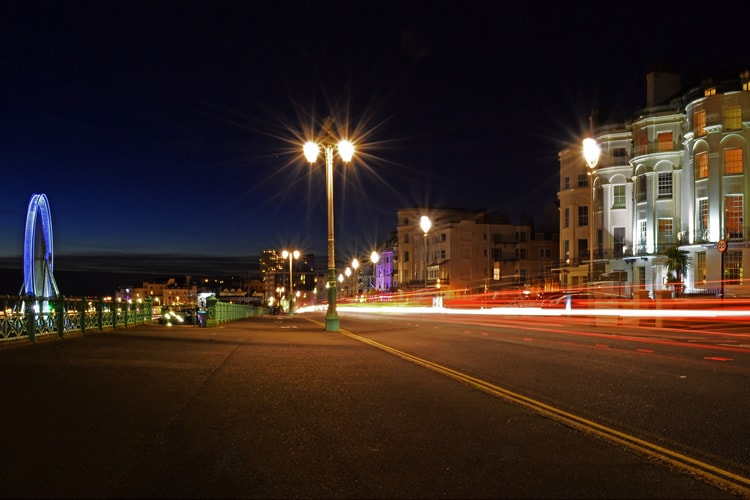
image by Luke Andrew Scowen
Much like the name suggests the shutter speed determines how long the shutter stays open for. The longer it stays open, the more light reaches the sensor. A slow shutter speed is used when it’s dark, to allow more light into the image, it’s also used to blur moving subjects. A fast shutter speed, on the other hand, essentially freezes motion – resulting in clear, sharp images.
When adjusting your shutter speed, you can use shutter priority mode (Tv mode on some cameras), or opt for manual. Just remember, with manual, you’ll need to compensate to make up for the amount of light, or lack thereof, reaching the sensor. With a fast shutter speed, use a wide aperture to allow more light in. If you’re using a slow shutter speed, use a small aperture to prevent white images caused by too much light flooding the sensor.
-
Slow Shutter Speed
Since a slow shutter speed allows more light in, you can use a long exposure to take images in the dark. A slow shutter speed also allows you to introduce motion blur into your images, allowing you to capture soft, misty waterfalls or softly blurred ocean and streaky clouds. A slow shutter speed can also be used to capture moving subjects by panning – allowing you to blur the background while focusing on the subject. Any time you are working with slow shutter speeds, try to use a tripod or stabilize the camera to prevent camera shake and blurry images.
-
Fast Shutter Speed
A fast shutter speed freezes movement, resulting in sharp, clear photos. A fast shutter speed is especially useful for capturing fast-moving objects or subjects that are in-motion. While a fast shutter speed is anything over 1/500th of a second, it’s worth noting that most cameras are capable of going even higher.
ISO
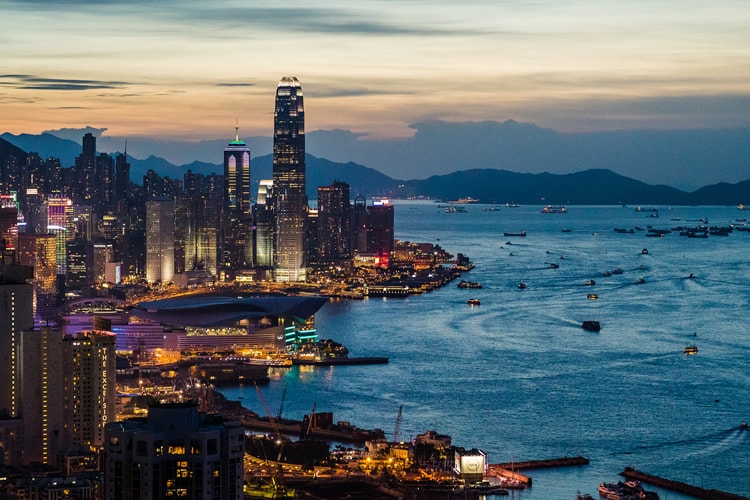
image by Pasu Au Yeung
The ISO speed is a measurement of how sensitive the camera sensor is to light. While a low ISO is preferable for image quality, a high ISO can be used to compensate for less-than-ideal lighting conditions. Keep in mind though, that increasing the ISO also increases image noise, and it’s usually best to keep the ISO as low as possible, and to rely instead on the aperture and shutter speed to adjust the exposure.
Putting It All Together
So how does it all work? The three settings in the exposure triangle work together to affect the amount of light that reaches the sensor, and the resulting exposure of an image.
When you adjust one of the settings, say, increase the shutter speed a step (less light) if you were to then widen the aperture a stop (more light) the images will have an identical exposure. The images wouldn’t necessarily be identical though, adjusting the shutter speed or aperture affects other aspects of the image as well – such as a smaller depth of field, due to the increased aperture.
Exposure Bracketing
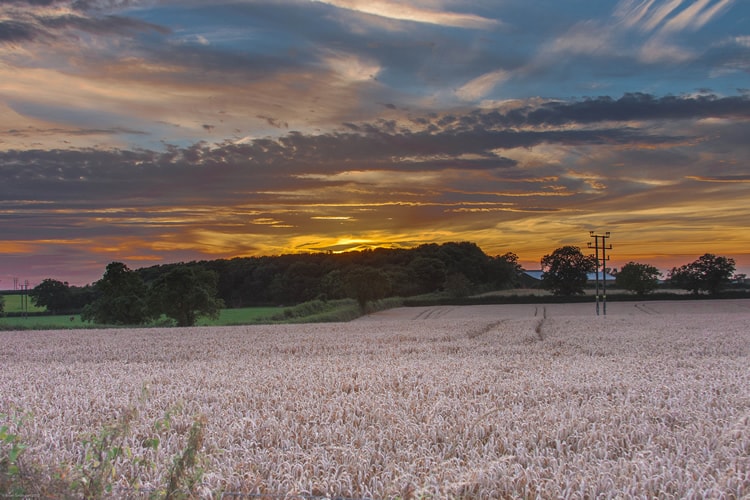
image by Brian Smithson
Exposure bracketing is a technique that allows you to take three images with different exposures, helping you to get an image that’s perfectly exposed. Exposure bracketing allows you to capture one image at the designated exposure value, one that’s 1/3 of an f-stop above, and one at 1/3 of an f-stop below. When viewing the images later, you’ll be able to note the slight variations in exposure, and choose the picture that’s best – or combine them to create HDR images.
Becoming familiar with different exposures involves lots of practice, and many, many failed attempts. But don’t give up. Experimenting with digital images is free – and each attempt will help you to understand exposure a little bit better. Soon you’ll be able to easily adjust your camera settings for a wide range of different scenarios, allowing you to choose the ideal exposure and settings, and giving you much more control over the resulting images!
What about you? What are some of the benefits that you’ve found from shooting in manual or semi-auto modes?
About the Author: Christina Harman
 Christina is a part time blogger and full time photography enthusiast living in Southeast Alaska. She enjoys travel photography and has taken pictures in countries such as Mexico, England, France, and China. She likes sunny days, new lenses and drinking good coffee. You can visit her at Tangled Thoughts.