The exposure triangle is the relationship between three camera settings. These control the light when you take a photograph. Those three settings are:
- ISO – this setting determines how responsive and sensitive the sensor is to light.
- Aperture – a diaphragm in the lens that can open & close, similar to the iris in your eyes.
- Shutter Speed – controls the length of time the camera sensor is exposed to light for.
The three settings are controlled automatically or manually. Understanding how they work together will help you to make more creative exposures. Troubleshooting when you encounter problems will be easier also.
Each setting also influences aspects of how photos look other than the exposure.

© Kevin Landwer-Johan
ISO affects the amount of digital noise, variation in color and brightness of some pixels, when using a high ISO. Color and contrast are also flatter with high ISO settings. These technicalities vary from camera to camera depending on the quality of the sensor and the firmware.
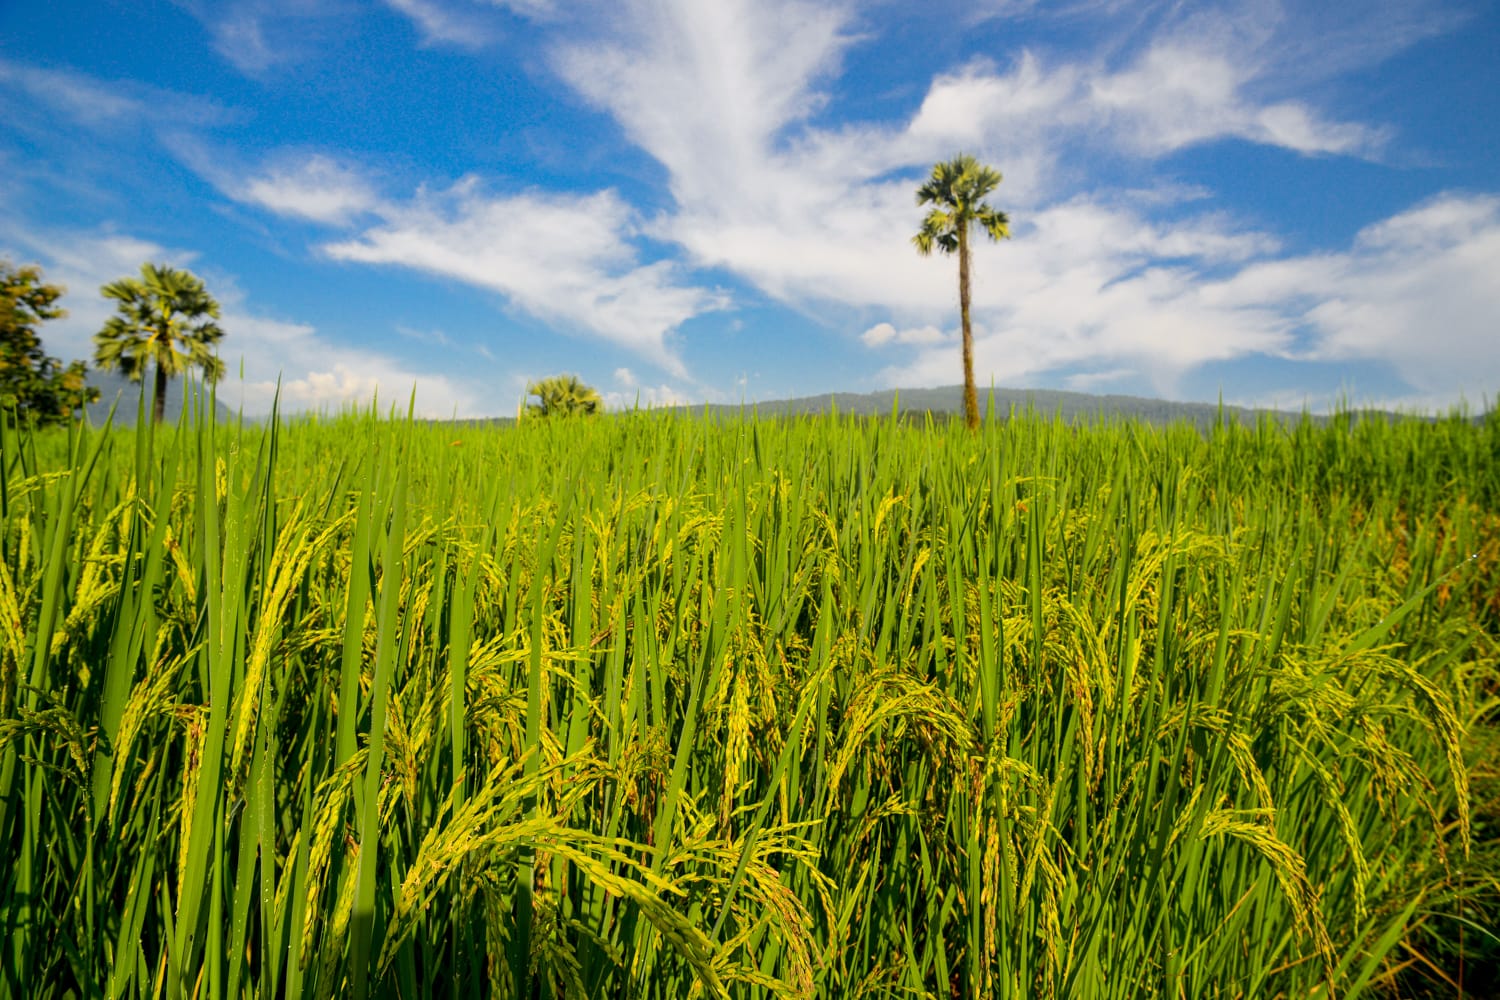
Aperture affects the depth of field, (DOF). This is the area of a photograph which is in acceptably sharp focus. The narrower the aperture used, the deeper the DOF will be.
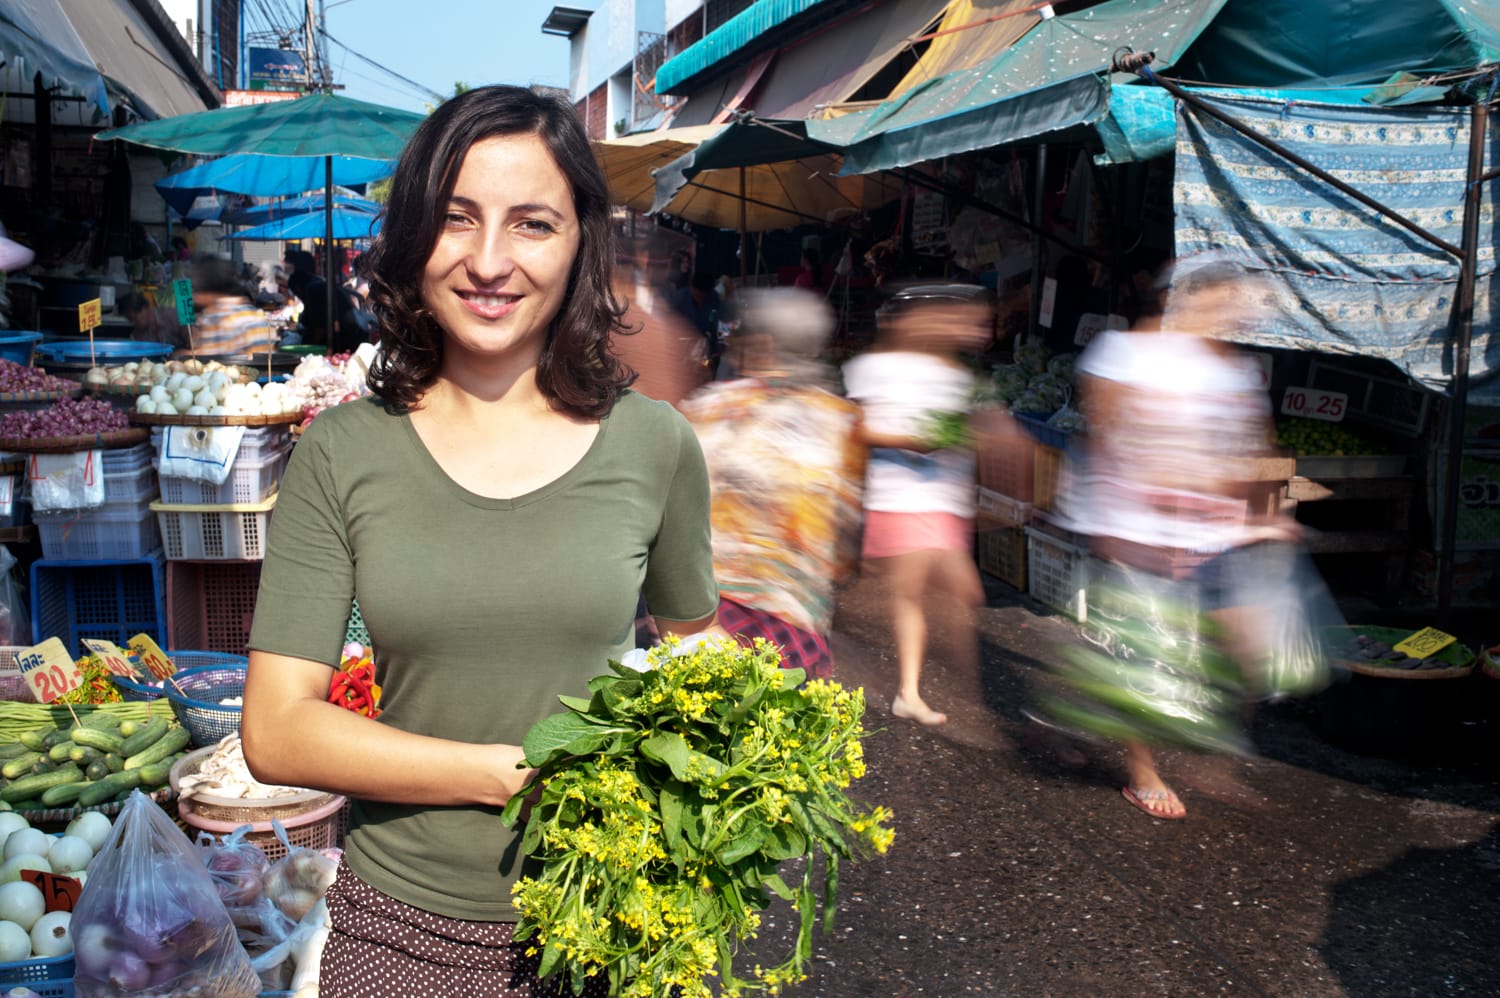
Shutter speed affects how moving elements in your composition will look. With slow shutter speeds moving subjects can become blurred. Also, if a camera is not held steady when using a slow shutter speed the result will be a blurred photo. Using a faster shutter speed [1] will freeze moving objects and help avoid blur from camera shake.
Being in Control of Your Exposure
Well exposed photos are made when there’s a balance between the three settings of the exposure triangle. When too much or too little light reaches the sensor, one or more of the controls needs to be adjusted.
Using aperture priority and opening your aperture wider to achieve a shallower DOF your camera will adjust the shutter speed faster. When your camera is on manual exposure mode you need to adjust the shutter speed yourself, or your photo would be overexposed.
© Kevin Landwer-Johan
For example. If you are making a portrait and your aperture is set to f/8, your shutter speed is 1/125th of a second and your ISO is on 400. If you decide you want to blur the background you might open your aperture up to f/2.8. You will need to adjust your shutter speed to 1/1000th of a second to maintain the same exposure. You could also lower your ISO to 50 (if possible) and it would give you the same exposure.
Each setting is measured and can be controlled precisely by your camera. The value of measurement is called a ‘stop‘. An adjustment of one stop either halves or doubles the amount of light. In the example I just used the aperture was set to three stops wider, from f/8 to f/2.8. So the shutter speed or ISO needed to be adjusted by three stops, limiting the exposure time or responsiveness of the sensor.
Putting It Into Practice
Juggling the three elements of the exposure takes practice. You can read as much theory as you like. Getting hands-on experience is necessary to gain proficiency.
Here are a few tips to walk you through the choices you need to make about exposure each time you take a photo. The more you practice these, the easier the process becomes. At first you will have to concentrate on each aspect. The more your practice, the less you will have to consciously think of each step.
© Kevin Landwer-Johan
Use Your ISO Setting as a Foundation
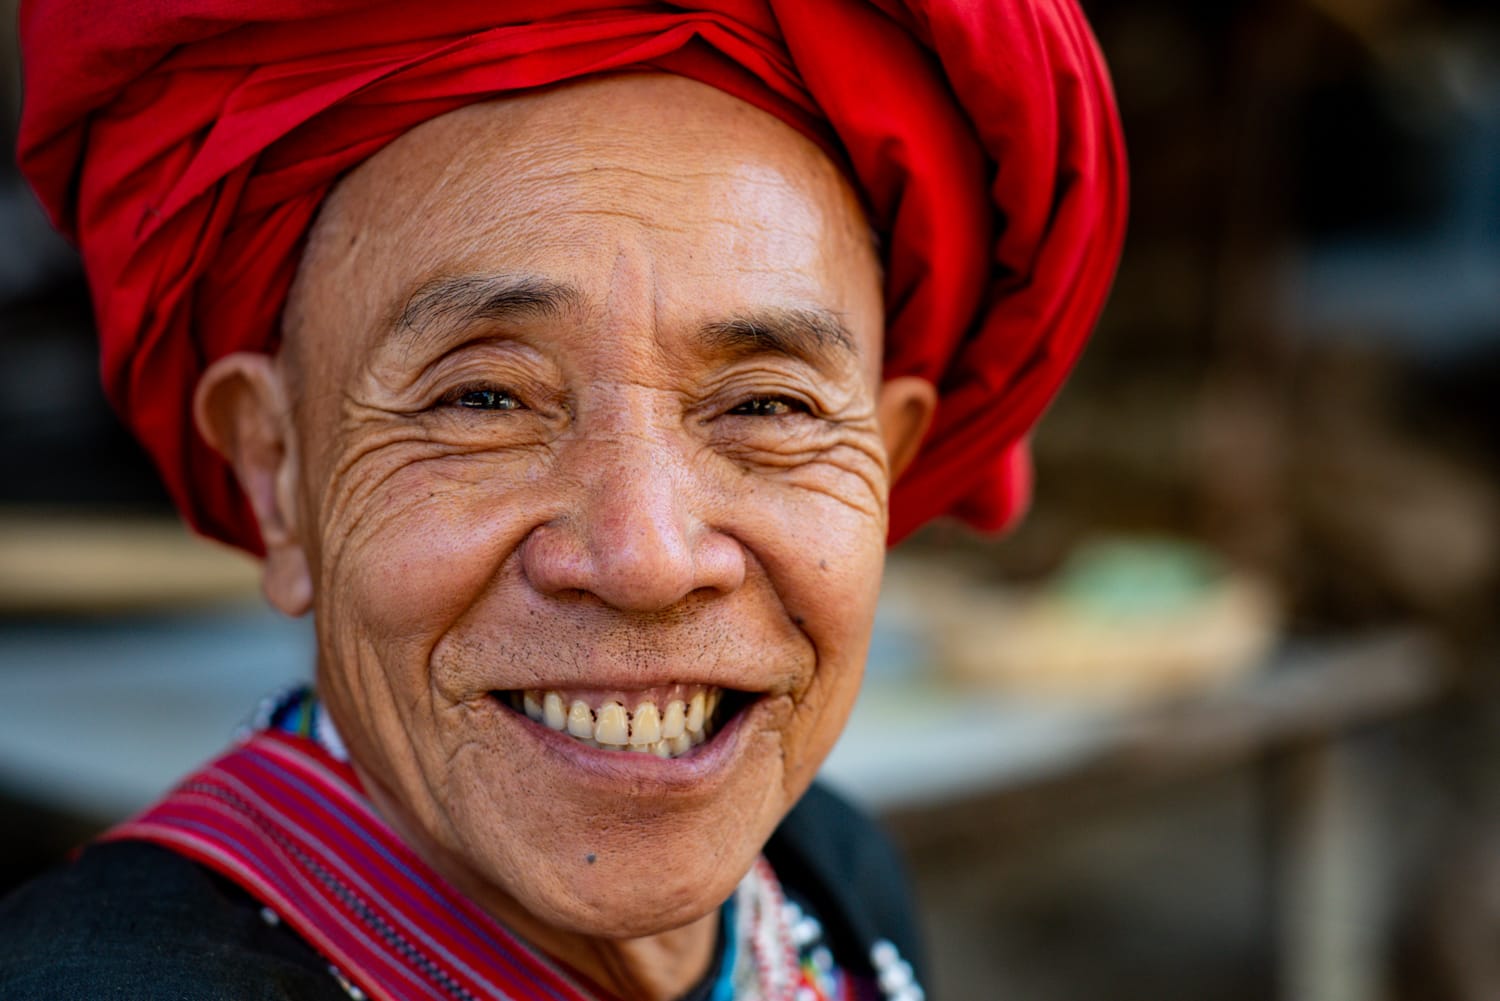
ISO has no creative influence on a photograph. When the ISO is set low technical quality is higher. With high ISO settings you will lose quality. For this reason it’s a good idea to keep your ISO as low as possible. With modern, higher quality sensors the loss of quality is not so great, but it is still evident. This makes a good foundation for your exposure and means you only need to concentrate on your aperture and shutter speed.
Changing your ISO only needs to happen when there’s a significant change in the lighting conditions [2]. If you’ve been taking pictures outdoors on a sunny day and go inside you’ll need to increase your ISO. This is because there is less available light.
I generally have my ISO set on 400 when I am photographing in natural light [3]. This gives me some flexibility with my aperture and shutter speed and maintains high technical quality. If your ISO is set too low you may find your shutter speeds are too slow when the light is low.
© Kevin Landwer-Johan
Control Movement with Your Shutter Speed
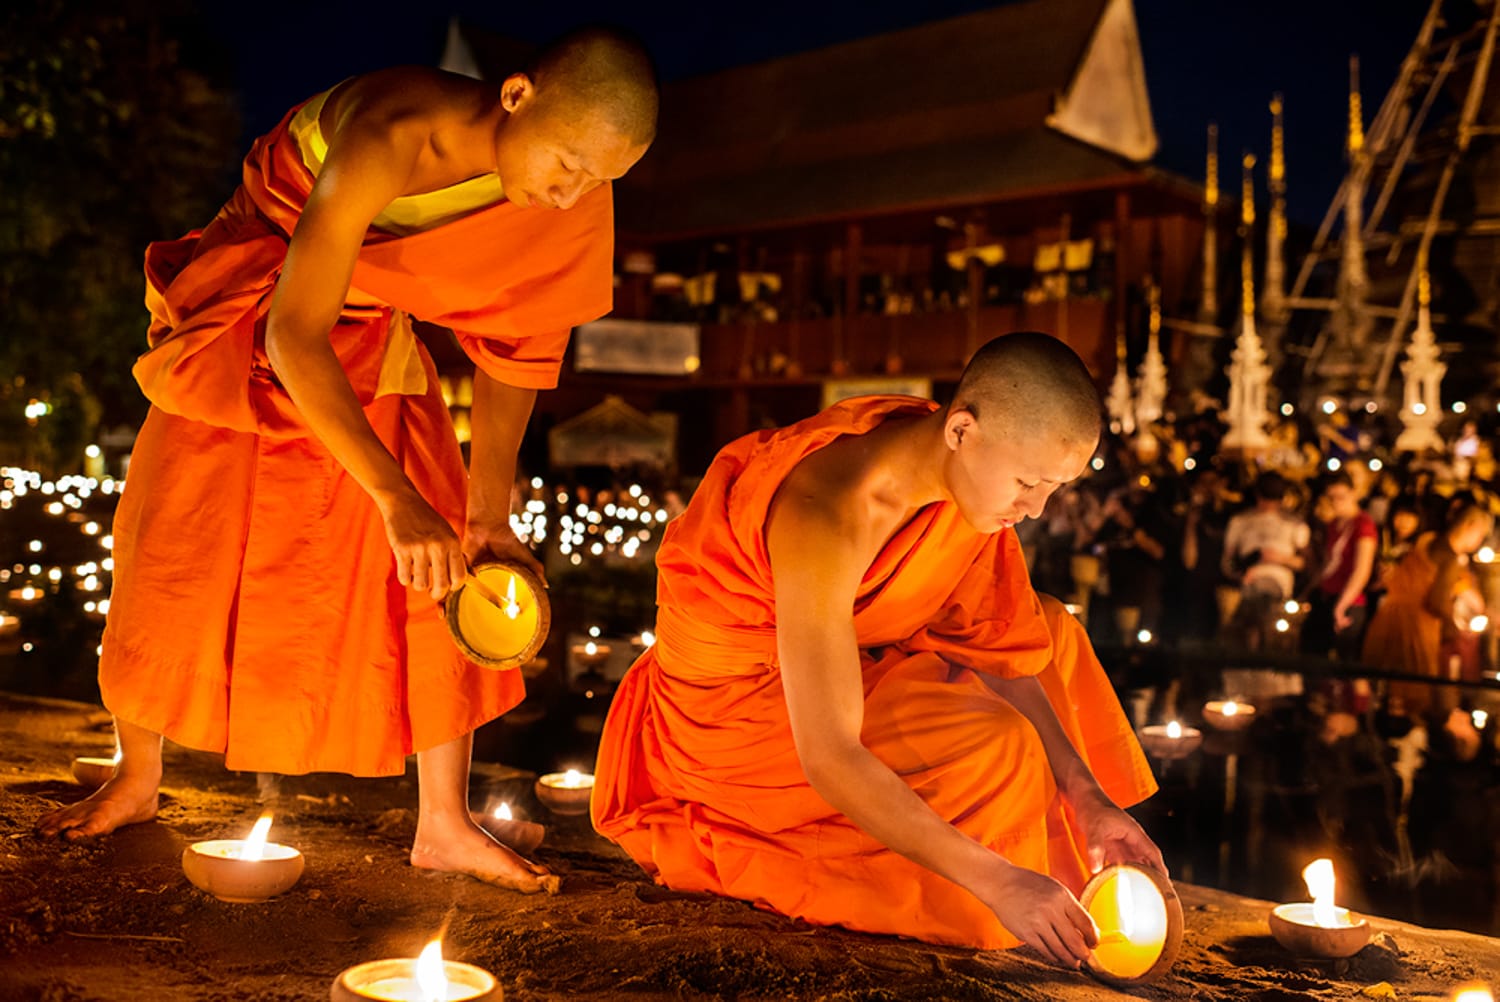
Your shutter speed has the potential to affect both creative and technical aspects of your photographs.
If you use a shutter speed that’s too slow you are likely to make blurry photos when your camera moves during the exposure. The combination of moving subject and slow shutter speed will also cause your subject to blur. This is fine if your camera does not move while you are taking your photos. A good tripod helps.
To enable you to use a fast enough shutter speed, choose a wider aperture setting, a lower f-stop value. You could also choose a higher ISO. Most often a wider aperture is preferable as image quality will not be compromised.
Capturing motion blur [4] in your photos can be an interesting effect which conveys a sense of the movement. To achieve this you’ll need to use a narrow aperture setting, which allows less light to enter your camera. In turn, you’ll be able to leave your shutter open longer for a correct exposure.
To freeze action you will need to choose a fast enough shutter speed. How fast depends on the speed your subject is moving. The faster the movement the faster your shutter speed will need to be. The faster your shutter, the wider your aperture will need to be to balance your exposure [5].
© Kevin Landwer-Johan
Manage Depth of Field with Your Aperture Setting
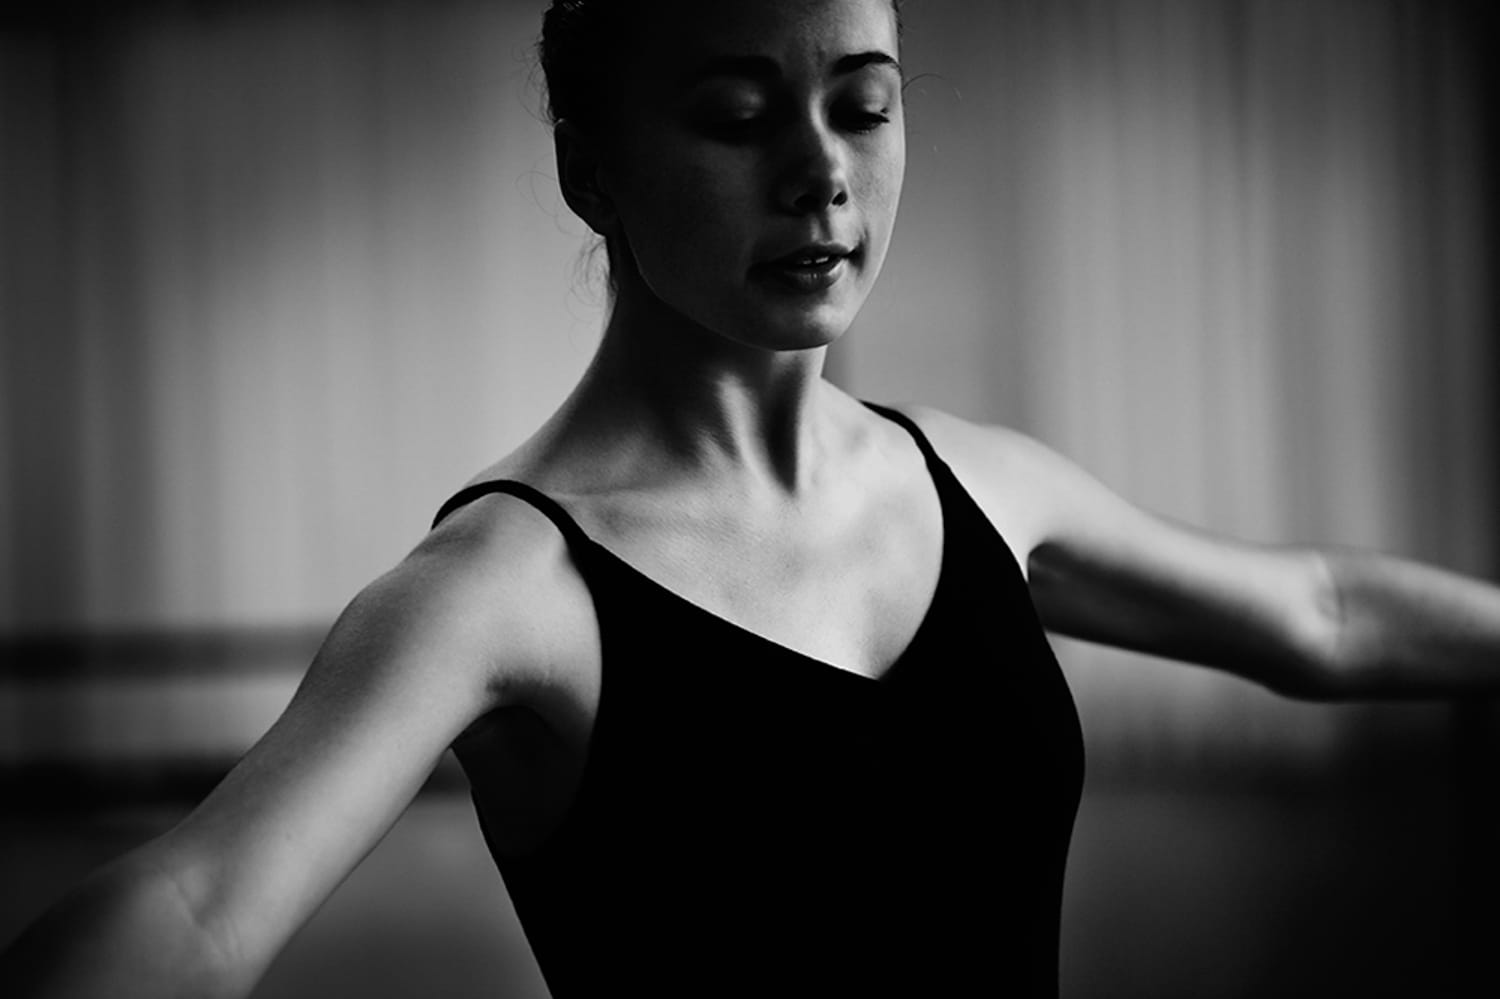
Aperture setting is commonly used to have a creative influence on the look and feel of photographs. By choosing a wide enough aperture the background can be rendered out of focus. In the right circumstances your main subject will be isolated.
Using a wide aperture will require you to use a fast enough shutter speed to compensate. A wide aperture setting allows for a high volume of light to enter the lens. A shorter exposure, using a faster shutter speed, will result in a well-exposed photo.
The wider aperture setting you can choose the less light you can photograph in before you need to alter your ISO. Prime lenses have wider maximum apertures than zoom lenses. A standard prime will have a widest aperture setting of f/1.8 or f/1.4. This allows two to three times more light through than most kit lenses. So when the light is low you have more options.
The biggest challenge photographing with very wide aperture settings is maintaining sharp focus. Because the DOF is shallow when you use a wide aperture setting it’s vital to focus in the right spot. Otherwise your pictures will not be sharp where they need to be.

© Kevin Landwer-Johan
What Settings Should I Use?
Of course I cannot tell you this because every situation we take photos in is different. However, I can make some suggestions as to where to start and how to proceed towards balancing your exposure triangle settings.
When photographing outdoors in the daytime:
- Set your ISO at 400,
- Your aperture at f/5.6 or f/8
- Balance your exposure with your shutter speed setting.
From here consider if your shutter speed it fast enough to avoid blur from camera shake. If you think it’s too slow you can open your aperture wider, (to a smaller f-stop number,) or choose a higher ISO.
Next you can consider if you want to blur your background or your subject, if it’s moving.
© Kevin Landwer-Johan
When you’re photographing in very bright light it can sometimes be challenging to achieve a blurred background or subject. In bright light ISO needs to be low. Shutter speed needs to be reasonably fast. However, aperture may not be able to be too wide in order to achieve a good exposure.
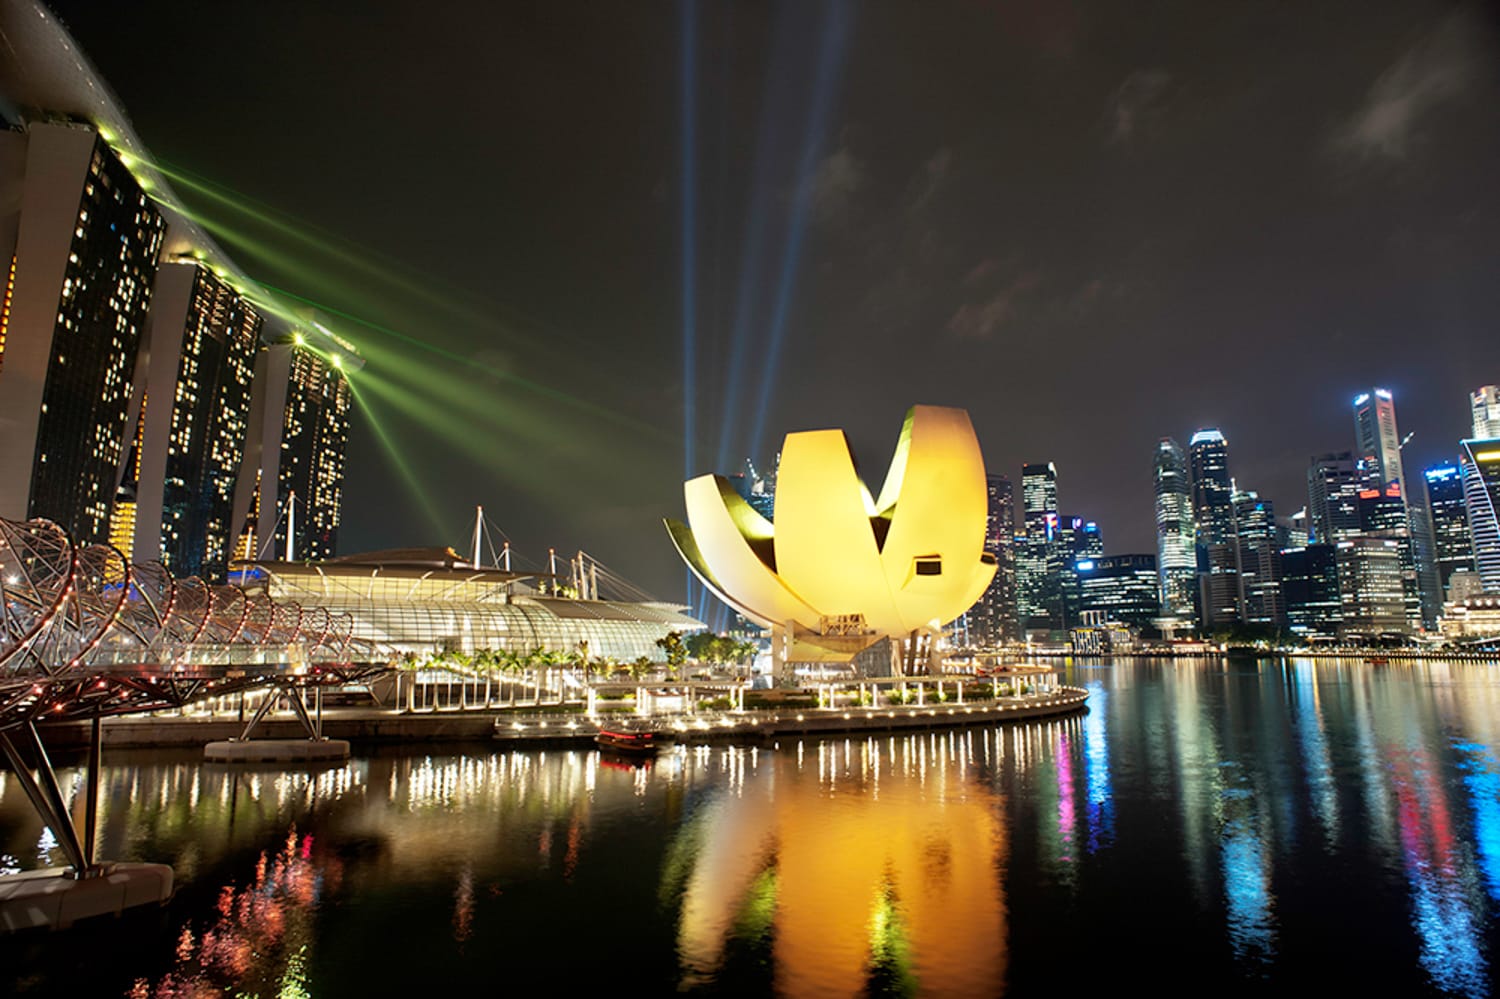
In low light situations, like at night, it can be challenging to obtain a good exposure [6] and maintain a fast enough shutter speed. Using a tripod when the light is low is the best way to avoid blurring from camera shake.
© Kevin Landwer-Johan
Remember the Exposure Triangle Relationship
Learn it, remember it, practice it. Once you have, you will be able to balance your exposures efficiently. You will also have a better understanding of creative motion blur and DOF.
Remembering to think of each of the exposure triangle settings in relation to the other two will be challenging at first. As you put it into practice, especially when you are setting your exposure manually, you will learn it well.