How to Avoid Some of the Most Common Shutter Speed Mistakes

An integral part of exposure, shutter speed is easy to get wrong. While its counterparts – ISO and aperture – can be trickier, you’ll be surprised at how many opportunities there are to screw up shutter speed during a shot.
What you have on your side, however, is that there aren’t as many factors in play with shutter speed, thus evening things out a bit. Shutter speed is normally used to control exposure, yet it also has a role when it comes to freezing the action in a shot or incorporating some dramatic blur to objects in motion.
It is one of the hardest things to get right in a shot, though. Watch out for these common shutter speed mistakes!
Shots That Are too Blurry
When your shots are excessively blurry, you made a mistake, but, fortunately, it’s quite easy to trace the reason behind the blurriness. Usually, it comes down to one of two reasons.
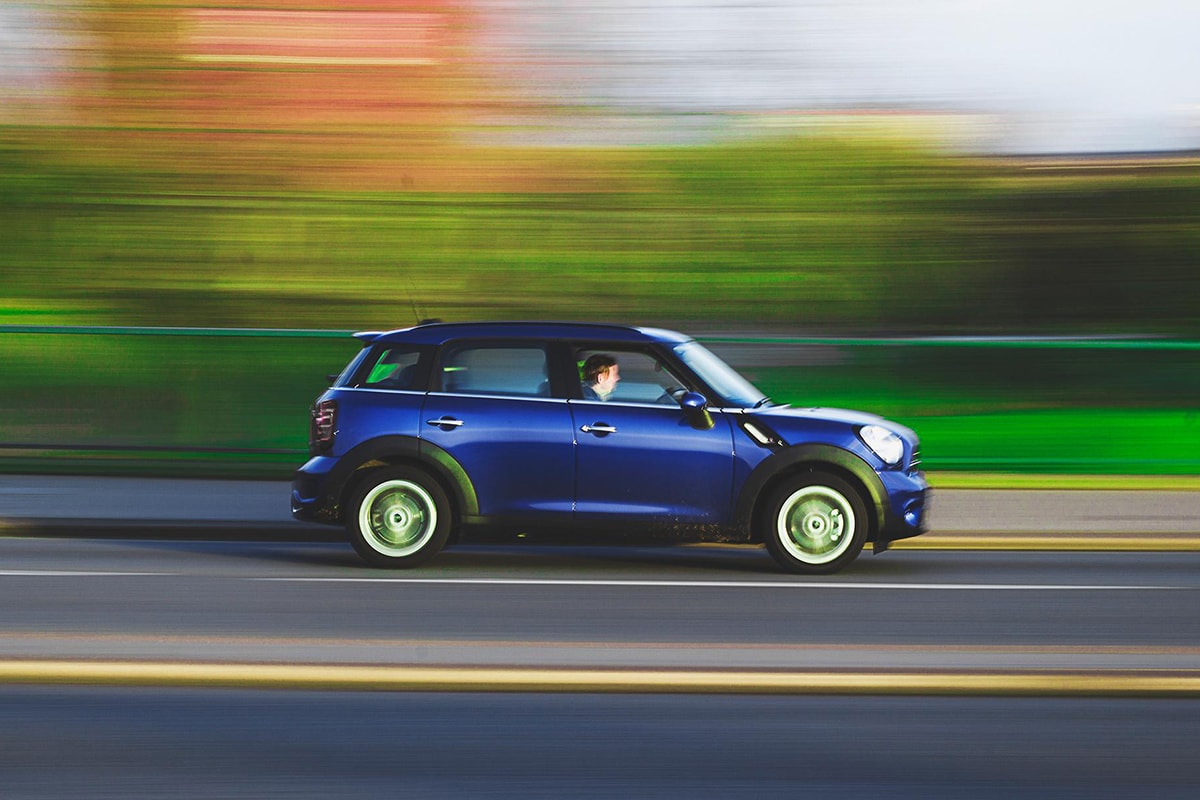
You either had a subject that simply moved too fast for your camera, or you didn’t succeed at getting your subject in focus. If the blurriness comes from the movement of your subject, then you can address this by using a faster shutter speed. That makes sense!
It helps a lot to know various, recommended shutter speeds for different moving objects. For example, if you’re shooting a moving car, a shutter speed of 1/1000th of a second may work well. If you’re photography someone walking, 1/250th of a second would work quite well.

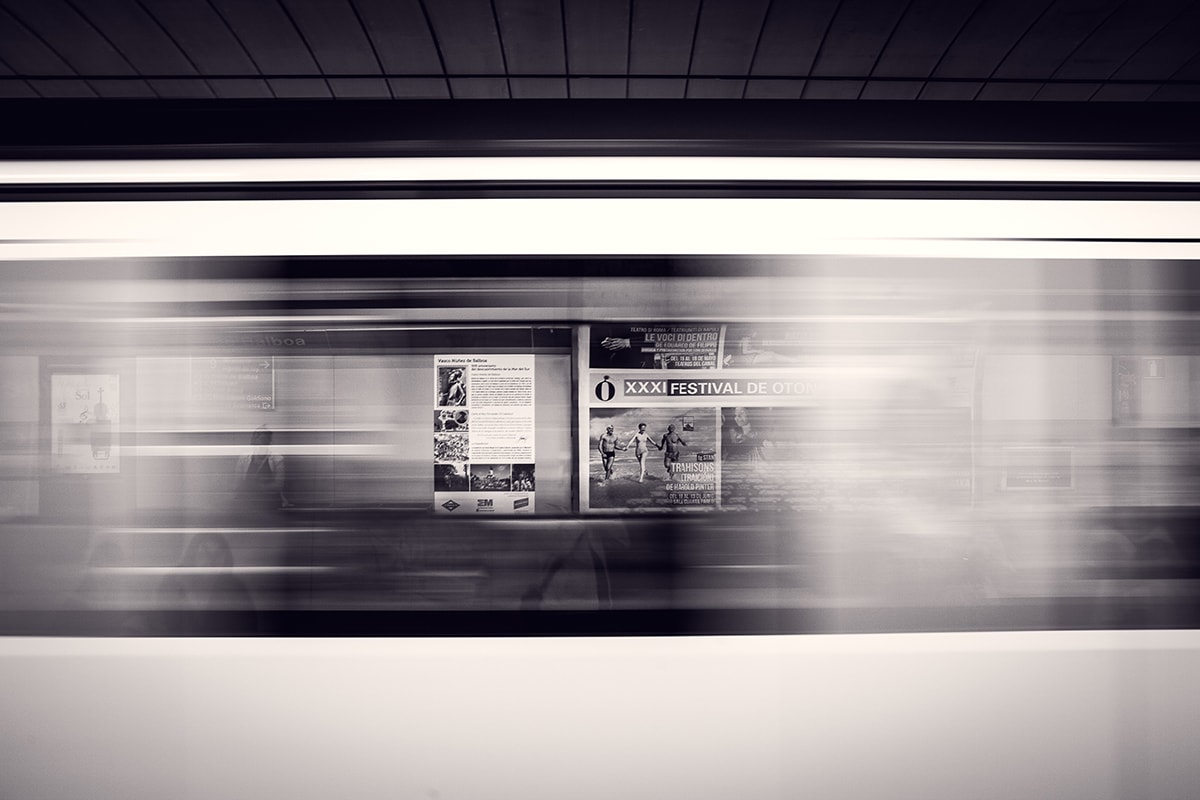
Images That Are Frozen
If your image seems excessively still, then that’s a problem. For example, you may want to convey the idea that your subject was moving when you took the shot – i.e.: having your subject perfectly in focus while the background shows motion blur. While all images are obviously stills, a good clue that you used the wrong shutter speed is when your picture looks like it’s frozen in time.
Remember that faster shutter speeds will freeze motion more effectively. The speed of your subject dictates the specific degree of frozen movement. Naturally, if you’d like images that are less frozen, you need to bring down the shutter speed. If you want to use a really fast shutter speed, it’s usually only good for already fast-moving subjects like racing cars, sprinters and other action-heavy subjects.
Sometimes, of course, you’ll want to use a frozen shot, but there’s a technique you can use to prevent it from becoming too frozen. Use a panning shot instead, where you follow the subject with your camera while using a normal shutter speed—this will cause blurring in the background and make your subject seem frozen.
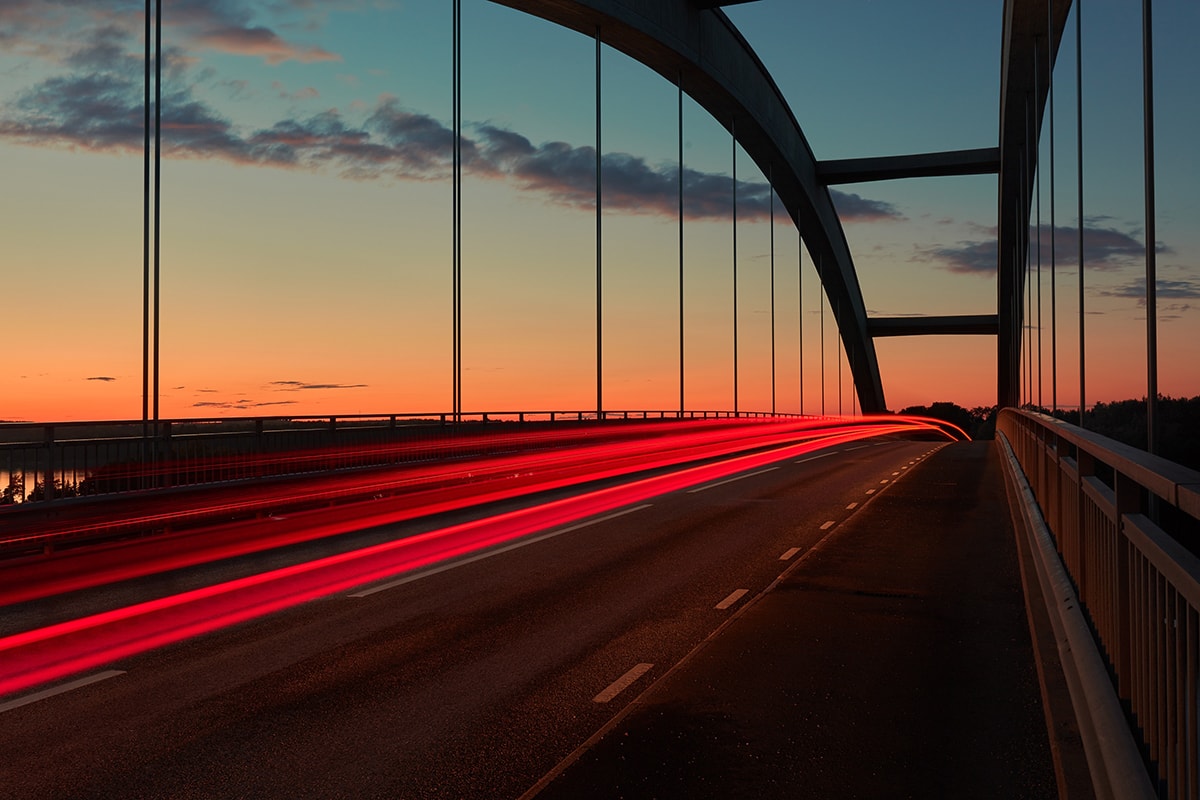
Insufficient Movement
This is why shutter speed and getting it right can be so tricky: often, the opposite extreme happens, too, such as when there’s too little movement in a shot. You can tell if there’s inadequate movement if there’s not enough blurring in your photo.
Ideally, we should aim for perfect blur that’s not excessive or insufficient. Getting to this happy medium can be challenging, at first. Essentially, you’ll need to use a slower shutter speed to stop your shot from looking too static. Attempt to change your speed in smaller steps to still get the subject to stay sharp.
Over-Exposed Images
Hopefully, you’re beginning to see why working with shutter speed can lead to so many mistakes. When you change one aspect of it, you sometimes affect another part of it, which means additional adjustments.
Such is the case when your images turn out over-exposed. If you are using a slower shutter speed, if you’re trying to deal with insufficient movement, you might open yourself up to another problem.
You see, when you’re using a slower shutter speed, you’re really exposing your camera’s sensor to the light for a longer period of time. As a result, you’ll usually get a brighter picture. If it gets too bright, then you’ve got an over-exposed image. Over-exposed images are typically hard to recover because they’ve been blown out too much.
Naturally, the best way to deal with this is to raise your shutter speed to let in less light. Other ways of fixing over-exposed images include lowering your ISO, reducing the aperture, and playing around with the metering mode. However, your easiest bet will be to simply increase your shutter speed a little bit. A faster shutter speed means less time for the light to enter the lens and hit your camera’s sensor.
Of course, at times, you can’t really avoid going with a slower shutter speed because you’re doing certain kinds of photography where that’s necessary. Examples include low-light photography, whether that’s taking pictures of the night sky or just shooting in the dark.
There’s a Bit of Black in Your Picture
There’s one circumstance when using flash and shutters don’t work well together. That’s when you’re relying on a shutter speed that’s too fast. In such situations, you’ll get pictures with a noticeable portion of unwanted black in them.
Look at the way shutters work to understand this a bit better. Shutters are really a bottom and top “curtain.” When you take a shot, the top curtain opens up to expose the sensor; when the shutter duration is finished, the bottom curtain then closes after it. If the speed is excessive, however, the bottom curtain begins to close before the top one is finished closing.
If you’re using flash, as a result, the flash doesn’t reach the whole sensor – and that’s why you get blacked-out images with a shutter speed that’s too fast.
Sure, you can use flash with shutters, but make sure that you’re following your camera’s high-speed or flash sync feature, which many mid- and upper-tier DSLRs come with these days. This feature lets you know the fastest shutter speed you can still properly use with your flash (often in the 1/180th to 1/250th of a second range). If your camera doesn’t have this feature, there’s no other choice but to experiment with slower shutter speeds.

Don’t Let It Become Your Achilles’ Heel
Shutter speed mistakes are so easy to make that you could be thinking that it could become your proverbial Achilles’ Heel. After all, there’s so much to remember to make sure that your shutter speed works complimentarily with your aim. Make sure you read our guide on the Exposure Triangle to better understand how ISO, Aperture and Shutter Speed all play together.
The good news is that shutter speed mistakes are generally easy to correct. Getting around these mistakes usually requires only a little bit of extra foresight and wherewithal, and the adjustments are simply based on using the right shutter speed for the type of photography that you’re doing.
About the Author: Marc Schenker
 Marc is a copywriter and content marketer who covered photography. These days, he runs The Glorious Company, a content marketing agency.