How to Take the Best Night Sky Photographs
 by
Erik Winther
by
Erik Winther

Night sky photos can be absolutely breathtaking. And with new and powerful cameras anyone can do it. That being, night sky photography can still present some challenges, especially for beginners. If you are considering taking night sky photos, here are the things you should consider.
The Right Equipment
You can take stunning night sky photos using just a professional photo camera. For best results, you can also invest in a fisheye lens, to capture as much of the sky as possible. This type of lens also adds a curving effect to the final image, which works well with night sky photos, as it can really capture the sense of awe it can inspire. If you do not have a professional camera, or a very powerful camera, or you just want to capture a higher level of detail, you can also use a telescope. Even a cheap Celestron telescope is enough to do the trick. You will also have to purchase an adaptor ring to mount it one your camera. Make sure everything is compatible, as newer adaptor rings might not work for older cameras.
Using a telescope is recommended if you want to take closer shots of specific celestial bodies. Moon photos look much more impressive through a telescope, as you can take some pretty dramatic close-ups. The only downside here is that you will have to adjust both your camera and your telescope manually. You can switch to the live-view mode, available on most DSLR cameras to see exactly what the camera “sees” through the telescope.
Night sky photos can be less demanding than proper astrophotographs, though there are a few tricks that makes taking astrophotographs easy as well. For these types of photos, buying a powerful camera and telescope is not optional. Set up is also more rigorous. But once you learn the basics of night sky photography, you can move on to the next challenge.
Choosing the Location

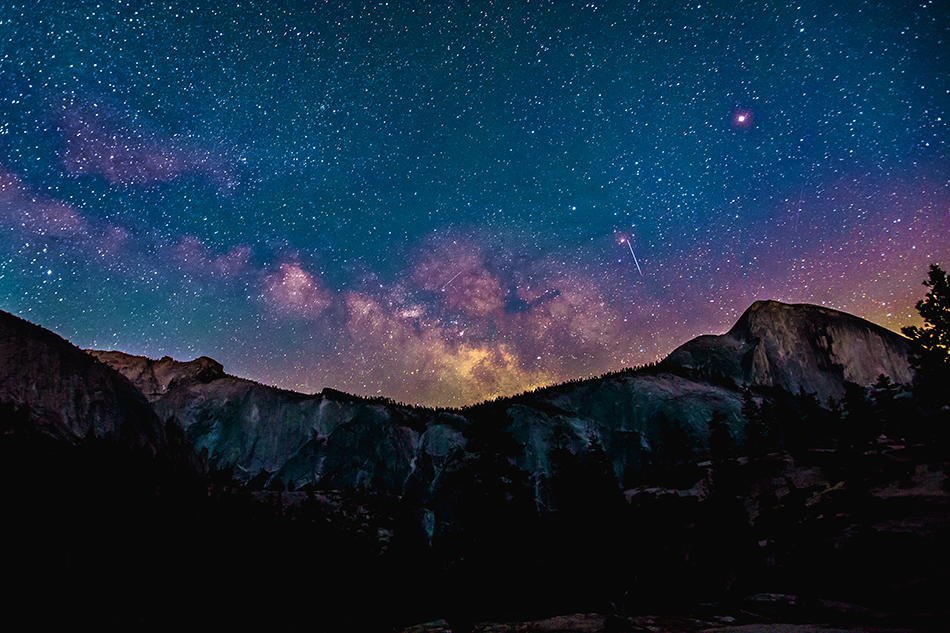
Obviously, light pollution can be a major issue when it comes to night sky photos. Part of the reason why these photos are so impressive is because we rarely get to see the stars and the moon in all their glory when living in the city.
That’s why ideally you should be at least 50 miles away from any town when taking these pictures. At that distance, you’re more or less sure to have no light pollution. Air pollution can also be a factor, so you should steer clear of any large factories or other industrial operations. Even though they may not give off any light, smoke and gases can cloud the sky and obscure the subject.
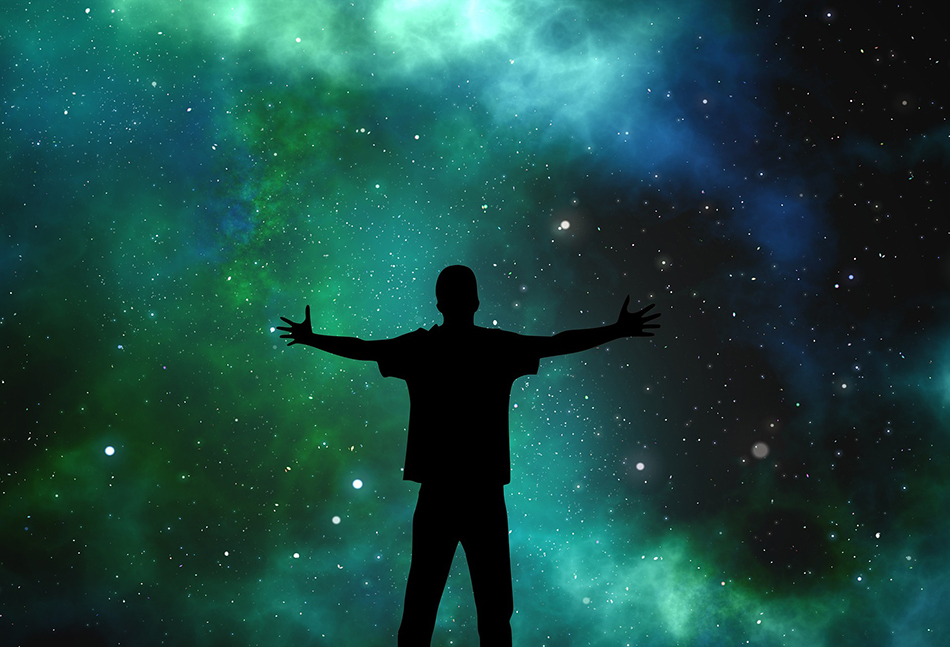
In terms of composition, there is really no formula that works better the another. Some photographers may choose to focus exclusively on the sky. Occasionally, there are rare astronomic events you may want to document. Other photographers like to include some human element in their frame, or a body of water that reflects the sky. The more you experiment, the more you’ll come to get a feel for what works best.
The Best Time to Shoot
When it comes to timing your sessions, there are a number of things you have to consider. First, there is of course weather. You need the sky to be as clear as possible. Depending on the weather report you follow, that usually means that a partly cloudy forecast is a sign that you should wait for a better opportunity.
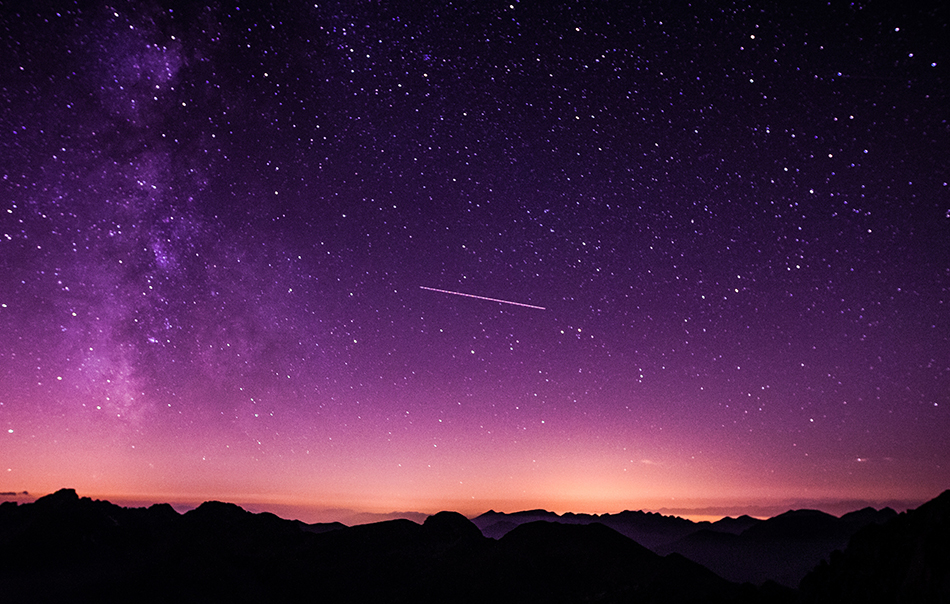
When it comes to choosing the right season to shoot, this can depend a lot on your location. The visibility of certain astronomical events depends on the position of our planet relative to the stars. For example, the Perseids meteor showers is visible between July to late August, but mostly in the Northern Hemisphere. And the peak of the shower depends a lot on where in the Northern Hemisphere you are. In 2017 the Perseids will peak between August 9-13.
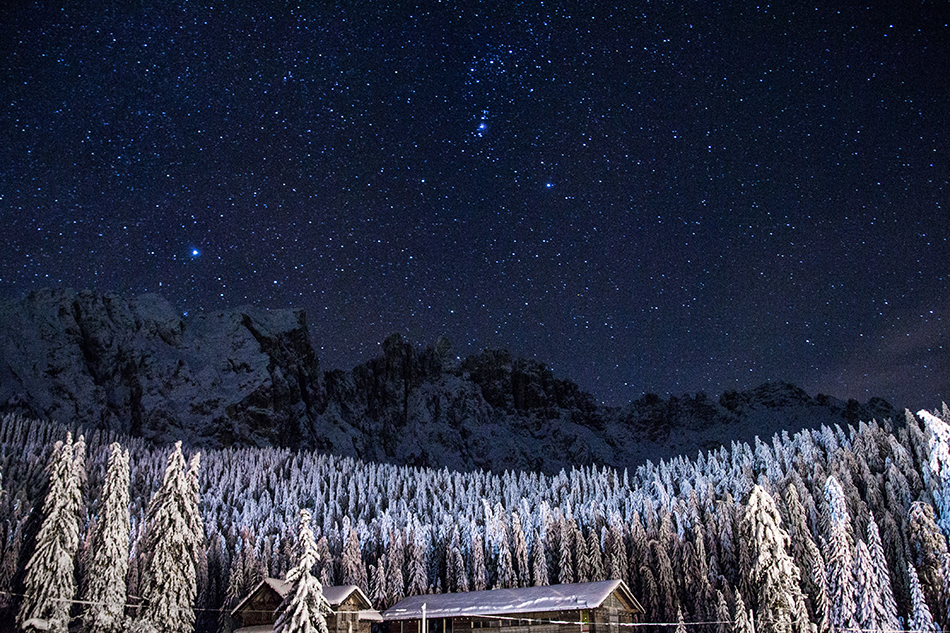
Photographers tend to prefer shooting from early summer to October. During this period, nights are warm and generally clear. Winter is somewhat tricky, since the sky is often clouded, and only clears up for short periods of time. But you can get a much better visibility through the cold atmosphere. Shooting in winter comes with its own challenges.
The phases of the moon can also influence the outcome of your photo sessions. If the moon is not your subject, than it is best to avoid nights with a full moon, as its light can obscure the other, less bright celestial bodies.
Setting Up Your Camera
With newer, more powerful cameras, you can take clear pictures of the stars in as little as 25 seconds. Still, you should mount your camera on a tripod, as 25 seconds is a pretty long time to stand perfectly still with a camera in hand, especially if you’ve mounted a telescope on it.
When it comes to settings, you should take a look back at your equipment. The wider the fisheye lens, the more light comes through the camera. That means you’ll have to spend less time capturing the photo. However, the widest fisheye aperture is just f/2.8, so you’ll still need some more adjustments, to get the clarity right. On powerful DSLR cameras, you can raise the ISO value to about 2000 before seeing noise. The ISO settings determine the camera’s sensitivity to light. The higher the value, the more light your camera sensor captures. Some photographers actually find this noise quite a nice effect, but if you want to take a crystal clear picture, this is the value you should stop at. You can also use photo editing software to remove the effect afterwards.
You should consider adjusting the ISO and shutter speed in tandem. The longer the shutter stays open, the more light comes through the camera, naturally. Before you attempt to adjust the brightness of your image through ISO settings, you should first attempt to get it done through shutter speed alone. Typically, for night sky photos, the shutter speed should be around 10 to 40 seconds, depending on how bright your subject is.
Hopefully, these tips will help you see that night sky photography is much easier than it may first appear to be. Arguably, the most important tool at your disposal is patience. Patience to find the perfect locations, the right settings and the best compositions. And most importantly, the patience to experiment.
About the Author: Erik Winther
Born in California, Erik Winther had the chance to admire some of the most beautiful landscapes in the world. He became interested in photography and astronomy at an early age. Erik has a degree in Video Production and works on getting his work out there. You can follow him on Twitter.