How To Capture Astrophotographs Like It’s The Easiest Thing Ever

Every time you looked into a telescope, didn’t you wish that you would be able to capture the beautiful scene before you in photo? This is probably what space photographers were thinking the first time they took hold of their cameras and shot a photo of the outer space.
What is Space Photography?
Space photography (also know as outer space photography and astrophotography) is not really just about taking photos of what lies in outer space. Generally speaking, it pertains to photography that focuses on landscapes in the sky. Photos of stars, the vast sky and the moon are just some examples. Basically, it is all about capturing the natural beauty of the universe or anything that is not on Earth.
Most photographers call space photography as astrophotography. However, you do not need to ride a spaceship to take good astro photos.
While it’s true that you cannot do astrophotography with just basic equipment, you don’t really need to have expensive, state-of-the-art photography gadgets. There are simple equipment that you can buy or rent, or make on your own.
Astrophotography Recommended Gear
Here is a list of equipment that you will need to get before you embark on your first astrophotography journey.
- You will need a good full-frame DSLR camera. Unknown to many, a full-frame DSLR camera is perfect for space photography, and it is primarily because of its low light capabilities. Great choices would be the Canon 6D, the Canon 5D Mark II or the Mark III. If you have the money to splurge, get the Canon 5Ds or the Canon 5Ds R. If you’re with team Nikon, the D610 and D810 are both good choices, but for best results the Nikon D810A is the camera body to get as it’s aimed specifically at astrophotographers.
- Be sure to also use good and reliable lenses that have large apertures. When shooting, it would be best to work with an ultra wide-angle lens, such as the 16mm or 17mm for full-frame and 10mm for crop sensor. A 24mm full-frame lens might not be enough for most tasks.
- When you want a closer look at the sky, or the universe, you peep into a telescope. And a telescope has to be steady in order to give you a good image. Therefore, your DSLR should also be on a tripod if you want to take steady shots. If you want great astro photos, you need to have a solid platform. If possible, use a tripod that is intended for video shoots.
Types of Space Photography
Now that you have your equipment and gadgets ready, it’s time to decide which type of space photography to go for. You can choose from the following:
- Astrophotography focusing on the solar system: Photos of the moon, the sun and the entire solar system. Telephoto lenses are perfect for this (200mm to 400mm). If you have the budget, go for an even longer telephoto lens, such as 800mm or 1200mm.
- Astrophotography that goes beyond the solar system: The type of photos taken when you are inside the Hubble Space Shuttle. Photos of galaxies are the most popular. This is the most difficult and expensive form of astrophotography.
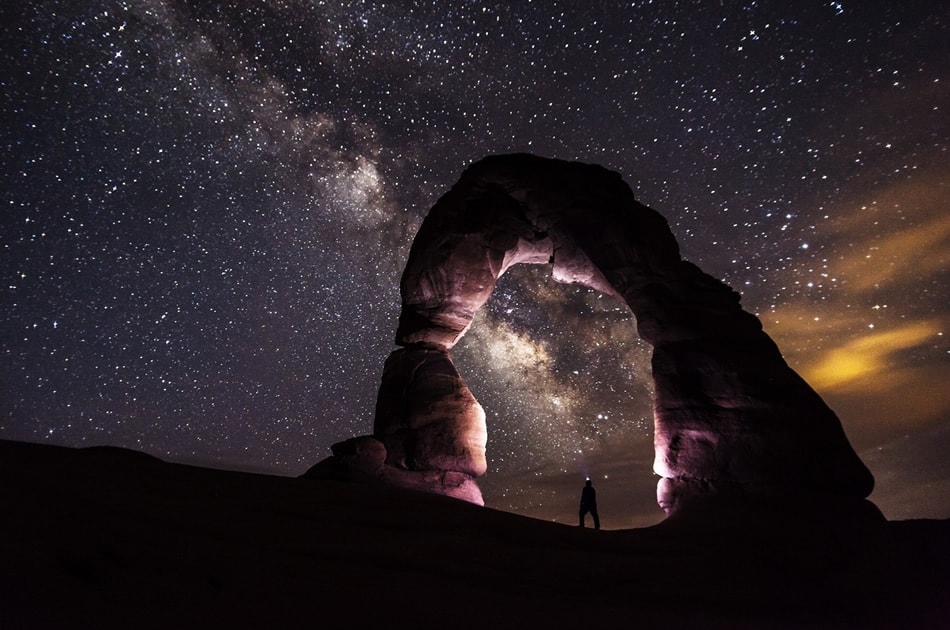
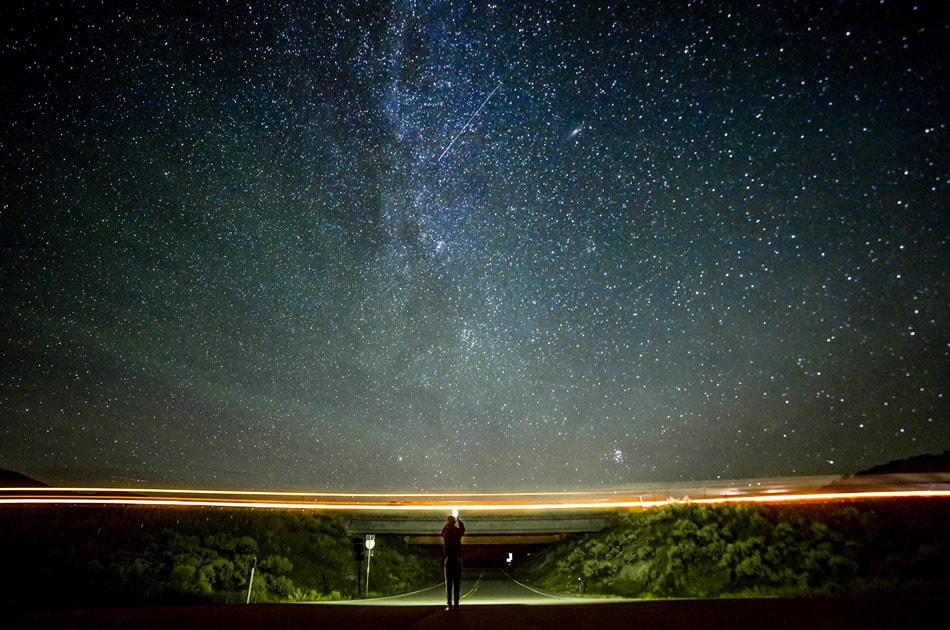
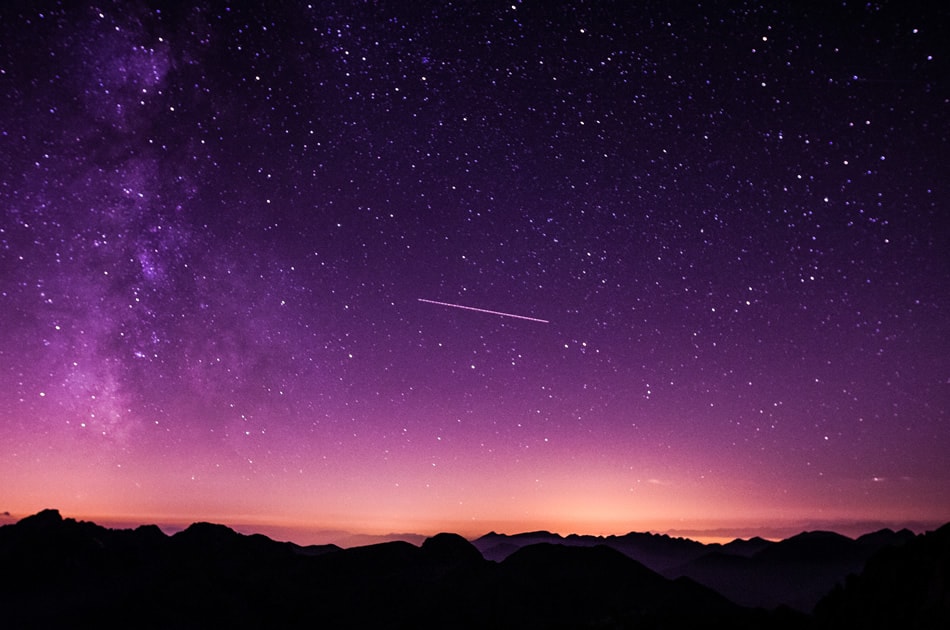
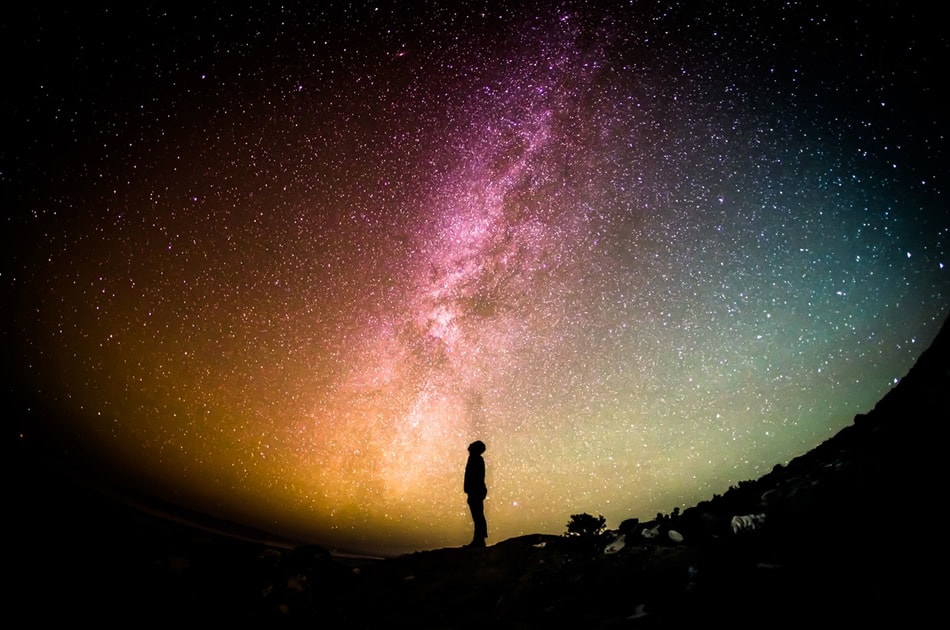
- Wide-Angle Astrophotography: This is all about taking photos with a wide-angle lens. It’s like taking a photo of the sky’s landscape. This is the most popular for of astrophotography.
- Time-Lapse form: Photos are also wide-angled, but the number of exposures taken over a time period is multiplied. These exposures are then combined to create different frames that produce a time-lapse effect. If you’re just starting out, your best option is to do wide-angle astrophotography.
Tips and Tricks
Now that all your equipment is ready and you know which type to focus on, you’re ready for some simple but useful tips and tricks.
- When you choose the area or spot where you intend to take the photo, be sure that you pick one that is almost totally dark. No bright city lights or neon signs. If you position yourself in an area with a lot of lights, there is a tendency that your subject, like the stars, will be covered and become less visible.
- Before shooting, determine your DSLR’s ISO settings. If you want good photos, set it to a medium one. You can go for an ISO of 800, which is fairly common in astrophotography. But, take a test shot using several ISOs before deciding which one works best for you.
- If you want to avoid creating a star trail (the stars movements when the Earth rotates), you need to follow the Rule of 600: you can get this by dividing your focal length of your lens with 600 (on full-frame, try 400 on a crop sensor camera). The result is the length of time that your shutter will be open and you will be able to capture the scene without getting a star trail.
- Always use the tripod to ensure steady shots. Practice taking a photo several times before settling to take the final ones. Move the tripod only when you are done shooting a particular image or scene. Using a tripod is also important because astrophotography is all about long exposures. Your tripod will help minimize and even eliminate vibration and unwanted camera movement.
- Before shooting, determine the framing of your image first. Look for an area or space in the sky that will give you a good composition. To determine whether the frame is good, take several test shots before shooting the final image.
- Your lens should be in manual focus, and set it as close as possible to infinity. Then look for the brightest subject (perhaps the brightest star?) and focus on it while making final adjustments. Again, take several test shots, as this will help you determine if the photo has the sharpness you want.
- As is the usual in any form of photography, make sure that you have a clear point of interest. If this is not clearly defined, people will find your astro photos boring. Find an image that can easily catch the attention of your viewers. It can be a silhouette of a big tree, a falling star or a constellation.
- Finally, take test shots to make sure that the horizon appears straight.
The World’s Best Astrophotographers
Here are some of the world’s best and well-known astrophotographers:
- Number one in the list, because of the kind of photos he takes, is Zoltan Levy. A lot of people are actually confused about his actual job description because, primarily, Levy is actually an astronomer. He works with photos that are taken by the Hubble Space Telescope. He edits them so that the photos are enhanced and shows what really is happening in space. So, technically, he may not really be a photographer, but he does an awesome job editing the photos.
- Justin Ng is number two in this list. Ng is a contributor of Space.com and his astrophotography works have been published on EarthSky. Ng is also one of the most famous photographers in the world.
- With his photos mainly taken in New Zealand, Mark Gee creates stunning images of skies and landscapes. His creativity is one of the reasons for his many awards.
- Astrophotographer Tommy Eliassen’s specialties are night sky and the auroras. His work has been featured in BBC, NBC, Fox, The Daily Mail, Huffington Post, The Telegraph and National Geographic.
- Finally, there is Brad Goldpaint, whose night sky photography is intended to inspire people. His unique artistry is a combination of his photographic skills and architecture background.
Space photography or astrophotography may not be as mainstream as portrait photography, but it is slowly making waves and creating a strong interest among amateur and professional photographers. Do you shoot the night sky? Please let us know on Twitter or Facebook.
About the Author: Michael Gabriel
 Michael Gabriel L. Sumastre is an experienced writer who loves to take pictures of the countryside as well as aerial photographs. He maintains his professional writing portfolio at TheFinestWriter, and you can visit his photography portfolio at Sumastre Photography. Michael was hired by Booking.com to photograph 10 of the most beautiful beaches in Palawan, Philippines.