How To Shoot Time Lapse Photography Like It’s The Easiest Thing Ever
 by
James Trent
by
James Trent

As you probably know, time lapse photography can be really cool. But did you know that it is also relatively easy to do? In this article/tutorial, you’re going to learn how to make time lapse videos from still photos.
But, before we dive in, let’s have a good look at what gear is usually required in order to capture a great time lapse:
- A camera and lens, and a sturdy tripod.
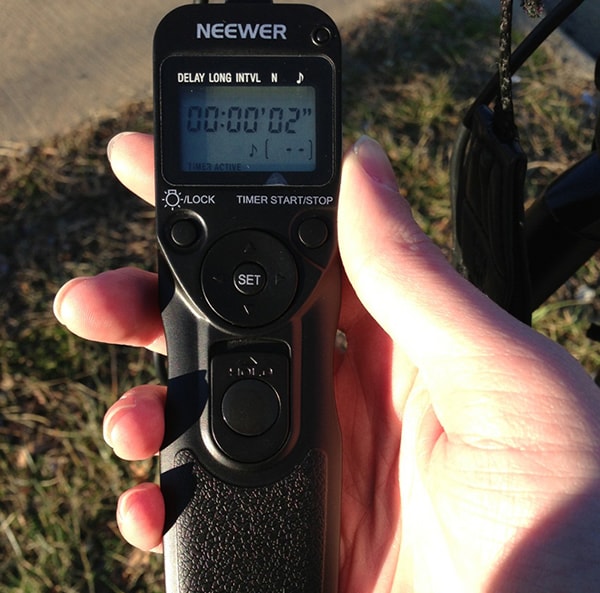
- An intervalometer. This nifty little device lets you take photos at specific intervals (say, every 5 seconds).
- I recommend this one. Make sure you get the right one for your camera. It lets you set delay (time before it starts shooting), interval (time in between shots), and length (how many shots). It offers amazing capability for the price.
- A version of Photoshop CS. I use CS6. You’ll need the File > Export > Render Video function. I think this goes back to CS4. You’ll also need Camera Raw, so Photoshop Elements won’t work.
- Apple Quicktime installed on your computer.
- A free program called LRTimelapse (optional). This applies anti-flicker filter to your sequence of images. This will make your time lapse look much better.
Assuming you already have a camera, lens, tripod, and Photoshop, you’ll only have to spend $15 or so for the intervalometer.
Once you’ve got your supplies, you can start!
Find a scene. Finding a suitable time lapse scene is tricky. You’ll want to show motion, so it should have some moving parts, like clouds or cars. You’ll have to crop it to 16:9 format later, so you can’t fill the frame. On top of all that, your scene should be interesting enough that it would make a decent still photo. Nothing kills a time lapse like a boring scene.
Just keep experimenting—you’ll get better each time.
Set up your camera. Set your focal length and exposure settings.
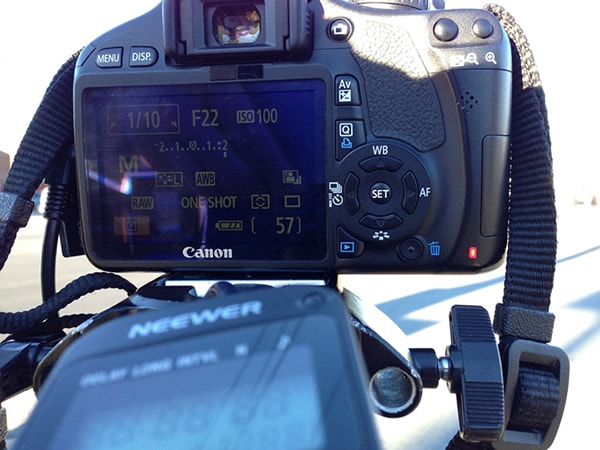
Connect the intervalometer. Plug it into your camera, then set it up. It takes a while to learn how to operate. Choose how often to take a photo—I recommend 1-2 seconds for fast-moving objects, like vehicles, and 5-10 seconds for slow-moving things like clouds. If you want to show the sun moving, I’ve found that 15-20 seconds is a good place to start.
The longer the interval, the faster your subjects will appear to move. Like step 1, experimentation is key.
Decide how long your video will be. If your end video will be 30 fps and 30 seconds long, then you’ll need to take 900 photos. (30 fps x 30 seconds = 900 frames). If you set it to take one photo every second, it will take 900 seconds (15 minutes) to shoot. Play around with these equations to see what works best. (Make sure you have your intervalometer’s shot limit set to infinity.) Of course, you can just shoot from the hip (pun intended) and see what happens.
Start the time lapse. Depending on how long you’re shooting, you might get bored waiting for it. If the weather is nice, I like to bring a chair and a book or something to keep me occupied. Don’t leave your camera unattended! But if someone does steal your camera, a time lapse could help you.
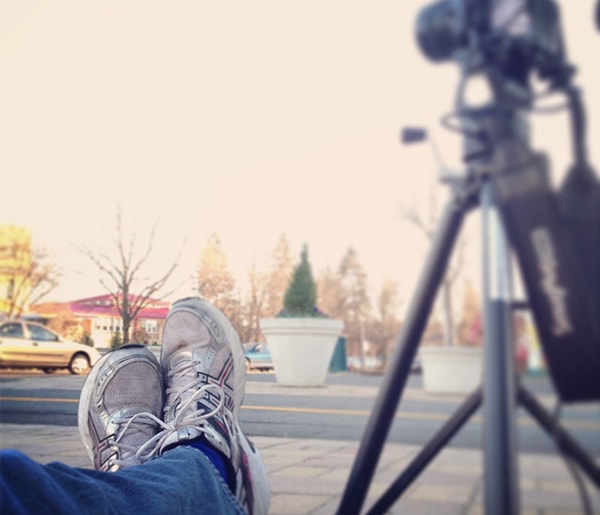
Pictured above: playing with Instagram as I wait for the time lapse :)
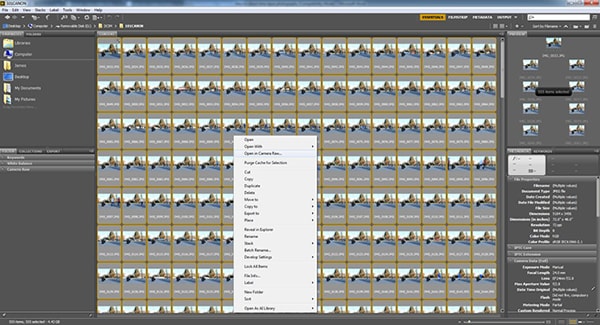
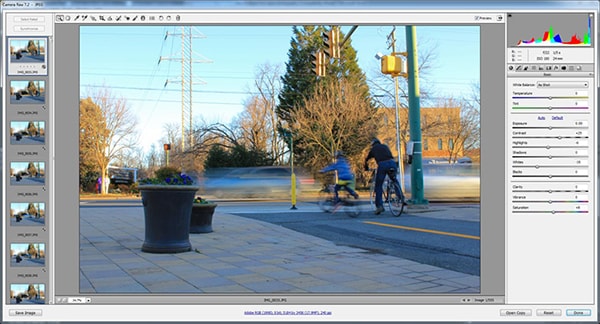
Once the camera is done shooting, it’s time to post-process. Transfer your images to your computer. (Note: if you have Lightroom, you can do a lot of this in that program. I’m describing it without using Lightroom.) Open all of them in Photoshop’s Camera Raw (if you shot JPEG, you have to do it via Bridge. Select the photos, right-click, and choose Open in Camera Raw).
Edit the first image. I usually fine-tune exposure, increase contrast and saturation, and apply lens corrections. When you’re satisfied, sync the changes with all your other images.
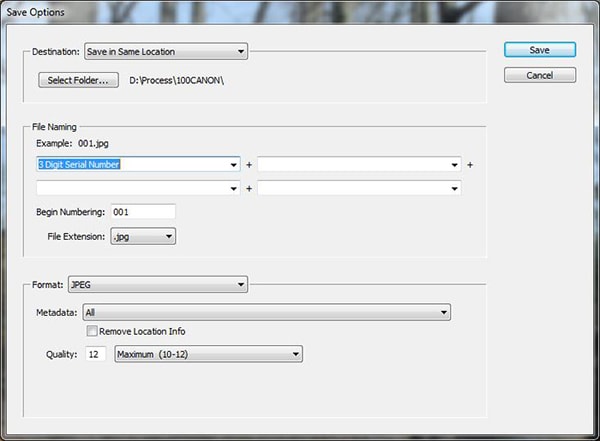
If you shot RAW, save them as JPEGs. (If you shot JPEG, skip this and go to step 8). Select them all and click “Save Images.” In the Save Images dialog, choose “3 digit serial number” for file naming (if you have over 1000 images, choose 4 Digit).
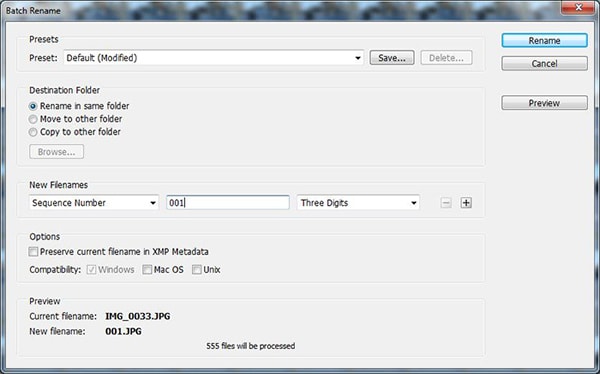
If you shot JPEG, simply choose “Done” to save your changes. However, you still need to rename them so that Photoshop will recognize them as a sequence. While in Bridge, go to Tools > Batch Rename. Rename them with “sequence number” starting at 001.
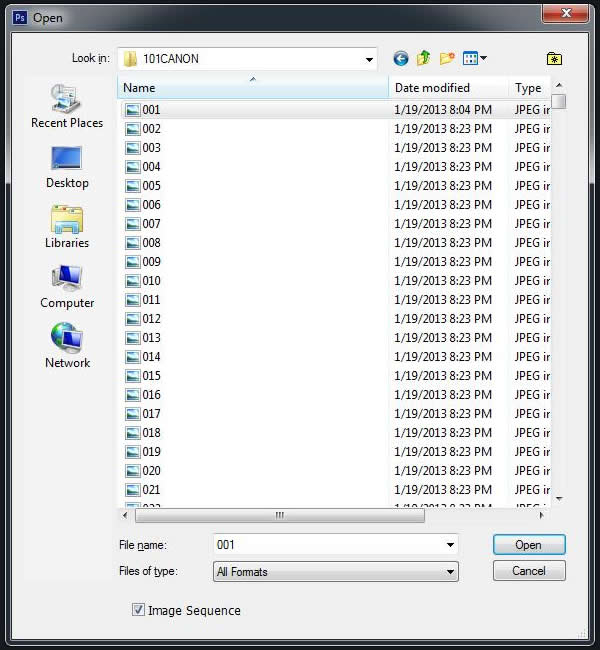
Now you have the JPEGs that will make up your time lapse. Now we just string them together into a video! Go to Photoshop, and choose File > Open. Navigate to your images folder. Select the first image. At the bottom of the dialog, check the box that says “Image Sequence.” If this box is grayed out, you didn’t select the serial number option in the last step. Then click open.
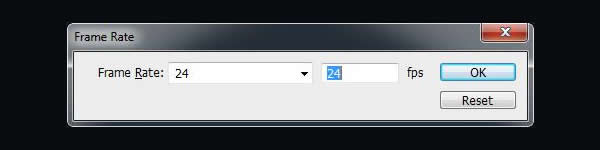
A dialog will appear, asking you to choose the frame rate. I always select either 24 or 30 fps—24 will look more like cinema or a TV show, while 30 will look like live TV. With time lapses, the higher the frame rate, the faster objects will move. Play around and see what you like.
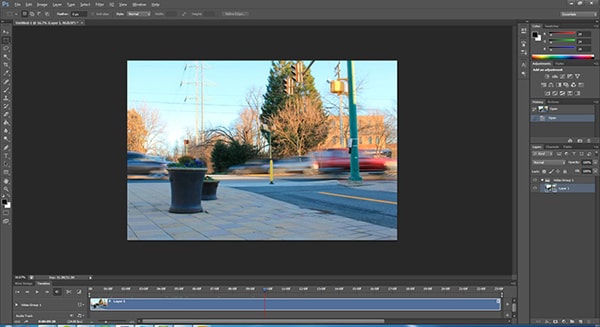
Once you choose the frame rate for the video, your time lapse will open. You’ll see what looks like a still image in Photoshop, but it’s actually a video layer.
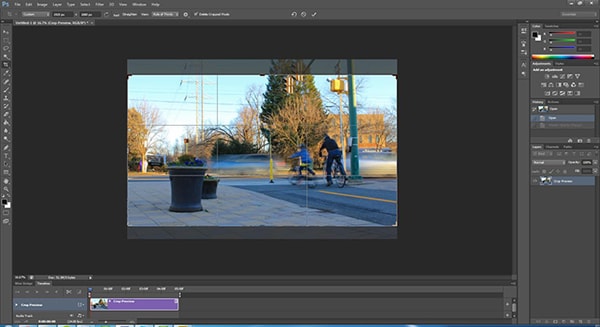
Choose the Crop tool (C). In the dimensions field, enter 1920px by 1080px. This is HD video. Fine-tune your composition, then press Enter to crop.
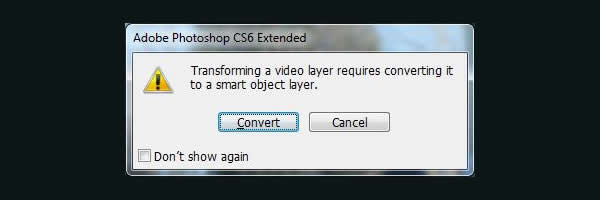
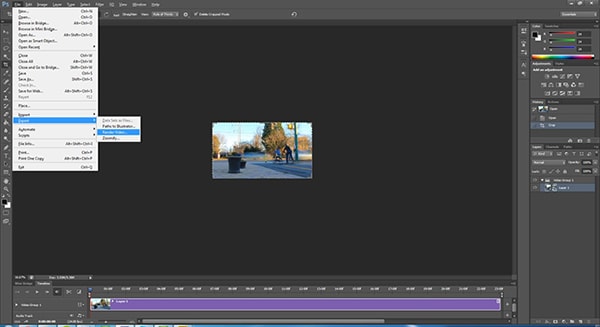
Choose Convert:
Choose File > Export > Render Video….
Name your file and choose your location. Choose Adobe Media Encoder from the dropdown. Select the following settings. (Keep your original frame rate – I used 24fps).
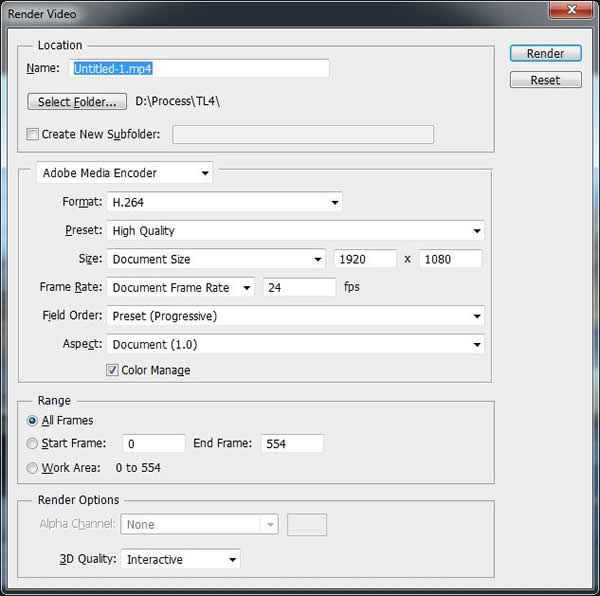
As usual, it’s good to experiment with the settings. When you’re ready, click Render.
That’s it! Depending on how fast your computer is, the video will take a while to render.
Now just sit back and enjoy your video. If you like, you can go open the images again in Photoshop and change the frame rate to make the motion faster or slower.
It’s taken me a long time to get used to doing time lapses. And there’s still so much of the time lapse world that I have yet to explore. My #1 tip would be to go through the process a lot—find what works for you. Skip steps, add steps, change settings. Develop your own unique time lapse workflow.
Here’s my finished time lapse:
I hope you enjoyed this tutorial! Please feel free to chime via Twitter or Facebook.
About the Author: James Trent
James Trent is an artist, entrepreneur, and photography lover. He runs Canon Lens Reviews, doing video reviews of popular Canon lenses. Want to see his work? Check out his website at JamesTrent.net.