How To Shoot Amazing Night Photography. Every Time.

If photography by definition is writing with light, then the concept of night photography may seem like a contradiction. But as we all know, it’s perfectly possible to create amazing images at night and there are beautiful and spectacular opportunities just waiting to be captured after the sun goes down.
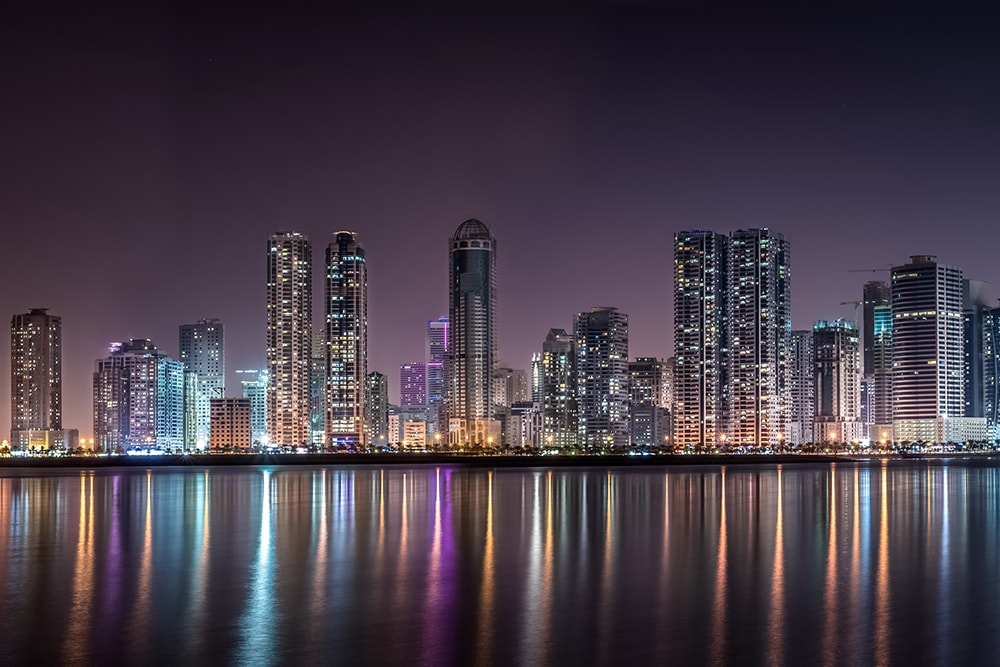
While night photography can be a challenge, it can also be extremely rewarding. While anyone can take daytime images, night photography requires some practice and work to perfect. Images taken at night are unique and offer completely different results than ones taken during the day.
While there’s no one-size-fits-all solution for capturing amazing nighttime imagery, there are a few things that everyone who’s interested in this type of photography should know. With this in mind, here’s a look at a few tips that you’ll want to follow that will help you to capture some amazing nighttime images.
Do Your Homework
Before you head out, it’s a good idea to do some research ahead of time so that you’re prepared when you go. Try to scout out a location during the day to save you from having to hunt for one after dark. If you’re planning to do nighttime landscapes or star trails, you’ll want to look for a location that offers a great vantage point. Excellent night photography also involves being familiar with the sky, moon cycle, and weather patterns, and you’ll want to consider using a program like Stellarium if you’re planning to capture stars. You can enter the location that you’re planning to be at and the time, and it will take you to the area and simulate the star field, the moon phase, and brightness.
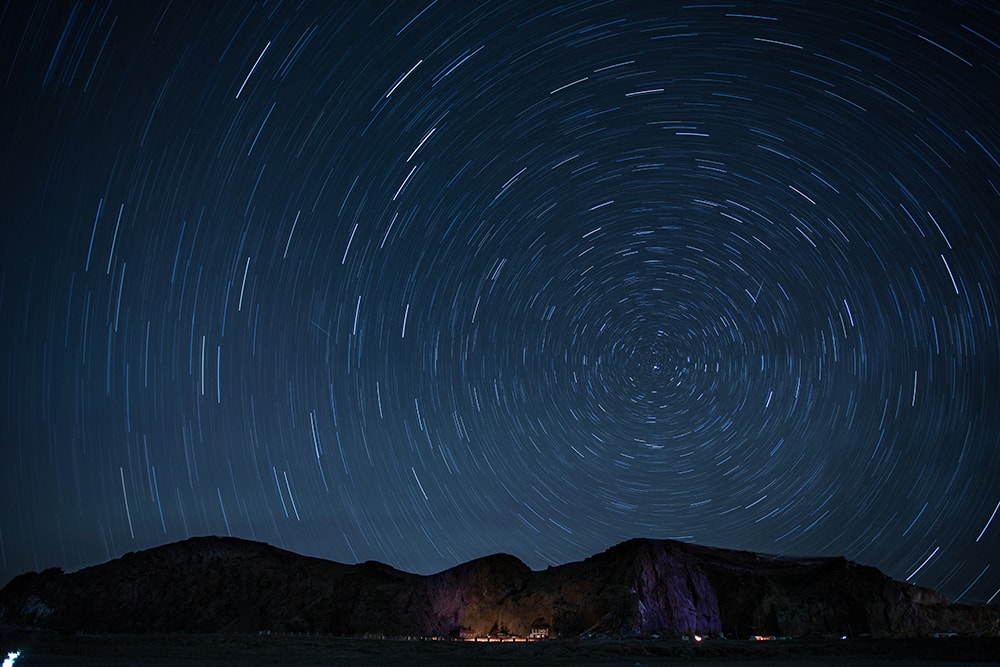
You may also want to bring along a compass; this will help you to find the optimal direction to shoot in – especially important if you’re hoping to capture circular star trails around the North Star.
Start Shooting Before Dark
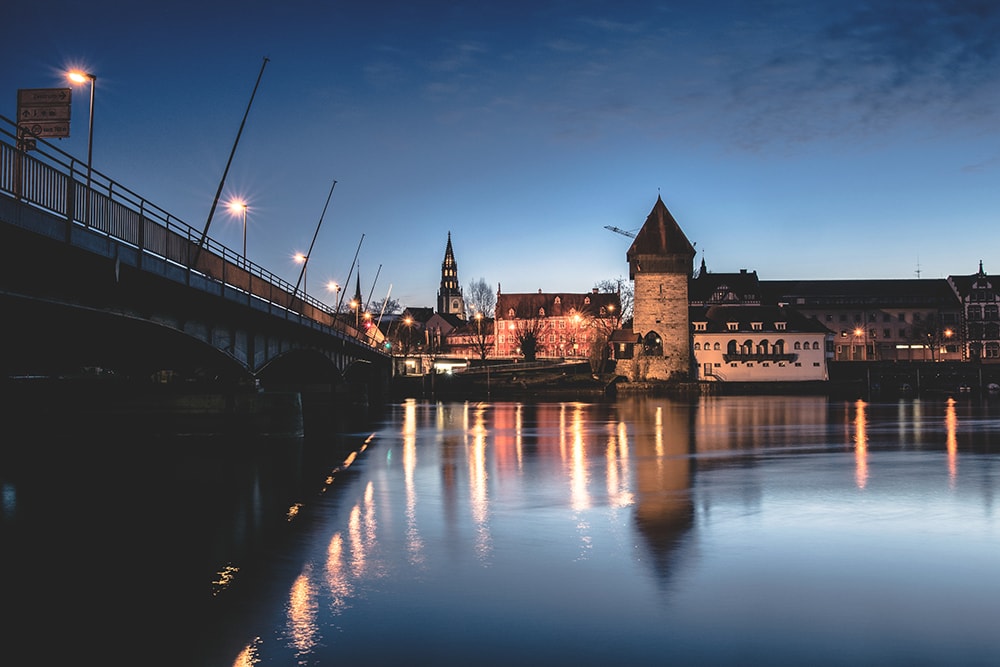
Once the sun starts to set, the sky will start changing quickly. Getting set up early will allow you to capture the various stages of the sunset, including the different shades of reds and oranges as well as the beautiful blue hour that sets in just after the sun dips below the horizon. Even though you’ll be shooting the same location, you’ll end up with drastically varied images, each one with an entirely different look.
Bring the Right Gear
Make sure you bring along the right gear to increase your chances of capturing some amazing images. Here’s a look at some things you’ll want to pack.
-
A Tripod
To get the sharpest, clearest images possible during low light conditions, you’ll want to steady your camera, especially during long exposures. In most cases, a tripod is the best option as it allows you to stabilize your camera to help prevent camera shake and image blur.
-
A Wide Angle Lens
While the best lens for night photography varies, most night landscapes will call for a wide angle lens. Something around 14-24 is usually ideal. A wide angle will help you to fit everything in the frame and will also enhance the sense of distance in an image. It will cause elements in the foreground to appear larger and more prominent, and mountains in the distance to look farther away. Wide angles are also more forgiving when focusing in the dark, and provide sharpness throughout your image especially when you’re using higher f-stops.
-
A Flashlight
Don’t forget your flashlight! Not only will it help you to see what you’re doing when working in low-lighting conditions, but it’ll also come in handy if you’re hoping to illuminate dimly lit areas in the foreground of your scene; making it easier for your camera to focus.
-
Remote Release
A remote release is helpful when you’re using long exposures where even the slightest movement can cause image blur. Having a remote release, or using the timer on your camera, will keep you from having to press the button, preventing unwanted blur.
Choose the Right Settings
When choosing your settings, keep in mind that you’ll have to work quickly and adjust your settings as the light changes. There are three main factors that will affect your exposure. Here’s a look at how you can use all three at night.
-
Shutter Speed
Most night photography will call for slow shutter speeds to allow more light into the sensor. Slowing down the shutter speed can also help you to capture light trails, star trails, or even softly blur the movement of the water when capturing a reflection on the surface. Star trails will generally require exposures of 30 seconds to five minutes – or longer, and you’ll want to use bulb mode for exposures like these.
-
Aperture
Using a narrow aperture is ideal for keeping most of the image in focus if you’re using a slow shutter speed. But if your composition calls for a fast shutter speed to freeze the action, you’ll want to use a wider aperture to allow more light in.
-
ISO
Finally, your ISO can impact the resulting images. While shooting during the day when there’s plenty of light available, you can generally use a low ISO of 100-200, when shooting at night, however, you may want to increase your ISO, especially if you’re photographing hand-held, and looking to prevent blur.
When it comes to night photography settings, it’s best to play around and find what works best for the current conditions you are working in.
Focus on Infinity
Your camera will have a hard time focusing in low light, so you’ll want to switch over to manual focus. If your subject is very far away – such as a distant mountain range, or even the stars – you’ll want to focus on infinity or, where you think the infinity point is. Take a test shot by putting your camera’s ISO as high as possible, then switching to bulb mode and focusing on infinity. Then hold the shutter down for a few seconds. The resulting overexposed image will show you what your composition looks like, and whether the focus is at the right point. You can then switch the camera settings back to your desired exposure, adjust the focus accordingly, and take your shot.
Include Interest in the Foreground
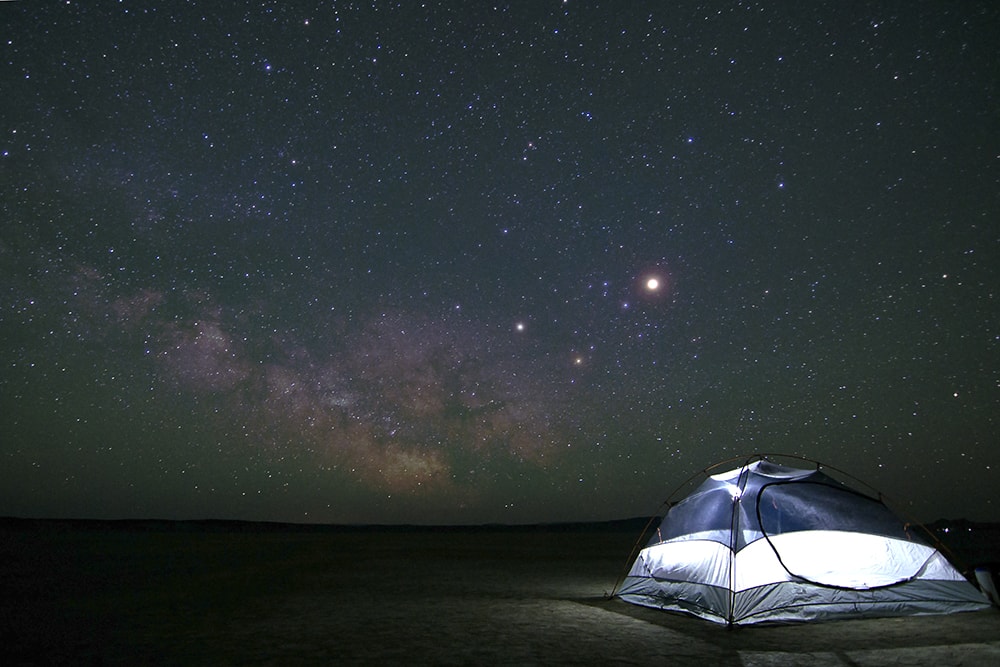
While it’s easy to focus on the spectacular night sky, you’ll want to try to find some interesting elements to include in the foreground as well. These details can help add more definition to your compositions, and draw the viewer into the image.
While night photography can be a challenge, especially in the beginning, that’s part of what makes these images so rewarding. By mastering the basics, and getting plenty of practice you’ll soon be capturing amazing, eye-catching nighttime images yourself – ones that you’ll be proud to call your own.
About the Author: Christina Harman
 Christina is a part time blogger and full time photography enthusiast living in Southeast Alaska. She enjoys travel photography and has taken pictures in countries such as Mexico, England, France, and China. She likes sunny days, new lenses and drinking good coffee. You can visit her at Tangled Thoughts.