Blue Hour Photography Demystified

Even if you’ve been around photography for quite some time, you may never have heard of blue hour photography. Sure, you likely have heard of the term “golden hours” before – the time just prior to sunset or right after sunrise – but what is this so-called blue hour?
It’s in fact a common misconception for people to mistake blue hour shots as mere night photography, but blue hour photos are so much more than just that. Blue hour – quite literally – can be thought of as the time of day where the sky’s colors go from blue to dark blue, then followed by a pitch-black sky.
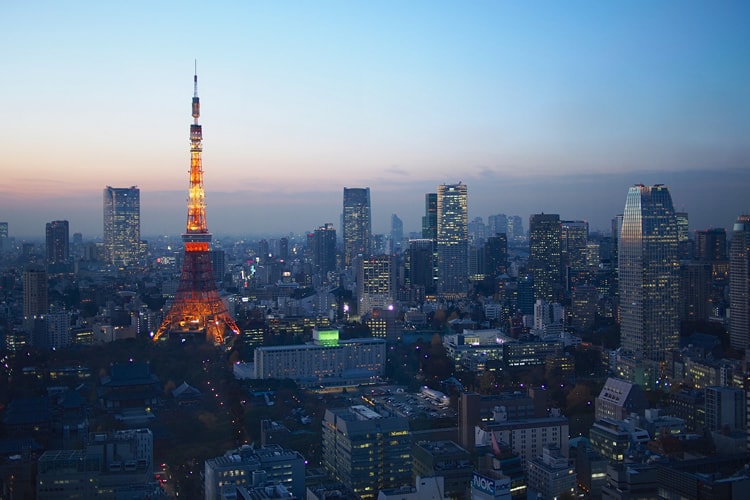
photo by Balint Földesi
Naturally, the opposite sequence is possible, too, since blue hour can also refer to the time of day right after the sun goes up.
With this lighting-quick primer on the blue hour out of the way, let’s unmask what taking shots in this magical time of day involves.
Identifying When the Blue Hour Occurs
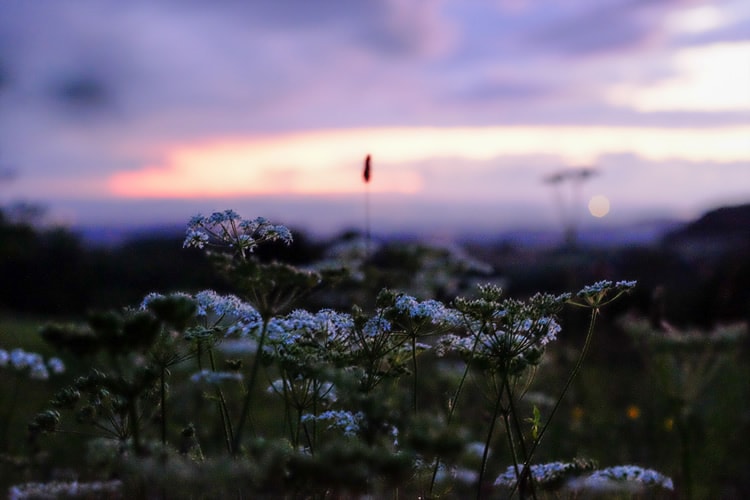
photo by Matthias Ripp
There’s only a limited window of time in which this blue hour falls. That’s why knowing when it starts and ends is paramount to your successful efforts.
In terms of sunrise, the blue hour begins approximately 30 minutes ahead of the rising of the sun. Its climax is usually 10 minutes prior to sunrise. The blue hour then vanishes quite quickly toward the sun that’s rising on the horizon.
In terms of sunset, the blue hour normally begins between 10 and 15 minutes after the sun’s gone down. Some photographers are more fond of snapping away during the sunset version of the blue hour, as it allows them extra time to set up equipment and even switch locations (should it be necessary) prior to the actual start of the blue hour.
Always keep in mind that Mother Nature can sometimes plot against your perfect blue hour photography. If the sky overhead happens to be overcast when you’re trying to get a shot during these times, then the blue hour will markedly shorten. In addition, if the clouds are really dense enough, the entire blue hour may even be ruined.
Selecting a Blue Hour Subject
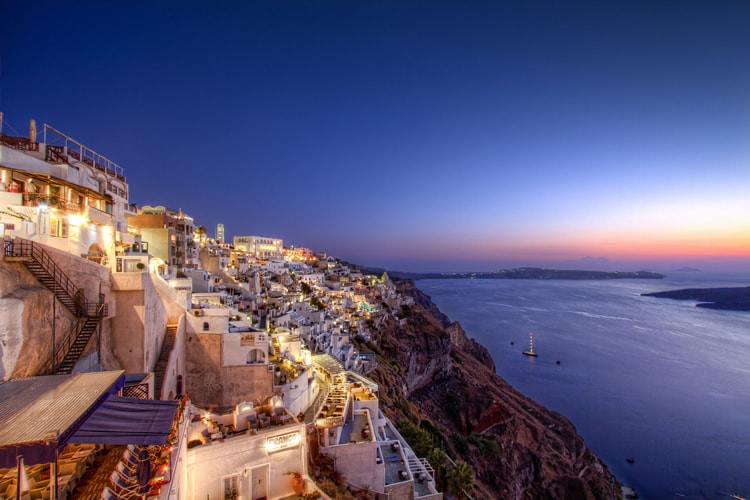
photo by Nikola Totuhov
Blue hour photography is a very unique genre in the field. That’s why some subjects lend themselves a whole lot better to this special time of day than others. Here are the three best types of subjects for this occasion:
- Landscapes: Landscapes benefit from the magical-eerie light of the blue hour. It doesn’t matter if you’re capturing a coastline or the barren desert: What you’ll get is always a highly unique and spectacular interpretation of a landscape.
- Portraits: People are the stars of portraits, so when you put them in front of the surreal light of the blue hour, portraits become that much more aesthetically wondrous. What you have going in your favor is the incredibly soft lighting of the sky in addition to the unbelievable colors! In this marvelous setting, you have all the ingredients you require to get highly creative with portraits.
- Cityscapes: Skylines are an example of cityscapes that are helped significantly by the light of the blue hour. Not only do your cityscapes greatly benefit from the awesome, bluish-purplish hue of this time, but their backdrops also get illuminated and thus become more interesting. If you can even get artificial light sources in your shot—say, from streetlights or apartment or office windows – then you’ll create a truly outstanding image!
How to Set up the Equipment
The first thing you should do is use a tripod to guard against camera shake. After you put your camera on the tripod and ensure it’s locked on, look through the viewfinder and compose your frame. Avoid sources of bright light at all cost!
If you have a wireless remote, then great. If you need to attach your remote to the DSLR if it’s wired, then be sure to do that. Use your autofocus when looking through the viewfinder, with the objective of locking your focus on any bright object in the frame. To guard against lost focus and refocusing, position the focusing switch to “manual focus” after you’ve locked the focus.
When you shoot, attempt to capture with RAW instead of JPEG. You’ll enjoy more flexibility and details when in post-processing.
How to Take Multiple Exposures
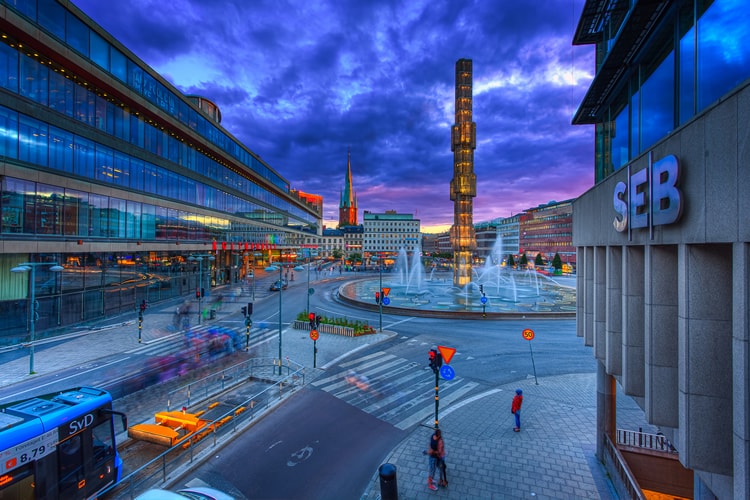
photo by Tobias Lindman
You’ll want aperture in between f/8 and f/16 to facilitate decent depth of field. ISO should be in between 100 and 200. Shutter speed should be in between just five seconds to more than a minute; it all depends on the foreground and the light.
It’s recommended that you snap different shots at different intervals during the blue hour. This will help you obtain the best exposure when working in post-processing. Remember also to keep reviewing your blue hour shots from time to time, so that you have the right exposure in post-processing.
Post-Processing These Exposures
A program like Adobe Photoshop is always a reliable choice; there’s no exception with blue hour photography. If you have multiple layers that you want to blend, it’s a great selection. You can adjust various parameters when you shoot in the RAW file format.
Once in the program, select and open multiple pictures based on classifications like “foreground” “sky” or whatever you have. Once you picked the image you want to work with, create a blank, new layer, so that you’re able to copy the other image that features great foreground exposure.
Now, how you arrange your different layers is all up to you. You can, for instance, have the sky be the top section that’s followed by the foreground layer. Hey, use your imagination! You can also use the erase tool to take away any underexposed areas from your top layer, so that you can see the properly exposed layer in the foreground.
To obtain an even-color appearance, be sure to adjust things like the contrast, selective color and shadow/highlights of each layer. When you’re all done, merge the different layers to create a single layer. There’s your final image!
Blue Hour Awesomeness
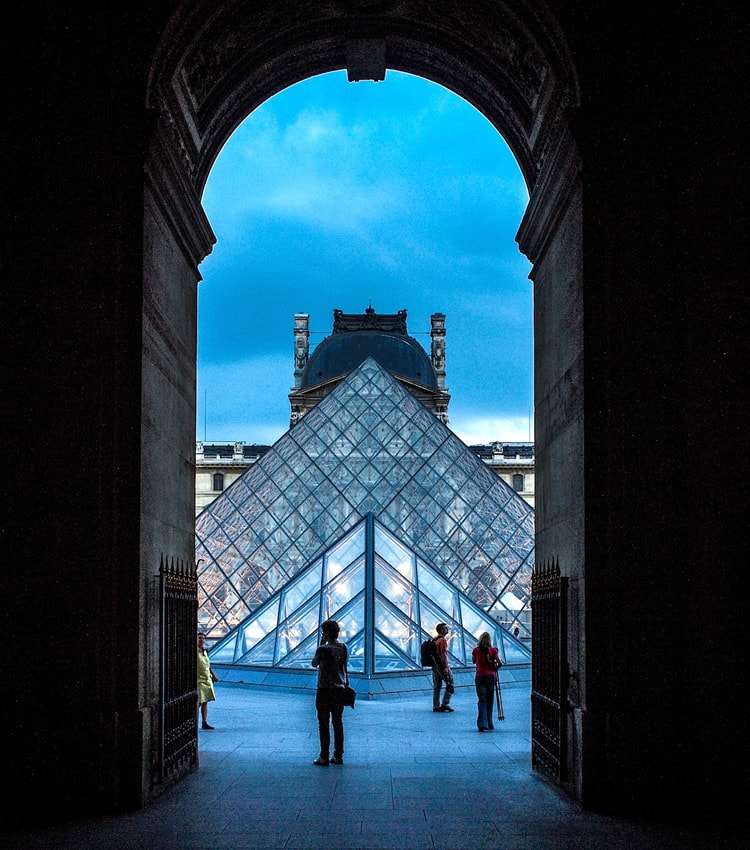
photo by Fabrizio Sciami
Blue hour photography is something that you’ll have to practice a lot to get really good at, but that’s neat because it’s both fun and a challenge. It’s definitely not your ordinary foray into photography, so you can experience a good amount of growth as a photographer. Even seasoned photographers will get something out of this very unique shooting situation.
Since the blue hour doesn’t last very long, remember that it’s vital to be well-prepared before the shoot. Bring along all of the equipment you need, and have your location scouted well in advance. The last thing you want is to miss your opportunity!
About the Author: Marc Schenker
 Marc is a copywriter and content marketer who covered photography. These days, he runs The Glorious Company, a content marketing agency.