Fighting the Good Fight Against Blurry Photos

There are fewer things as annoying in life as blurry photos, especially if you’re an amateur or professional photographer. Blurry photos destroy what could’ve been a wonderful viewing experience for your audience, and they also harm your reputation as a photographer.
Surprisingly, blurry shots come from both novices and pros (occasionally) alike, which means that photographers of all stripes consistently have problems with taking sharp shots.
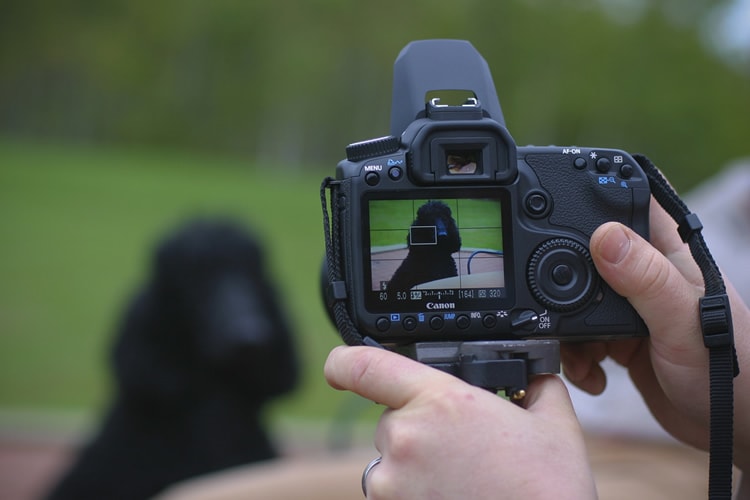
image by Peter Anderson
As soon as you think you’re a good photographer, you tend to let your guard down. When that happens, you’re likelier to make elementary mistakes – and this in turn leads to more blurry photos being produced! To really make blurry photos a thing of the past for good, you have to exercise some due diligence when taking and processing your pictures.
Here’s how to fight – and win – the battle against blurriness.
Guard Against Camera Shake
The biggest reason for blurry photos is camera shake. You’re more susceptible to camera shake if you’re using a point-and-shoot camera, by the way. Much of the time, you’ll get slight blurs, but these are annoying enough to ruin images. The thing about this type of blurriness is that it won’t be that noticeable on your camera’s tiny LCD screen, yet it’s going to be very blatant on a computer screen.
You generally have three options at your disposal if you want to avoid camera shake. They include:
- Using a tripod
- Not shooting in low-light conditions
- Using your camera’s image-stabilization features
Sometimes, you won’t have a tripod at the ready. In these situations, you can still guard against camera shake by leaning up against a doorframe, utilizing the viewfinder of your camera as opposed to the LCD screen, or holding your camera as closely to your body as possible.
Make Sure Your Subject Doesn’t Move
Another common reason behind blurry photos is a moving subject. It’s easy to tell if your subject moved when the shutter was open: Simply look for any blurs in a photo that also has sharp and clear areas.
Situations like this can especially occur if there isn’t much light to begin with when you’re taking the shot. This can be at nighttime or just when you’re taking a shot indoors. Your camera will begin to compensate for a low-light occasion by staying open longer than normal. This means that any motion from your subject will stand a greater chance of being captured.
To remedy this problem possibility, just modify the settings of your camera, so that the camera’s shutter isn’t open for as long as normal.
You can do this by turning on the flash of your camera, which will result in the shutter being open for a shorter period of time, due to the extra light. Another option is to increase the camera’s ISO setting, which will result in increasing the shutter speed of your camera (and introduce some noise too). When the shutter speed is faster, chances that your shutter are open long enough to capture motion are greatly reduced.
Switch Over to Manual Mode
Manual mode is far better than auto when fighting against blurry photos. Sometimes, your camera lenses are only going to be designed to focus on things that are a certain distance away from your lens. In this case, your camera’s on autofocus, and in autofocus, what tends to happen is that your camera will focus on things that are an improper distance away from the lens. This leads to blurry photos.
Switching over to manual focus instead ensures that you can always adjust your focus until your subject comes through as sharp. Manual focus provides photographers with a greater degree of control, as you generally have to twist a gear that sits right on your lens.
Alternately, you may even want to just change your lens to an infinite distance focus. This will let you get as much of your scene as possible into focus. This may be a good backup plan because some cameras may not have manual focus unless they’re DSLRs.
Check the Type of Camera That You Have
Sometimes, it can be the problem of the camera itself that can account for blurriness predicaments. This can happen with cheaper, lower-priced cameras; with these, you may experience that the autofocus isn’t very sharp. The good news is that you won’t likely remark these more subtle blurs… unless you actually enlarge the picture on your computer or blow it up to print it at a bigger size.
In a situation like this, the old adage that you get what you pay for springs to mind! Cheaper cameras just weren’t designed (or priced) to give you super-sharp photos each and every time. If you’re not a serious photographer and don’t mind some subtle blurring, then, by all means, stick to your entry-level camera. Of course, if you’re a pro or someone who wants to drastically up your photography game, then even subtle blurs are unpardonable.
You may want to then consider investing in a pricier camera that will take sharp pictures—provided you have the right technique, though—each and every time.
No One Wants to Look at Blurry Photos
In photography, blurry photos are one of the most common spoilers of otherwise great pictures. The blurriness sometimes pops up when you least expect it to, but when it does, it can really get on your nerves, especially when the blurring is just in one spot or in a significant area of the shot that ruins everything. A little blurriness can go a long way, unfortunately.
Blurry pictures happen to everyone, so every once in a while, it’s really necessary to have a refresher course of sorts about what makes a picture blurry…and what you can do to avoid these unfortunate circumstances.
The good news is that you can usually fix your technique to avoid blurry pictures in the future. With just a few, small adjustments, you can take your pictures from blurry messes to very sharp works of art that will inspire, entertain and interest your audience.
About the Author: Marc Schenker
 Marc is a copywriter and content marketer who covered photography. These days, he runs The Glorious Company, a content marketing agency.