How To Recover Shadows & Highlights In Your Photos

Two of the most important and highly used features in Lightroom are the Shadows and Highlights sliders. This is especially true for the newer versions of Lightroom (starting in version 4). These sliders provide you ways for bringing out even the subtlest details in your photos’ shadows and highlight areas.
They are what you use to recover details and minimize contrast in your photos. Those who are using an older version of Lightroom can use the Fill Light and Recovery sliders.

What Are Shadows?
A shadow is an area of an object or shape that is darkened because lights are blocked. In photography, however, a shadow is much more than this. For photographers, when they say shadow, what they are actually referring to is a “range of light intensity conditions”. There are two reasons why shadows are created:
- Two light levels (the brighter one, which passes the object, and the lighter one, which is produced by the blocked light) intensify. These intensities produce a “disparity” of light.
- A light source is intercepted by an object.
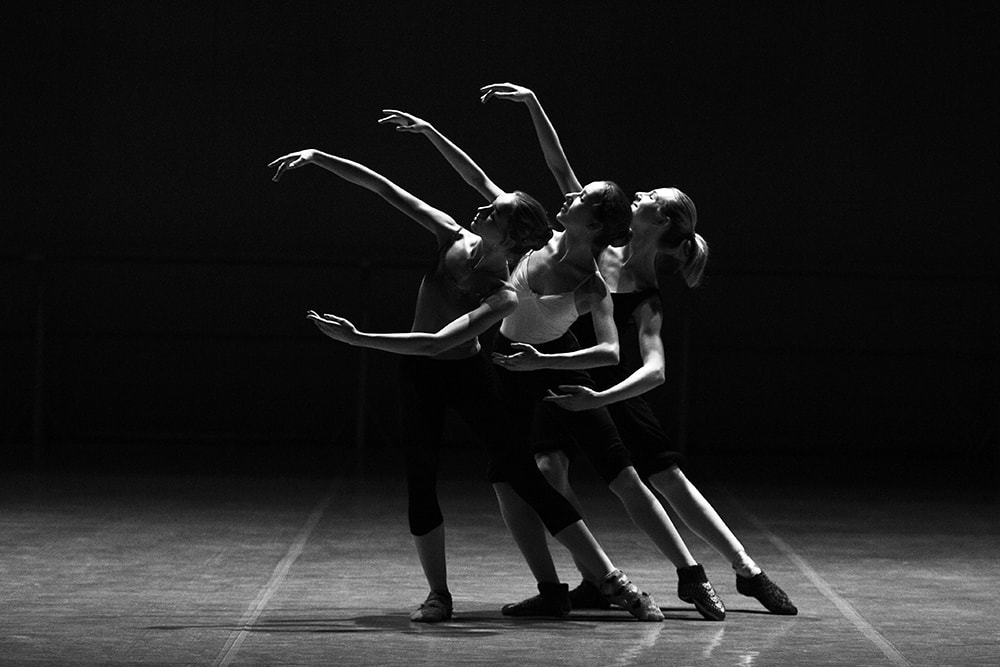
A hard light source produces dense shadows, while a diffused light source creates shadow edges that are less defined.
What are Highlights?
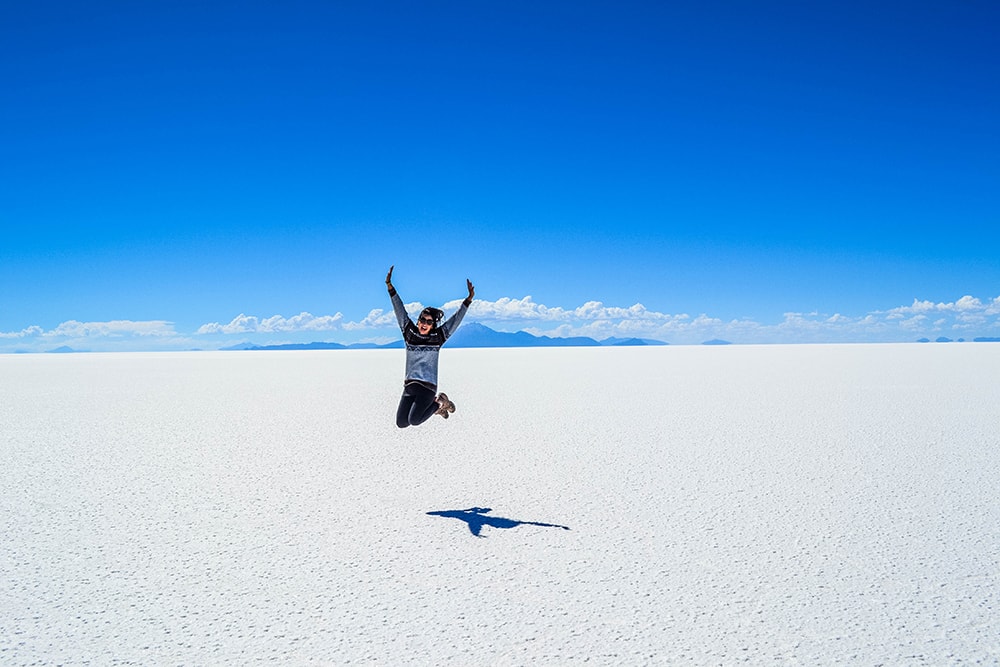
Highlights are the opposite of shadows. They are created by way of intense illumination through different types of reflection or diffusion. Any bright light source is capable of creating a highlight, although it can sometimes depend on the size and intensity of the source. If the source is a hard light or a small-point source, the highlights produced are way better than those created by a larger (and diffused) light source.
A photographer who knows how to properly control highlights is capable of producing images that are bright but not burnt out. When an image is burnt out, it will come out as super-whitened.
Why are Shadows & Highlights Important in Creating Good Photos?
Professional photographers always make sure that their shadows and highlights are well controlled. Both are essential for creating good images.
Shadows are important because they add more life and meaning to a photograph. Additionally, they are also good for setting the general mood of the subject. As the sun or any artificial light source plays a significant role in creating shadows, it is also good to note that shadows somehow give a scene several perspectives. For example, a viewer can interpret a scene according to the time of day the shadow was produced.
Highlights are important because they help create a more natural look for the image, if used and controlled properly. Likewise, they are essential if you want more emphasis on the form of the object or subject.
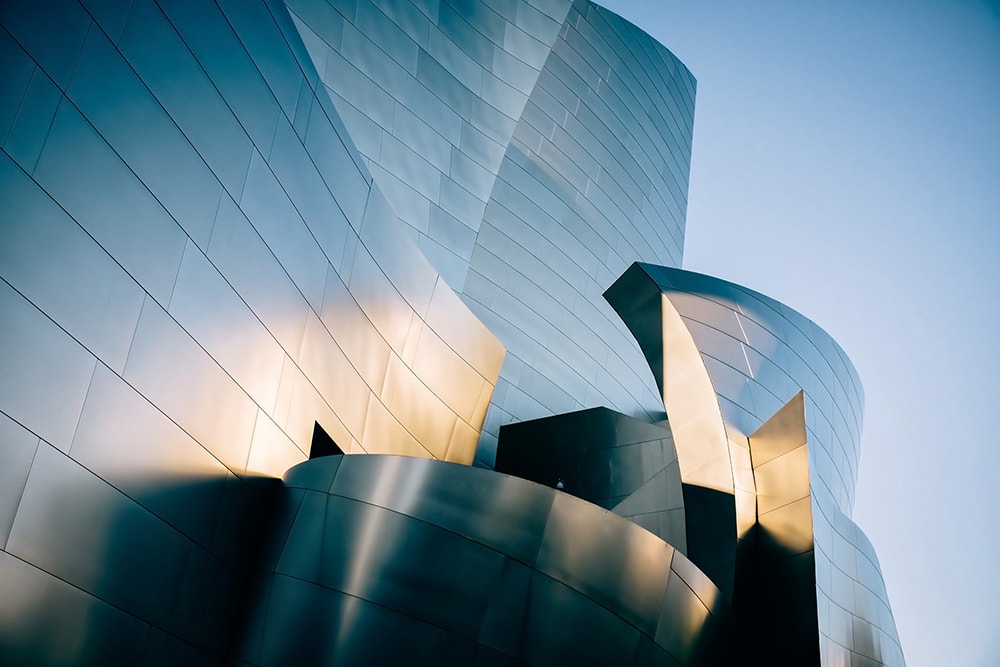
What Value Do Shadows & Highlights Add to Landscape and Architectural Photography?
Shadows and highlights are use to add more details to your images. And details are definitely essential in landscape and architectural photography. Even the subtlest details can create photos that drive more impact and positive feedback.
For example, you have a photo of the skyline and you want to emphasize both the skyline and foreground details. You can use Lightroom and adjust or control the shadows and highlights to create the colors and effect you want. You can use the Shadows and Highlights sliders to make your images more visually alive and appealing without going overboard and looking unnatural.
Lastly, using shadows will add more depth to your landscape and architectural photos. If the shadows are well-adjusted, your photos will no longer be “flat”.
Why Is It Important to Recover Shadows & Highlights?
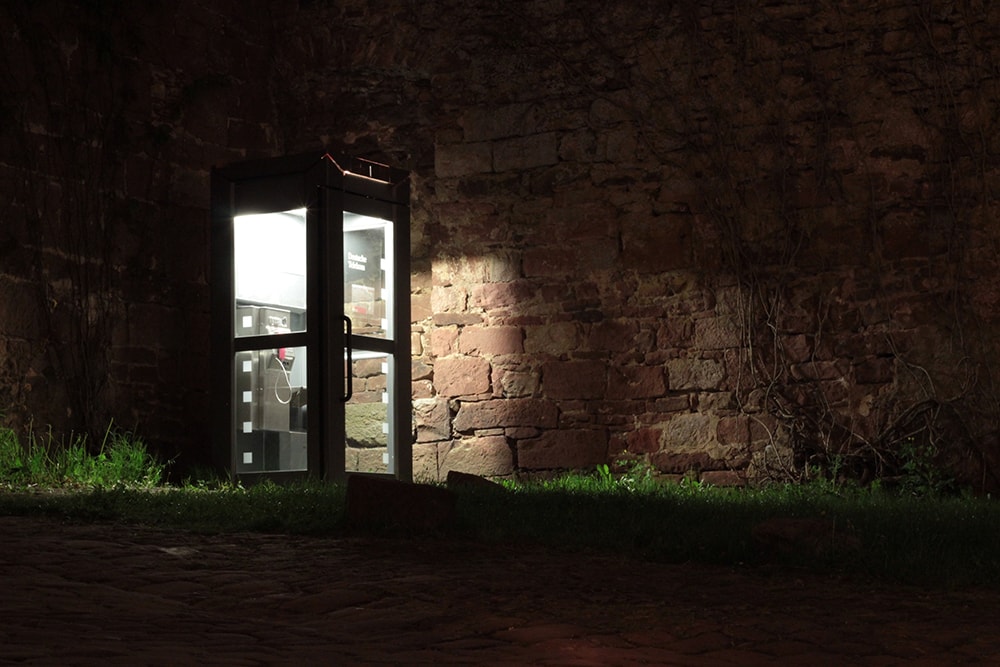
Taking photos with perfect exposure is not a regular thing. There are times when you can’t help but work with difficult exposure conditions. In an image where both dark and light areas are included, finding the right exposure can be difficult. The difference between the darkest and the lightest area of your photo is known as dynamic range. Shadows and highlights details will be lost if this difference is not recorded. As such, your photos will come out as either under or overexposed.
This is why you need to recover shadows and highlights. Lightroom makes this easy with the Shadows and Highlights sliders. All you need to do is learn how to control them.
Tips & Tricks
Using the Highlights slider, the overexposed (or too white) areas of your photo will be adjusted. The Shadows slider, on the other hand, will brighten the underexposed parts.
Here are some simple tips that you can follow to make sure you use both sliders properly:
- Do not forget to turn on the shadow and highlight warnings. This will help you determine the black areas (bright blue) and the solid whites (red).
- Learn how to use the histogram (both on your camera and Lightroom).
- To recover lost highlights, drag the highlights slider to the left. Adjust it according to your preference or according to how much of the lost color and detail has appeared on your photo. Remember not to overdo things, though.
- To recover the lost shadows, bring the shadows slider up. You can go up to +100, but it may not be necessary. As long as you see that the details have already come out, you are good to go. For example, the photo is that of a black umbrella under the rain. Bring up the shadows slider until you see raindrops on the black umbrella.
- Check the noise level of your photos by zooming in. Shadows and highlights recovery often produce unnecessary noise to your photos. That’s why it’s very important not to overdo things.
- Although some photographers adjust the contrast after recovering shadows and highlights, it is not really necessary as it will only affect the work you’ve just completed. Instead of the contrast, adjust the Clarity slider a little. For others, combining a little contrast with some clarity also works. You can try this, too.
- Adjust the Vibrance and Saturation accordingly.
- To enhance the contrast, you might want to try using the Dehaze slider (Lightroom version 6.6 and up). This is helpful if you want to come up with rich tones. It works better, though, when combined with contrast and clarity.
- If you don’t have Dehaze, adjust the Exposure slider – but keep it to a minimum.
- As always, in photography, practice makes perfect. So, if you keep practicing and persevere in what you do, you’ll soon find out just how useful shadows and highlights are in bringing your visualized images to reality.
I hope you find those tips & tricks useful! Please feel free to share your own on Twitter or Facebook!
About the Author: Michael Gabriel
 Michael Gabriel L. Sumastre is an experienced writer who loves to take pictures of the countryside as well as aerial photographs. He maintains his professional writing portfolio at TheFinestWriter, and you can visit his photography portfolio at Sumastre Photography. Michael was hired by Booking.com to photograph 10 of the most beautiful beaches in Palawan, Philippines.