How to Use a Light Meter
 by
Jo Plumridge
by
Jo Plumridge

If you want correctly exposed images, you need to determine how bright a scene is. And whilst experienced photographers can often estimate a fairly accurate exposure, a light meter is a far more accurate way to do it.
To understand light meters, you first need to understand that metering essentially involves two types of light – reflected and incident. Reflected metering is built into cameras, whereas incidental metering needs a separate handheld light meter. In the old days, when we all shot on film, every pro used a light meter for accuracy. Although they’re less common nowadays, they do still provide the best results.
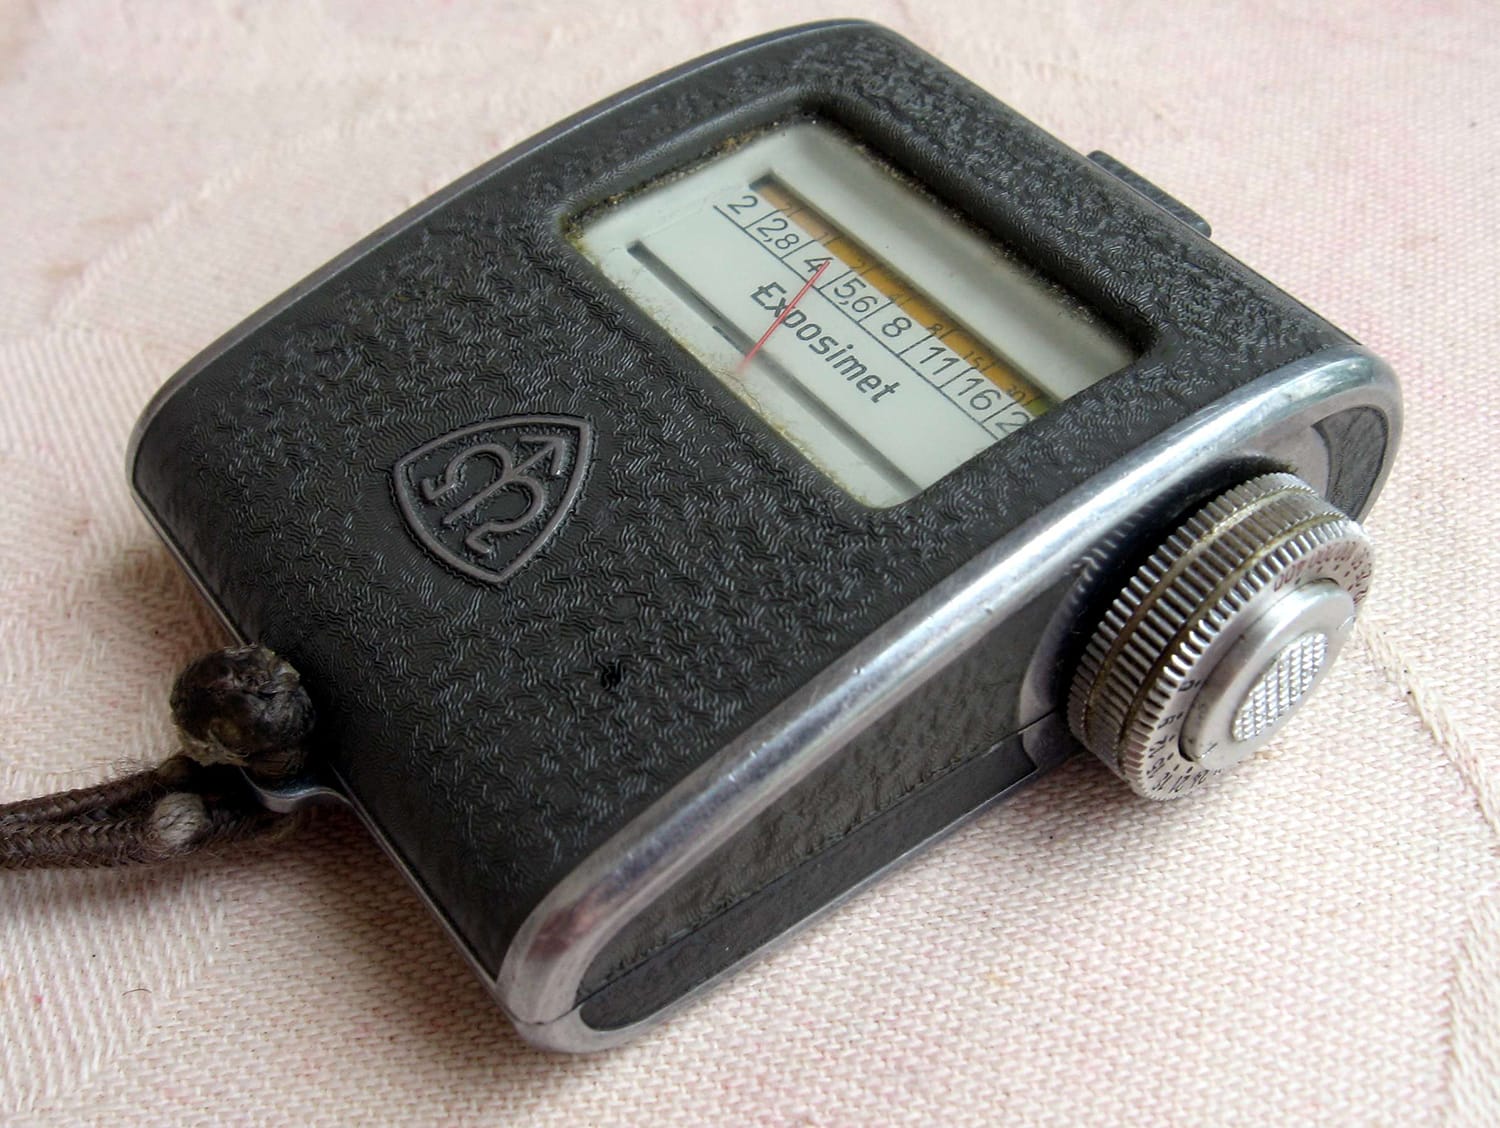
photo by Jan Kaláb
Reflected Light
Reflected light is, quite literally, the light reflected from a scene. As already mentioned, this is the way that a camera’s internal metering works. The camera measures the reflected light from around the scene and provides an average to set exposure (this can be controlled further by using metering modes, which we will look at in a future article).
Then, by looking at the camera’s exposure meter, we can ascertain whether the image will be correctly exposed.
Obviously, we can control our exposure by altering ISO, shutter speed and aperture to achieve what the camera tells us is correct. But there are problems with using a reflected light meter reading. The camera takes a reading of an entire scene (both highlight and shadow areas), which it then uses to provide an averaged reading.
This reading is designed to represent the photograph’s subject (i.e. where you have focused) as 18% grey. 18% grey is exactly midway between pure white and pure black, so the idea is to give you an image that is balanced around the subject. This works well in many situations but the minute a subject becomes anything other than ‘average’, reflected metering can begin to struggle.
Let’s look at an example: One of the most classic problems is shooting a subject with a lot of white in it. White reflects more light than any other colour, which confuses the camera’s metering. Because the camera will see a lot of light being reflected, it will try to balance the subject to 18% grey, which will culminate in it recommending a lower exposure than is actually needed. This is why shots with a lot of white in them (e.g. snow, a bride wearing a white dress) often come out looking grey. Conversely, if a subject is wearing a lot of black (e.g. taking the wedding example again, a groom wearing a black suit), the camera will see very little light being reflected and may overexpose the image.
You can always compensate for this over or under exposure by dialling in a little negative or positive exposure compensation. And, if your only choice is to use the light meter in your camera, this will be the way to get the correct exposure.
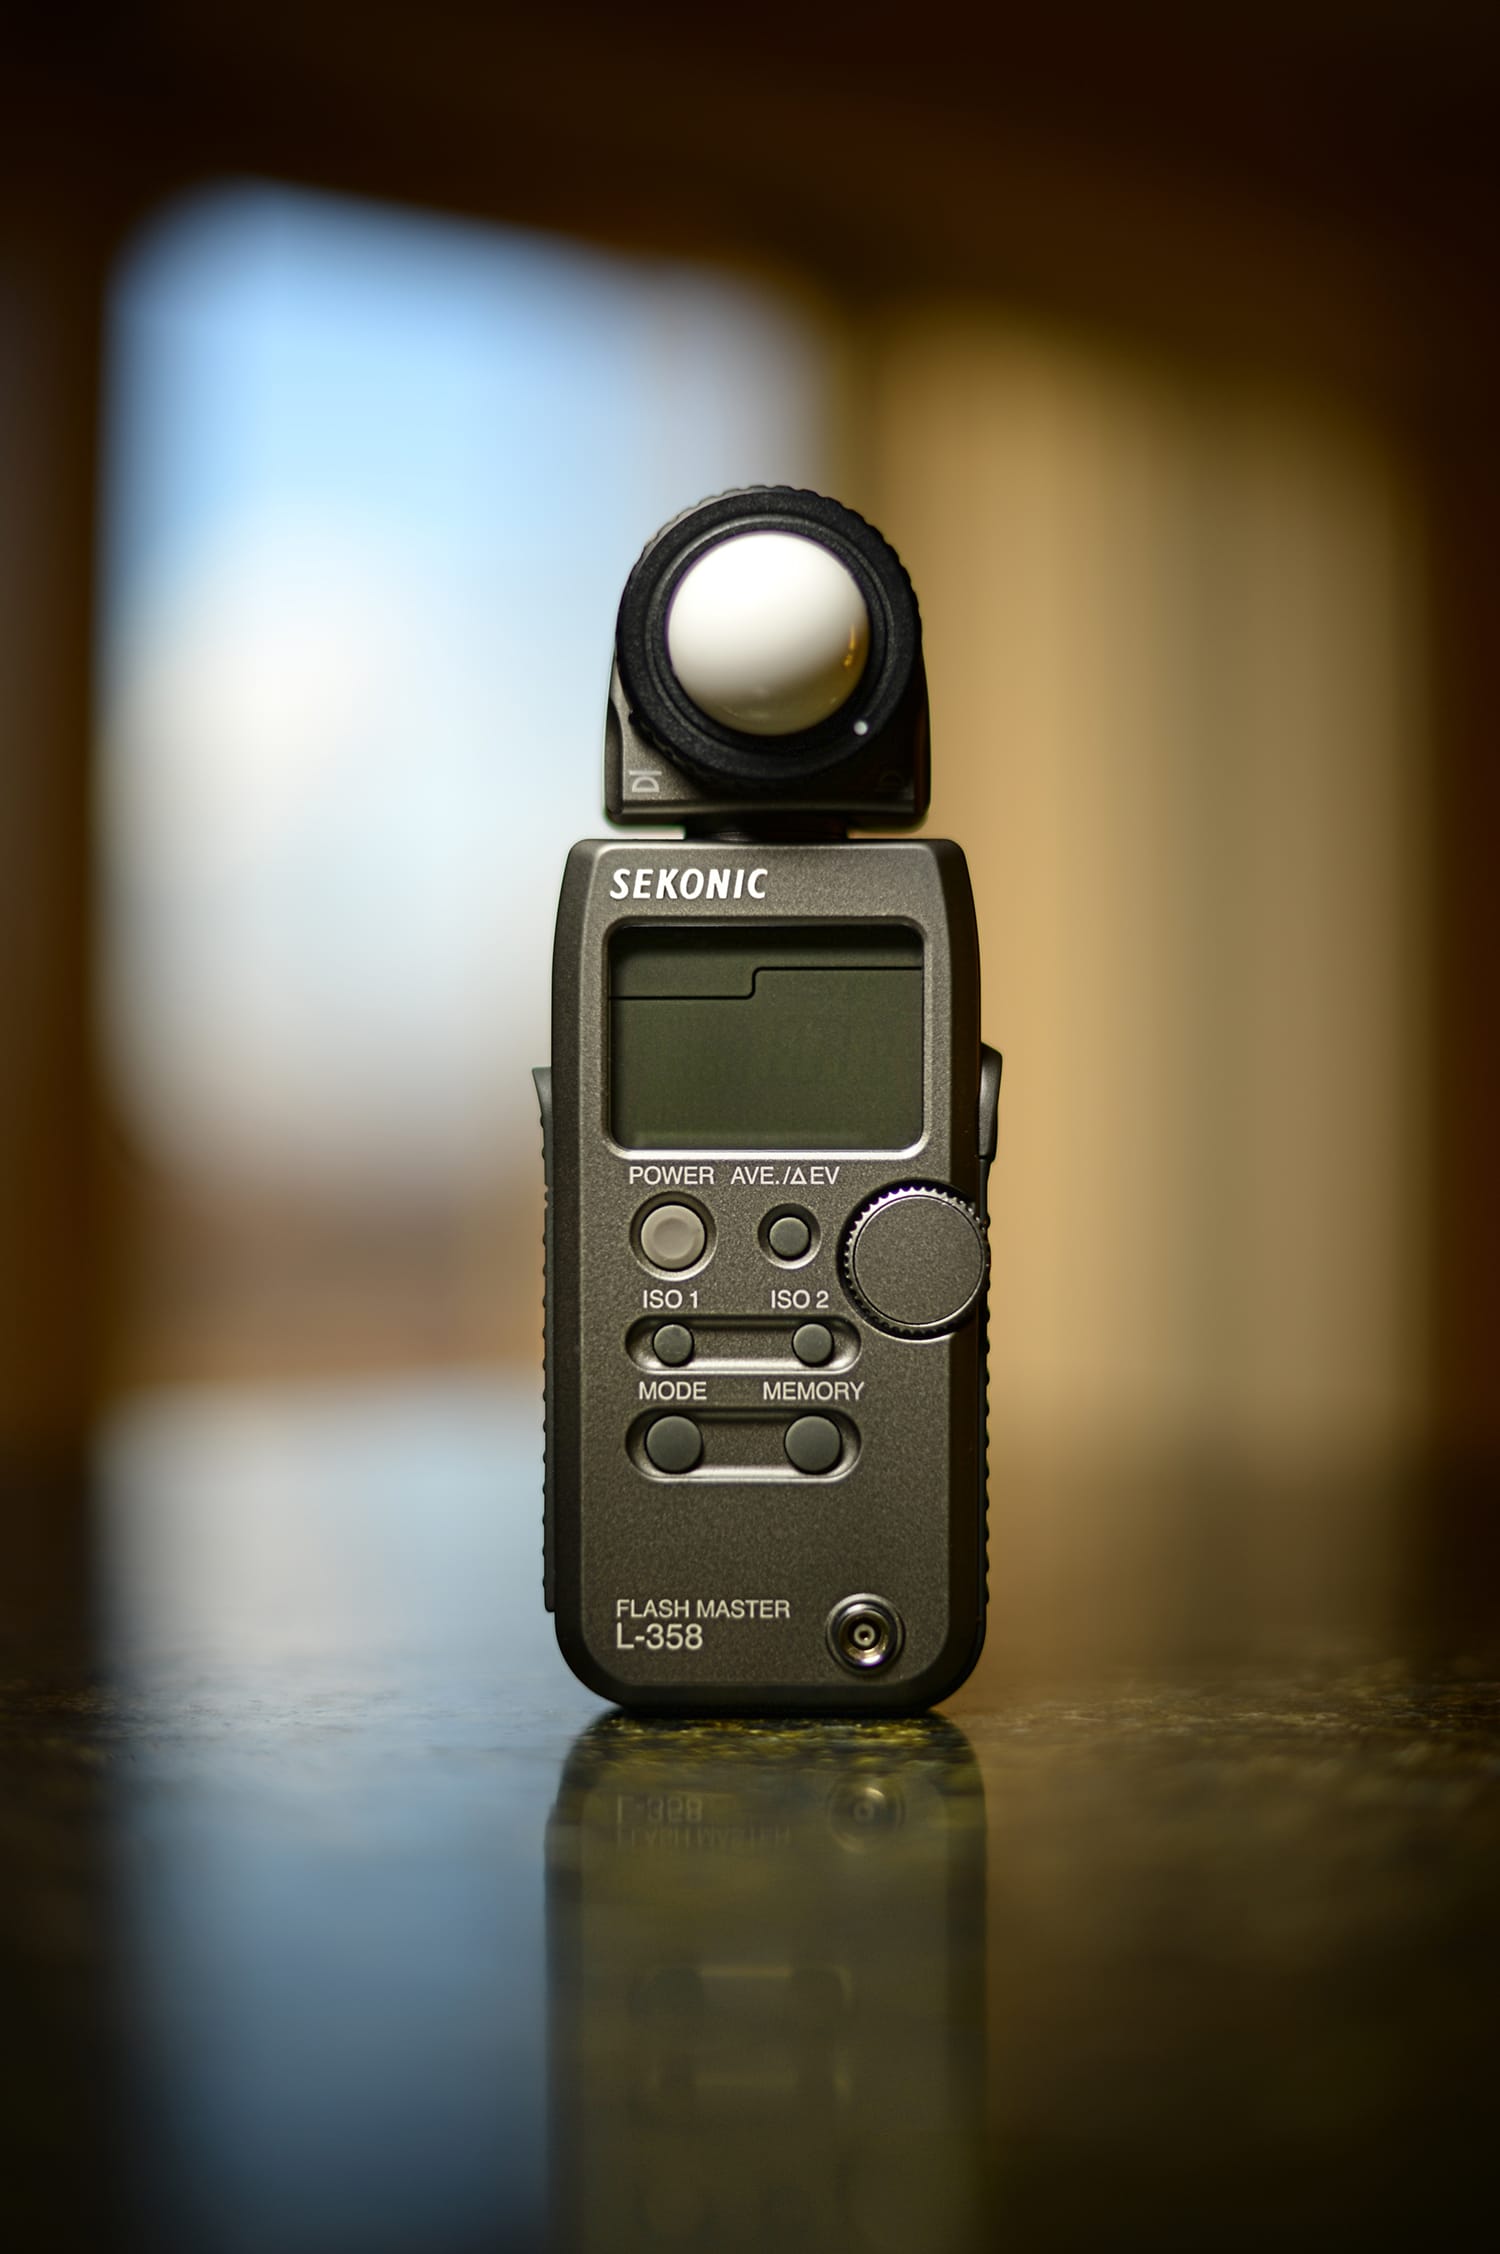
photo by r. nial bradshaw
Incident Light
Handheld light meters give us the ability to read incidental light, which is the amount of light falling on the subject.
Those handheld light meters work by using the three settings of the exposure triangle – ISO, shutter speed and aperture.
The ISO must always be set on the meter to match the one chosen on your camera and then the meter must be placed at your subject’s position. Light meters have a small white dome on them, which faces the camera and a reading is then taken to ascertain the correct shutter speed and aperture to set your camera on.
One of the huge advantages of using a handheld light meter is that it will not only give you a primary reading but, using the arrows on the side of the meter, you can also see a range of matching shutter speeds and appropriate apertures. This allows you to still maintain control over your depth of field. In addition, because incidental light is the amount of light falling on your subject, your readings will be far more accurate. And, when you measure the light before it falls on the subject, you will achieve consistent results regardless of the colour of the subject you are shooting.
In Conclusion
Both methods of metering have their place. Although measuring incidental light gives a far more accurate result, it’s not always physically possible. If you’re photographing a subject that’s miles away, you certainly won’t be able to use it! And reflected light metering gives good results in many situations. Just remember to watch out for awkward colours and you’ll be fine!
About the Author: Jo Plumridge
Jo Plumridge is a UK based photographer, writer and lecturer. She specializes in portrait, corporate and travel photography, and writes photography, travel and comedy pieces for magazines, websites and books. You can see some of her work at her website, or follow her on Twitter.