Painting with light is an art form. It can be used to create dynamic, bright, and stunning images. To achieve those results, it’s important to use the right camera settings and techniques.
If you want to learn the basics of light painting, then you’ve come to the right place. In this tutorial, I’ll explain how to produce glowing photographs using long exposure and other camera settings. So, let’s jump into it.
What is Light Painting?
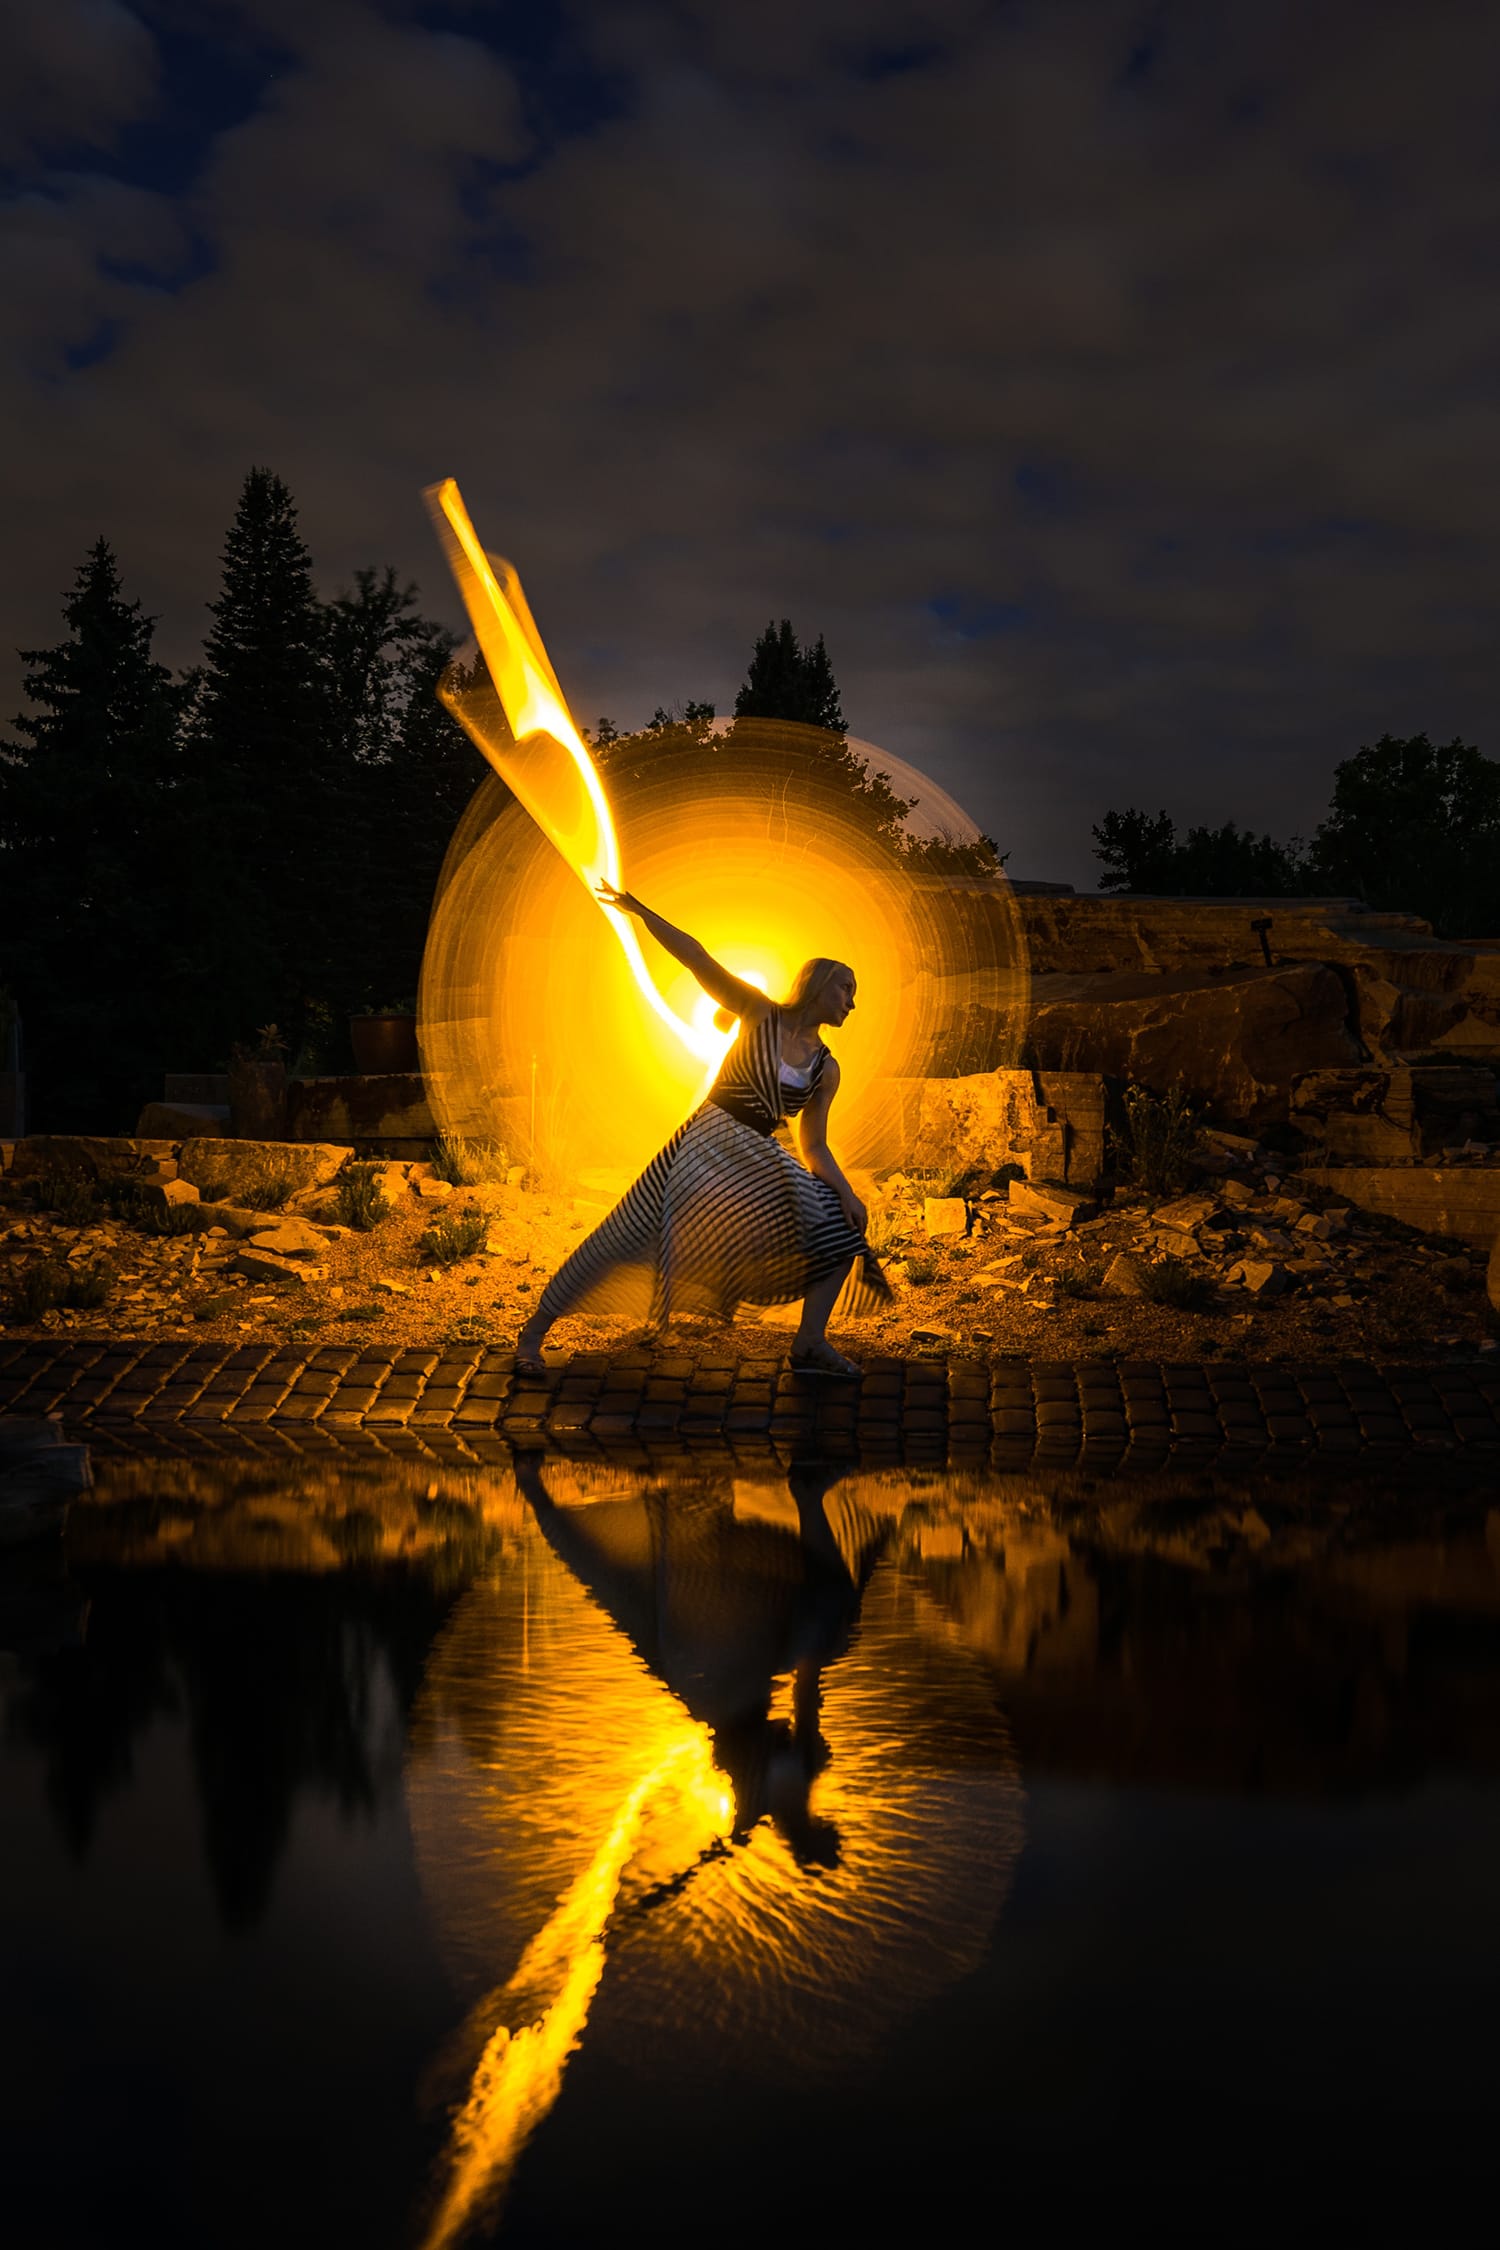
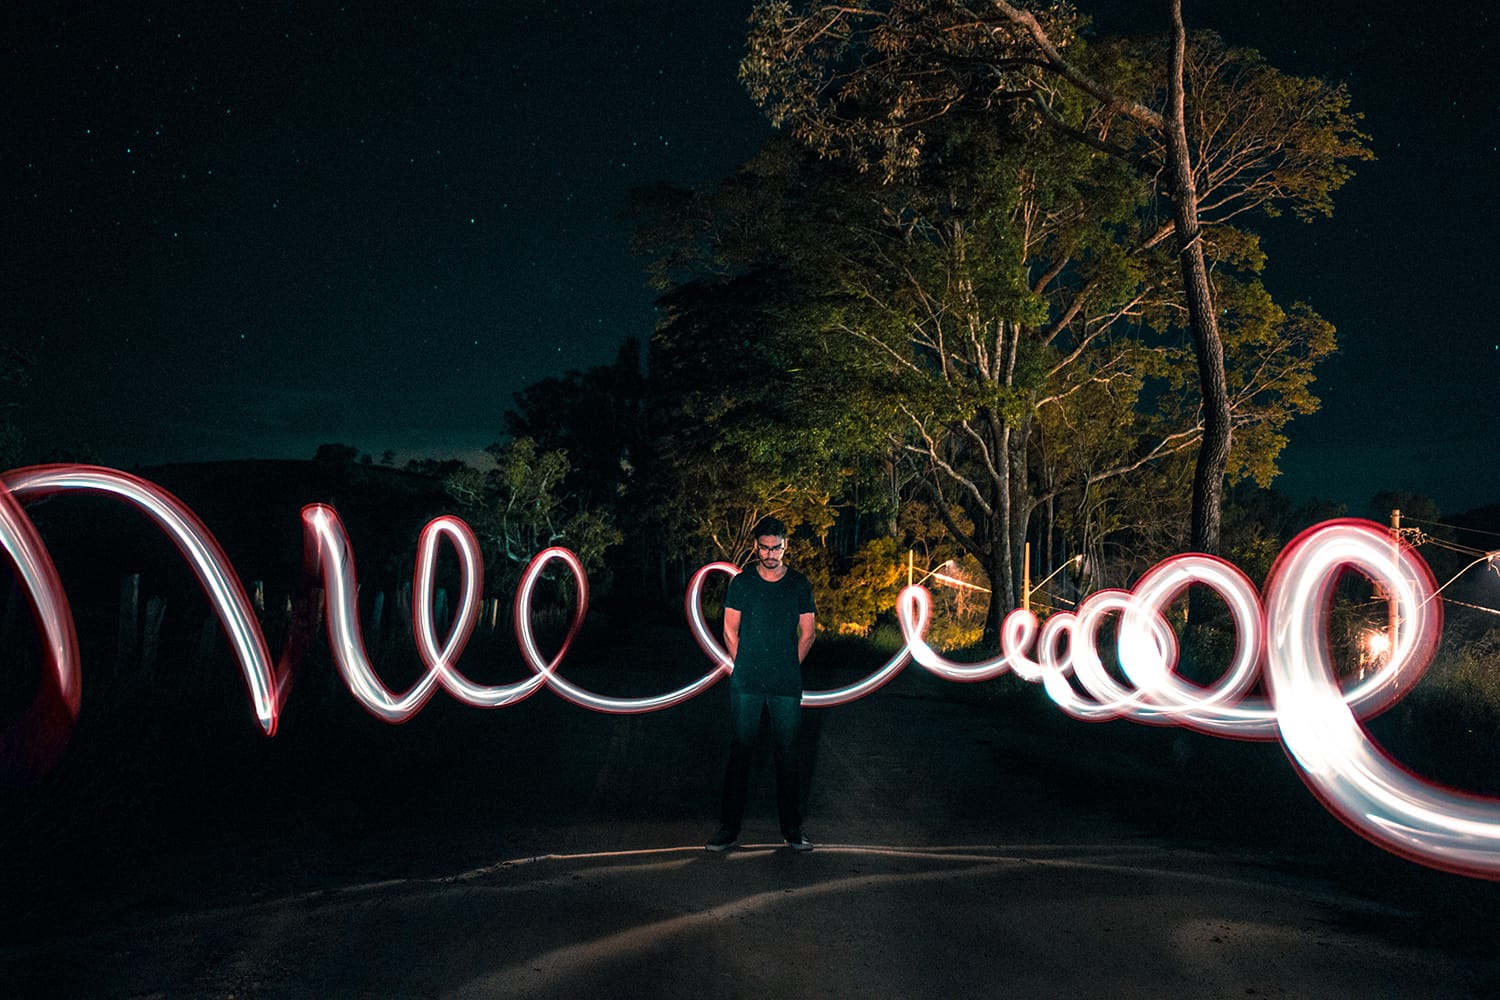
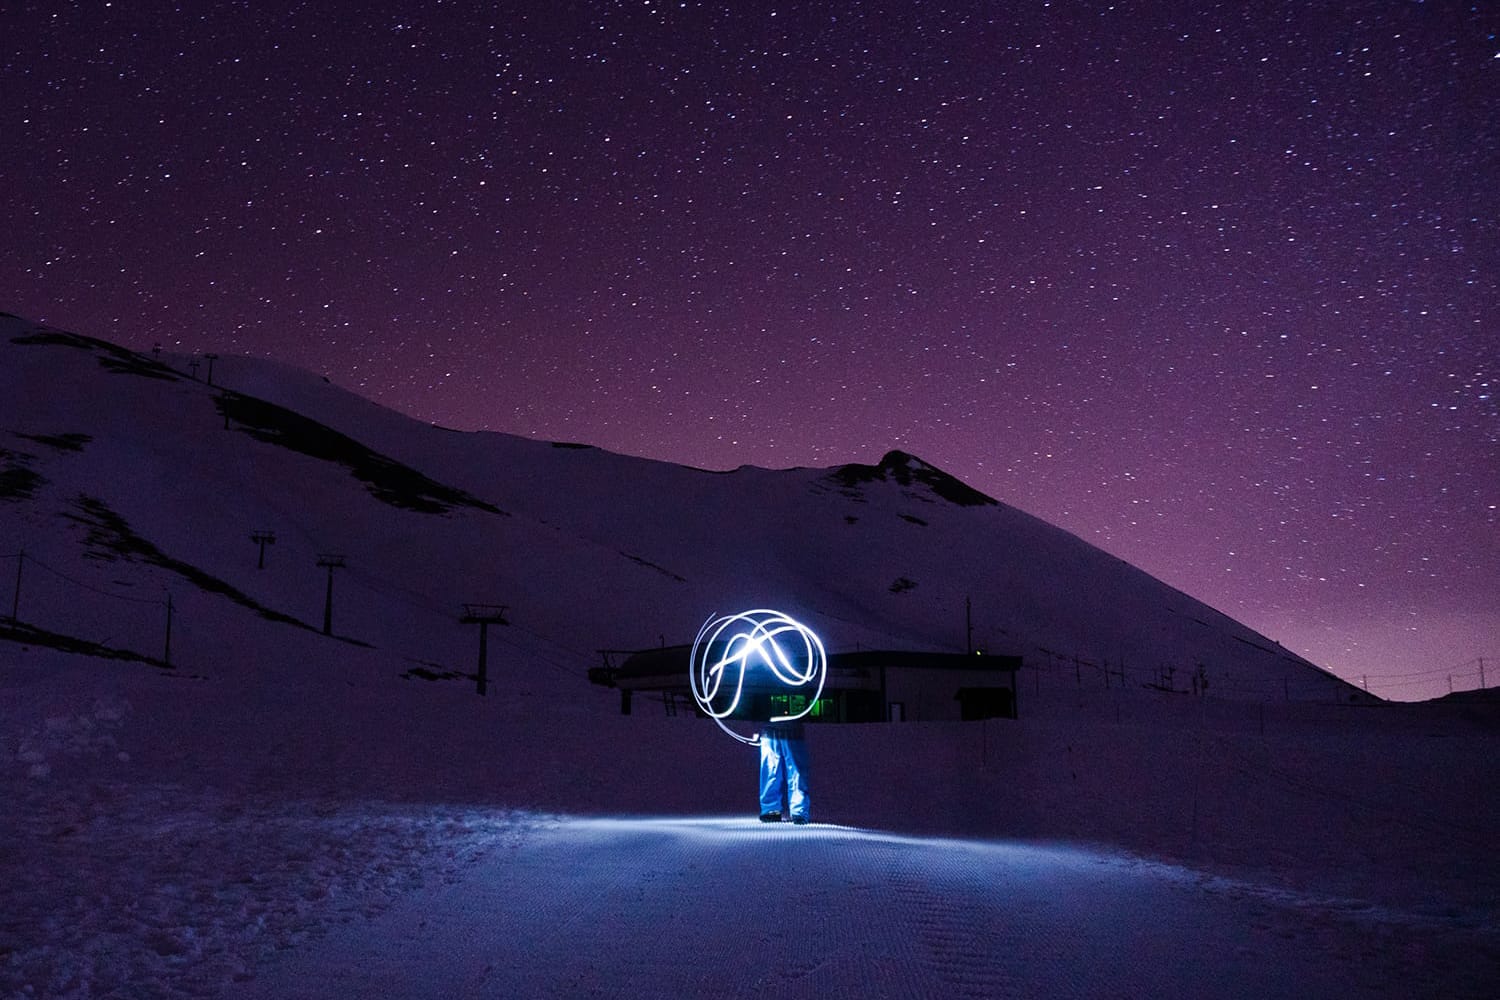
Before getting into the further details of the process of painting with light, it’s important to understand the concepts behind the techniques. It’s an art to capture dynamic photos by using a moving light source and setting long exposure times.
As a light painting photographer, you’ll need to keep your camera’s shutter open for a few seconds to a few minutes, and you’ll get the final image with the light lines shinning through the darkness.
It’s certainly not as simple as it sounds, but if you’re familiar with long exposure photography, then you’ll get the hang of it pretty quickly.
Technicalities of Light Painting
One of the most important factors in light painting is to learn how to capture images in manual mode. To become a successful light painter, you’ll need to understand how the different functions of your camera work.
It’ll allow you to properly control the exposure triangle, including ISO, aperture, and shutter speed. Learning about the exposure triangle will allow you to understand how different camera settings affect light and, eventually, your final photograph.
1. ISO
In the early days of film photography, ISO was used to calculate the sensitivity of the film. Today, when you adjust the ISO on a digital camera [1], you are actually adjusting the signal gain.
Light painting, as the name suggests, is all about light. But it certainly doesn’t mean that you’ll need to set your camera on overly sensitive settings. A low ISO number somewhere between 100-400 ISO will do the job. Otherwise, you’ll end up with blown-out and/or noisy images.
2. Aperture
The aperture setting [2] of your camera determines the amount of light that’ll hit the sensor. It’s also known as the f-stop of the camera.
When it comes to light painting, you’ll need to opt for a narrow aperture that often has a high f-stop number. I recommend you to keep your f-stop number setting in the range of f/8 to f/11. This also allows you to have more of the scene in focus.
3. Shutter Speed
As the name suggests, the shutter speed [3] setting determines the amount of time for which your camera’s shutter remains open. You’ll need to go with the longer shutter speed to allow your camera to capture more light while light painting.
In extreme cases, professional light painters even leave the shutter of their cameras opened for many minutes, even up to 30 minutes.
Light Painting Shoot Setup
Painting with light to capture gorgeous photos is more than just understanding the exposure time and related camera settings. It takes proper setup as well as practice. Not only do you need to have an eye for the ambient light, but you also need to fully understand how light and your selected environment will affect your photo.
Most people imagine that light painting can only be done outdoors, but the fact is that you can also achieve it in a dark indoor environment.
However, the outdoor open-world offers much more opportunities than you can utilize on the go. Bear in mind that you’ll need to plan very carefully if you’re planning to paint with light outdoors.
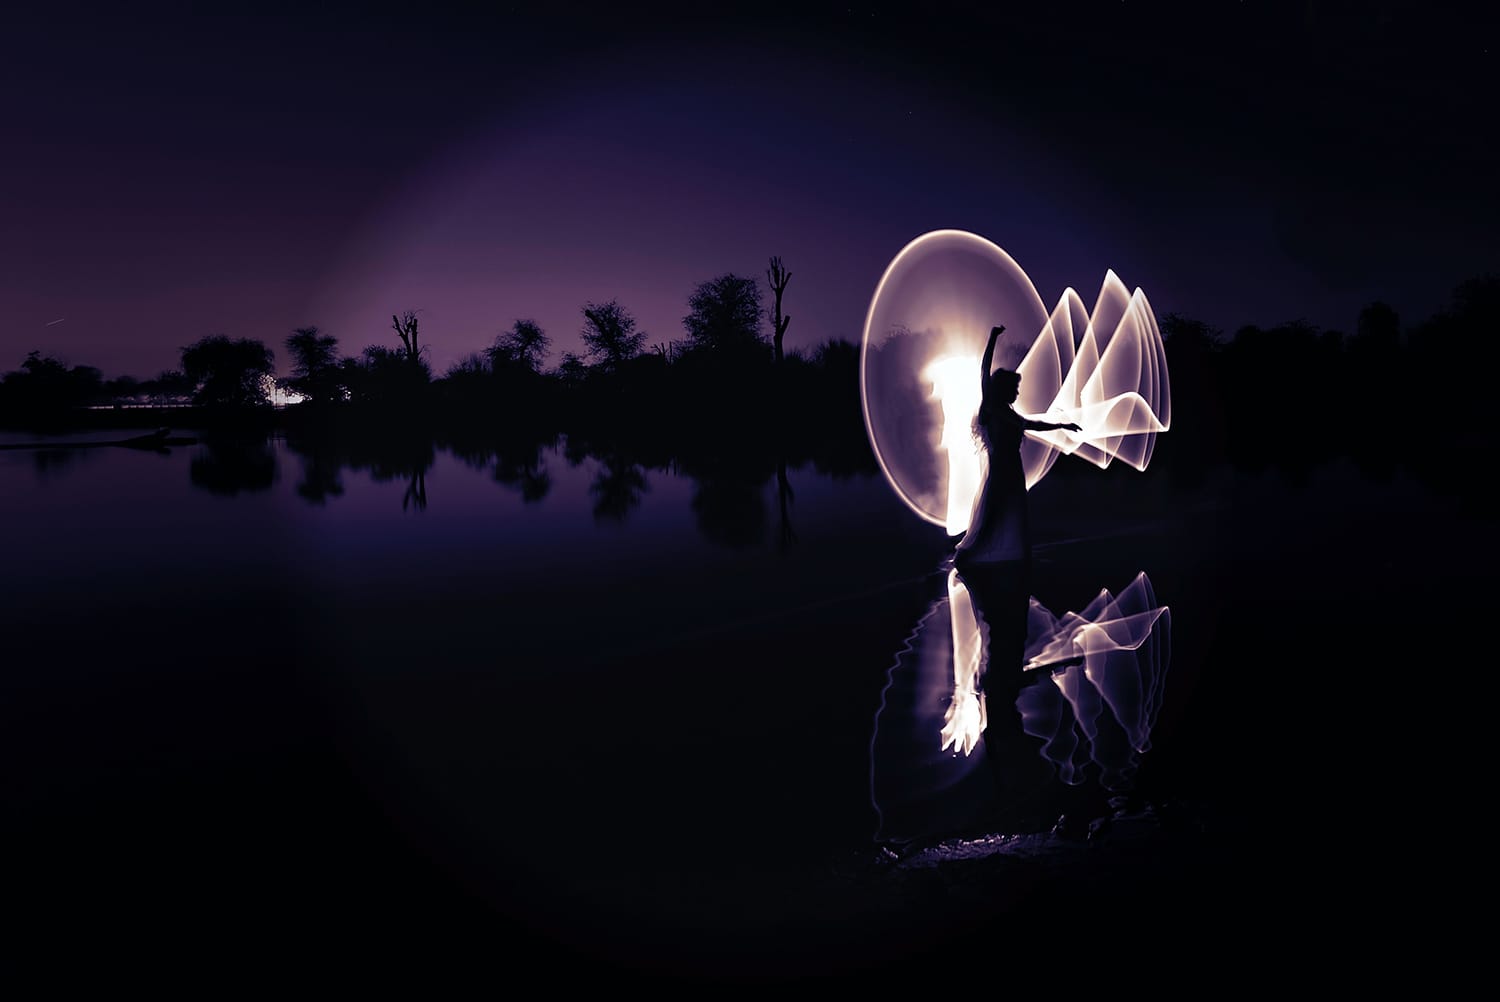
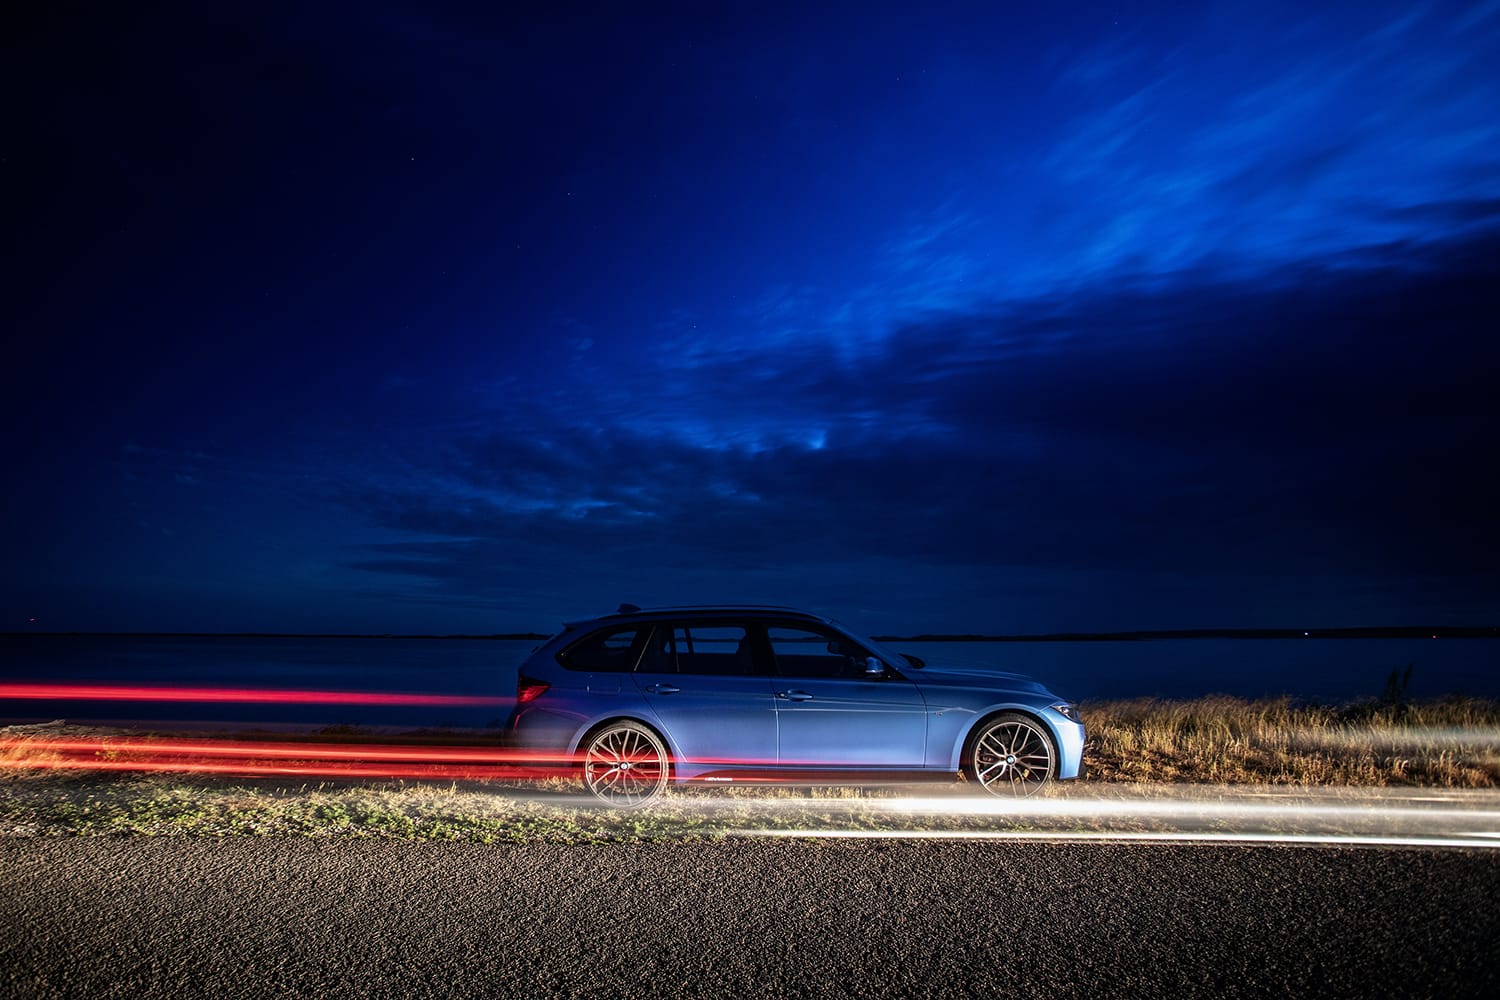
The best time to start shooting is the blue hour [4] when it’s just started getting dark enough. It’s the time right after the sunset when the sky still has some sunlight and starts getting a purple or blue hue. It’s a perfect natural setting that most light painters love because there is still some light to capture the details of the scene along with the light painting.
Another unique factor about the blue hour is that it changes the intensity of light every 5 to 10 minutes, unlike other times when the light intensity remains consistent.
You’ll need to plan beforehand to make sure that you choose the right moment to start shooting. It’ll provide you with an environment where the ambient light remains more or less consistent. If you like, you can also wait for a little while so that the sunlight fades entirely from the sky.
But I prefer blue hour because it allows me to capture more details other than light painting, adding more character to the captured photos.
Tools You Need for Light Painting
Light painting is where you might need to exit the photography realm and enter the art world to gather the right tools. Along with the photography equipment such as a tripod, you’ll need to have unconventional light sources as well.
1. Tripod
A sturdy and solid tripod [5] is one of the most important tools that you need for light painting. As mentioned earlier, you’ll need to leave the camera set for long periods.
Therefore, it won’t be possible for you to hold your camera steadily in your hands while your camera is capturing. Because of that required stillness, I recommend you grab a sturdy tripod to keep your camera stable.
2. Remote Shutter Release
A remote shutter release is also very important because you’ll need to spend much time in front of your camera to capture photos with light. If you have a remote shutter release [6], you won’t need to rush to your camera (that can break your whole experience).
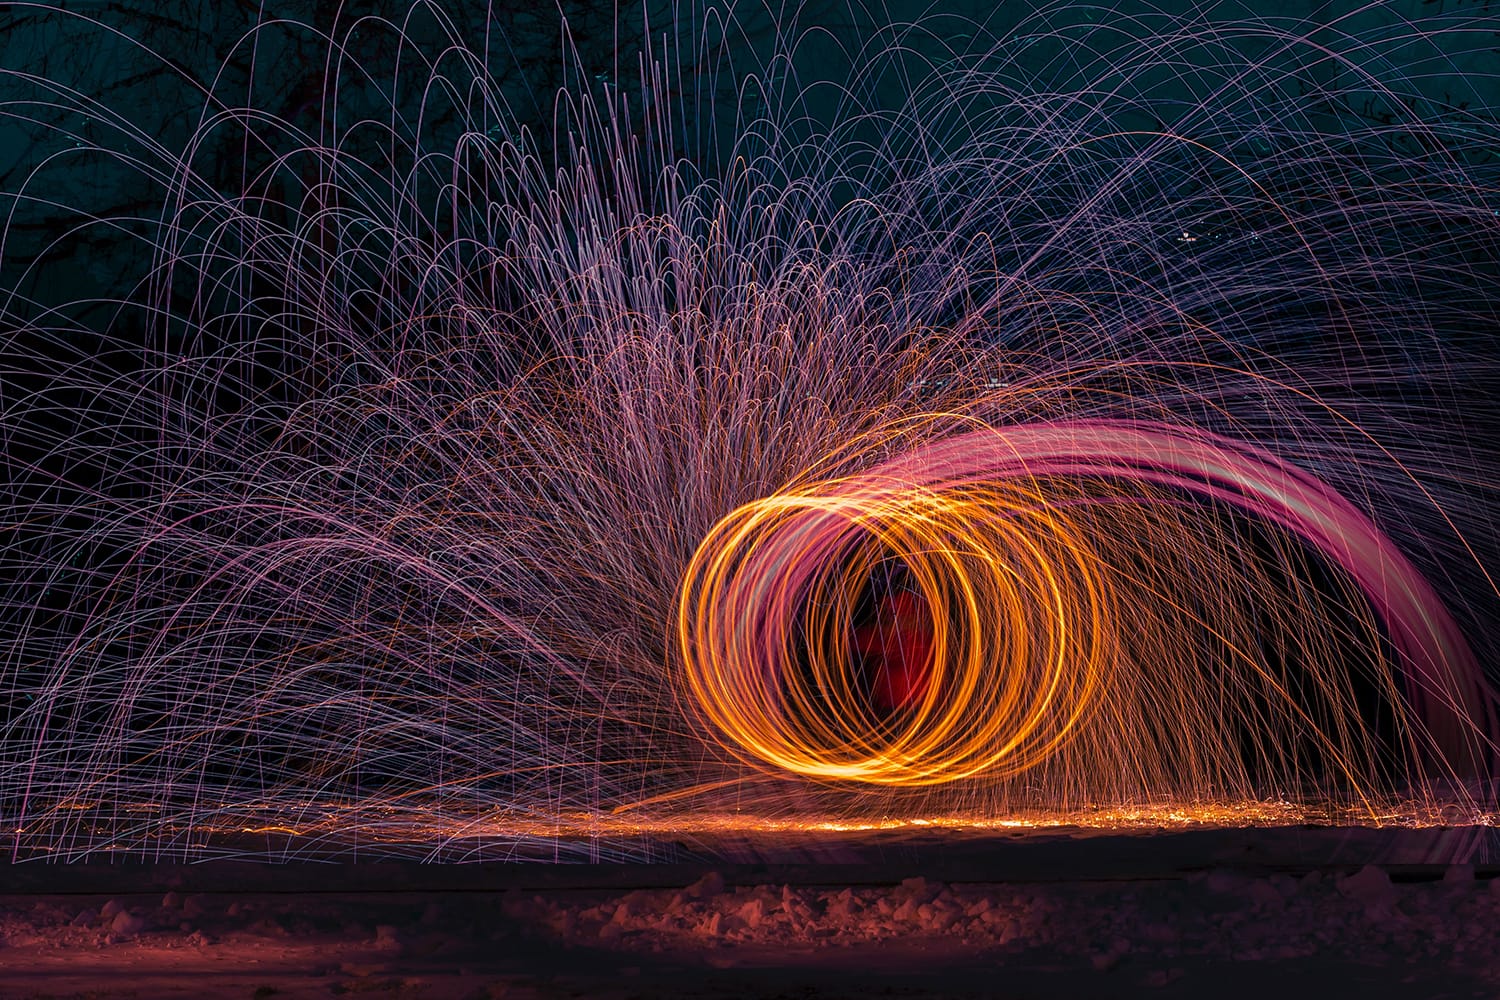
3. Light Sources
There are a plethora of light sources that you can use for light painting. All you need to do is to make sure that you choose something that can be used as a moving light source, such as small flashlights with strings.
Other than that, you can also find specially designed products such as light painting brushes in the market. You can also use glow/light sticks [7] that will help save you a whole lot of money.
Once you have the desired light sources, you’ll need to experiment with them in creative ways. You can create the light streaks as desired to find out what works the best.
I recommend you not to limit yourself to one light source as it’ll limit your creativity. Try different combinations of different light sources, and with practice, you’ll be able to capture images that you can proudly display.
Some advanced light painters also use spinning flaming steel wool and fire that sometimes allow them to achieve dramatic results. You can try that as well but bear in mind that fire can be very dangerous. Don’t forget to take precautionary measures and follow your local guidelines and laws to keep yourself and your equipment from danger.
4. Drones
Consider taking advantage of the dark sky by using it as a perfect backdrop to paint with drones. You can equip your drone [8] with the light source and try creative ideas such as writing a message, creating an imaginary galaxy, simulating shooting stars, etc. The options are endless, and they only depend upon your creativity.

Final Words
The most important thing to master light painting, just like any other photography style, is to keep practicing. Experience allows you to open new doors to express yourself. Only you can find the light painting techniques that work the best for you.
I hope that this guide will help you to get started with light painting. Don’t lose your heart if you find it a little intimidating at first. Keep practicing, and soon you’ll get it right.