The Photographer's Ultimate Guide to ISO
 by
Jo Plumridge
by
Jo Plumridge

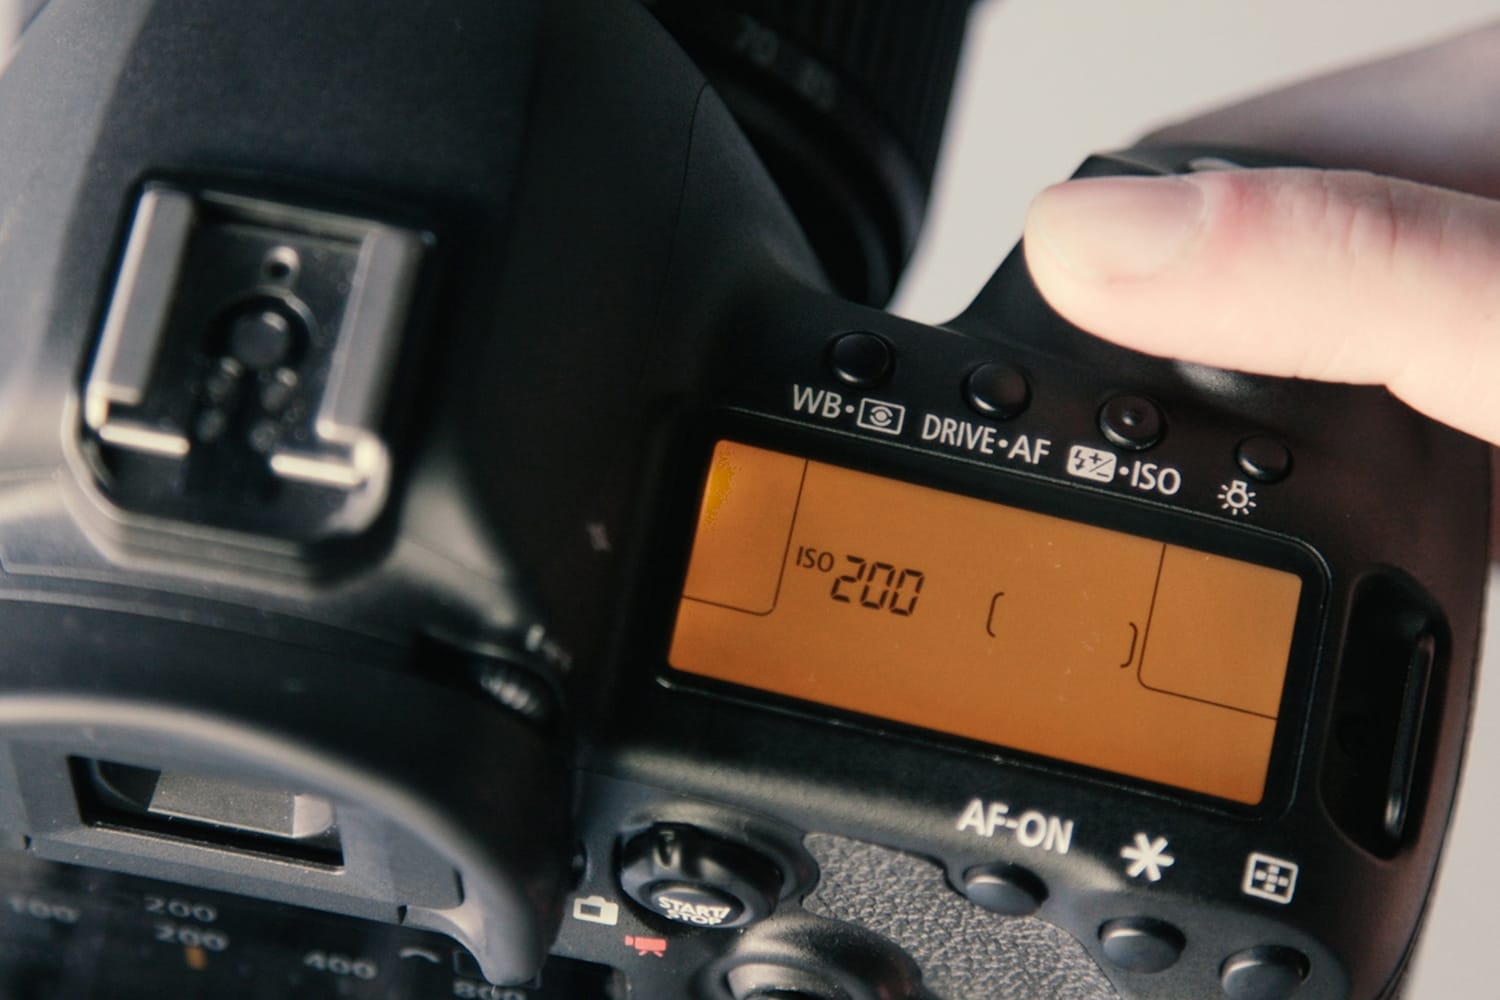
ISO is a term that originates from the days of film photography, where ISO was dictated by the speed of your film. ISO allows you to set how sensitive your camera is to light, and is part of the exposure triangle of ISO, shutter speed and aperture – all designed to control the amount of light hitting your camera’s sensor.
Digital cameras allow you to change your ISO with each shot, meaning that you’ve got huge freedom with the function. Most digital cameras’ standard ISO range is from ISO 100 at its lowest setting, although some may start from ISO 200.
In this article, we’re going to look at ISO and all the things it can do, which you may not know about.
Auto ISO
Most modern digital cameras have an Auto ISO function which, when switched on, allows the camera to automatically choose the lowest ISO for the lighting conditions, whilst still retaining the maximum image quality. You can also choose the maximum Auto ISO that the camera can select and, on some models, you can choose the minimum shutter speed that the function starts at.
Modern DSLRs have a much greater tolerance with ISO range, so Auto ISO can be a useful feature if you’re shooting at speed and don’t have time to alter your settings continuously (and if the light is also changeable). But Auto ISO can lead to over exposure in very bright conditions and, of course, you don’t have any control over the amount of noise appearing in your image.
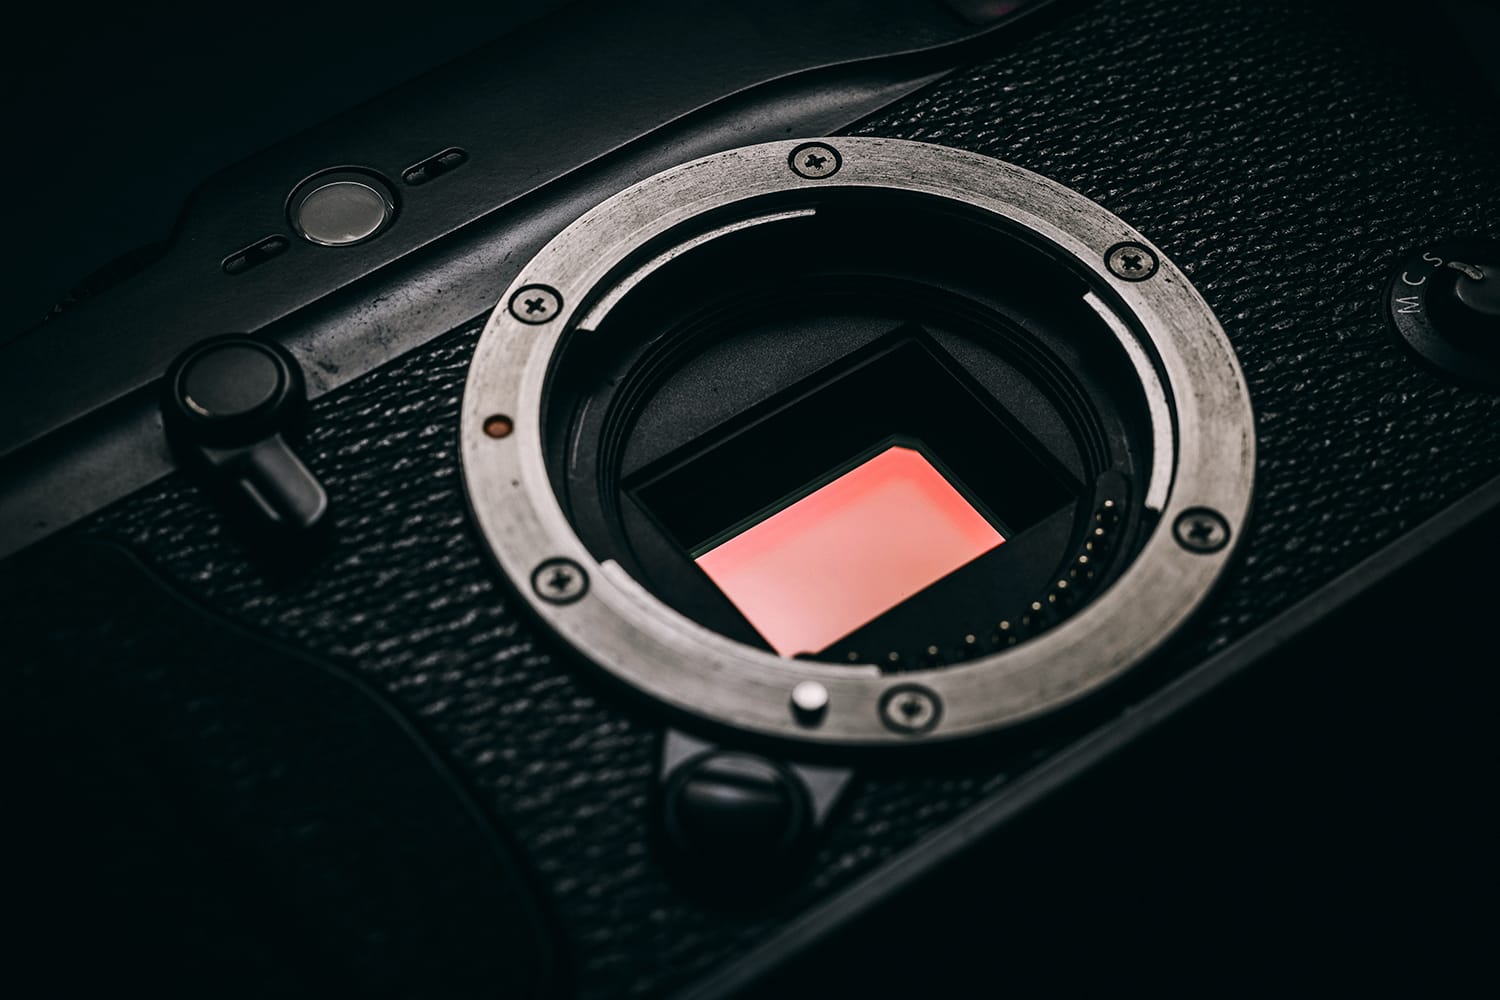
Noise and Sensor Size
In the old days of film, the higher the ISO number the more grain appeared on your image. In digital photography, the grain is known as noise. Image noise appears as a speckled or mottled area and can even occasionally cause pixels to appear as green or pink dots.
There’s another factor that comes into play in digital technology and that’s the size of your sensor. So, in essence, the larger the digital sensor, the less noise you’ll get at higher ISO settings. DSLRs have larger sensors than compact cameras and, in general, the more you pay for a DSLR, the more leniency you’ll get at higher ISOs.
People often wonder why noise would even be an issue, as ISO isn’t something they change all that often. However, ISO is extremely useful, particularly in dim light.
Whilst most people, quite correctly, change their shutter speeds and apertures first to try and let more light into the camera, sometimes you run out of these options. For instance, if you’re hand holding a camera, you can’t really shoot below 1/60th sec without getting camera shake. Similarly, if you’re shooting a landscape and need a large depth of field (f16 / f22) to get your whole shot sharp, you’ll be using a small aperture, which won’t let in a lot of light. Or you might be shooting at night or indoors in a situation that isn’t suitable for flash photography.
These are just a few examples but in these sorts of contexts being able to push your ISO higher is a must. At ISO 100, you won’t see any noise at all, but as you start to push the numbers higher more noise will become evident. How obvious the noise is really is down to the make and model of camera that you’re using.
Both Canon and Nikon, for example, have done a lot of work on noise reduction and their newer models really do have the ability to keep high ISO noise to a minimum. How important noise reduction is to you really comes down to how often you think you’ll be shooting in situations where you’ll need to use high ISOs.
Extended ISO
When you start looking at the ISO range on your DSLR you might notice that as well as the camera’s native ISO range, you also have the option of an extended (or expanded) ISO range.
To understand the extended range, you need to also understand that when you adjust the ISO on a digital camera, you are actually adjusting the signal gain – i.e. you’re changing the amount of analogue amplification that’s applied to the sensor’s reading. The range that a manufacturer deems to produce acceptable results in is the camera’s native ISO range.
The extended ISO range pushes the sensor to its highest native ISO setting and then allows you to push further stops of light by using software processing. On some DSLRs you can also pull the sensor down to its lowest ISO setting and then decrease it further down the range.
By using the extended range, you’re ostensively forcing the camera to digitally process your image further. However, the loss of image quality at these extended settings can be extreme and you’re often better shooting within the camera’s native range and then making alterations in post production.
ISO Invariance
As you might know, ISO invariance or ISO-less is a relatively new concept, which only applies to certain cameras on the market. In essence the idea of ISO invariance is that it allows you to leave the ISO at its lowest setting (ISO 100) and ignore it whilst setting your exposure.
These cameras will produce the exact same image quality by shooting at ISO 100, underexposing the photo and then brightening it up in post production as it would if you’d shot at the correct ISO to begin with. Post production will obviously still add in noise, but no more than if you’d shot at a higher ISO to start with.
You might be wondering why this is a technique you’d want to use. Well, by using this technique, you can actually gain a lot more control over your image. For example, you could, in post production, just selectively brighten some areas of your image whilst leaving other parts darker. Additionally, shooting at base ISO to start with allows you to preserve highlight detail and use maximum dynamic range. It’s also great for night time photography where too much noise shot in camera can destroy the delicacy and quality of an image. It’s an interesting technique, which I suspect will become more popular given time. Do remember though that not all cameras are ISO invariant.
ISO settings
Although you need to take into account all the things we’ve already discussed, it’s good to know the general recommended uses for different ISO speeds. Here’s a short list:
- ISO 100 / 200 – sunny and bright daylight
- ISO 400 – cloudy days, indoors with bright window light
- ISO 800 – indoors without a flash
- ISO 1600+ – low light situations
ISO maths
Finally, when you are working with ISO, it’s important to understand the basic maths and principles behind it. ISO values go up in some called ‘Geometric Progression’ or ‘Geometric Sequence’, which is essentially a factor of two resulting in doubling. So, the ISO sequence generally goes 100, 200, 400, 800, 1600, 3200, 6400 and so on to the highest ISO of your particular camera model.
Each step between a number doubles the sensitivity of the sensor, so ISO 200 is double the sensitivity of ISO 100. Or to give some more examples – ISO 800 is twice as sensitive to light as ISO 400, ISO 1600 is four times more sensitive to light than ISO 400 and so on. This then comes back to the simple adage of the higher the ISO number; the less light you need to take a photo.
By the way, do remember that digital cameras often have ‘in-between’ ISO values as they do with aperture settings.
In Conclusion
Hopefully this article will help you to understand the full potential of ISO and how you can use it to its full advantage in a huge variety of shooting situations.
About the Author: Jo Plumridge
Jo Plumridge is a UK based photographer, writer and lecturer. She specializes in portrait, corporate and travel photography, and writes photography, travel and comedy pieces for magazines, websites and books. You can see some of her work at her website, or follow her on Twitter.